V0.4 Profiles Trigger
The trigger profile determines when and sometimes where Octolapse will take a snapshot. There are two basic types of trigger profiles: Classic and Smart
These are legacy triggers that were used in all versions of Octolapse prior to V0.4. They have the advantage of being well-tested and used over the past several years, but they also have the big disadvantage of limited knowledge about your gcode file. These triggers see the gcode just before your printer does and do not know about any upcoming gcodes. For this reason, these triggers cannot make great decisions based on gcode it has not yet seen.
There are four basic types of classic triggers:
- Layer - These trigger on every layer change and require that certain conditions must be met in order to trigger a snapshot, like full retraction or zlift (both configurable).
- Height - This is basically a layer trigger with a further restriction that it may only take 1 snapshot per the defined height. This can be used to reduce the number of snapshots, which will speed up the print and reduce quality impacts.
- Timer - This trigger will take a snapshot once per pre-defined interval, for example every 5 minutes. This can be useful if your print is very large in terms of volume, but small in terms of height, so that your timelapse has enough frames to look interesting.
- Gcode - Here you have complete control of the timelapse. Octolapse will look for a Snapshot Command, and will take a snapshot every time it sees one of these commands. The default snapshot commands are:
- @Octolapse take-snapshot (recommended)
- snap
- You can add a custom snapshot command within your printer profile if you prefer to use something different, though I don't really recommend this.
These triggers, first introduced in Octolapse V0.4, use a new preprocessing method. The entire gcode file is read ahead of time, giving Octolapse way more information to make better decisions about when to take a snapshot. The preprocessor is written almost entirely in C++ to make processing as fast as possible.
There are two types of Smart triggers: Layer/Height and Gcode. Currently there is no Smart equivalent to the Classic Timer trigger, though I'm planning to add a Filament smart trigger that would behave similarly. The Gcode type behaves in the same way as the Classic Gcode trigger, except it provides you with a snapshot plan preview before your print starts, which is very useful.
The Smart - Gcode trigger has no options, but there are several options for the Layer/Height triggers:
- Trigger Height: You can restrict the trigger to take at most 1 snapshot for each height interval. This is especially useful if you are printing at a very low layer height, and you want to reduce the time/quality impact that Octolapse can have.
-
Smart Layer Trigger Type: There are four options here:
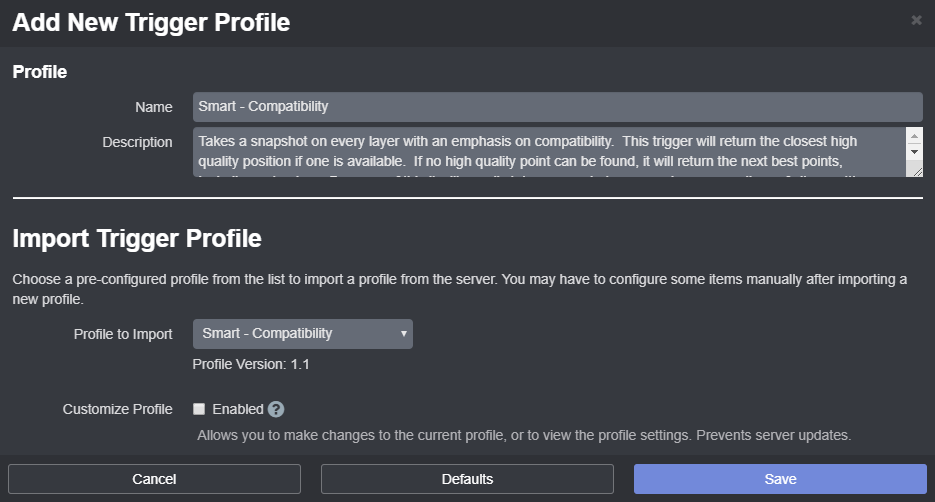
- Compatibility - This is the recommended setting, especially for beginners. It offers a balance between quality and speed. It prefers to avoid taking snapshots over exterior perimeters, but will if it has no choice. For this reason, it will work as expected in vase mode, prints with no retraction, or other unusual situations.
- High Quality - This mode is all about print quality. Octolapse will refuse to take snapshots on layers where it can't find a low impact place to take a snapshot. For this reason, it is NOT suitable for vase mode prints or prints with retraction disabled.
- Fast - In general, I don't recommend using this because it can cause quality problems on exterior perimeters, but it can be useful if you are printing with a wipe tower, ooze shield, or if you have a sacrificial part. It causes Octolapse to always start stabilizing in the closest position possible, which is almost always exterior perimeters. My testing shows the time savings is not usually very substantial, so I may actually remove this in a future version after I have more time to evaluate the effectiveness.
-
Snap to Print - This is a very interesting option and prevents your extruder from leaving the print. It reduces the travel distance Octolapse adds to 0, which is pretty amazing. However, as usual, there is a trade-off. Your timelapse may not be perfectly stable, and the effect is highly dependent on your model and stabilization position. If you MUST use Octolapse in vase mode, I would recommend using the Snap-To-Print trigger (expect a seam, though not as bad as you would see with the other triggers). There are a few other options available when the Snap To Print trigger type is selected:
- Disable Lift Before Snapshot - In general, you will want to leave this enabled. It prevents Octolapse from lifting when taking a snapshot. Normally it would use your slicer settings to determine if it should lift, but as long as the snapshot acquisition is fast, lifting will do more harm than good here.
- High Quality Mode - This usually prevents Octolapse from taking snapshots over exterior perimeters. For this reason, it will NOT work with vase mode prints (most layers will be missed completely), and might result in a less stable looking timelapse. However, if quality is your number one concern, consider this option.
- Smooth Mode - I love this setting. When it is enabled, Octolapse will stabilize the first snapshot as usual by picking the point on your print closest to the stabilization point. For all future snapshots, Octolapse will pick the position that is closest to the previous snapshot. This typically (depends on your model) results in a smoothly wandering extruder.