-
Notifications
You must be signed in to change notification settings - Fork 0
Getting started
IMPORTANT: in order to work properly, two APKs have to be installed from Play:
Once installed from Play run CulebraTester

This starts the network server and you will be able to connect to the URL shown on the screen from your desktop browser.
IMPORTANT: if you are using an emulator with Play read Using emulator with Google Play support
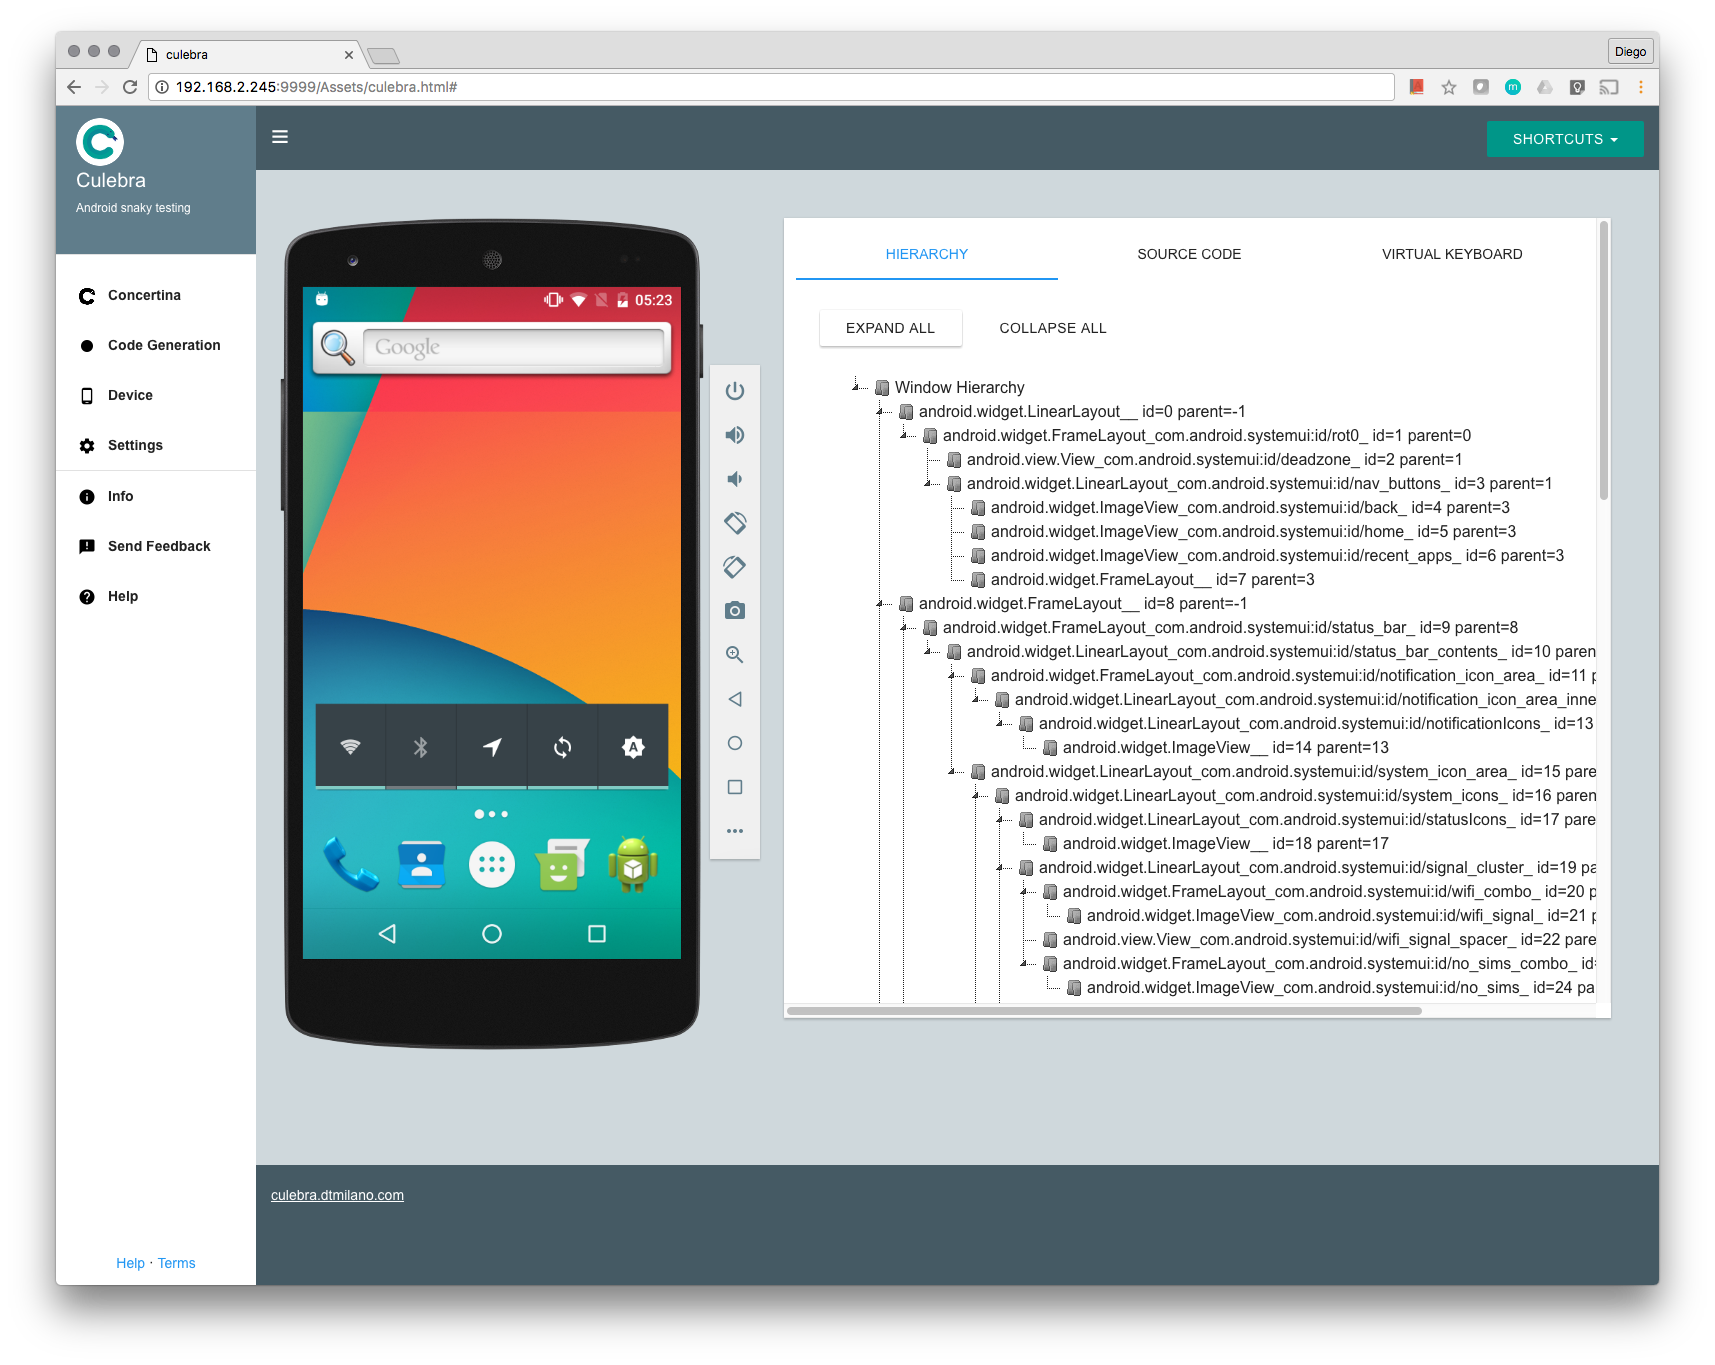
Entering aforementioned URL in your desktop browser CulebraTester main page will be opened.

If for some reason you cannot open the previous URL see Troubleshooting.
At this point, you need add connected to your device to be able to run the Instrumentation. Once it's done the add connection is not needed anymore as all the communication happens through the network.
There are several ways of running the Instrumentation, the simplest one is to copy and paste in your terminal the command given by the main page, in this example
$ curl -s http://192.168.2.245:9999/Assets/runinstrumentation.sh | bash
For a more detailed discussion or if encounter some problem on this topic visit Running-the-Instrumentation.
| Important |
|---|
| As soon as the Instrumentation starts CulebraTester application will exit as they both cannot exist together, so it's normal to see it being dismissed from the screen after you run the previous command. Also, any generated python script contains code to kill CulebraTester as soon as it starts to avoid conflicts. It is recommended that you exit CulebraTester via Quit once you are done with the code generation. |

The main UI is showing on your browser so you can start interacting with your device and create tests that can be saved and run them at a later time in a stand-alone way, that is CulebraTester will be only needed to generate the tests.
From here you can
- Select Code Generation language
- Interact with the Device
- Change CulebraTester Settings
- Obtain Info about CulebraTester
- Send Feddback
- Obtain Help
Or use the Shortcuts Menu to quickly access the most common actions.
Once you press STOP the code is generated and displayed under SOURCE CODE. You can save it pressing SAVE or cutting & pasting.

There are much more ways to interact with the device representation and generate code, see the complete list of Features.
Lorem ipsum dolor sit amet, consectetur adipiscing elit. Vestibulum iaculis malesuada lacus, vitae fringilla nulla convallis nec. Sed vel suscipit risus. Quisque quis sem vulputate, lacinia neque vel, rhoncus risus. Pellentesque tempor orci tempor justo imperdiet, eu aliquet risus fringilla. Sed elementum sodales ligula ac tristique. Maecenas vel blandit mauris. Vestibulum magna nisl, sodales in nulla non, pellentesque vulputate arcu. Curabitur laoreet nunc nibh, tempor pretium leo lobortis et. Donec eget euismod ipsum. Curabitur erat turpis, viverra vel maximus quis, suscipit vitae velit.