-
Notifications
You must be signed in to change notification settings - Fork 0
Features
The most common commands are available through the Shortcuts Menu
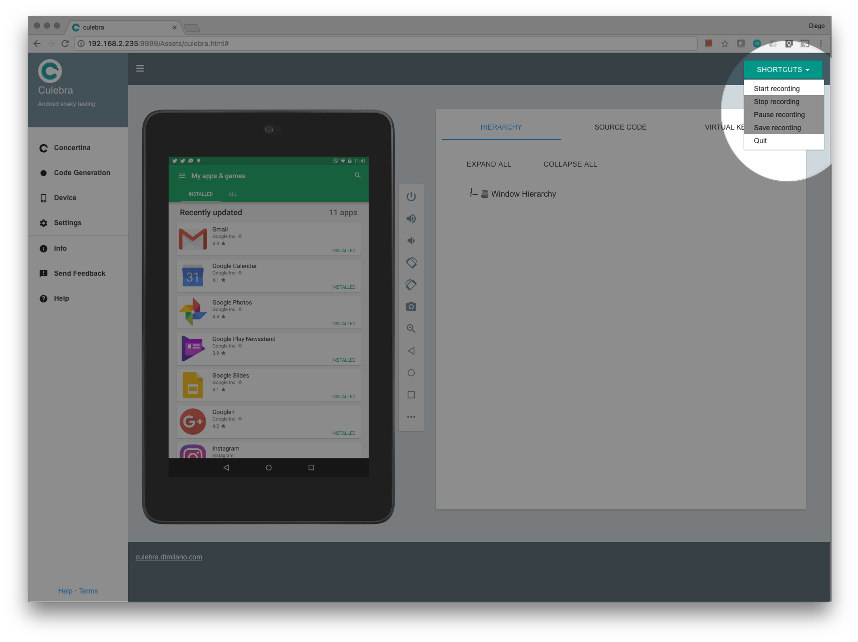
The options included are
- Start recording
- Stop recording
- Pause recording
- Save recording
- Quit
While recording the RECORDING indicator blinks on the top left corner.
Text can be entered in a dialog box using the local keyboard and then sent to a UiObject.

Touching on the device representation sends the touch event to the device connected and if RECORDING is active it will generate the line to reproduce such event when the test is run.
Feedback about the touched View or Point is showed on the device representation screen.
Also, feedback about the screen being updated after the event was sent is indicated by the blue mask that covers the screen while finishing the operation.
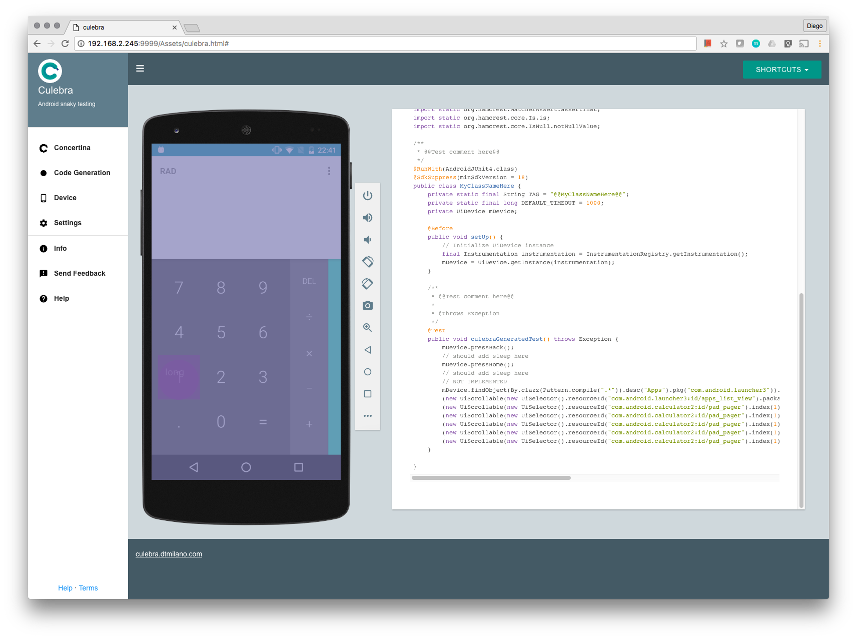
A long touch can be produced by long clicking with the mouse on the device representation or use the context menu.

Sometimes, there are applications that create their own custom Views and handle the touch events inside.
Then, if we touch using the normal Features#Touch, the touch event will be generated in the center of the View and the custom View may understand it differently.
For such cases, touch point and long touch point allow more precise control of the event.
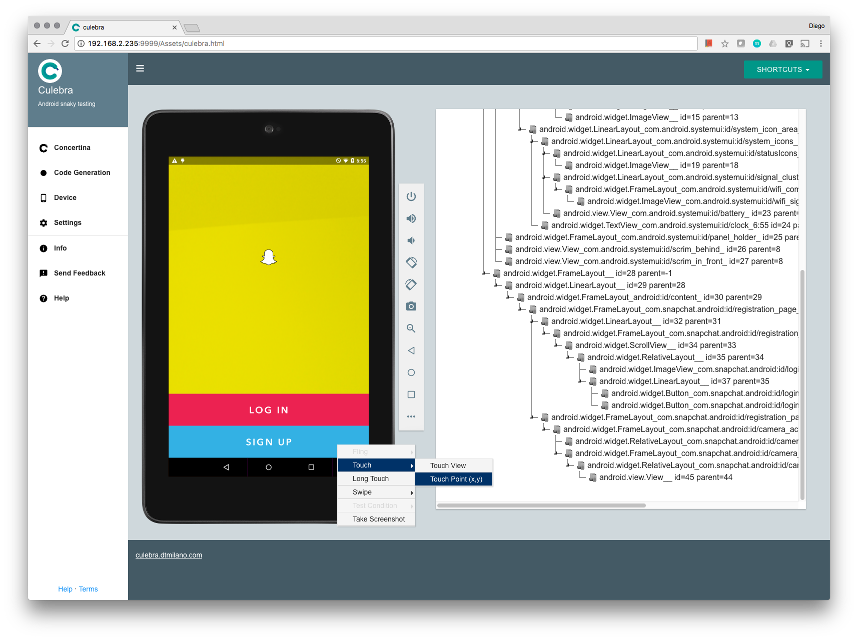
In this case, SIGN UP is not an extra button so we can use touch point to touch it.
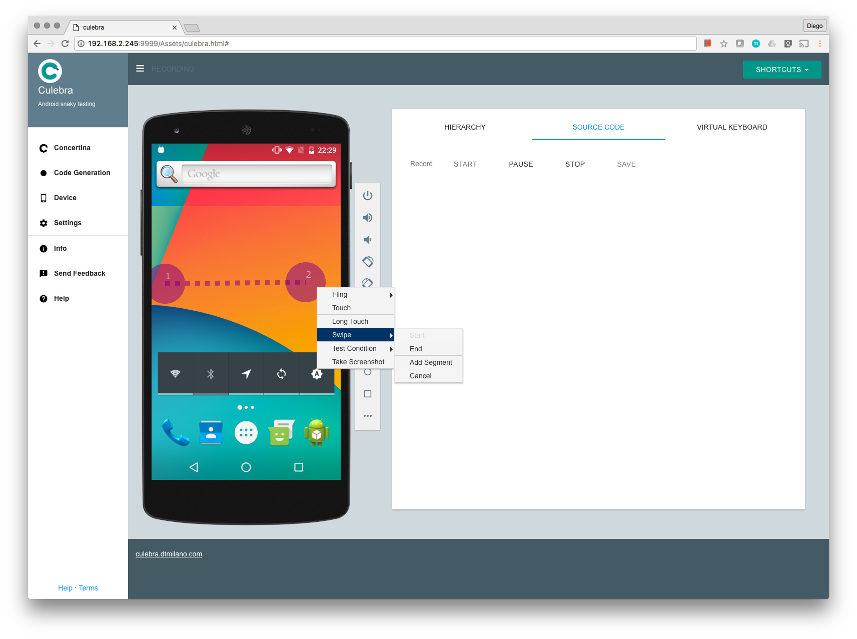
Set the scrollable orientation so next action (i.e. fling) will use that orientation to know which direction to scroll.

Flings the scrollable using the previously selected orientation (or default if not set)

While recording, and the context menu is displayed over a scrollable, the option Enumerate Children exists.

This option generates code similar to this one.
List<UiObject2> children = mDevice.findObjects(By.res("android:id/text1").pkg("com.dtmilano.android.demoapplication"));Generates a pinch open or pinch close gesture.

Takes the screenshot and saves it to a file.
While RECORDING several test conditions can be generated and the best alternative depending on the context is selected by CulebraTester. The test menu contains
- Assert View Exists
- Assert Equals
- Assert Same Value

Right-clicking on the Back-up my data Switch in Settings as shown in by previous screenshots, the following lines are generated (assuming code generation is set to Java UiAutomator)
    final UiObject2 uio23 = mDevice.findObject(By.res("android:id/switchWidget")
        .clazz("android.widget.Switch").text("ON")
        .pkg("com.android.settings"));
assertThat(uio23.isChecked(), is(true));Sometimes it's needed to force an update of the screen because for example there has been interaction on the device itself and the changes need to be reflected in the UI or because the screen took longer than expected to change and when the UI took the screenshot and hierarchy dump it wasn't ready yet.

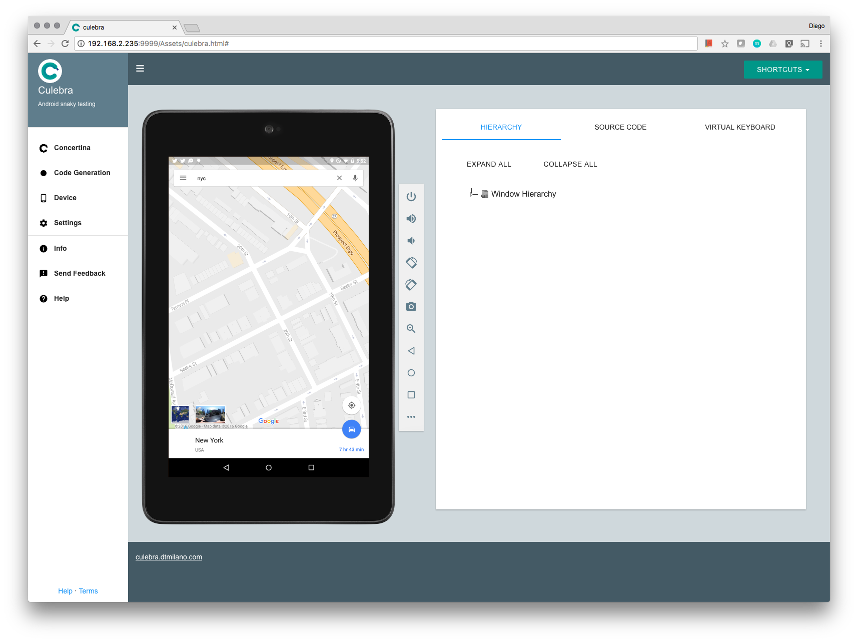
Different orientations are supported (provided as an In-App Purchase). The left menu has been collapsed to give the device representation more room.

Hovering items on the hierarchy tree highlight the corresponding View on the device image.

If the highlight color is magenta the View is clickable otherwise it will be cyan.
This way you can even interact with web content which is also displayed in the hierarchy.

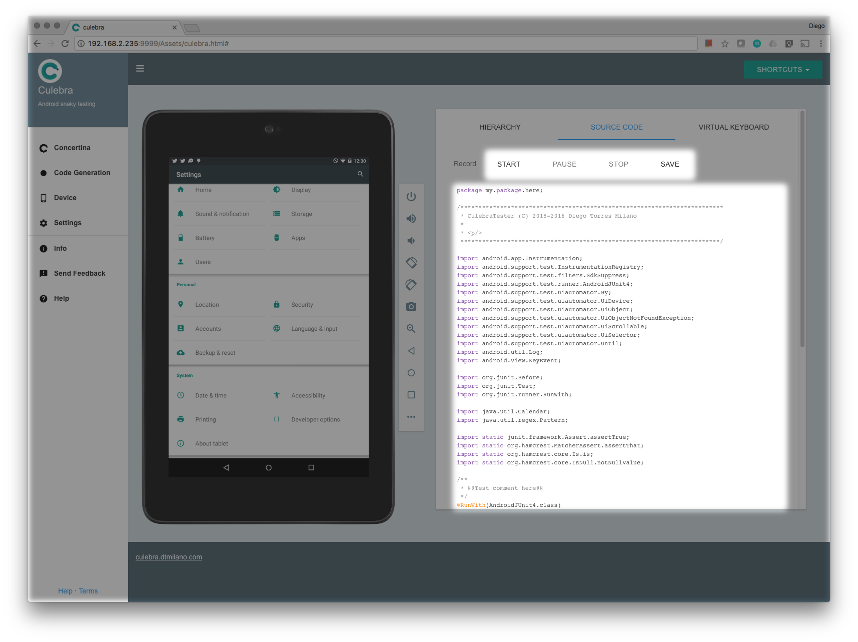
The buttons to
- Start recording
- Stop recording
- Pause recording
- Save recording are at the top.
The generated code, if any, is presented bellow the buttons.
Opens the Notifications bar.

Opens Quick Settings screen.

