-
Notifications
You must be signed in to change notification settings - Fork 1
Edit Item
Click Create Scene button in Item Manager window, a new Select Template window will popup, here are some template scenes. Select the desire one then click Create, an Entry.unity scene file will be created under [ItemRootFolder]/Scenes folder.
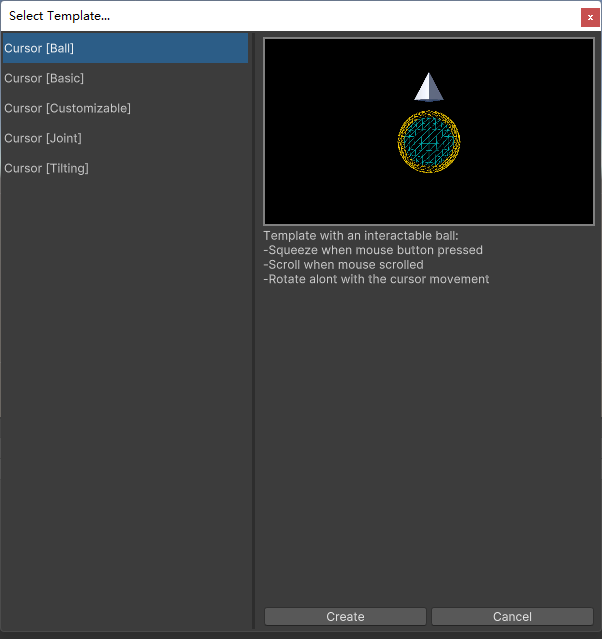
Once you had created scene for this item, you can click Edit Scene button in Item Manager window to reopen it at anytime.
In Hierarchy window, you can see the following two scenes:

This scene simulate the runtime environment, so that you can run some test without building the mod. You can add this scene manually via top menu button Alive Cursor/Add Simulator Scene.
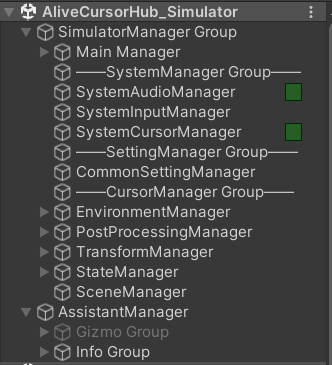
Note that this scene asset is located in readonly Pacakge folder by default, you need to import or update Simulator assets in PacakgeManager Window first.
Here's some important gameobjects in this scene (you can skip this part if you feel bored):
-
SystemAudioManager: sample system input audio, mainly for audio visualization.These's a
AudioSourceattached to this gameobject, set the clip to your favoite one for audio testing. If your want to play/pause the clip at runtime, use left/right mouse button to click the toggle in hierarchy. -
SystemInputManager: manage system Mouse/ Key input info.
-
SystemCursorManager: manage system cursor's appearance and positon info.
-
CommonSettingManager: manage AliveCursor app's common setting (eg: size or state change). When game start, if you change config's field in
AC_CommonSettingManagerSimulatorcomponent, the relate value changed event will be sent. You can use this feature to test cursor size or state change etc.
-
EnvironmentManager: manage camera and environment setting.
-
PostProcessingManager: manage PostProcessing setting.
-
TransformManager: manage cursor movement.
-
StateManager: manage cursor state change. In
AC_StateManagerSimulatorcomponent, there is a[Debug]foldout, you can set if the cursor should stay active, or if you can change state by clicking the related number keys. -
SceneManager: manage scene changed.
This manager help you place item as per specifications, also display infos about cursor using UGUI, you can toggle it's feature in Assets/Resources/Threeyes/AliveCursorSDKSetting.asset config file. By default it will display the border and hotspot of cursor via Gizmo, normally your cursor content should fit in this area:
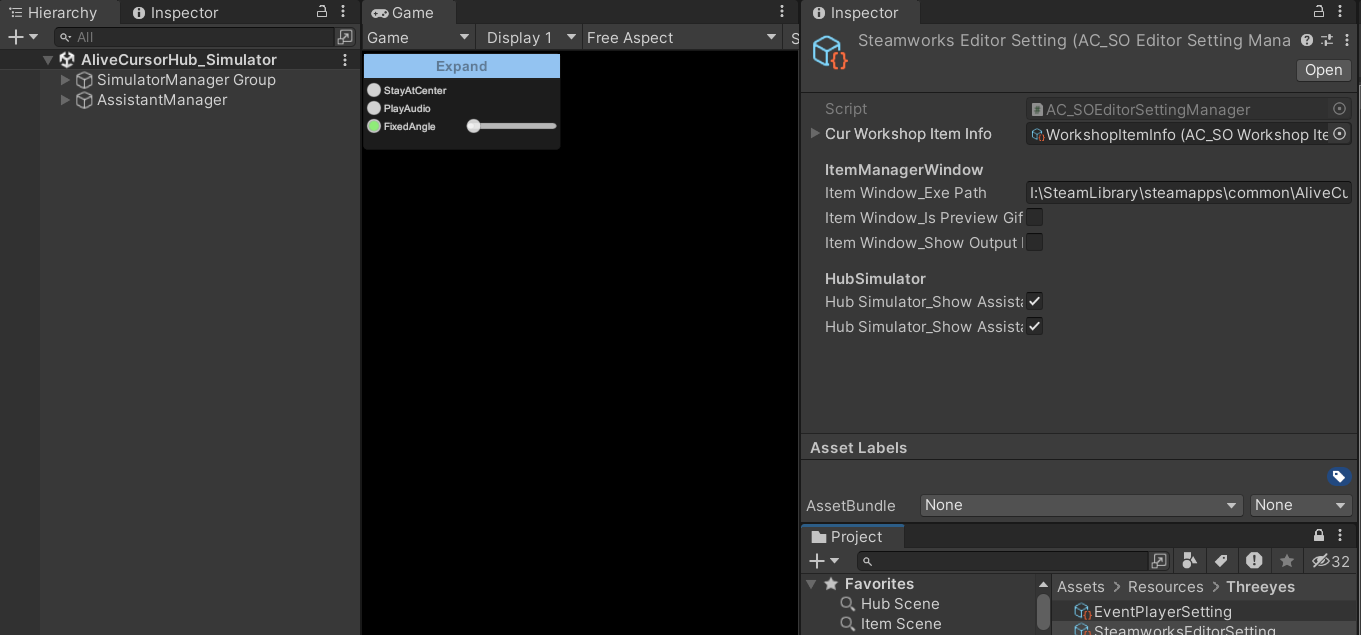
You can toggle this feature in Assets/Resources/Threeyes/SteamworksEditorSetting.asset config file.
This scene contain your item's models and scripts.
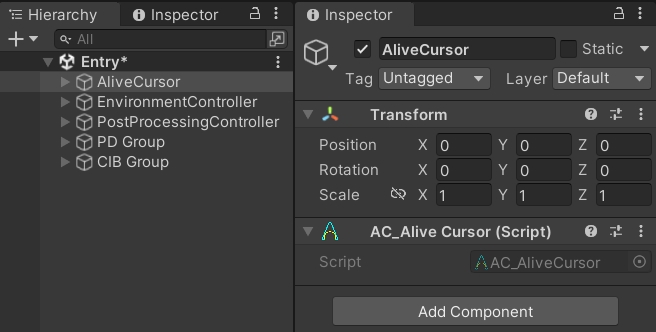
Here's some gameobjects might be in this scene:
AliveCursor [Required]: control cursor's behaviour, The model of this cursor(eg: cursor pointer) can be the child of this gameobject. It has the following component:
- AC_AliveCursor
[Required]: mark this gameobject as AliveCursor instance. - AC_DefaultTransformController (Or custom subclass of AC_TransformControllerBase)
[Optional]: override AliveCursor's movement. - AC_DefaultStateController (Or custom subclass of AC_StateControllerBase)
[Optional]: override AliveCursor's behaviour on different state.
EnvironmentController [Optional]: manage Environment setting. It has the following component:
- AC_DefaultEnvironmentController (Or custom subclass of AC_EnvironmentControllerBase)
[Required]: override Environment settings (eg: lighting, skybox or reflection).
PostProcessingController [Optional]: manage PostProcessing setting. It has the following component:
- AC_DefaultPostProcessingController (Or custom subclass of AC_PostProcessingControllerBase)
[Required]: override PostProcessing settings.
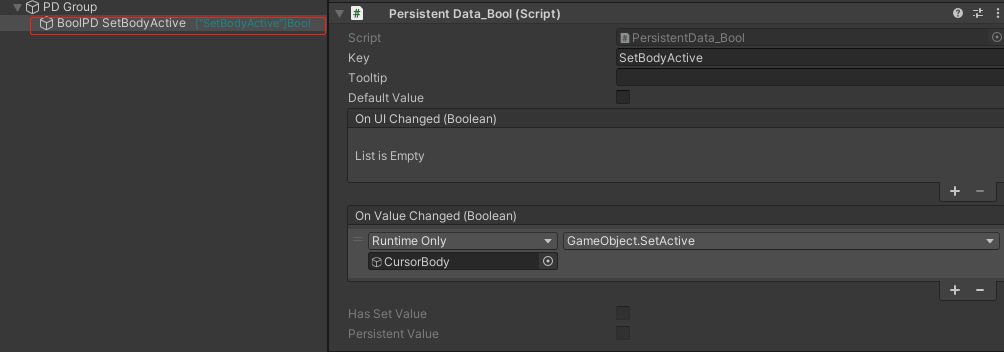
PD Group [Optional]: If you want to provide configable data for user to tweak& save, you should create a child gameobject of this gameobject with specify PersistentData component and setup the require fields (eg: Key, Event callback, dataOption) like this:
