-
Notifications
You must be signed in to change notification settings - Fork 46
Windows Build

Basic rundown of how to use the workflow in 6 minutes:

Tip
You can real-world run this eaxct example in the video with The Munday Demo Tape from the Internet Archive!
The RF Decoders, Tools Suite & Export Tool are bundled into one easy to use portable binary release.
Caution
Excluding ld-analyse all tools are CLI - Command Line Interface, not a installer.
-
Microsoft Visual C++ 2022 Redistributable to be installed (Often already installed by other apps)
-
Download the
decode_suite_full.zippackage for your OS, extract all files to a folder calleddecode. -
Place this on your desktop or a drive that your working with your FM RF files on as all the tools and scripts inside are self contained so they can be placed in and run from any location as long as they are all together in one folder.
-
You can use
CMD(Commandline) orPowerShellbut if your a Windows 10 or 11 users then you can use Windows Terminal which is much nicer. -
With your Terminal open inside the
decodefolder enterdecode.exefollowed by a space withvhs/ld/cvbs/hifito call the respective decoder you wish to use, you can run decode independently and with as many instances as you wish in seprate tabs or windows.
Tip
To have Terminal always open as CMD go into settings --> default profile --> command prompt then you can now right click and open in terminal inside a folder directory or any outher directory you wish to use the commandline in.
- The Readme For Basic Use
- The Full Commandlist breaks down every decoders full command options.
- RF Capture Decoding Guide breaks down basic full use of all the decoders.
To decode media you need to do 3 things
- Call a decoder
vhs/ld/cvbs/hifi - State input file & output file names
- State the frequency of the RF data
- State the TV System
Example Command:
decode.exe vhs --threads 6 --frequency 40 --system pal Munday_Demo_Tape_Video_RF_DdD_40msps_16-bit.ldf filename
Tip
You change filename to whaever your tape name is.
You will have the following files from the decoder:
filename.tbc - Luminance (Y) Image Data (Combined Y/C for CVBS)
filename_chroma.tbc - Chrominance (C) Image Data (QAM Modulated)
filename.tbc.json - Frame Descriptor Table (Resolution/Dropouts/SNR/Frames/VBI Timecode)
filename.log - Timecode Indexed Action/Output Log
To make a basic video file export simply run the export tool inside the folder via CMD or drag and drop.
tbc-video-export.exe filename.tbc Munday_Demo_Tape_Video_FFV1
This will make a FFV1 10-bit 4:2:2 filename.mkv file for any CVBS or S-Video type TBC file set.
Please read the Video Export Guide for full usage on export profiles for adjusting framing options, codecs & audio muxing.
How to Install FFmpeg/SoX/FLAC Globally for Windows
If you don't already have these installed globally the commands will install these in PATH so the tools are available system-wide.
Open a PowerShell Terminal as administrator.
Install Choco (chocolatey package manager)
Set-ExecutionPolicy Bypass -Scope Process -Force; [System.Net.ServicePointManager]::SecurityProtocol = [System.Net.ServicePointManager]::SecurityProtocol -bor 3072; iex ((New-Object System.Net.WebClient).DownloadString('https://community.chocolatey.org/install.ps1'))
Then you can install the following system-wide without any hassle.
Install FFmpeg
choco install ffmpeg
Install FLAC
choco install flac
Install SoX 14.4.2 manually.
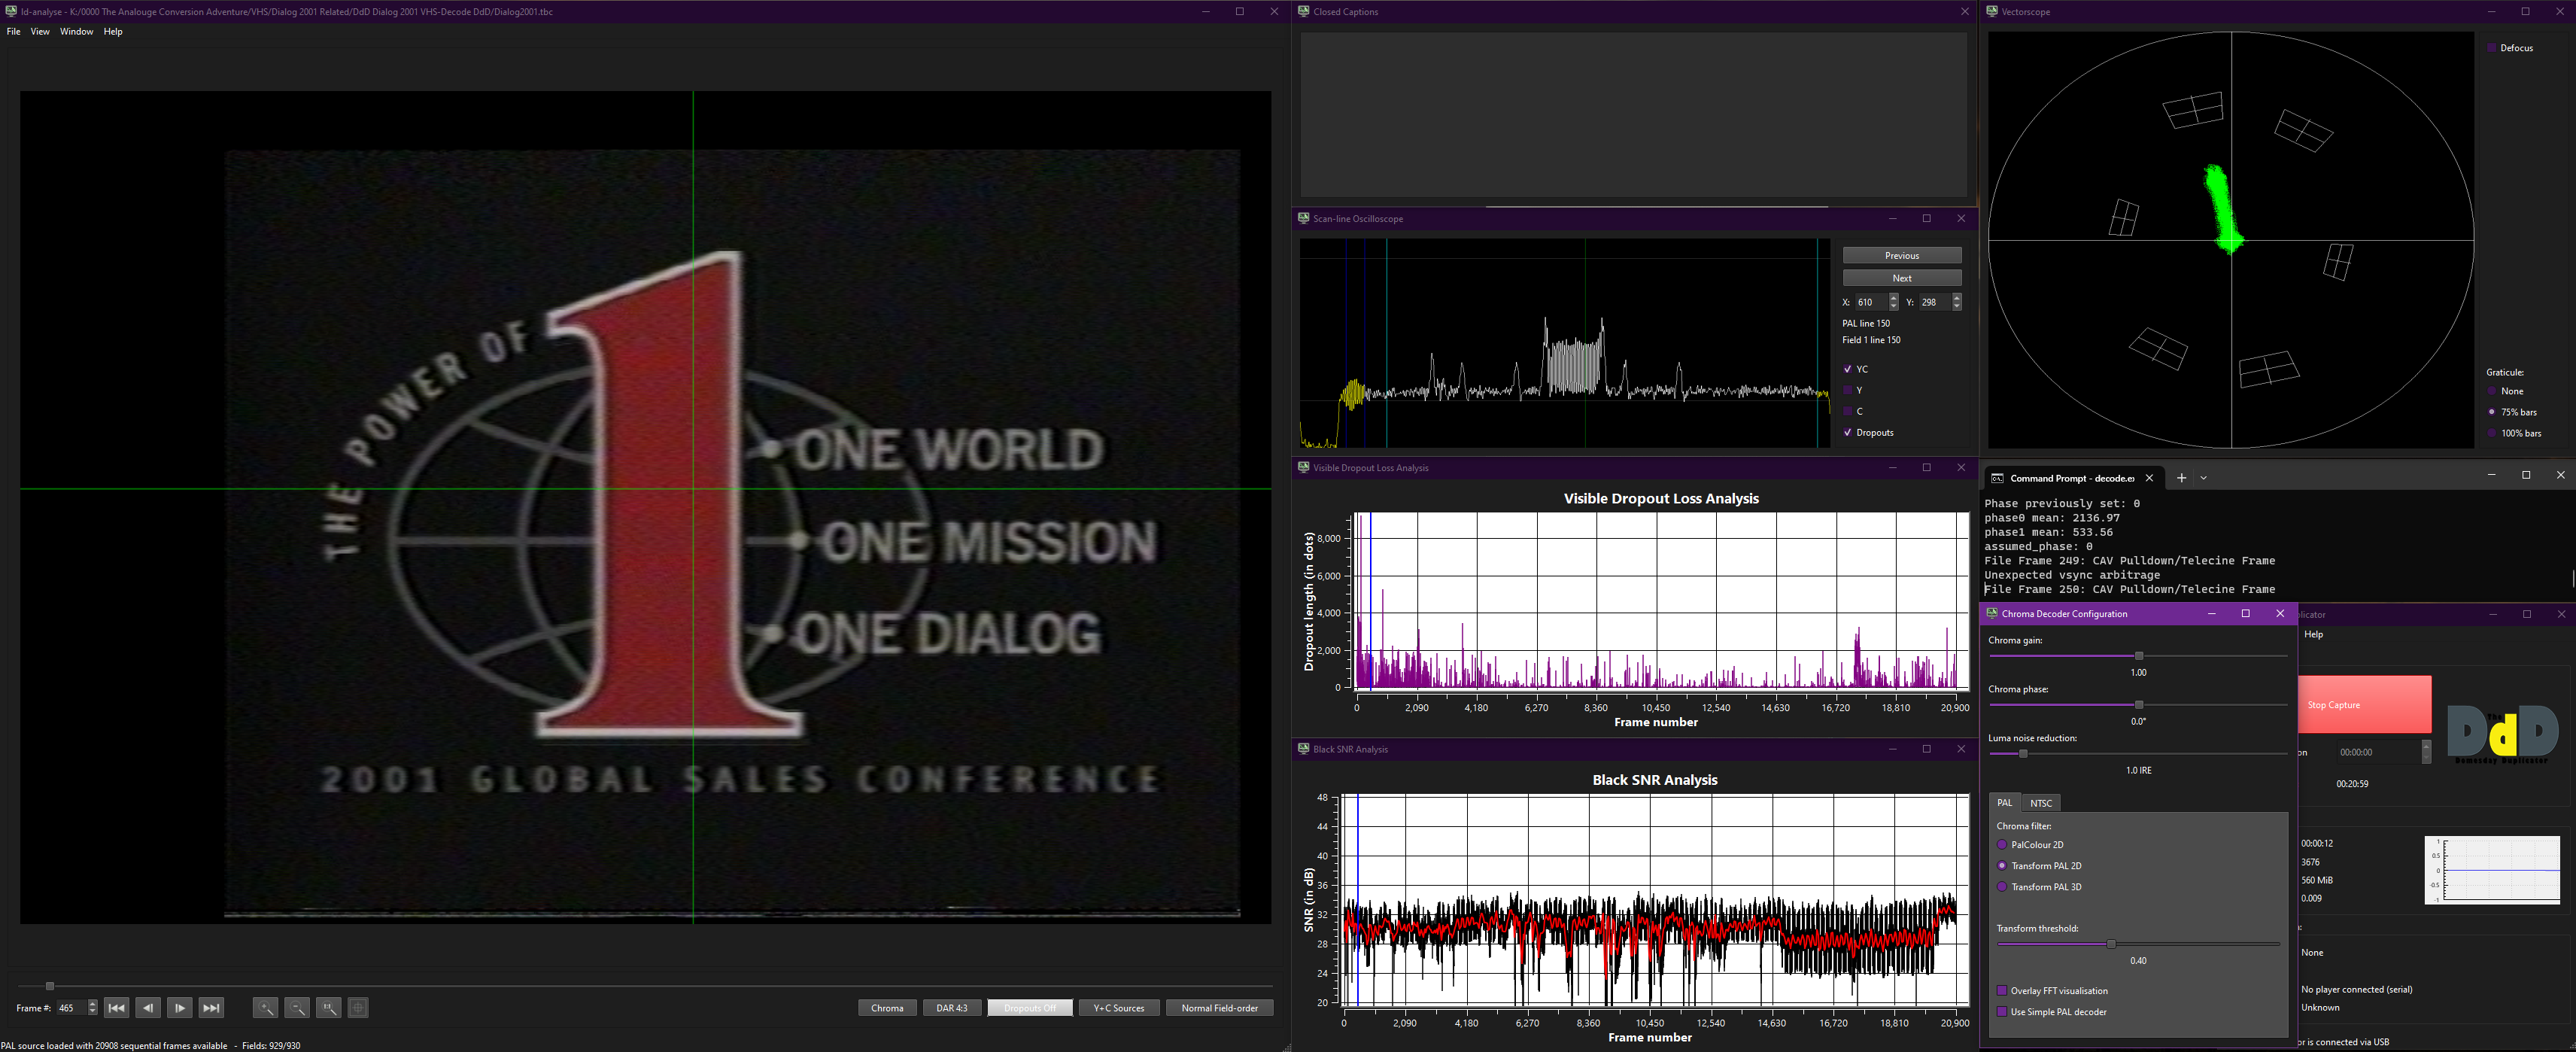
LD-Analyse Always Open TBC
On a .tbc file simply right click --> open with then at the bottom look for anouther app on this PC then after browsing to ld-analyse.exe in your decode folder always use this app to open .tbc files and your done!
LD-Analyse Darkmode
Dark mode for ld-analyse can be run with ld-analyse -style fusion via CMD, or you can modify a shortcut for it.
There is a few scripts included in the windwos bundle to make life easyer.
ld-compress.batld-compress-nvidia-gpu.bats16-to-flac.bat
The first 2 scripts do .lds to .ldf so are intended for DomesDay Duplicator 40msps 10-bit packed captures to 16-bit FLAC compressed files from 2.8GB to 625MB per min +- a few MB.
Note
These scripts only work with your .lds files inside the decode folder unless ld-lds-converter/FFmpeg path is fully defined, making it no longer portable.
Note
There is also Compression Scripts for CX Card captures
Windows builds are fully working for ld-decode, vhs-decode, cvbs-decode, hifi-decode. Alongside ld-tools and tbc-video-export.
The workflow is the same as the native Linux experience with standard RAW or FLAC compressed RF data files, tbc file reading viewing and metadata exporting, and encoding and export to video files is a fluid "copy-paste" experience today for basic use.
Analogue playback (CVBS/S-Video) for TBC files is also somewhat supported via FL2K USB 3.0 adapters as the software also is built for Windows.
RTLSDR Decode is also fully supported as GNU-Radio has universal platform support.
CVBS & S-Video RAW capture can be provided via the MISRC.
Warning
The DomesDay Duplicator can have sample drop issues on Windows, this has not been observed on MacOS or Linux builds however.
Note
The DomesDayDuplicator (Rev 3) does not work for CVBS capture.
Note
The use of Linux via Live USB or dedicated secondary install on a SSD is recommended for capture however decoding/compressing/export can be done all windows side without issue today.
Manual Install Docs
Install Python then run inside a windows terminal:
py -m pip install vhs-decode[hifi-gui]
Windows_Terminal_pypy_Install.mp4

Install Git: https://gitforwindows.org/
Install Python for windows : https://www.python.org/downloads/windows/ (Note that due to the numba dependency which takes some time to support new major python releases you can not always use the latest major release, though currently the latest released is supported.)
Install the version of Microsoft Visual Studio that corresponds to the version of python (using the wrong version will cause linker failures when building cython modules.) For Python 3.11 and 3.12 that is Visual Studio 17.x meaning the latest release will work.
[!NOTE]
Not needed now but noted here as they can be installed as part of MSVC
CMake (Can be installed bundled as part of recent versions of MSVC): https://cmake.org/
vcpkg (Can be installed bundled as part of recent versions of MSVC): https://vcpkg.io/en/
Launch the git gui, chose https://github.com/oyvindln/vhs-decode.git as source and your preferred location to store the source code on your system as destination (note the source will be stored in the root of this folder) and click clone.
From the start menu, launch "x64 Native Tools Command prompt for VS 2022" (If you have multiple versions of Visual studio installed make sure you are launching the one from the tools you just installed) This will launch a command prompt.
Navigate to a folder to use as a working folder using the cd command (e.g cd d:\programming\).
Run py -m venv decode to create a virtual python environment to use, then run decode\Scripts\activate to activate it.
Now, navigate to the source folder you checked out earlier with cd. Once there, run pip install .[hifi_gui]. This should build and install vhs-decode into the virtual environment.
You only have to use the MSVC tools command prompt when building the package, otherwise you can simply open a normal powershell session and activate the python virtual environment with path\to\virtual\environment\Scripts\activate to be able to run vhs-decode/ld-decode etc as the MSVC tools promt is only needed for the C compiler for compiling the cython modules.
- For running the tools from the source directory and/or making pyinstaller packages
From the MSVC tools command prompt, with the virtual environment activated either go through the normal install, or run cd to the source directory and run pip install -r /requirements.txt and pip install setuptools cython to install the needed dependencies. Optionally also run pip install pyqt5 if you want to be able to use the gui part of hifi-decode. Then run
python setup.py build_ext --inplace in the source directory.
Install needed tools:
MS Visual Studio (Only C++): https://visualstudio.microsoft.com/
CMake (Can be installed bundled as part of recent versions of MSVC): https://cmake.org/
vcpkg (Can be installed bundled as part of recent versions of MSVC): https://vcpkg.io/en/
Navigate to the vhs-decode source folder and open a powershell session.
Replace the paths in the command in the next line with corrects paths for your system If you installed vcpkg via visual studio the first one is likely correct if you used the default install location, if not you have to modify it. If you did not install vcpkg via visual studio there may be some extra steps to set it up.
The second path has to be a short one used as a temporary folder, it is due to a bug that may or may not still be present and may or may not still be needed, see https://github.com/microsoft/vcpkg/issues/30446
cmake -B build -S . -DBUILD_PYTHON=OFF -DCMAKE_TOOLCHAIN_FILE="c:/Program Files/Microsoft Visual Studio/2022/Community/VC/vcpkg/scripts/buildsystems/vcpkg.cmake" -DVCPKG_INSTALL_OPTIONS="--x-buildtrees-root=D:\vcpkg_vs"
Now run the command, if the paths were set up correctly, this will set up cmake and start downloading and building dependencies via vcpkg - this will take a very long time (many hours or even more on a slow system) as it involves buiding parts of Qt.
Once finished, navigate into the build directory with cd build and run:
msbuild /nologo -m .\ld-decode-tools.sln /property:Configuration=Release to compile the tools themselves.
MSVC will put some, but not all the needed .dll files together with the tools into the sub-directories where the .exe files end up, so you will have to manually copy some dll files and .dll plugins over from the
<vhs-decode-source>/build/vcpkg_installed/x64-windows/bin> directory to get them to run.
Qt Plugins will be under the <vhs-decode-source>/build/vcpkg_installed/x64-windows/Qt6> directory.
There may be some ways to automate this in the future.
- FAQ - Frequently Asked Questions
- Diagram Breakdowns
- Visual-Comparisons
- VCR Reports / RF Tap Examples
- Download & Contribute Data
- Speed Testing
- Visual VBI Data Guide
- Closed Captioning
- Teletext
- WSS Wide - Screen Signalling
- VITC Timecode
- VITS Signals
- XDS Data (PBS)
- Video ID IEC 61880
- Vapoursynth TBC Median Stacking Guide
- Ruxpin-Decode & TV Teddy Tapes
- Tony's GNU Radio For Dummies Guide
- Tony's GNU Radio Scripts
- DomesDay Duplicator Utilities
- ld-decode Utilities