Take a picture and Publish it via MQTT.
This project use ESP32 Camera Driver.
ESP32-CAM Development board.
Support for OV2640 camera.
If you use other camera, edit sdkconfig.default.
esp-idf v4.4 or later.
Use a USB-TTL converter.
| ESP-32 | USB-TTL |
|---|---|
| U0TXD | RXD |
| U0RXD | TXD |
| GPIO0 | GND |
| 5V | 5V |
| GND | GND |
git clone https://github.com/nopnop2002/esp-idf-mqtt-camera
cd esp-idf-mqtt-camera
git clone https://github.com/espressif/esp32-camera components/esp32-camera
idf.py set-target esp32
idf.py menuconfig
idf.py flash monitor
Change GPIO0 to open and press the RESET button.
Set the following items using menuconfig.
Large frame sizes take longer to take a picture.
You can choose one of the following shutter methods
- Shutter is the Enter key on the keyboard
For operation check
-
Shutter is a GPIO toggle
-
Initial Sate is PULLDOWN
The shutter is prepared when it is turned from OFF to ON, and a picture is taken when it is turned from ON to OFF. -
Initial Sate is PULLUP
The shutter is prepared when it is turned from ON to OFF, and a picture is taken when it is turned from OFF to ON.
-
I confirmed that the following GPIO can be used.
| GPIO | PullDown | PullUp |
|---|---|---|
| GPIO12 | OK | NG |
| GPIO13 | OK | OK |
| GPIO14 | OK | OK |
| GPIO15 | OK | OK |
| GPIO16 | NG | NG |
- Shutter is MQTT Publish
You can use pub.py.
Please change the following according to your environment.
# MQTT Broker
host = 'broker.emqx.io'
# MQTT Port
port = 1883
# MQTT Publish Topic
topic = '/topic/picture/sub'
ESP32-CAM by AI-Thinker have flash light on GPIO4.
You can use saveFile.py.
Please change the following according to your environment.
# MQTT Broker
host = 'broker.emqx.io'
# MQTT Subscribe Topic
topic = 'image/#'
# Save File
saveFile = './output.jpg'
You can use saveFile.js.
Please change the following according to your environment.
// MQTT Broker
host = 'mqtt://broker.emqx.io'
// MQTT Subscribe Topic
topic = 'image/#';
// Save File
saveFile = './output.jpg'
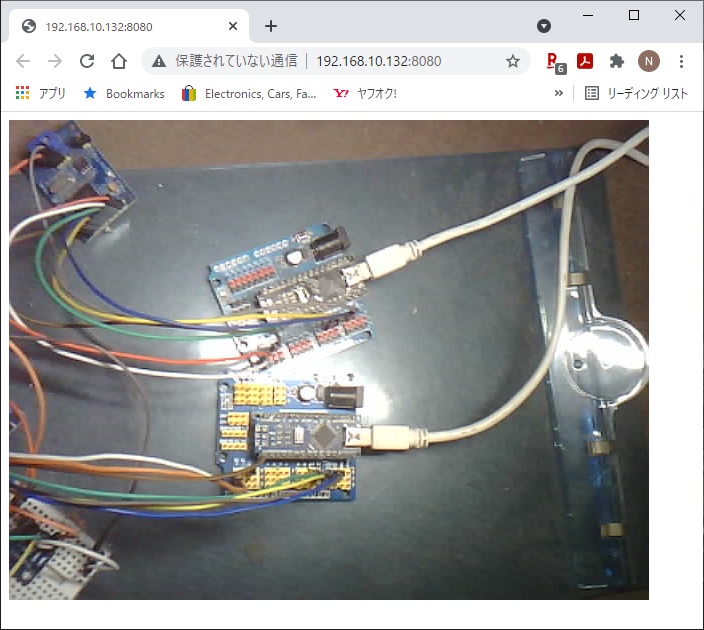
You can check the photos taken using the built-in WEB server.
Enter the ESP32's IP address and port number in the address bar of your browser.
Example code in various languages.
https://github.com/emqx/MQTT-Client-Examples
https://github.com/nopnop2002/esp-idf-mqtt-broker
https://github.com/nopnop2002/esp-idf-mqtt-image-viewer


