Take a picture and Publish it via MQTT.
This project use this Camera Driver.


ESP32 development board with OV2640 camera.
If you use other camera, edit sdkconfig.default.
From the left:
- Aithinker ESP32-CAM
- Freenove ESP32-WROVER CAM
- UICPAL ESPS3 CAM
- Freenove ESP32S3-WROVER CAM (Clone)

ESP-IDF V5.0 or later.
ESP-IDF V4.4 release branch reached EOL in July 2024.
For AiThinker ESP32-CAM, You have to use a USB-TTL converter.
| ESP-32 | USB-TTL |
|---|---|
| U0TXD | RXD |
| U0RXD | TXD |
| GPIO0 | GND |
| 5V | 5V |
| GND | GND |
git clone https://github.com/nopnop2002/esp-idf-mqtt-camera
cd esp-idf-mqtt-camera
idf.py set-target {esp32/esp32s3}
idf.py menuconfig
idf.py flash monitor
For AiThinker ESP32-CAM, Change GPIO0 to open and press the RESET button.
Set the following items using menuconfig.


You can connect using the mDNS hostname instead of the IP address.

You can use static IP.

MQTT broker is specified by one of the following.
- IP address
192.168.10.20 - mDNS host name
mqtt-broker.local - Fully Qualified Domain Name
broker.emqx.io
jpeg files are sent as multiple messages.
When using a public broker like broker.emqx.io, some messages may be missing.
You can download the MQTT broker from here.


Large frame sizes take longer to take a picture.


You can choose one of the following shutter methods
-
Shutter is the Enter key on the keyboard
For operation check.
When using the USB port provided by the USB Serial/JTAG Controller Console, you need to enable the following line in sdkconfig.CONFIG_ESP_CONSOLE_USB_SERIAL_JTAG=y
-
Shutter is a GPIO toggle
-
Initial Sate is PULLDOWN
The shutter is prepared when it is turned from OFF to ON, and a picture is taken when it is turned from ON to OFF. -
Initial Sate is PULLUP
The shutter is prepared when it is turned from ON to OFF, and a picture is taken when it is turned from OFF to ON.
I confirmed that the following GPIO can be used.
GPIO PullDown PullUp GPIO12 OK NG GPIO13 OK OK GPIO14 OK OK GPIO15 OK OK GPIO16 NG NG 
-
-
Shutter is TCP Socket
ESP32 acts as a TCP server and listens for requests from TCP clients.
You can use tcp_send.py as shutter.
python3 ./tcp_send.py
-
Shutter is UDP Socket
ESP32 acts as a UDP listener and listens for requests from UDP clients.
You can use this command as shutter.
echo -n "take" | socat - UDP-DATAGRAM:255.255.255.255:49876,broadcast
You can use udp_send.py as shutter.
Requires netifaces.
python3 ./udp_send.py

You can use these devices as shutters.

Click here for details. -
Shutter is MQTT Publish
ESP32 acts as an MQTT subscriber and listens to requests from MQTT publishes.
You can use mosquitto_pub as shutter.mosquitto_pub -h your_broker -p 1883 -t "/take/picture" -m ""
ESP32-CAM by AI-Thinker have flash light on GPIO4.

When using ESP32S3, you need to set the PSRAM type according to the hardware.
ESP32S3-WROVER CAM has Octal Mode PSRAM.
UICPAL ESPS3 CAM has Quad Mode PSRAM.

You can use subscribe.py as image viewer.
python3 -m pip install -U wheel
python3 -m pip install 'paho-mqtt>=1.0.0,<2.0.0'
python3 -m pip install opencv-python

python3 ./subscribe.py --help
usage: subscribe.py [-h] [--host HOST] [--port PORT] [--topic TOPIC] [--output OUTPUT]

options:
  -h, --help       show this help message and exit
  --host HOST      mqtt broker
  --port PORT      mqtt port
  --topic TOPIC    mqtt topic
  --output OUTPUT  output file name
Close the image window with the ESC key.

You can use saveFile.js to save pictures.
npm install mqtt
npm saveFile.js
Read this.
Read this.
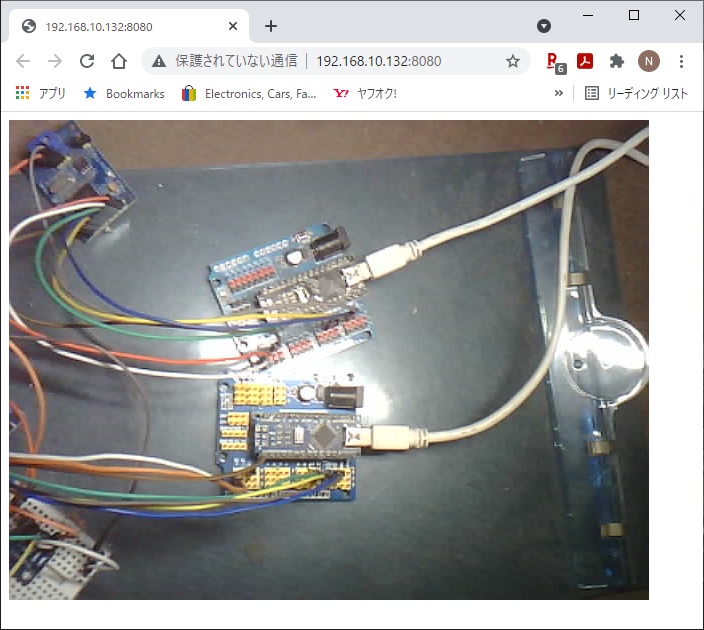
ESP32 works as a web server.
You can check the photos taken using the built-in WEB server.
Enter the ESP32's IP address and port number in the address bar of your browser.
You can connect using mDNS hostname instead of IP address.
Example code in various languages.
https://github.com/emqx/MQTT-Client-Examples
https://github.com/nopnop2002/esp-idf-mqtt-broker
https://github.com/nopnop2002/esp-idf-mqtt-image-viewer
https://github.com/nopnop2002/esp-idf-mqtt-image-client