This repository has been archived by the owner on Dec 3, 2020. It is now read-only.
-
Notifications
You must be signed in to change notification settings - Fork 5
Developing
donghokang edited this page Nov 25, 2019
·
8 revisions
The following sections introduces how to develop RaiSimUnity on Linux (Ubuntu 18.04 LTS).
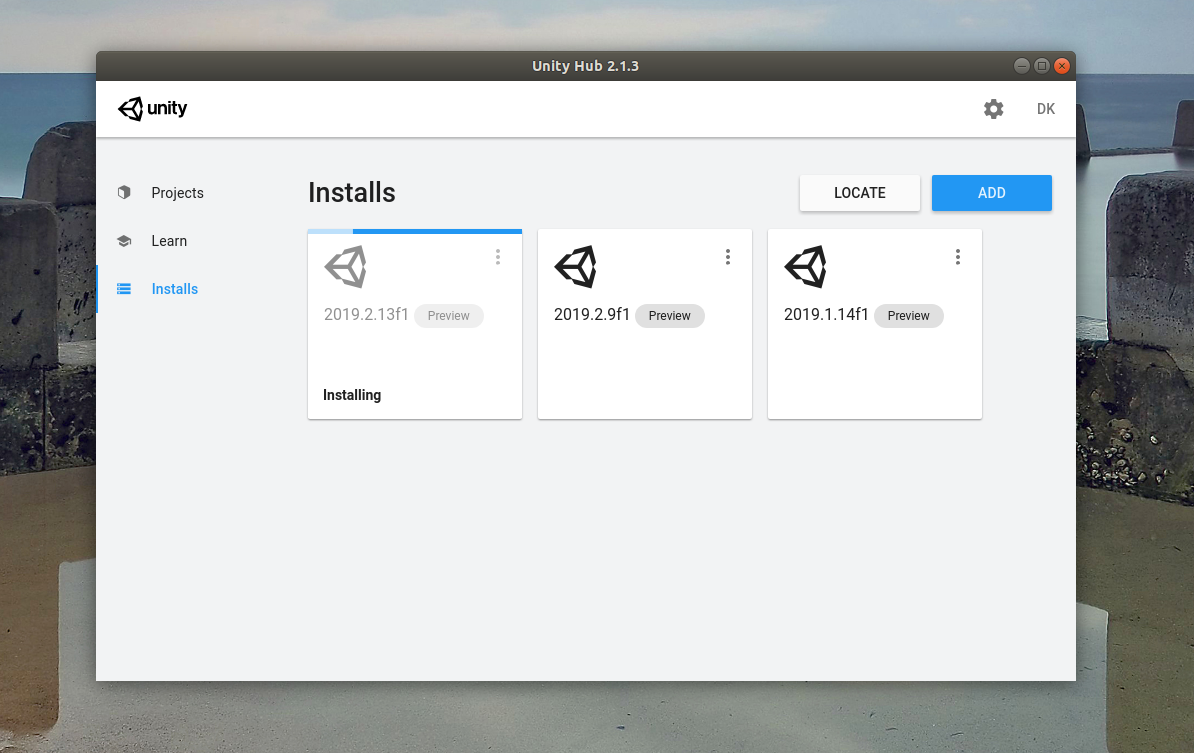
Unity Hub is a management tool for Unity Projects and installation. See this for more details about Unity Hub.
- Get Unity Hub. Unity Hub 2.0.0 for Linux is available on here
- Once you download Unity Hub, install appropriate version of Unity.
- RaiSimUnity is only tested in Unity 2019.2.9 and 2019.2.13 but develop RaiSimUnity with Unity >= 2019.2.13 would not be a big problem; please leave an Issue if there's compatibility problem.
- If you cannot find 2019.2.9 or 2019.2.13 from Unity Hub, go to download archive.

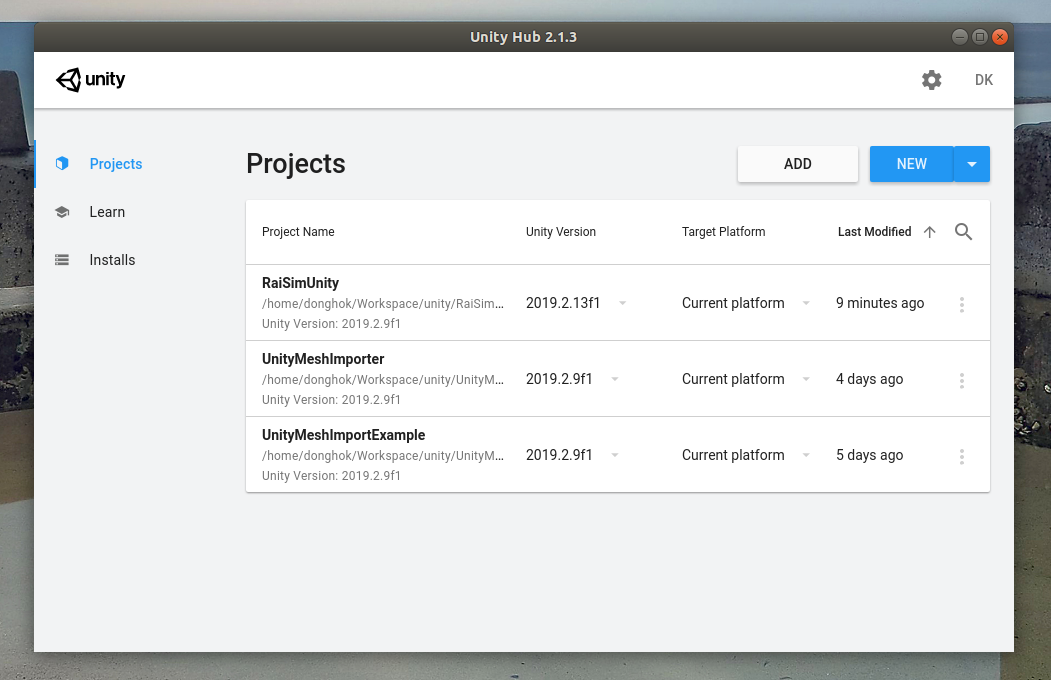
- Add RaiSimUnity project by adding a directory contains source code. (see this for getting source code)

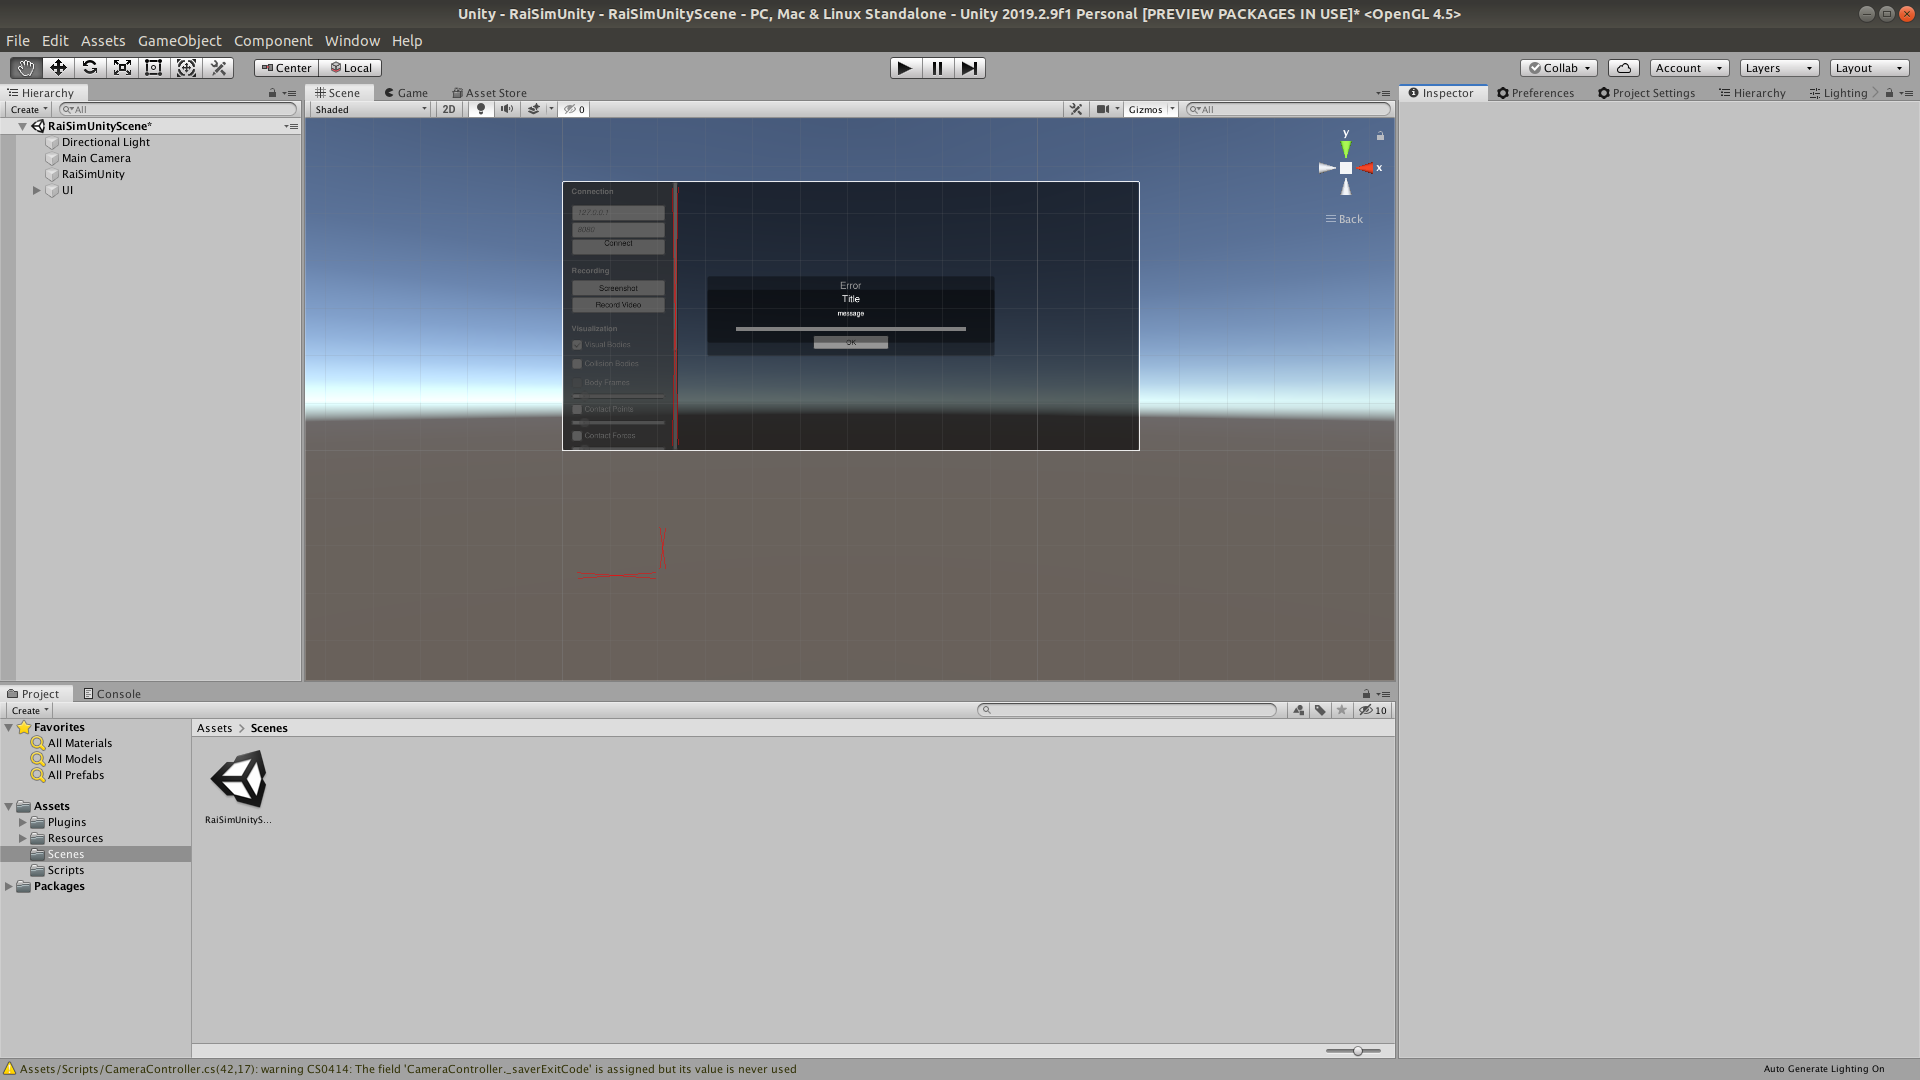
- Open RaiSimUnity project and open
Assets/Scenes/RaiSimUnityScene
Now you can develop and build RaiSimUnity project.
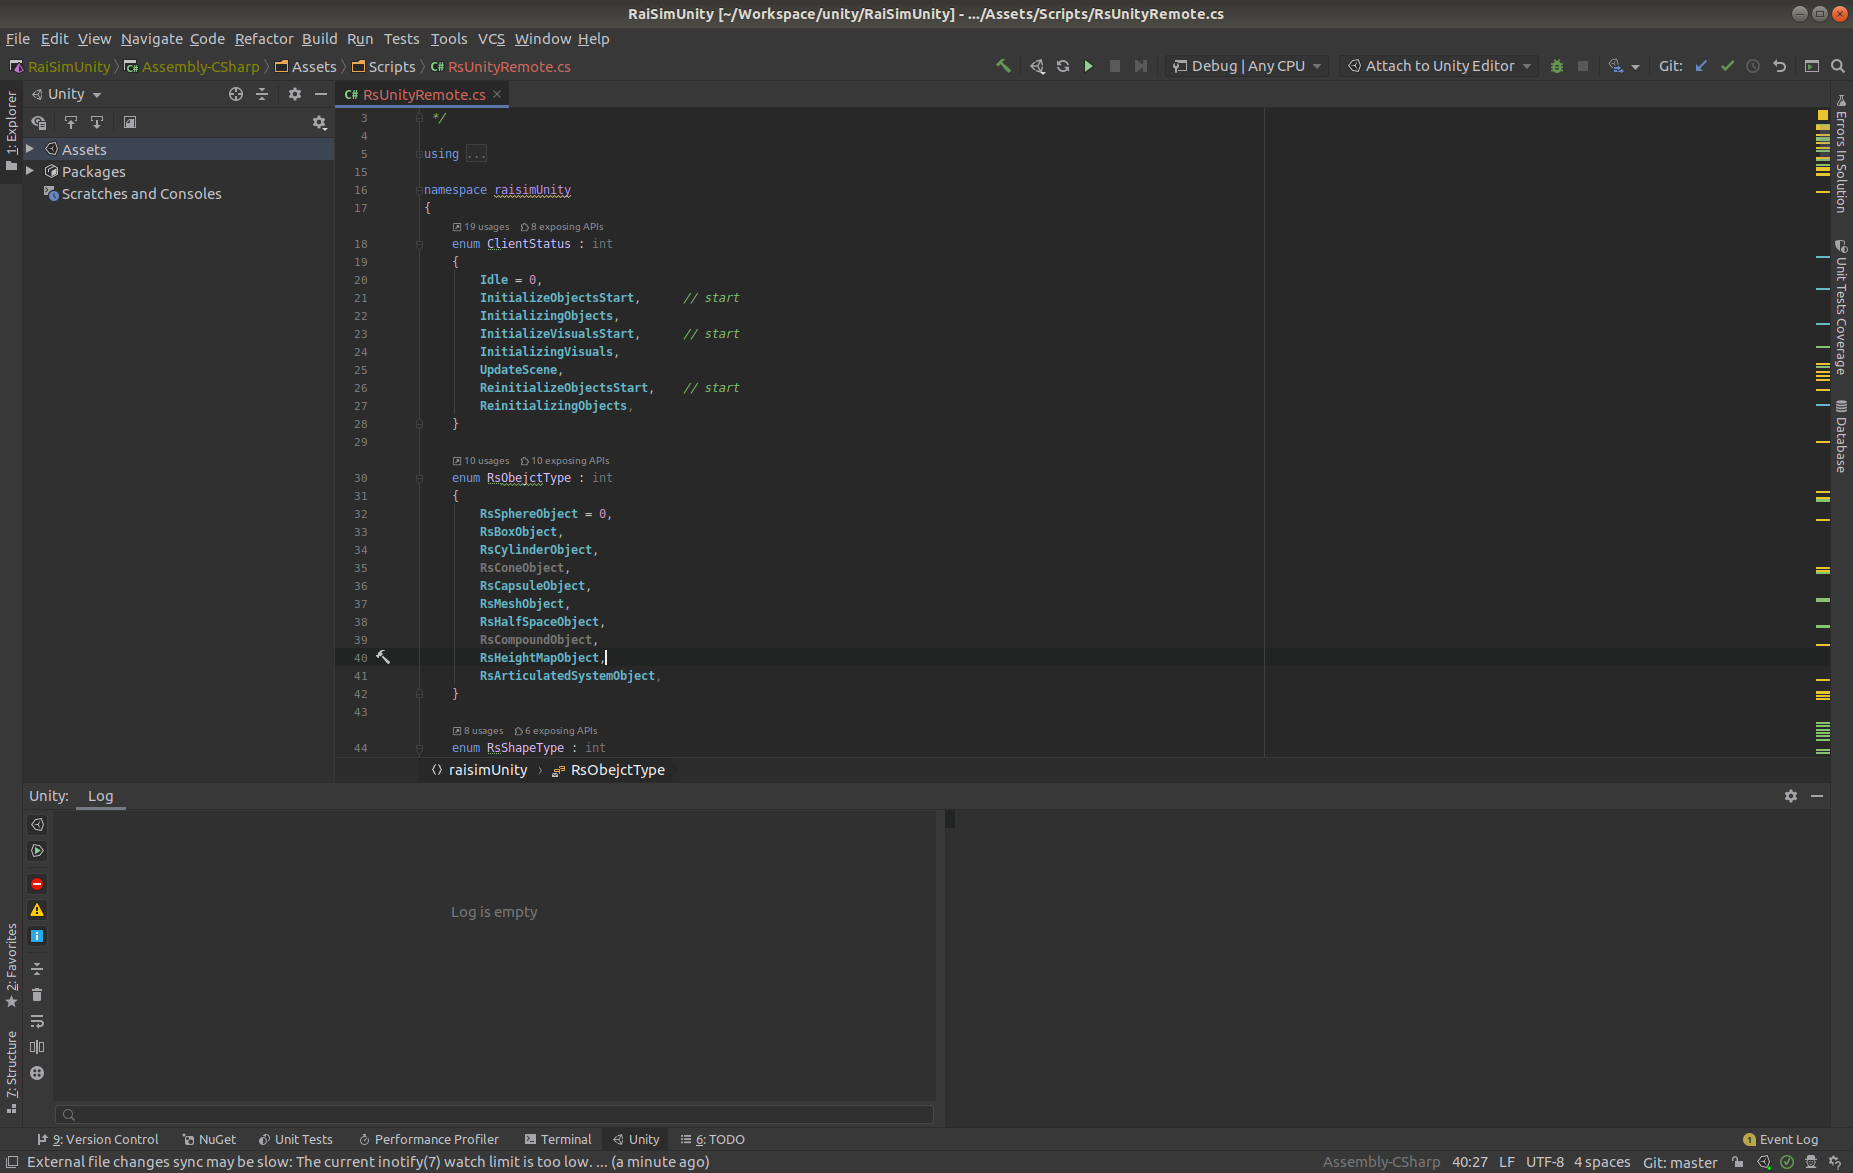
We strongly recommend to use JetBrains Rider IDE to edit and debug scripts.
- Open RaiSimUnity project from Unity Editor.
- Set your default editor to Rider on Edit > Preference > External Tools > External Script Editor
- See this
- You can now open your Unity script in Rider. Once you open C# script by double click in Unity Editor it will automatically redirect you to Rider.

- You can run, edit and debug your Unity project from Rider
- See this for more details.
- Run debug in Rider by pushing debug button.
- Start application by pushing start button in Rider.
- You can set breakpoints in Rider.
Copyright (c) 2019, Dongho Kang, Robotics Systems Lab, ETH Zurich.