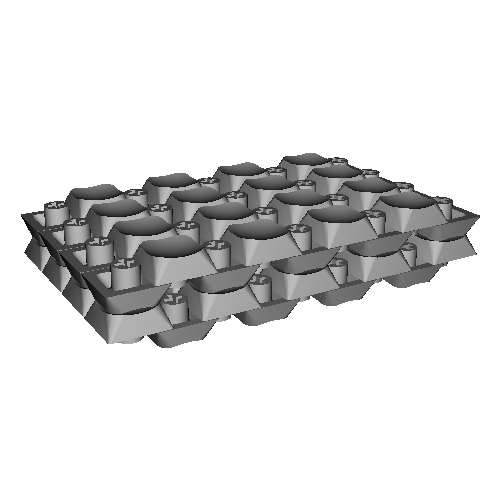
Pico Keyboard is designed for small hands.
It adopted the footprint for Kailh Mid-Height smaller than Cherry MX compatible switches.
Japanese Manual is here.
| Qty | Item | Notes |
|---|---|---|
| 2 | Pico PCBs | |
| 65 | 1N4148 diodes | SMD diodes can also be used |
| 2 | PJ-320A 4 poles 3.5 mm TRRS connectors | |
| 2 | 4.7 kΩ resistors | Need to be soldered on one half only |
| 2 | Through hole momentary switch | Dimensions 6mm x 6mm x 4.3mm |
| 2 | Arduino Pro Micro | ATMega32U4 |
| 1 | TRRS cable | |
| 1 | USB micro cable | |
| 2 | Cases | |
| 10 | Screws | M3 |
| 10 | Spacers | M3 |
| 8 | Washers | M3 thickness 0.8mm |
| 2 | Nuts | M3 thickness 2.4mm |
| 65 | Kailh Mid-Height | Brown, Red or Blue. |
| 65 | Kailh Mid-Height compatible keycaps | 65x 1u keycaps |
It is possible to assembly Pico Keyboard as 70 keys keyboard. In this case, you need 70 each 1N4148 diodes, switches, keycaps.
Pico rev1 Basic is on sale at BOOTH (NOT including switches and keycaps).
mulgrey created Kailh Mid-Height compatible keycaps! Thanks 🎉
Thease are in DMM.make Creator's market.
- Solder components on
Mounting Surfaceside:- Solder 1N4148 diodes. Keep the diode legs for the right hand controller installation.
- Solder PJ-320A connectors.
- Solder momentary switches.
- Solder 4.7 kΩ resistors on one half only.
- Solder the Pro Micro header pins (do not solder the Pro Micro controllers yet).
- Solder 1N4148 diodes. Keep the diode legs for the right hand controller installation.
- Install upper cases to PCBs.
- M3x10 screws → upper case → washers → PCB → spacers.
- M3x10 screws → upper case → washers → PCB → spacers.
- Fit switches to the upper cases and solder to the PCB.
- Solder Pro Micros to the header pins.
- Solder Pro Micro face down.
- Solder Pro Micro face down.
Pico keyboard uses QMK Firmware for its firmware.
Follow the QMK installation instructions here, then compile and burn the firmware as follows:
$ cd path/to/qmk_firmware
$ make pico/65keys:default:flash
※ If you burn a keymap for 70 keys, please see Burning keymap for 70 keys.
You need to burn the firmware both left hand and right hand.
Edit pico/config.h and activate MASTER_LEFT .
/* Select hand configuration */
#define MASTER_LEFT
// #define MASTER_RIGHT
// #define EE_HANDS
Save the file, then connect Pro Micro(left hand) and your PC by USB cable.
Compile and burn the firmware by running Basic compiling and burning command as follows:
$ cd path/to/qmk_firmware
$ make pico/65keys:default:flashEdit pico/config.h and activate MASTER_RIGHT .
/* Select hand configuration */
// #define MASTER_LEFT
#define MASTER_RIGHT
// #define EE_HANDS
Save the file, then connect Pro Micro(right hand) and your PC by USB cable.
Compile and burn the firmware by running Basic compiling and burning command.
Pull out the USB cable, then connect left hand and right hand by TRRS cable.
Plug in the Pro Micro (Master) the USB cable.
Replace from 65keys to 70keys , and do the above 1 to 3.
$ cd path/to/qmk_firmware
$ make pico/70keys:default:flash


