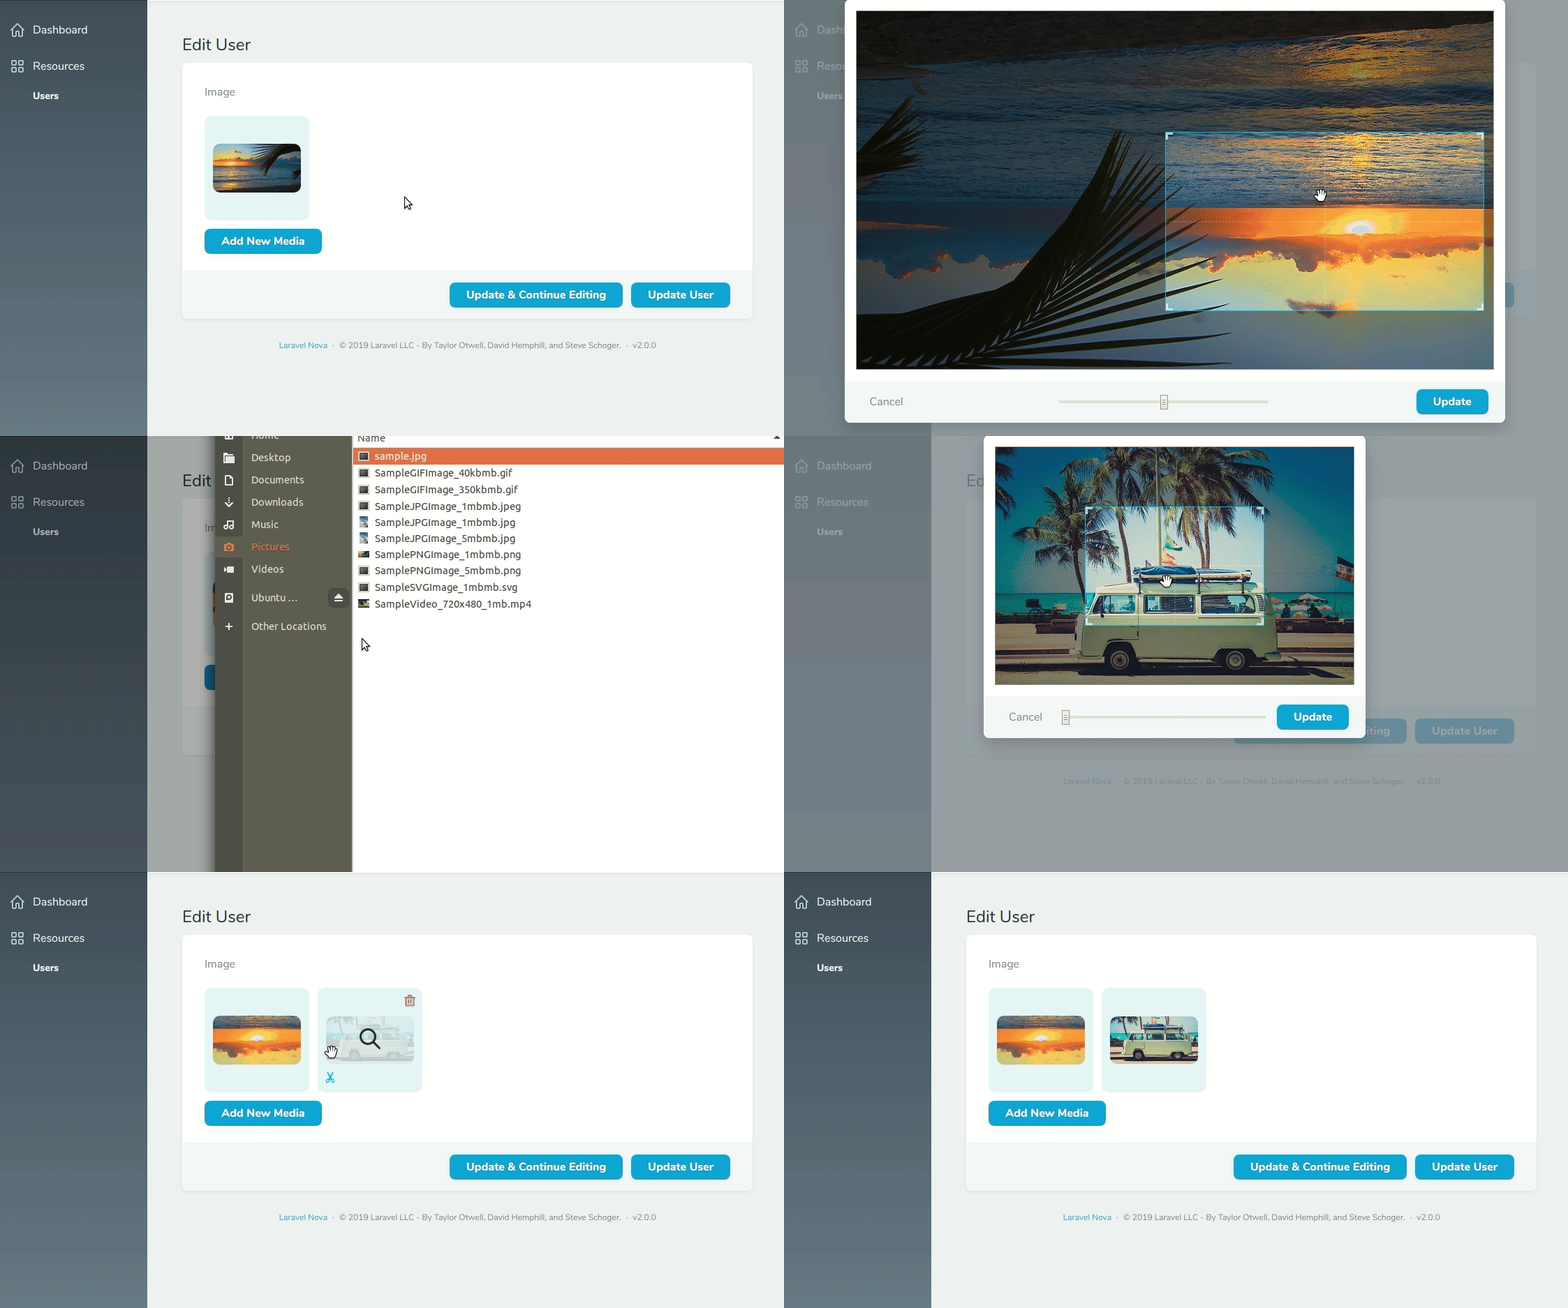
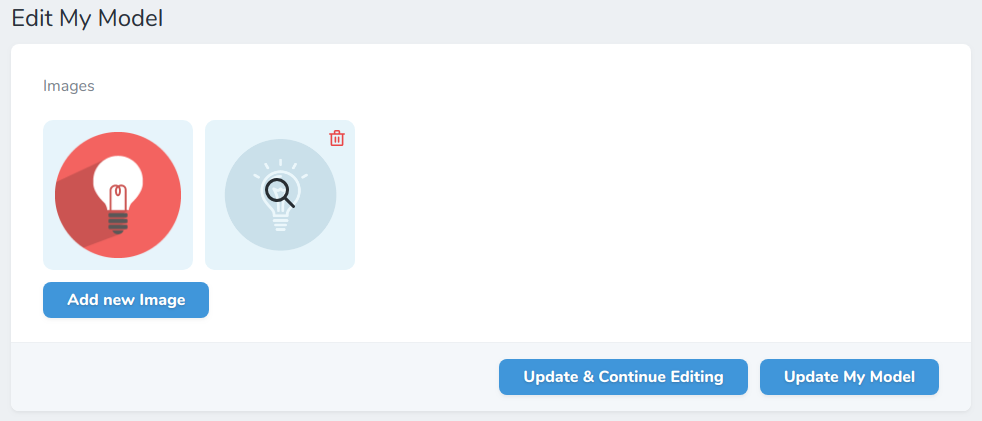
Manage images of spatie's media library package. Upload multiple images and order them by drag and drop.
- Examples
- Install
- Model media configuration
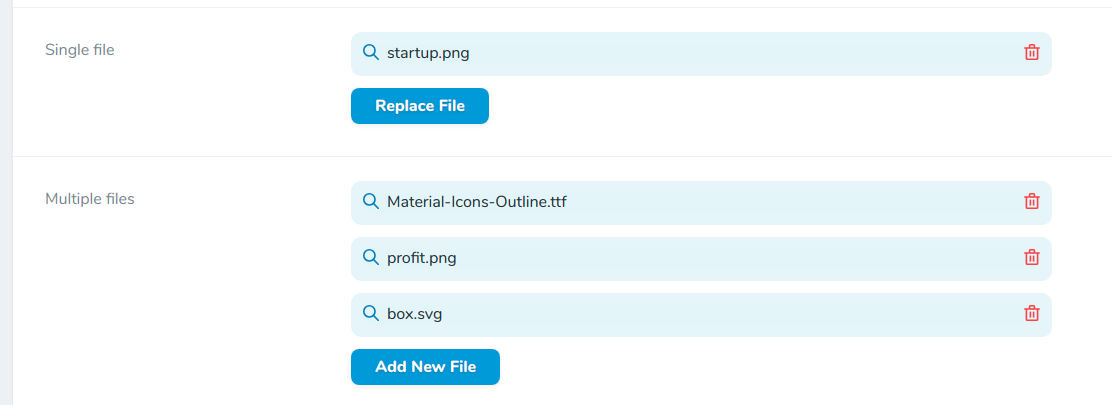
- Generic file management
- Single image upload
- Multiple image upload
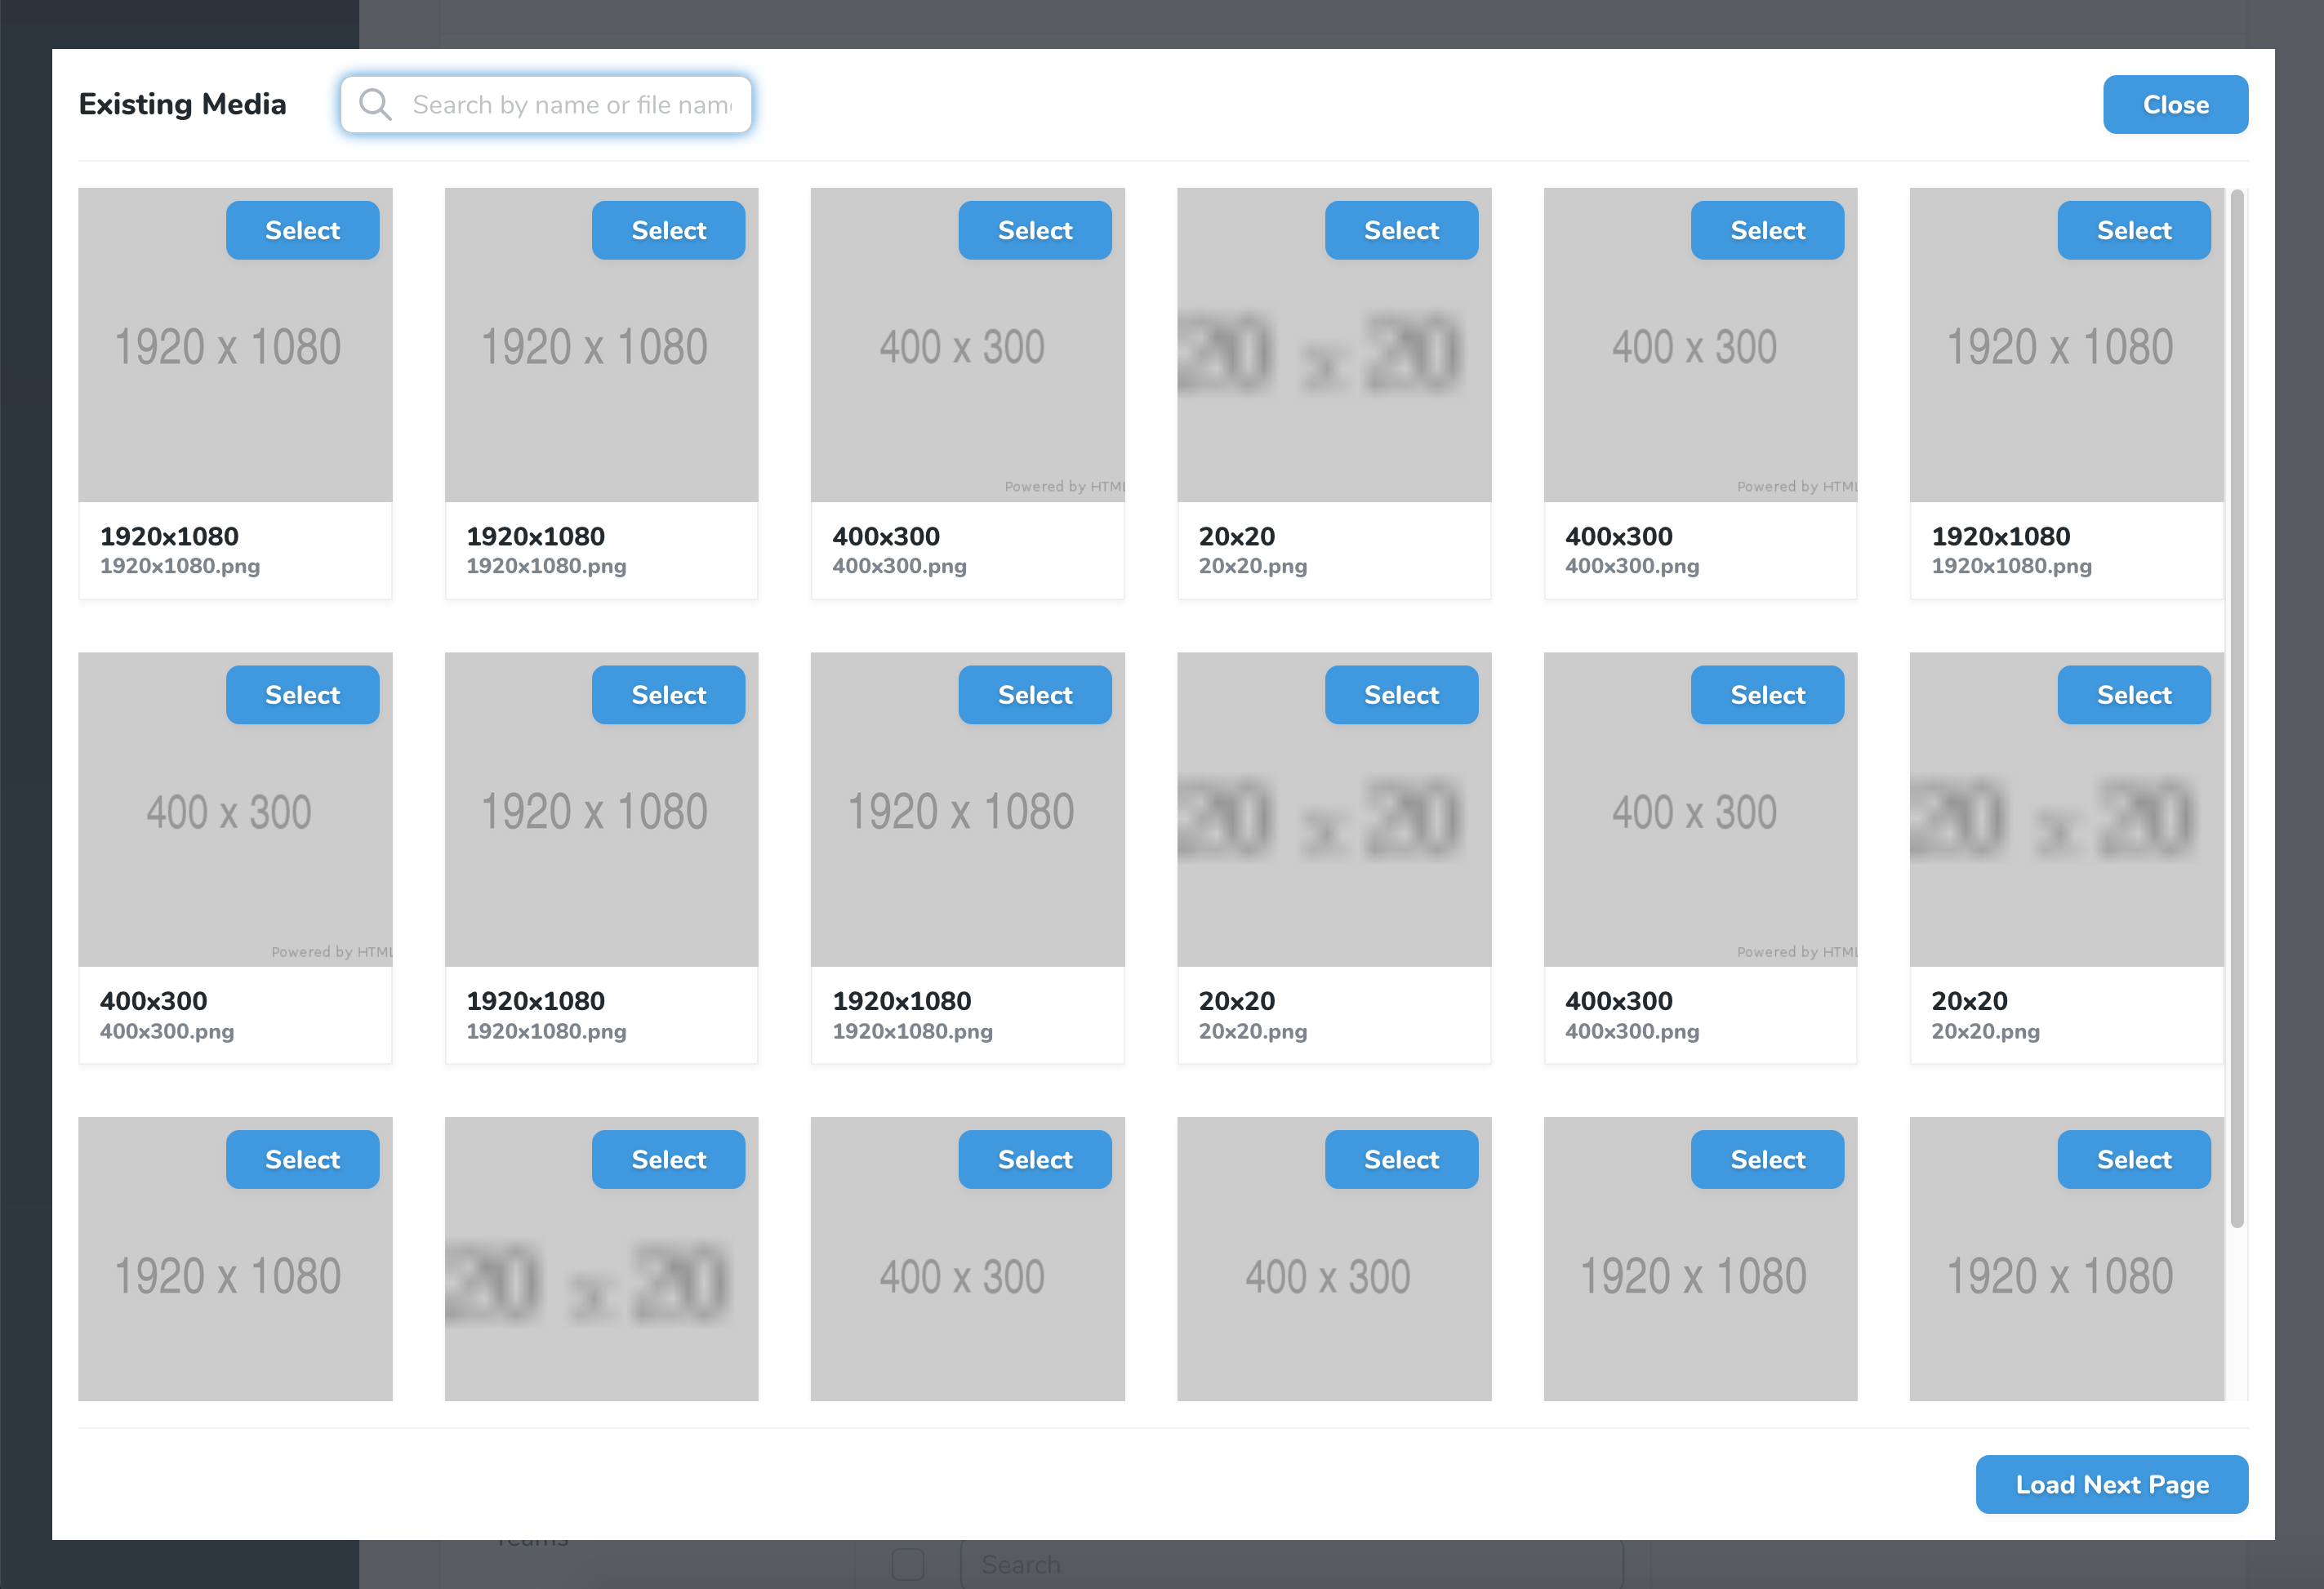
- Selecting existing media
- Names of uploaded images
- Image cropping
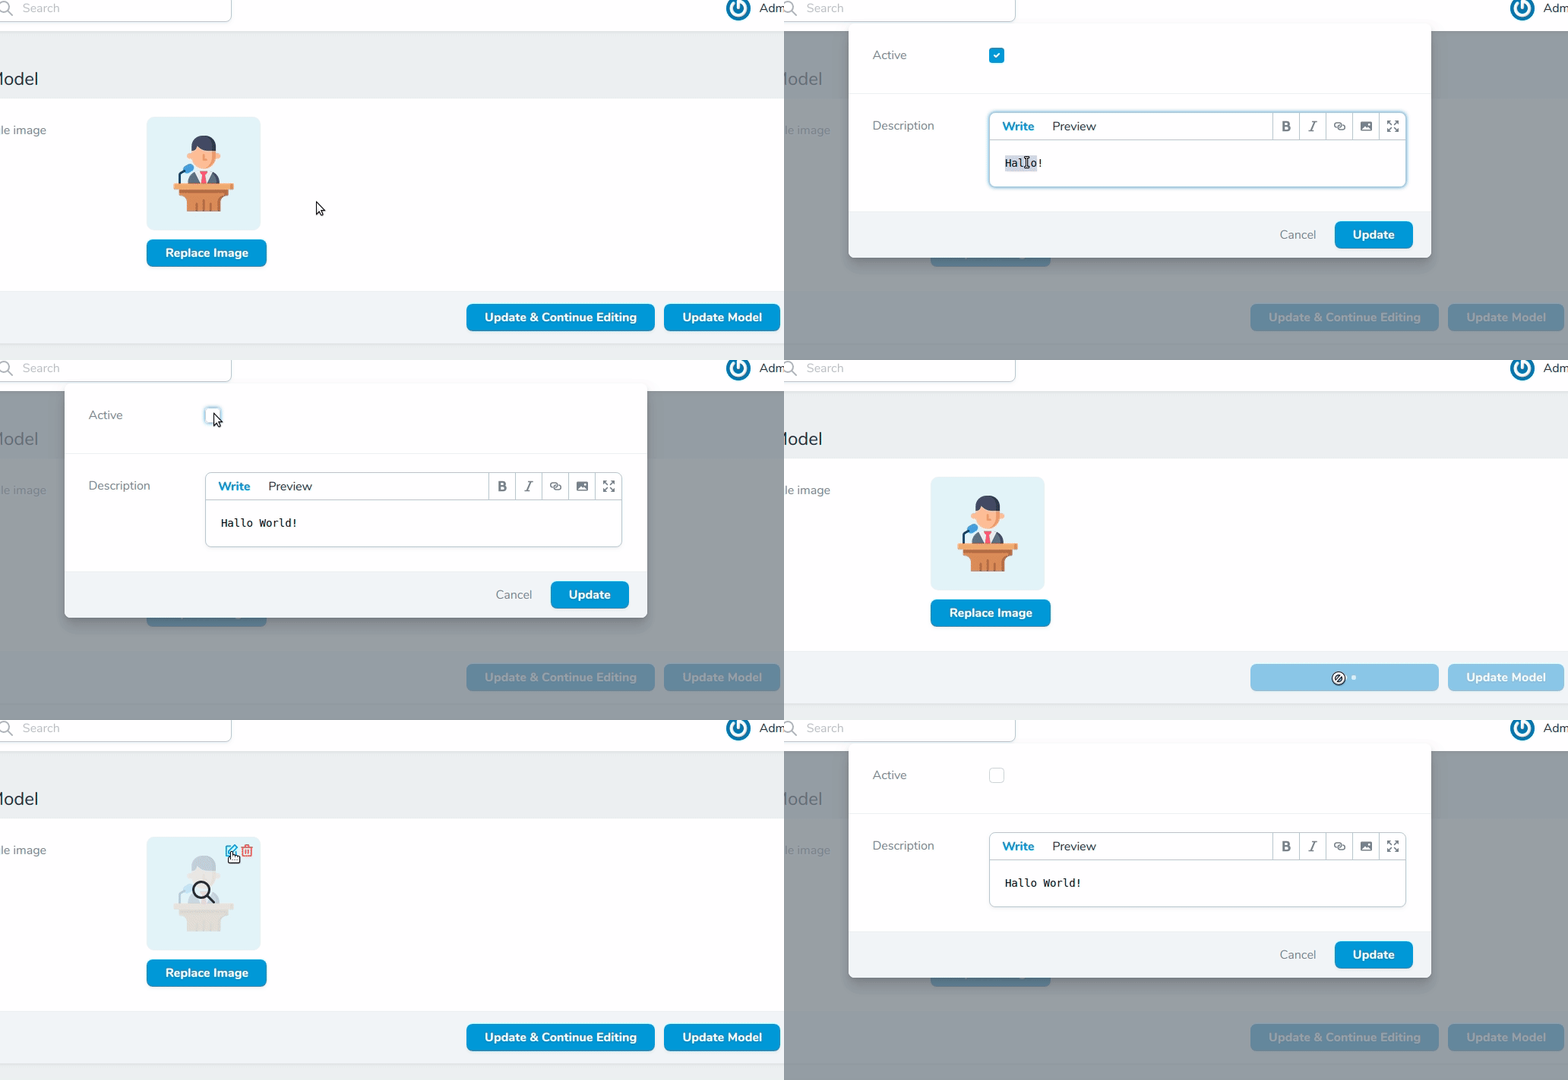
- Custom properties
- Custom headers
- Media Field (Video)
- Change log
composer require ebess/advanced-nova-media-libraryphp artisan vendor:publish --tag=nova-media-libraryLet's assume you configured your model to use the media library like following:
use Spatie\MediaLibrary\MediaCollections\Models\Media;

public function registerMediaConversions(Media $media = null): void
{
    $this->addMediaConversion('thumb')
        ->width(130)
        ->height(130);
}

public function registerMediaCollections(): void
{
    $this->addMediaCollection('main')->singleFile();
    $this->addMediaCollection('my_multi_collection');
}In order to be able to upload and handle generic files just go ahead and use the Files field.
use Ebess\AdvancedNovaMediaLibrary\Fields\Files;

Files::make('Single file', 'one_file'),
Files::make('Multiple files', 'multiple_files'),use Ebess\AdvancedNovaMediaLibrary\Fields\Images;
public function fields(Request $request)
{
return [
Images::make('Main image', 'main') // second parameter is the media collection name
->conversionOnIndexView('thumb') // conversion used to display the image
->rules('required'), // validation rules
];
}If you enable the multiple upload ability, you can order the images via drag & drop.
use Ebess\AdvancedNovaMediaLibrary\Fields\Images;

public function fields(Request $request)
{
    return [
        Images::make('Images', 'my_multi_collection') // second parameter is the media collection name
            ->conversionOnPreview('medium-size') // conversion used to display the "original" image
            ->conversionOnDetailView('thumb') // conversion used on the model's view
            ->conversionOnIndexView('thumb') // conversion used to display the image on the model's index page
            ->conversionOnForm('thumb') // conversion used to display the image on the model's form
            ->fullSize() // full size column
            ->rules('required', 'size:3') // validation rules for the collection of images
            // validation rules for the collection of images
            ->singleImageRules('dimensions:min_width=100'),
    ];
}If you upload the same media files to multiple models and you do not want to select it from the file system all over again, use this feature. Selecting an already existing media will copy it.
Attention: This feature will expose an endpoint to every user of your application to search existing media. If your media upload / custom properties on the media models are confidential, do not enable this feature!
- Publish the config files if you did not yet
artisan vendor:publish --tag=nova-media-library- Enable this feature in config file config/nova-media-library
return [
    'enable-existing-media' => true,
];- Enable the selection of existing media field
Images::make('Image')->enableExistingMedia(),Note: This feature does not support temporary URLs.
The default filename of the new uploaded file is the original filename. You can change this with the help of the function setFileName, which takes a callback function as the only param. This callback function has three params: $originalFilename (the original filename like Fotolia 4711.jpg), $extension (file extension like jpg), $model (the current model). Here are just 2 examples of what you can do:
// Set the filename to the MD5 Hash of original filename
Images::make('Image 1', 'img1')
    ->setFileName(function($originalFilename, $extension, $model){
        return md5($originalFilename) . '.' . $extension;
    });

// Set the filename to the model name
Images::make('Image 2', 'img2')
    ->setFileName(function($originalFilename, $extension, $model){
        return str_slug($model->name) . '.' . $extension;
    });
By default, the "name" field on the Media object is set to the original filename without the extension. To change this, you can use the setName function. Like setFileName above, it takes a callback function as the only param. This callback function has two params: $originalFilename and $model.
Images::make('Image 1', 'img1')
    ->setName(function($originalFilename, $model){
        return md5($originalFilename);
});If you want to use responsive image functionality from the Spatie MediaLibrary, you can use the withResponsiveImages() function on the model.
Images::make('Image 1', 'img1')
->withResponsiveImages();By default you are able to crop / rotate images by clicking the scissors in the left bottom corner on the edit view.
The vue-js-clipper is used for this purpose. The cropping feature is
limited to mime type of image/jpg, image/jpeg and image/png.
Important: By cropping an existing image the original media model is deleted and replaced by the cropped image. All custom properties are copied form the old to the new model.
To disable this feature use the croppable method:
Images::make('Gallery')->croppable(false);You can set all configurations like ratio e.g. as following:
Images::make('Gallery')->croppingConfigs(['aspectRatio' => 4/3]);Available cropping configuration, see https://github.com/timtnleeProject/vuejs-clipper#clipper-basic.
It is possible to enforce cropping on upload, for example to ensure the image has the set aspect ratio:
Images::make('Gallery')->mustCrop();By default, the cropping feature is enabled. To disable it by default for all images set default-croppable in config/nova-media-library.php to false:
return [
    'default-croppable' => false,
];Images::make('Gallery')
->customPropertiesFields([
Boolean::make('Active'),
Markdown::make('Description'),
]);
Files::make('Multiple files', 'multiple_files')
->customPropertiesFields([
Boolean::make('Active'),
Markdown::make('Description'),
]);
// custom properties without user input
Files::make('Multiple files', 'multiple_files')
->customProperties([
'foo' => auth()->user()->foo,
'bar' => $api->getNeededData(),
]);Images::make('Gallery')
->showStatistics();Images::make('Gallery')
->customHeaders([
'header-name' => 'header-value',
]);In order to handle videos with thumbnails you need to use the Media field instead of Images. This way you are able to upload videos as well.
use Ebess\AdvancedNovaMediaLibrary\Fields\Media;

class Category extends Resource
{
    public function fields(Request $request)
    {
        Media::make('Gallery') // media handles videos
            ->conversionOnIndexView('thumb')
            ->singleMediaRules('max:5000'); // max 5000kb
    }
}

// ..

class YourModel extends Model implements HasMedia
{
    public function registerMediaConversions(Media $media = null): void
    {
        $this->addMediaConversion('thumb')
            ->width(368)
            ->height(232)
            ->extractVideoFrameAtSecond(1);
    }
}If you are using Amazon S3 to store your media, you will need to use the temporary function on your field to generate
a temporary signed URL. This function expects a valid Carbon instance that will specify when the URL should expire.
Images::make('Image 1', 'img1')
    ->temporary(now()->addMinutes(5))

Files::make('Multiple files', 'multiple_files')
    ->temporary(now()->addMinutes(10),
Note: This feature does not work with the existing media feature.
- Fix ratio for cropping in Nova 4. Config from
Images::( ... )->croppingConfigs()are now passed along to thestencil-propsproperty of the cropper. See cropper docs for more details on available props.
- Fix details component
- Fix layout inconsistencies
- Upgrade to support Laravel Nova 4
- Breaks compatibility with Laravel Nova 1,2 and 3. For those nova versions use
v3.* - Replaced vuejs-clipper with vue-advanced-cropper for vue3 support
Full change log in PR #317
- You need to have Nova installed of course in your Laravel app
- Work directly in the package in the
vendordirectory (webpack needs Nova to be installed) - Then from the
vendor/xxx/advanced-nova-media-libraryfolder:- Use a least
nvm use 14 yarn installyarn run watch- Work hard 🤘
yarn npm productionwhen job is finished- Make a PR
- Use a least
