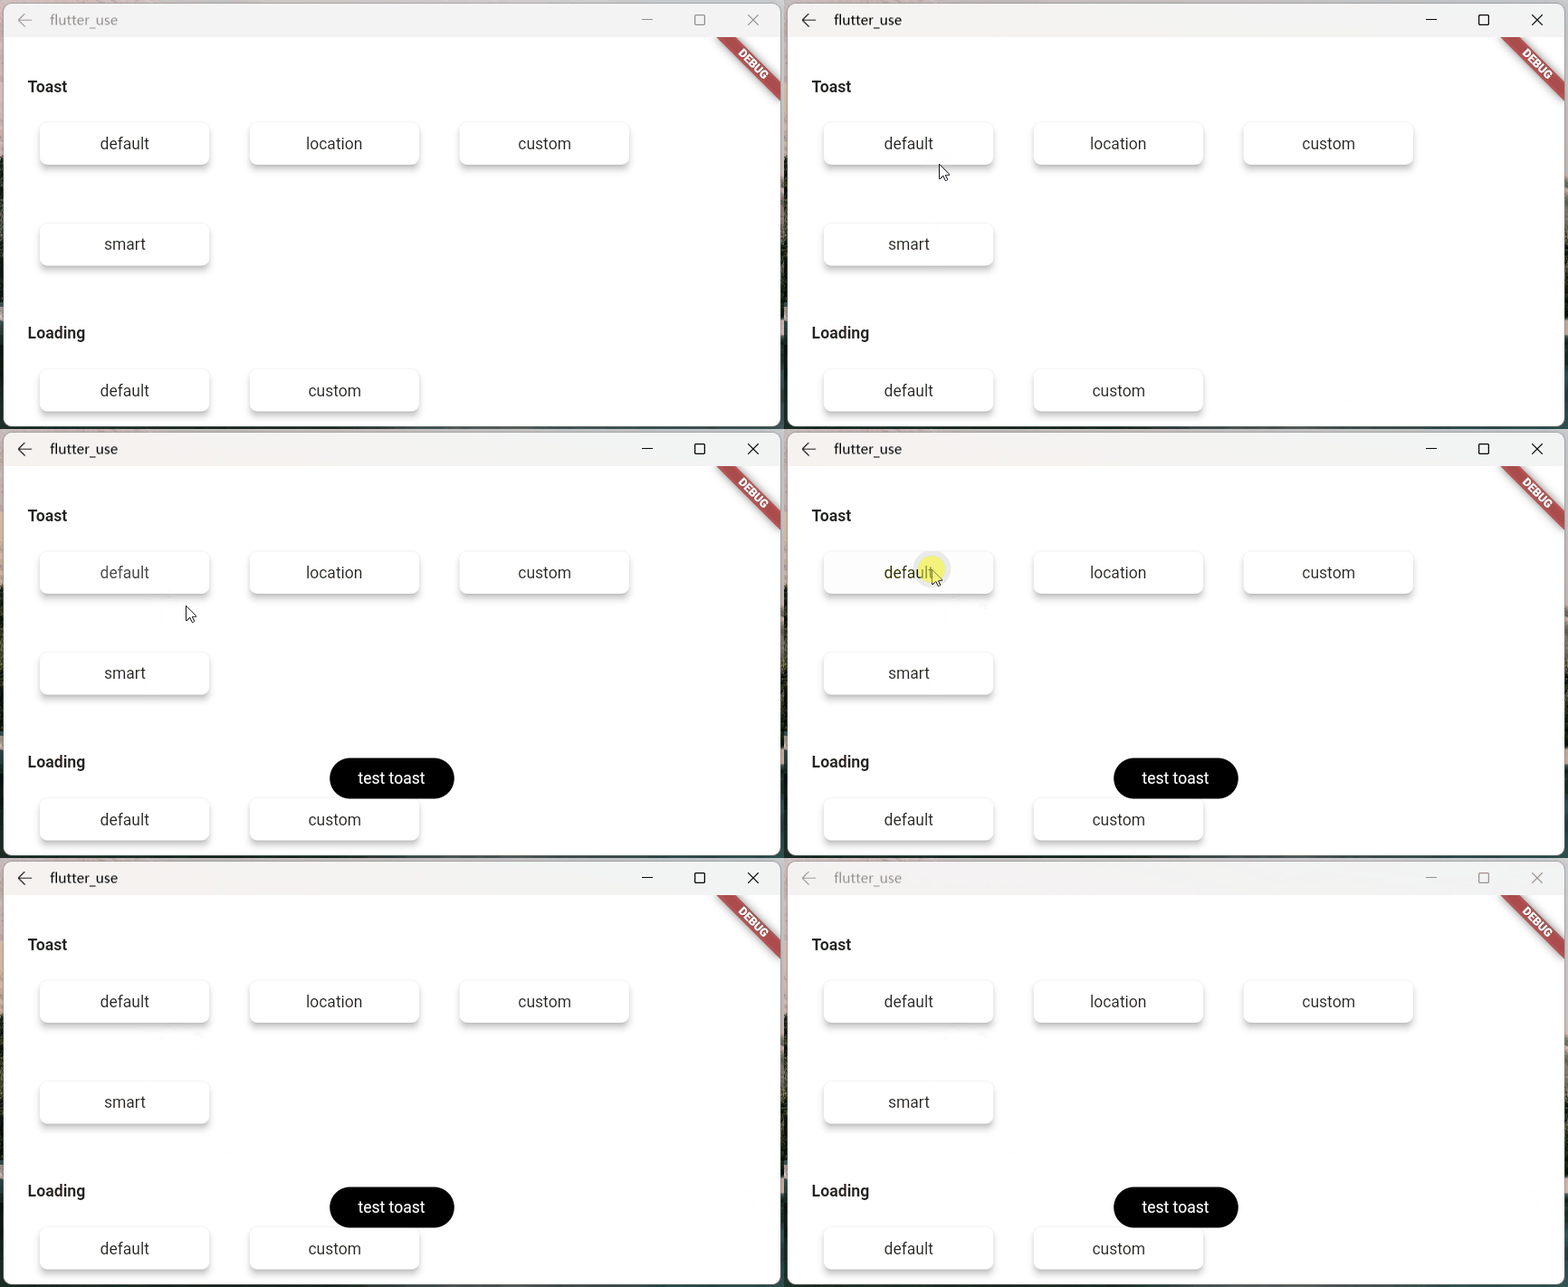
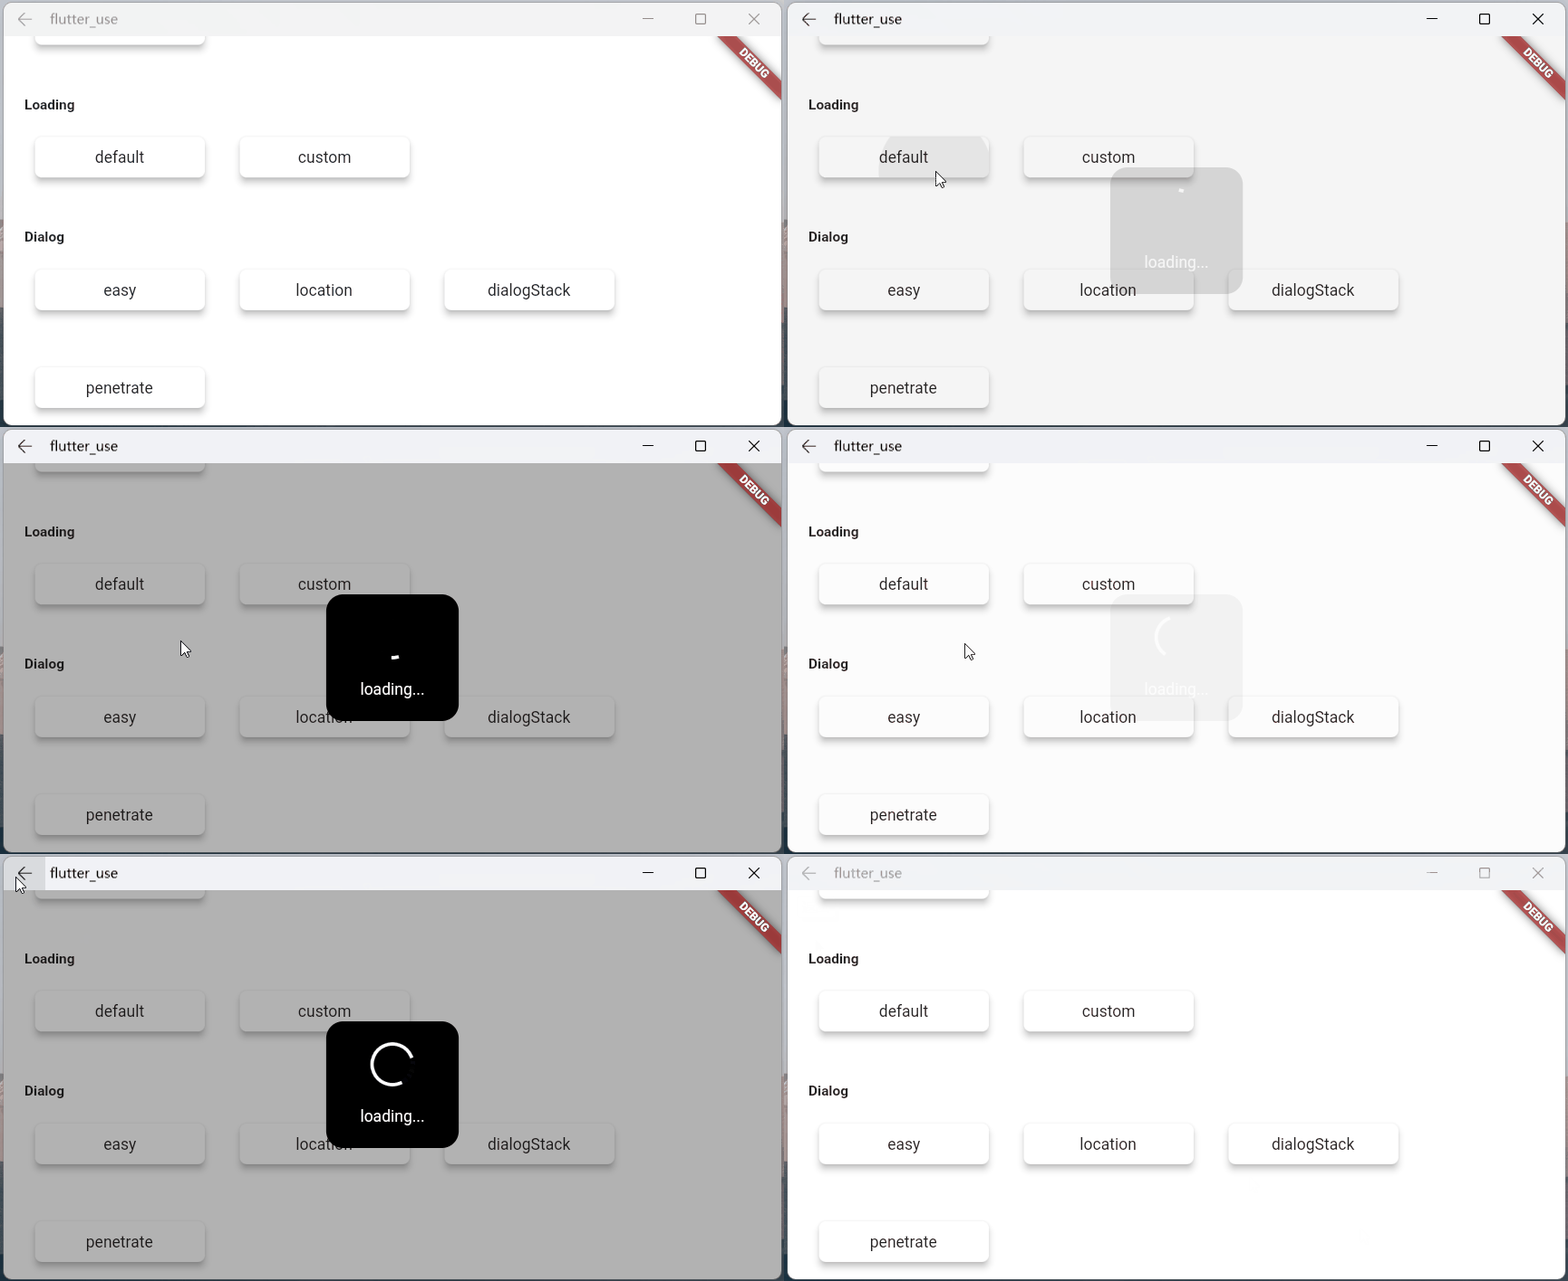
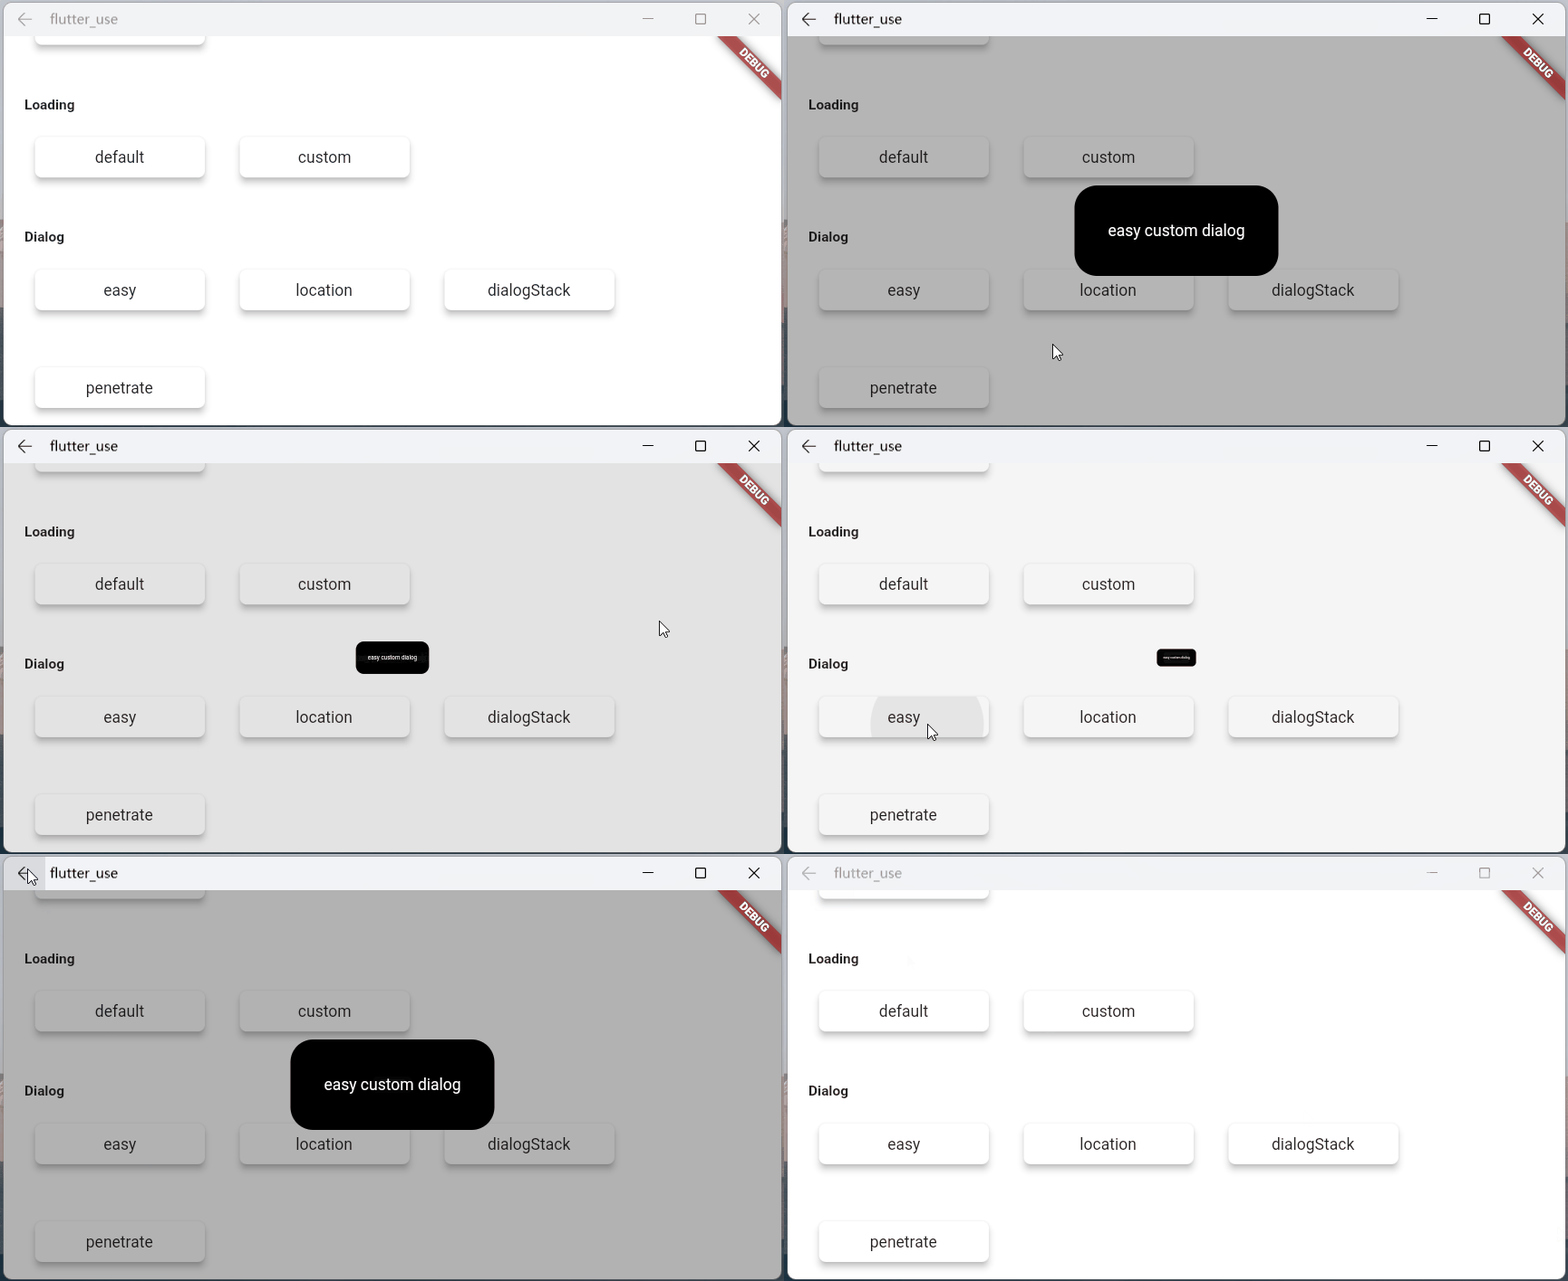
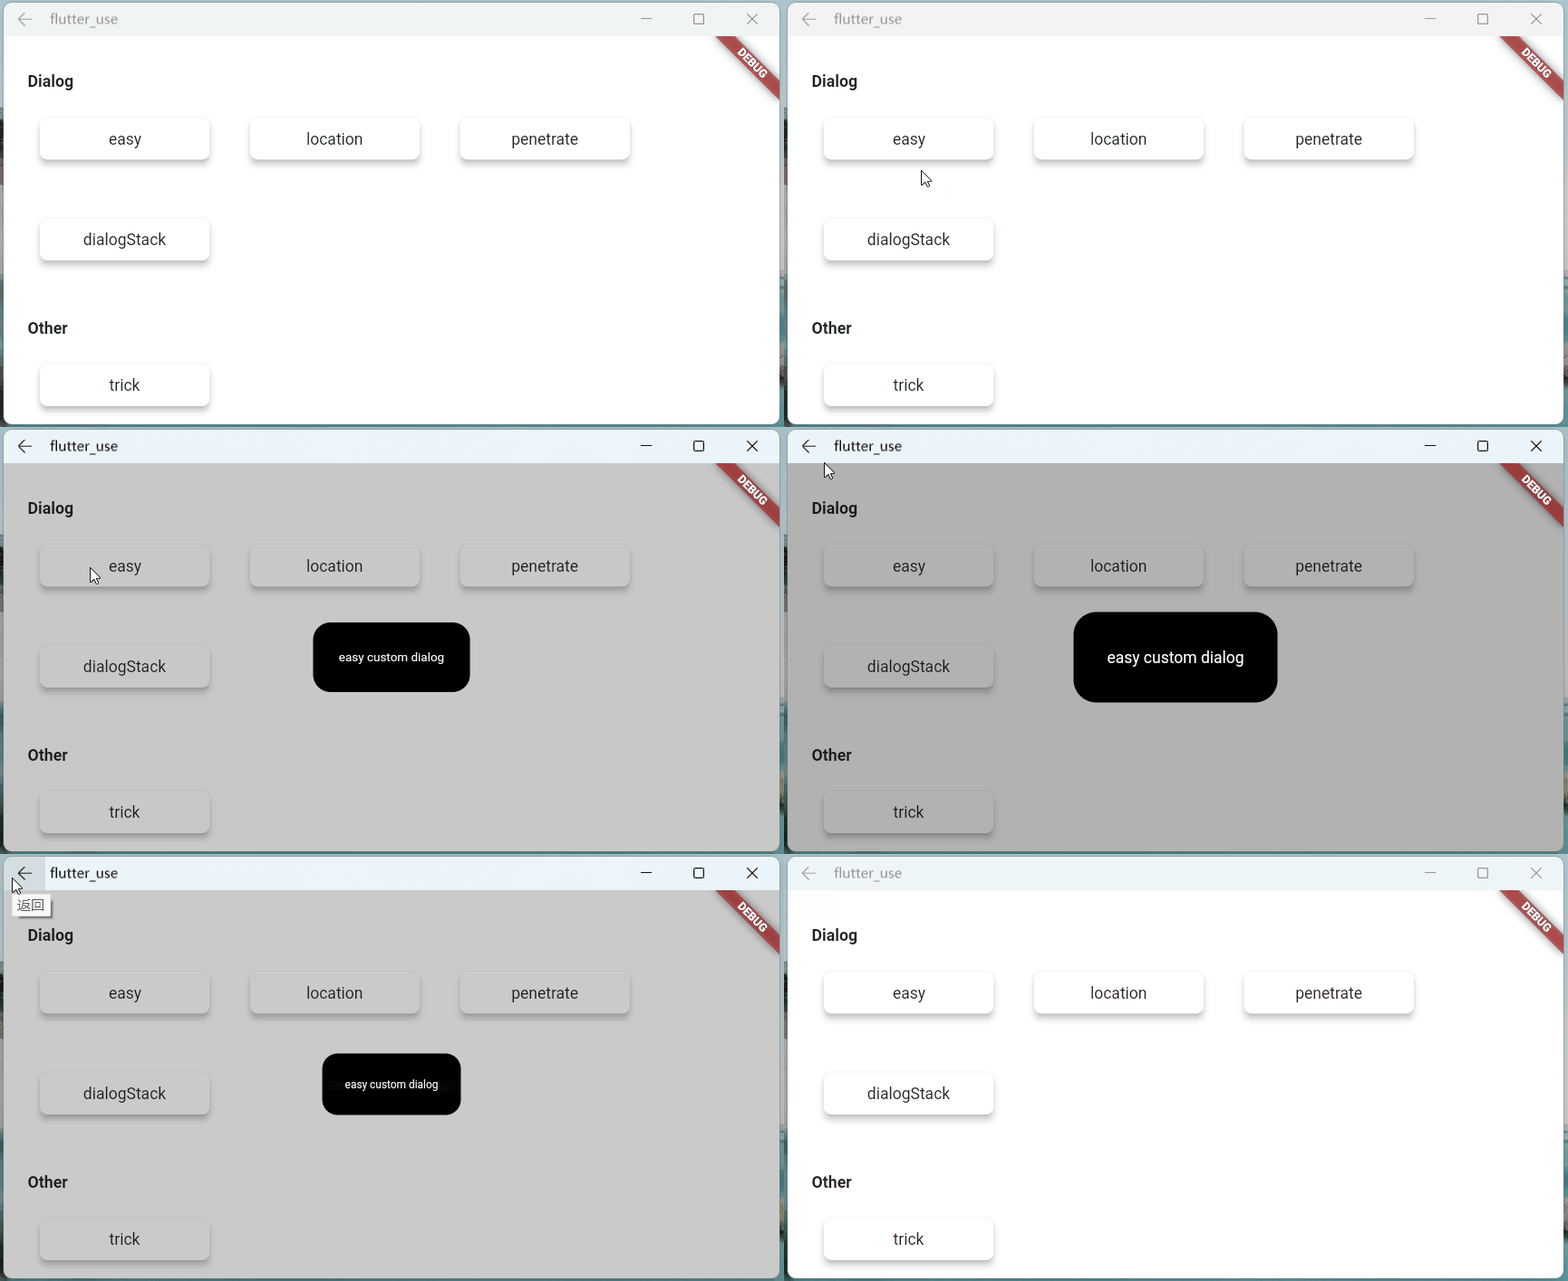
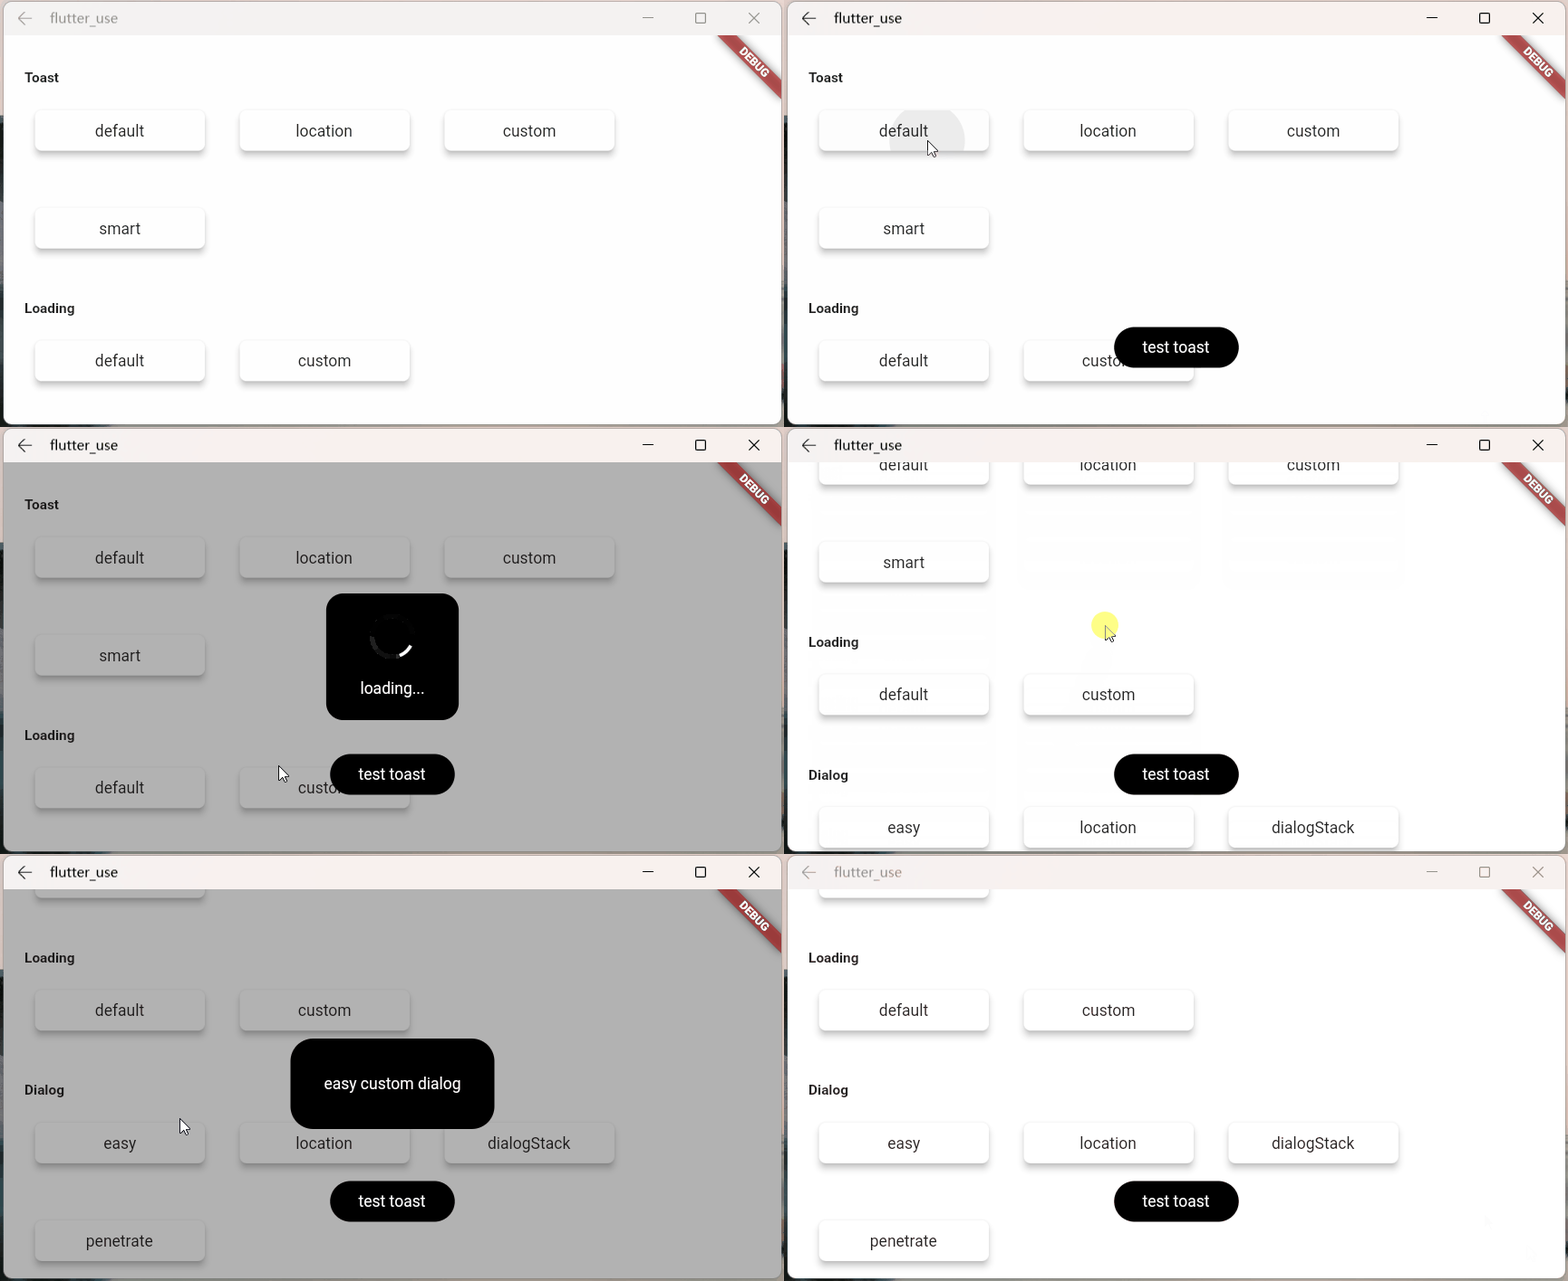
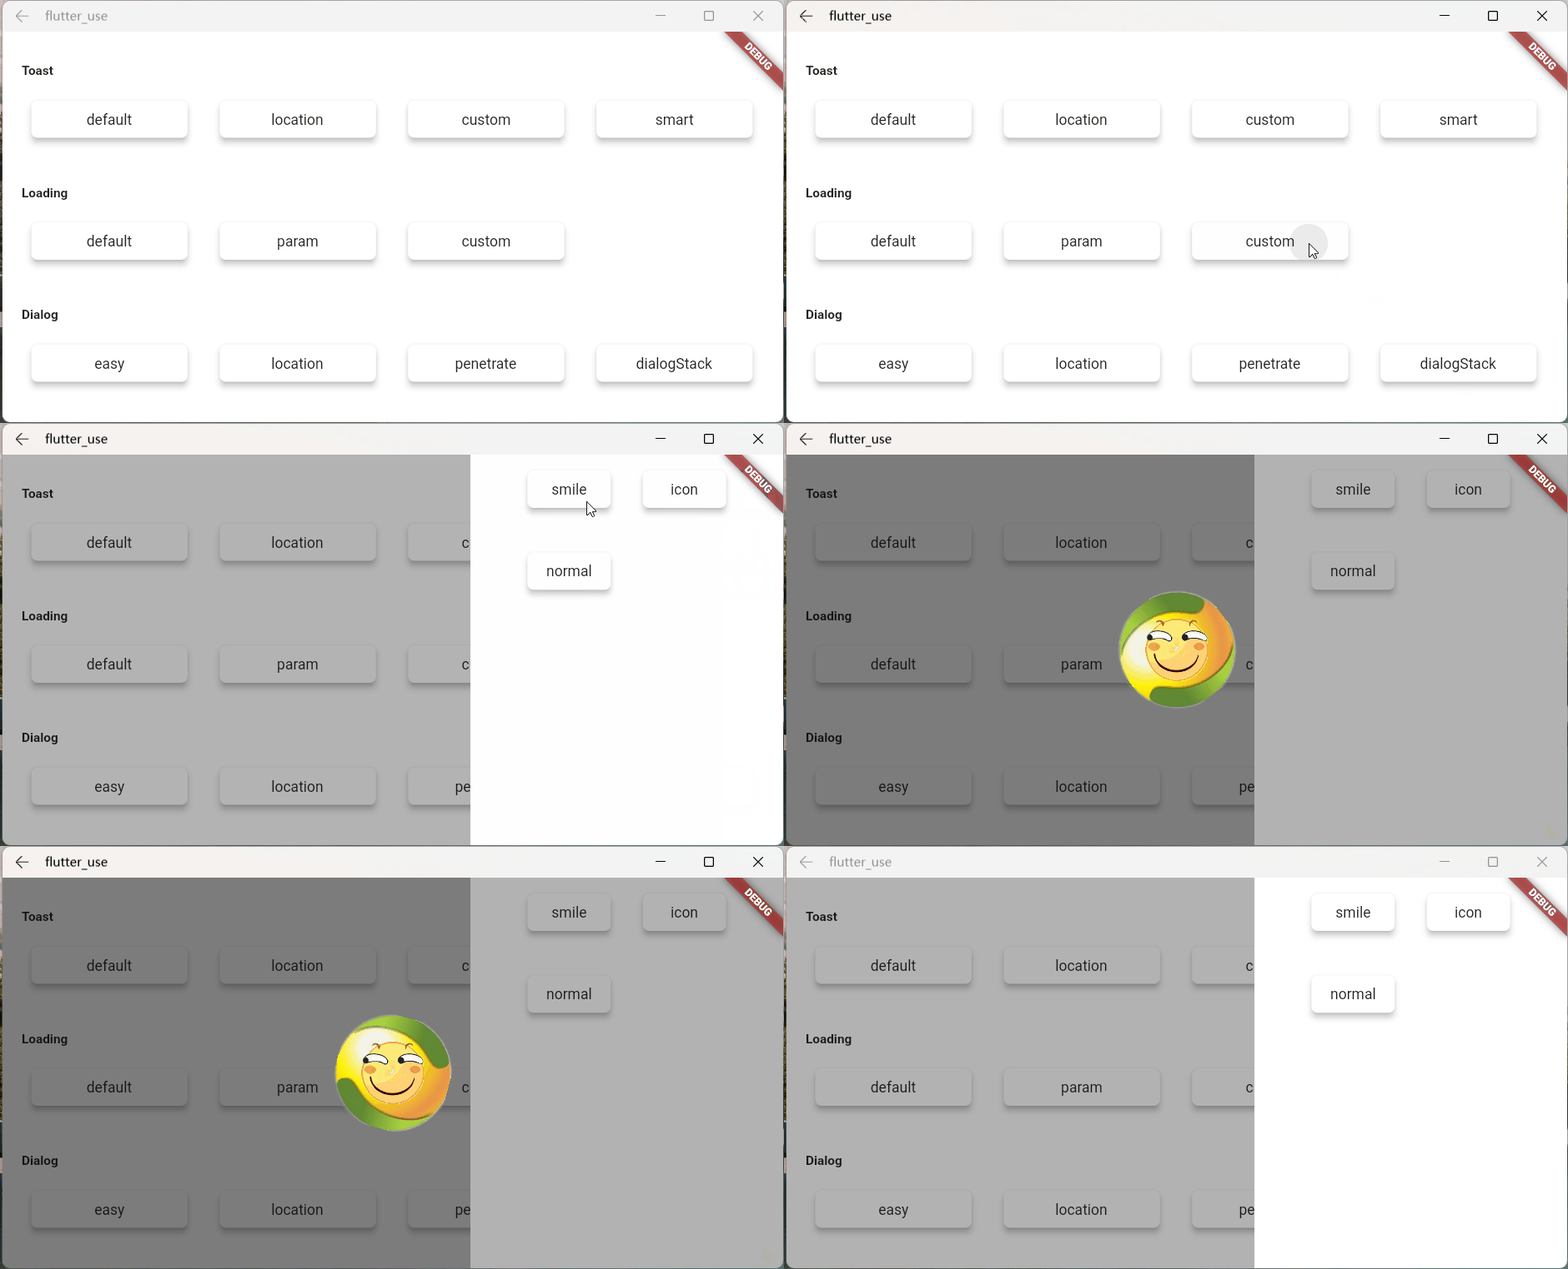
An elegant Flutter Dialog solution.
dependencies:
flutter_smart_dialog: ^3.0.0- Do not need BuildContext
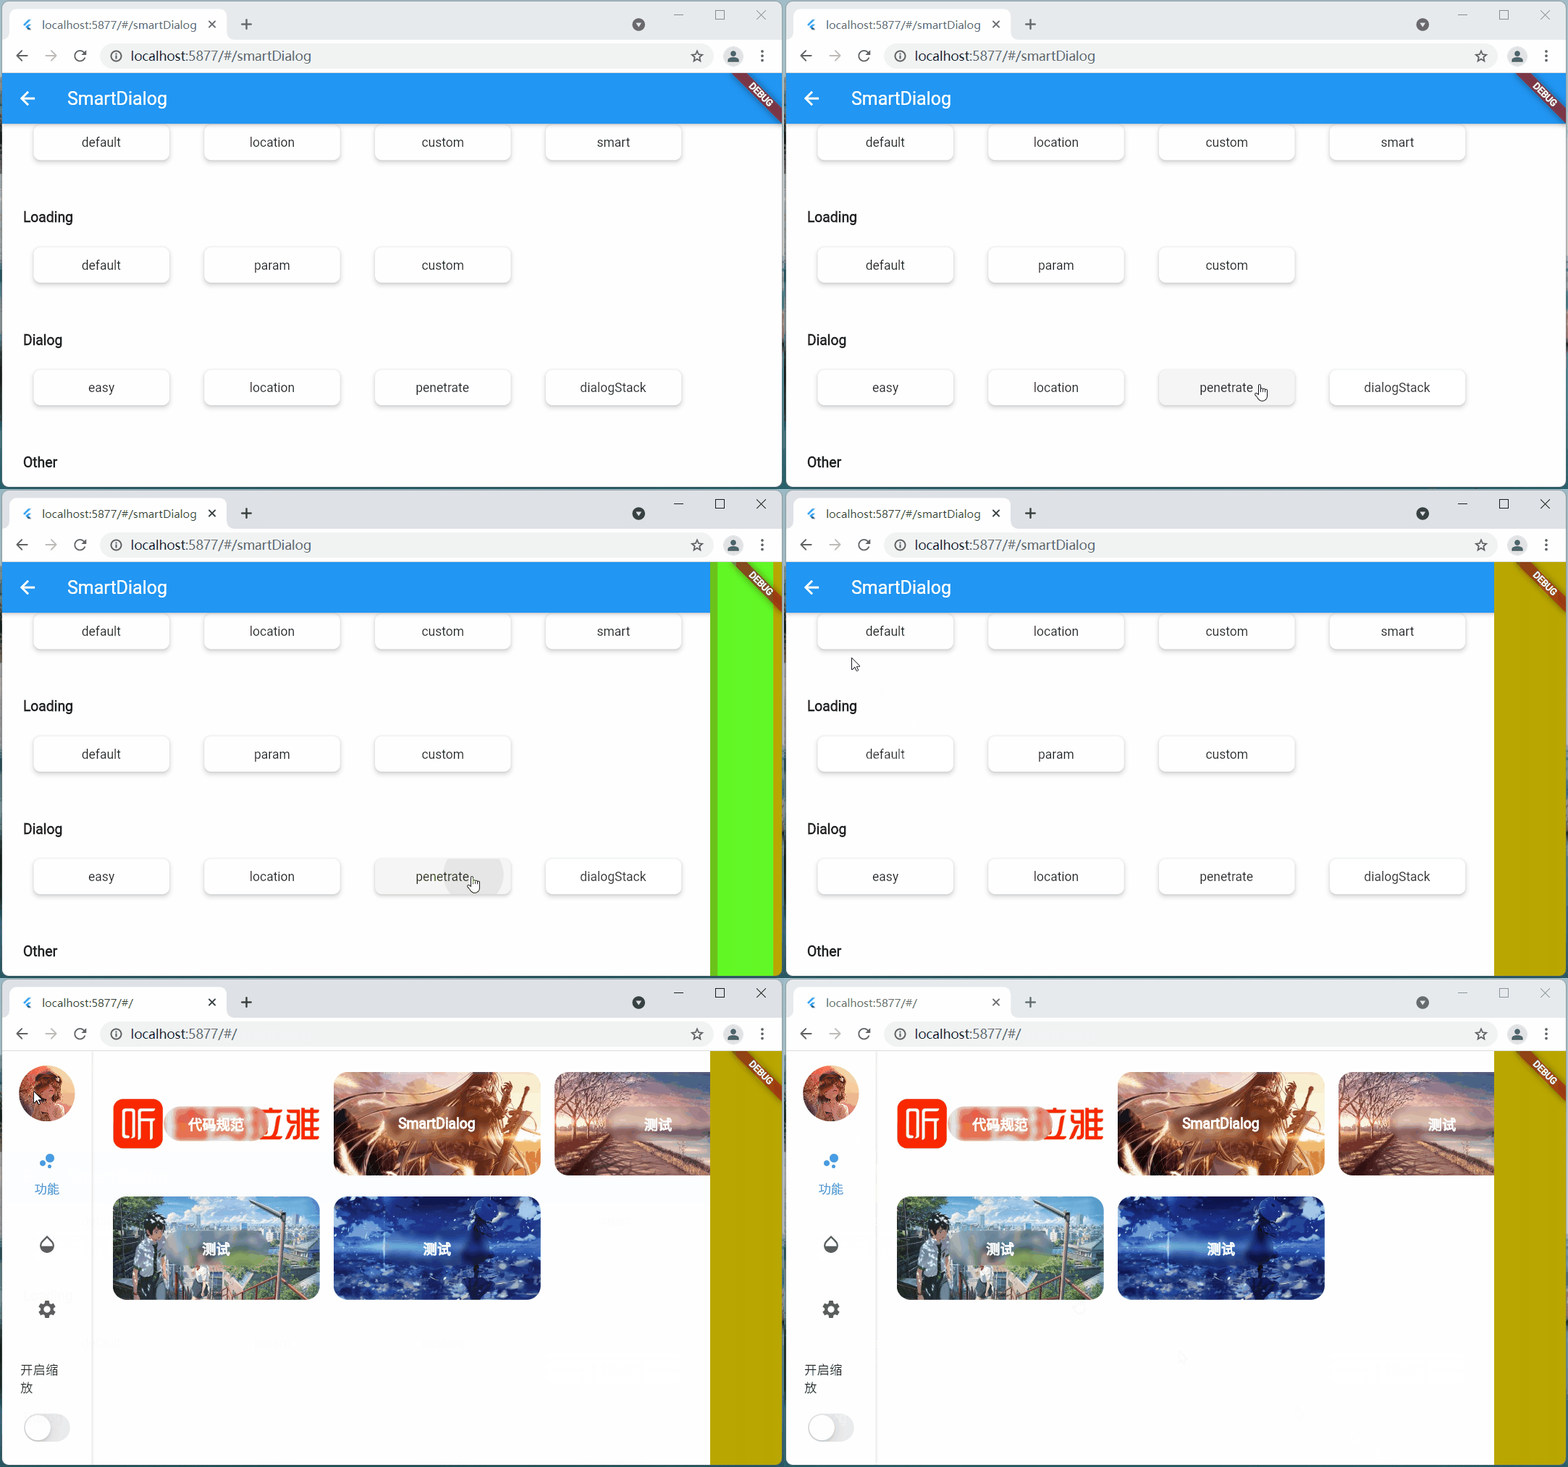
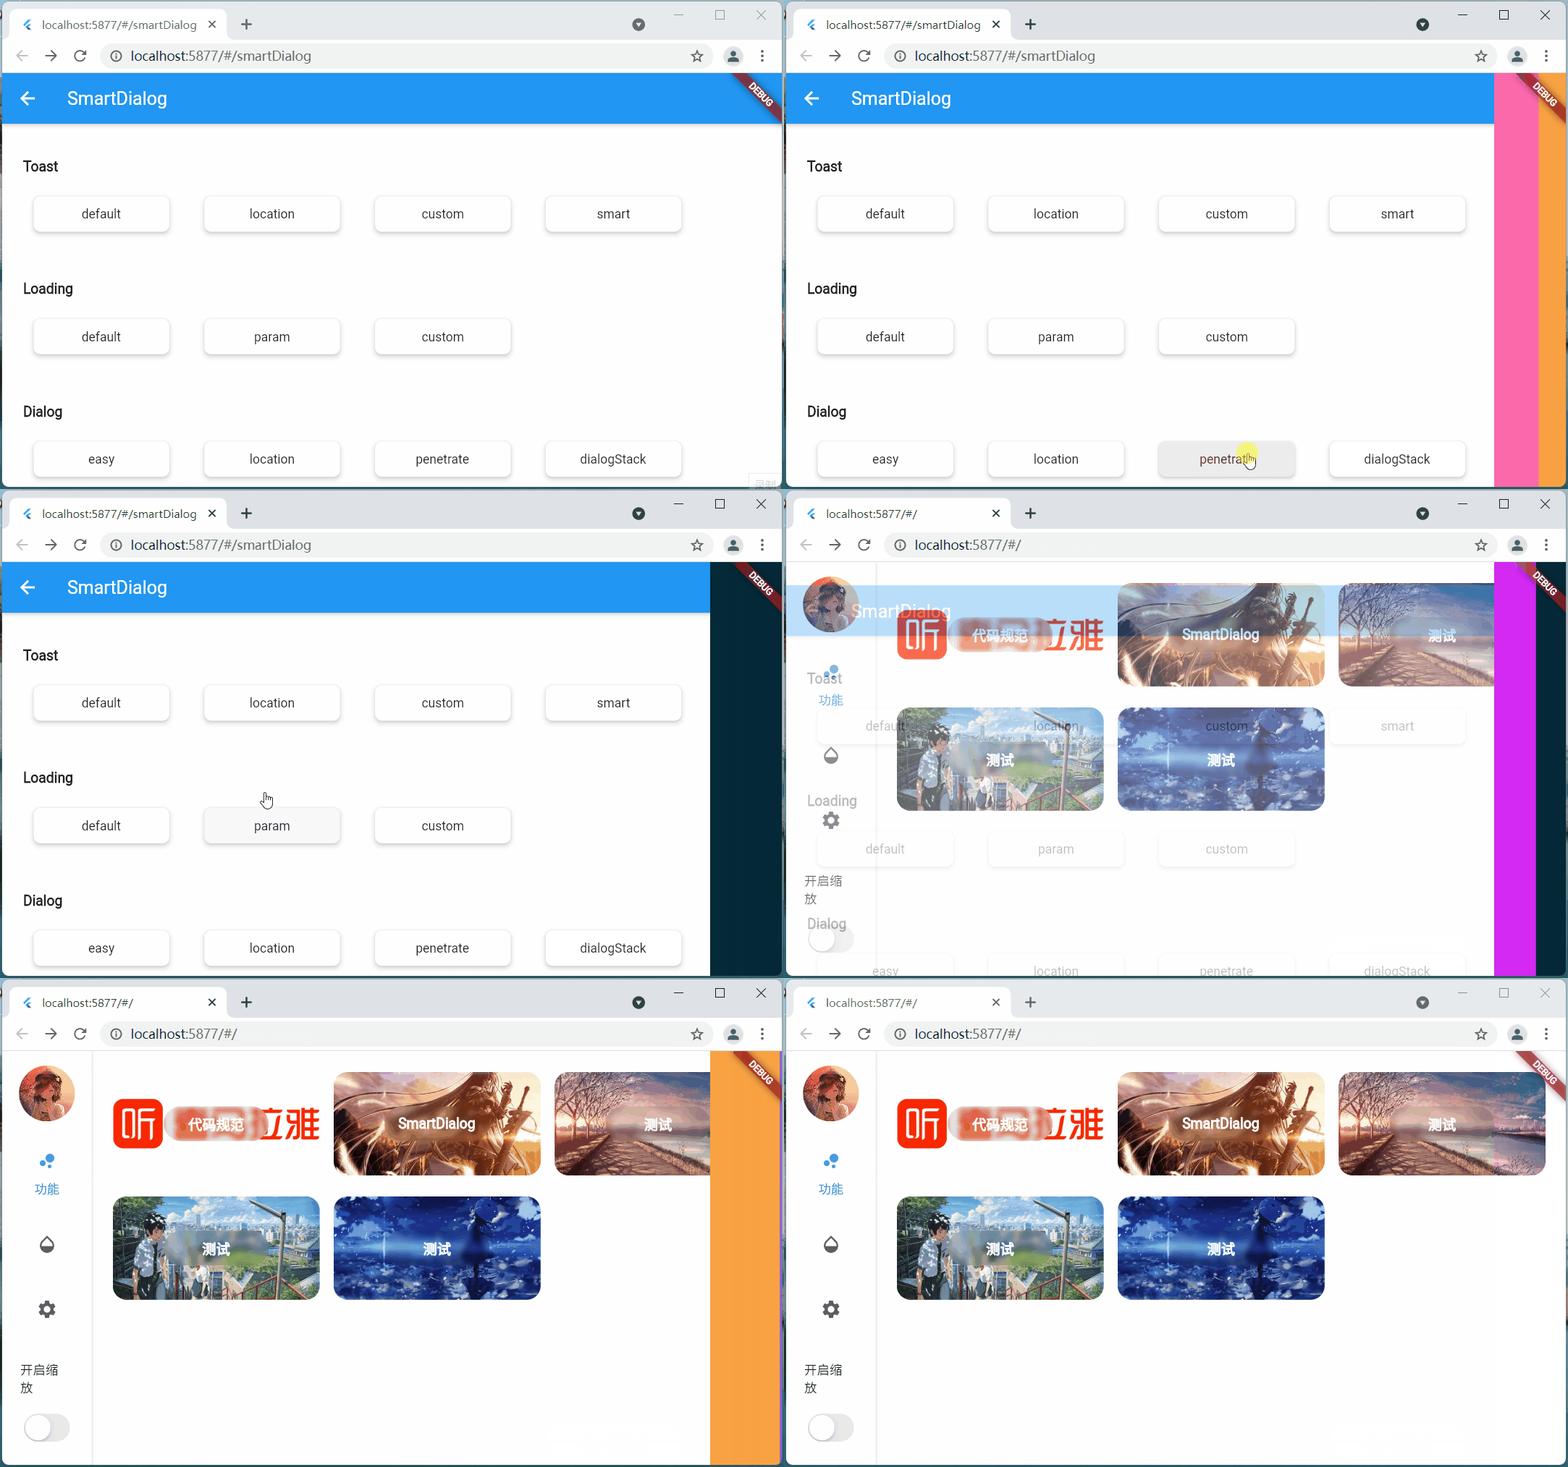
- Can penetrate dark background, click on the page behind dialog
- Support dialog stack,close the specified dialog
- Easily implement toast,loading dialog,custome dialog
void main() => runApp(MyApp());

class MyApp extends StatelessWidget {
  @override
  Widget build(BuildContext context) {
    return MaterialApp(
      initialRoute: RouteConfig.main,
      getPages: RouteConfig.getPages,
      // here
      navigatorObservers: [FlutterSmartDialog.observer],
      // here
      builder: FlutterSmartDialog.init(),
    );
  }
}- toast usage💬
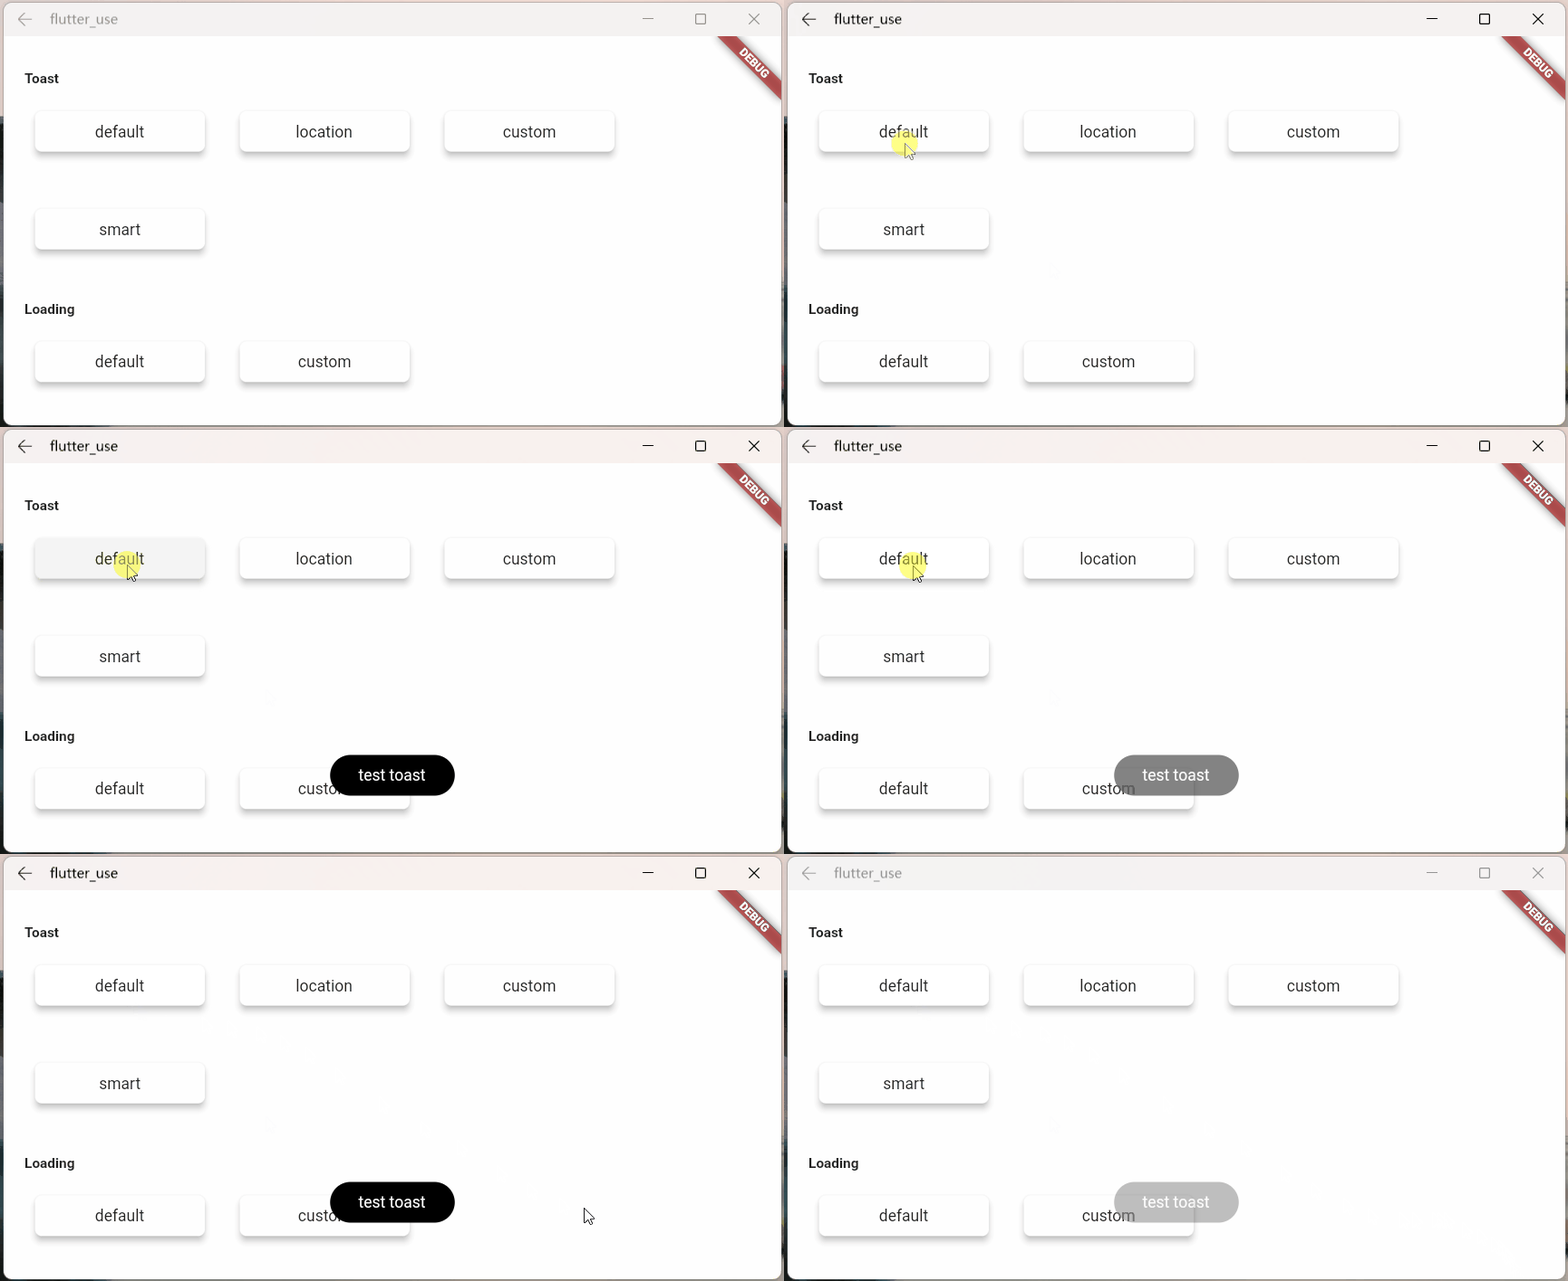
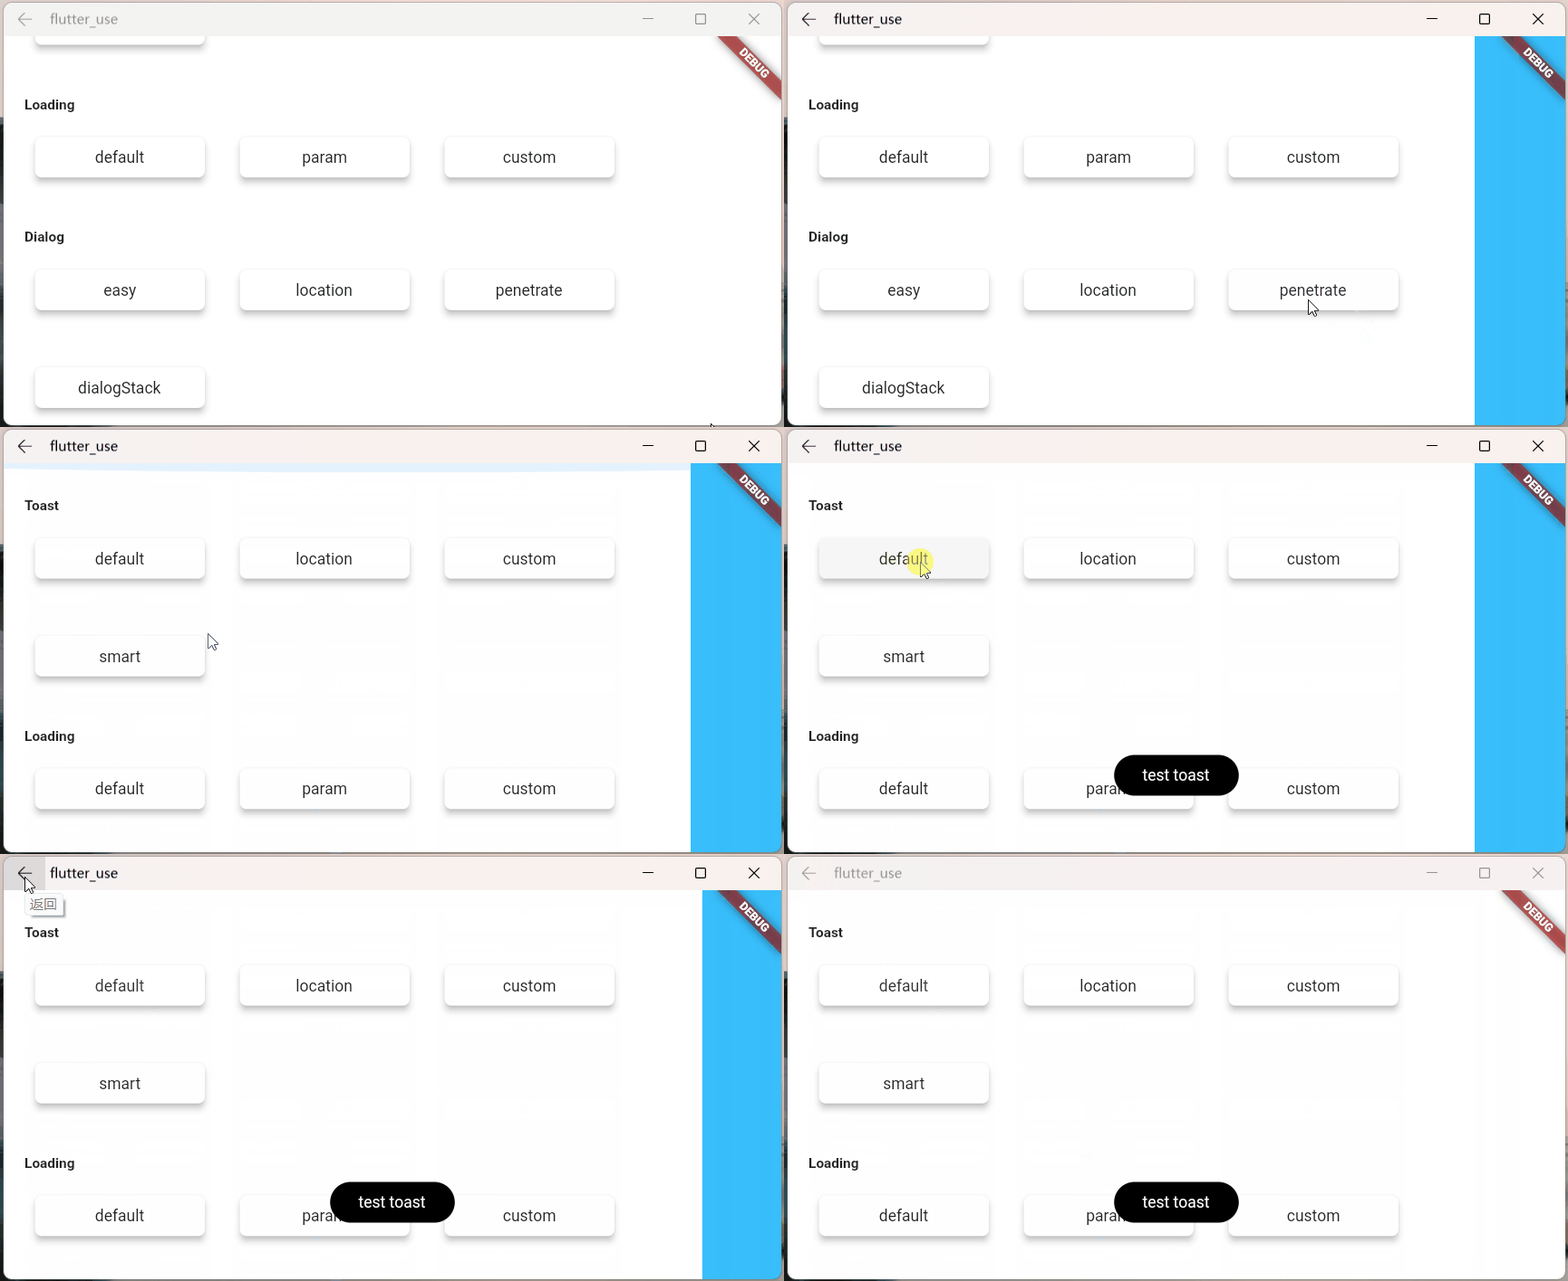
SmartDialog.showToast('test toast');- loading usage⏳
SmartDialog.showLoading();
await Future.delayed(Duration(seconds: 2));
SmartDialog.dismiss(); - dialog usage🎨
var custom = Container(
    height: 80,
    width: 180,
    decoration: BoxDecoration(
        color: Colors.black,
        borderRadius: BorderRadius.circular(20),
    ),
    alignment: Alignment.center,
    child: Text('easy custom dialog', style: TextStyle(color: Colors.white)),
);
// here
SmartDialog.show(widget: custom, isLoadingTemp: false);About FlutterSmartDialog.init()
This method does not take up your builder parameters. The builder is called back in init
- For example: continue to set Bloc global instance 😄
class MyApp extends StatelessWidget {
  @override
  Widget build(BuildContext context) {
    return MaterialApp(
      initialRoute: RouteConfig.main,
      getPages: RouteConfig.getPages,
      navigatorObservers: [FlutterSmartDialog.observer],
      builder: FlutterSmartDialog.init(builder: _builder),
    );
  }
}

Widget _builder(BuildContext context, Widget? child) {
  return MultiBlocProvider(
    providers: [
      BlocProvider.value(value: BlocSpanOneCubit()),
    ],
    child: child!,
  );
}
Entity Return Key
The monitoring of the back button is very important and can basically cover most situations
pop routing
Although the monitoring of the return button can cover most scenes, some manual pop scenes need to add parameter monitoring
- Do not add
FlutterSmartDialog.observer- If the penetration parameter is turned on (you can interact with the page after the dialog), then manually close the page
- There will be such an embarrassing situation
Super practical parameter: backDismiss
- This parameter is set to
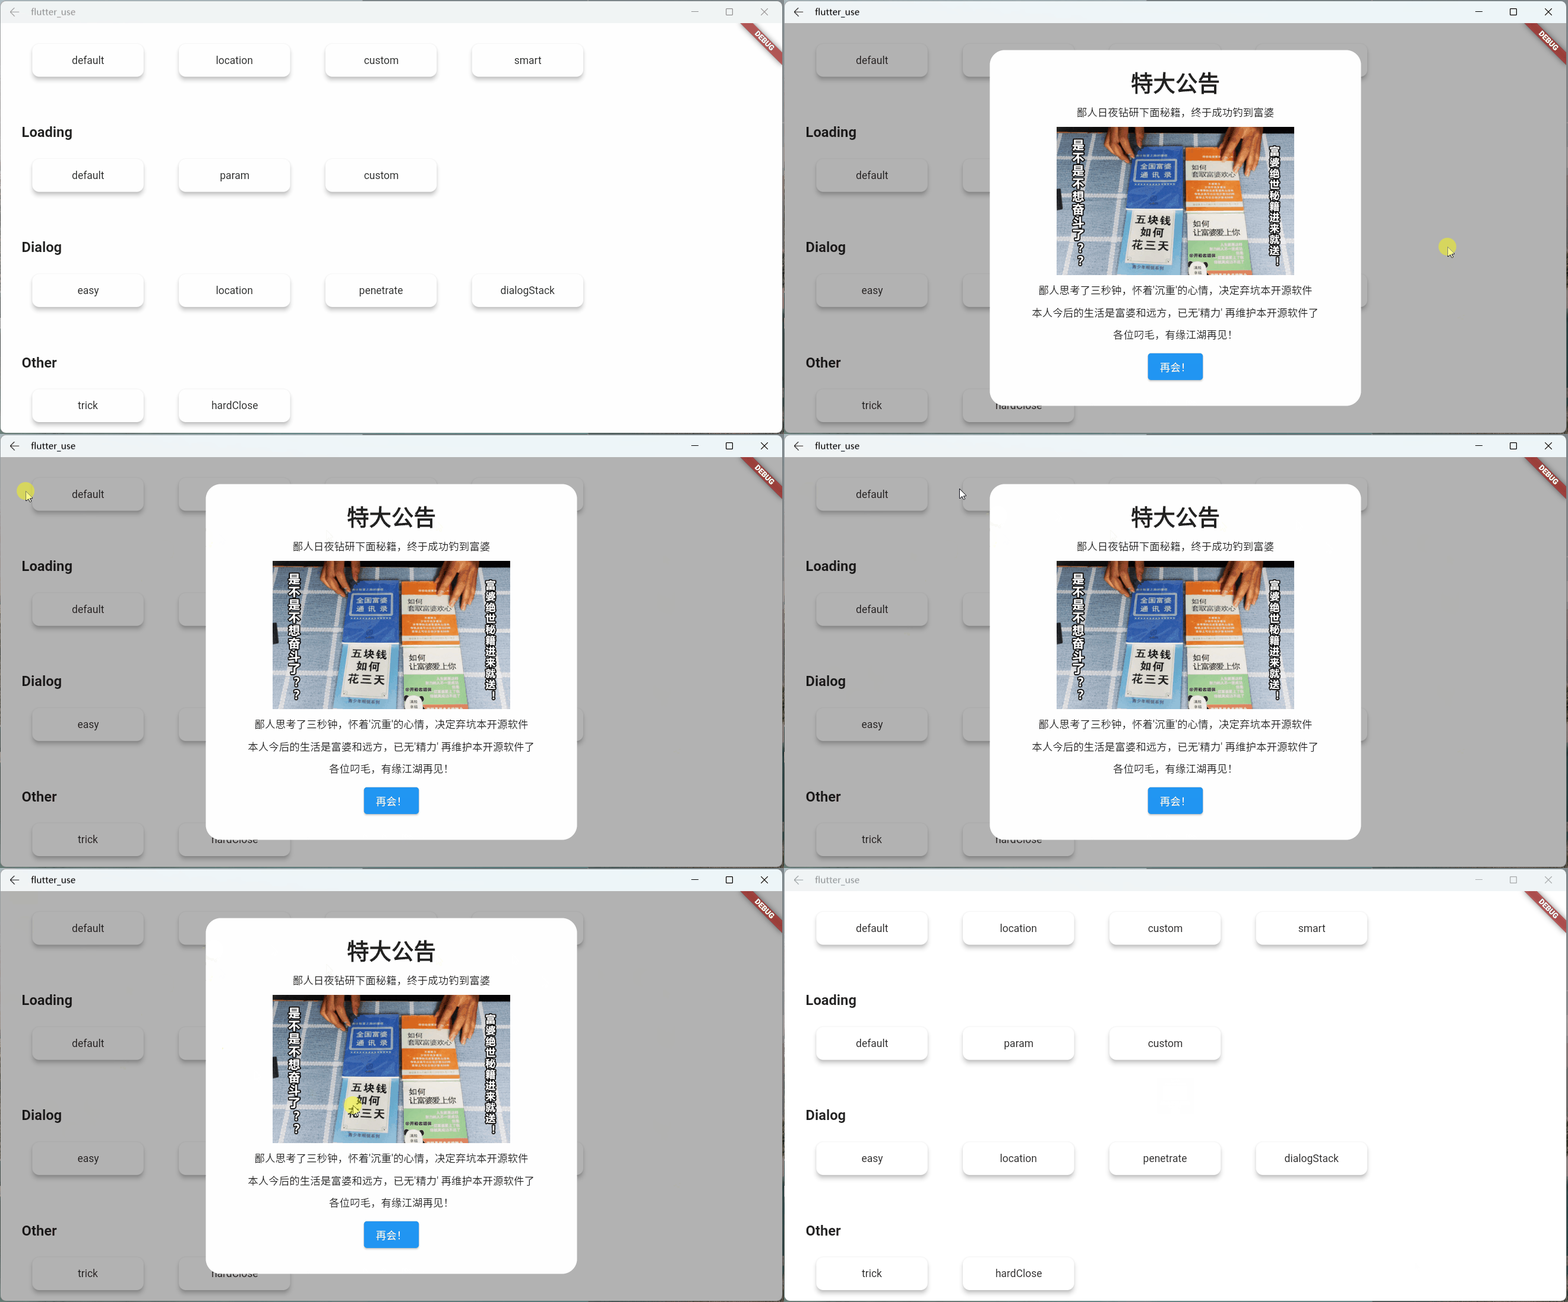
trueby default, and the dialog will be closed by default when returning; if it is set tofalse, the page will not be closed- In this way, an emergency dialog can be made very easily, prohibiting the user's next operation
- Let’s look at a scenario: Suppose an open source author decides to abandon the software and does not allow users to use the software’s dialog
Set Global Parameters
you can modify the global parameters that meet your own requirements
SmartDialog.config
    ..alignment = Alignment.center
    ..isPenetrate = false
    ..clickBgDismiss = true
    ..maskColor = Colors.black.withOpacity(0.3)
    ..maskWidget = null
    ..animationDuration = Duration(milliseconds: 260)
    ..isUseAnimation = true
..isLoading = true;Strictly speaking, toast is a very special dialog, I think it should have the following characteristics
Toast messages should be displayed one by one, and subsequent messages should not top off the previous toast
- This is a pit point. If the frame is not processed inside, it is easy to cause the back toast to directly top off the front toast.
Displayed on the top level of the page, should not be blocked by some other dialog
- You can find layouts such as loading and dialog masks, none of which obscures the toast information
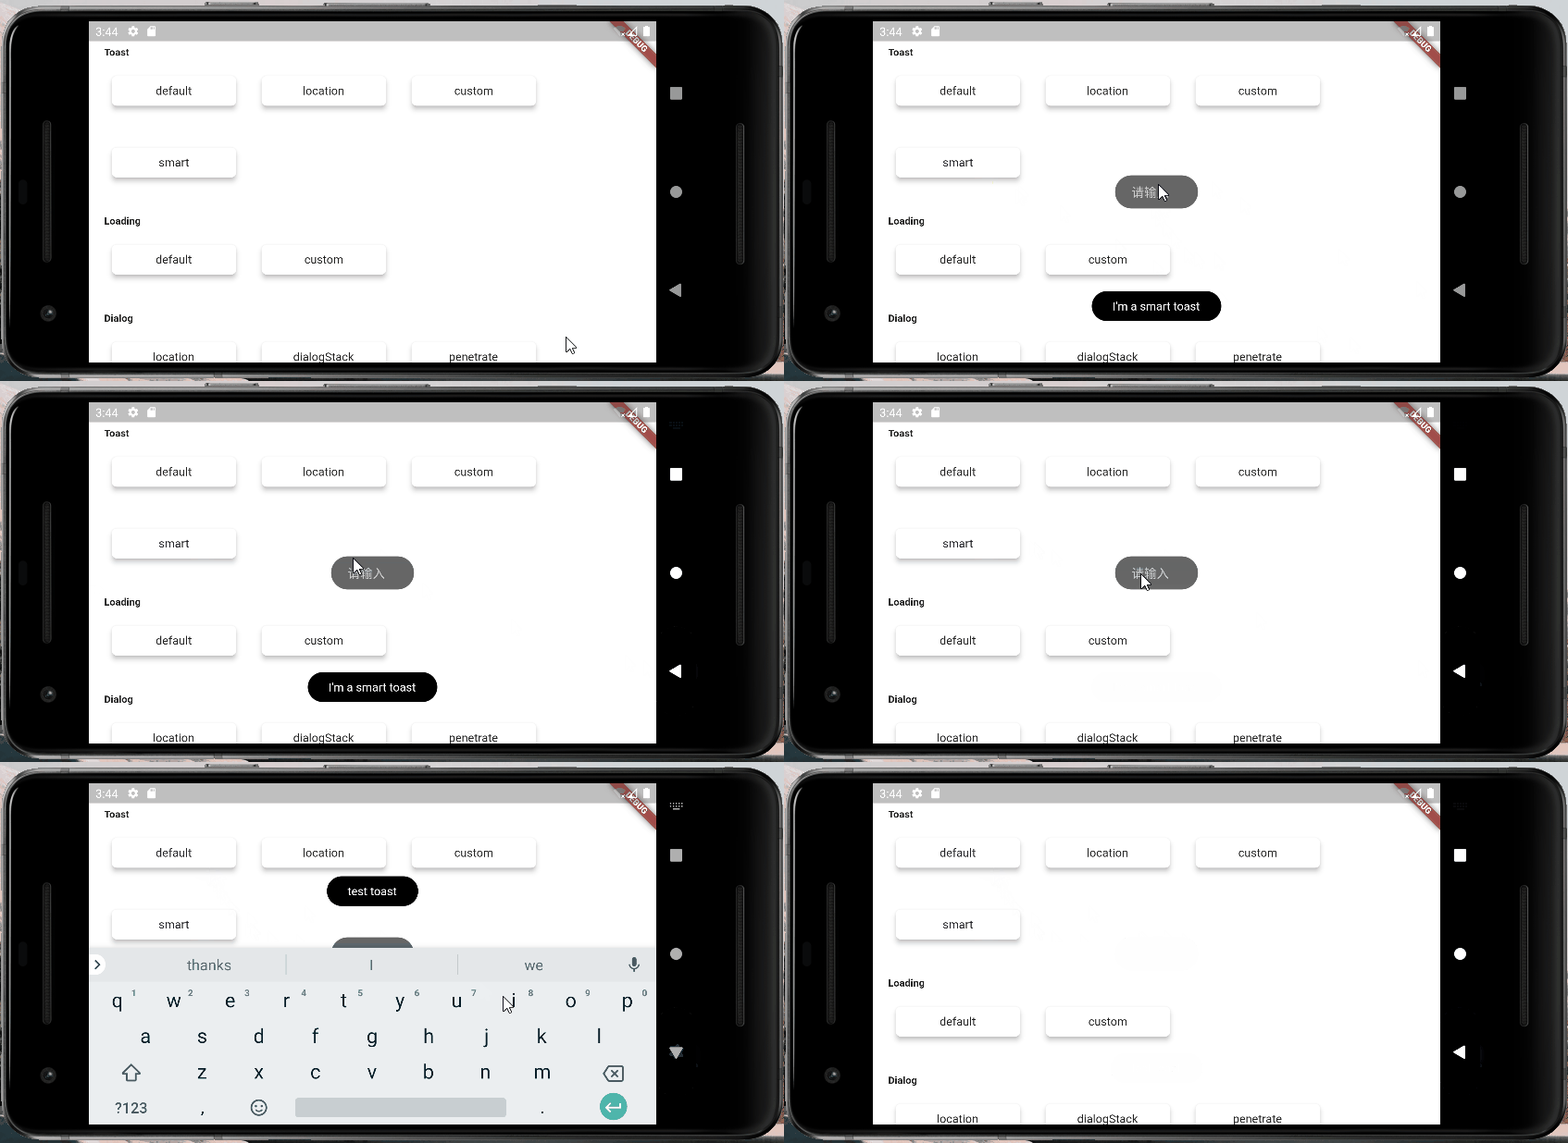
Handle the occlusion of the keyboard
- The keyboard is a bit tricky, it will directly obscure all layouts
- when the keyboard is awakened, toast will dynamically adjust the distance between itself and the bottom of the screen
- This will have the effect that the keyboard will not block the toast
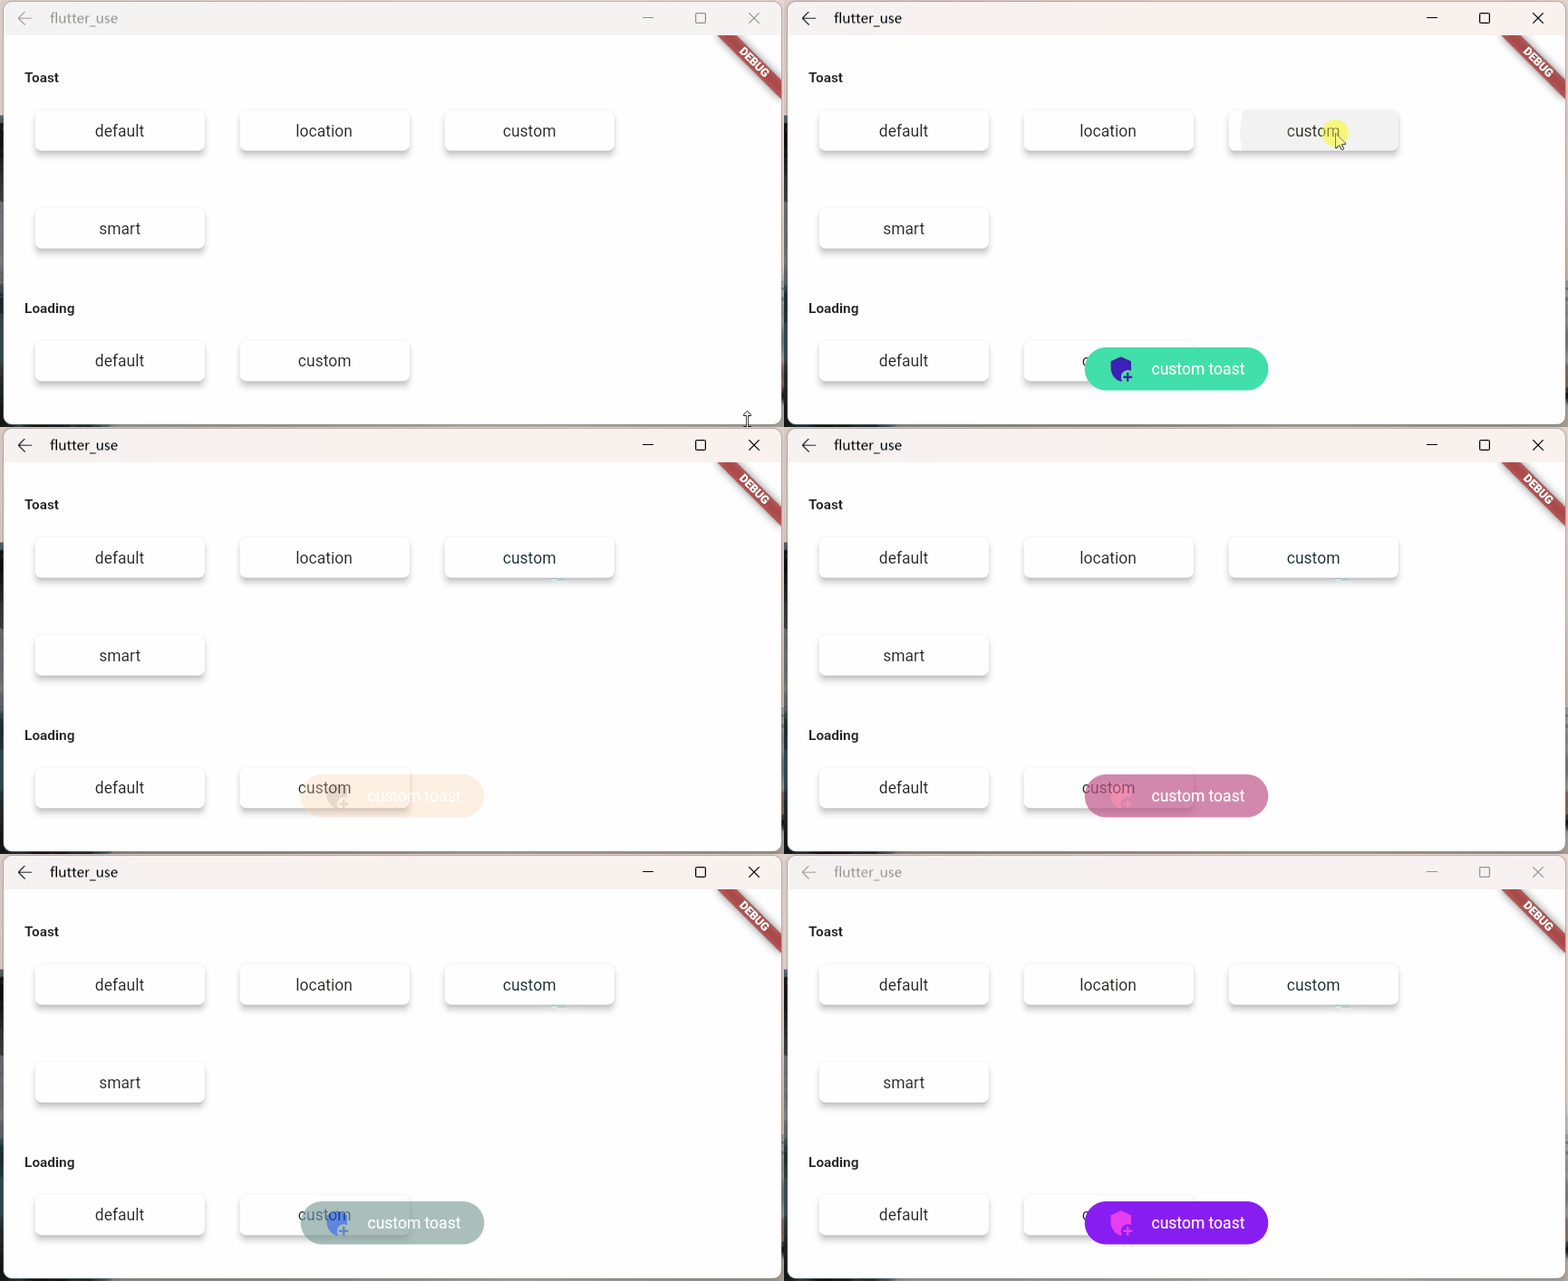
- First, a custom toast
class CustomToast extends StatelessWidget {
  const CustomToast(this.msg, {Key? key}): super(key: key);

  final String msg;

  @override
  Widget build(BuildContext context) {
    return Align(
      alignment: Alignment.bottomCenter,
      child: Container(
        margin: EdgeInsets.only(bottom: 30),
        padding: EdgeInsets.symmetric(horizontal: 20, vertical: 7),
        decoration: BoxDecoration(
          color: _randomColor(),
          borderRadius: BorderRadius.circular(100),
        ),
        child: Row(mainAxisSize: MainAxisSize.min, children: [
          //icon
          Container(
            margin: EdgeInsets.only(right: 15),
            child: Icon(Icons.add_moderator, color: _randomColor()),
          ),

          //msg
          Text('$msg', style: TextStyle(color: Colors.white)),
        ]),
      ),
    );
  }

  Color _randomColor() {
    return Color.fromRGBO(
      Random().nextInt(256),
      Random().nextInt(256),
      Random().nextInt(256),
      1,
    );
  }
}- use
SmartDialog.showToast('', widget: CustomToast('custom toast'));- Effect
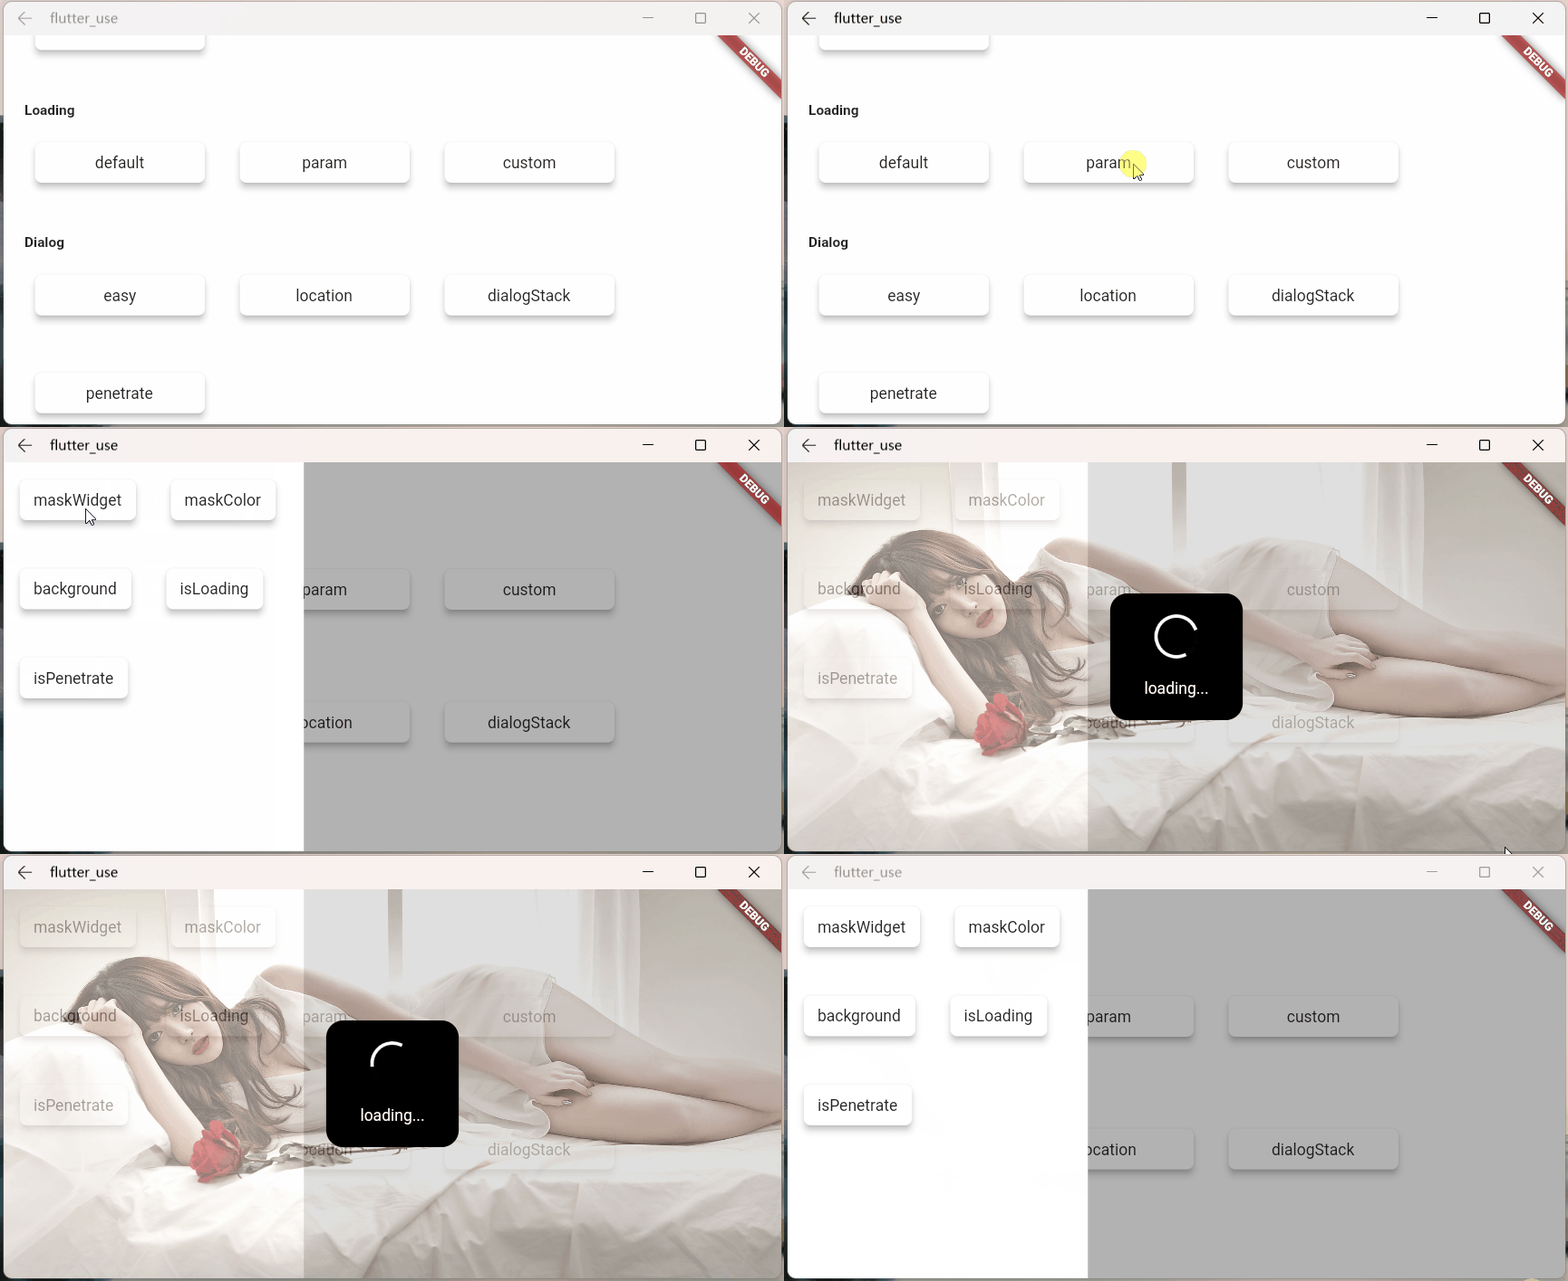
- maskWidgetTemp: powerful mask customization function😆, use your brain. . .
var maskWidget = Container(
  width: double.infinity,
  height: double.infinity,
  child: Opacity(
    opacity: 0.6,
    child: Image.network(
      'https://cdn.jsdelivr.net/gh/xdd666t/MyData@master/pic/flutter/blog/20211101103911.jpeg',
      fit: BoxFit.fill,
    ),
  ),
);
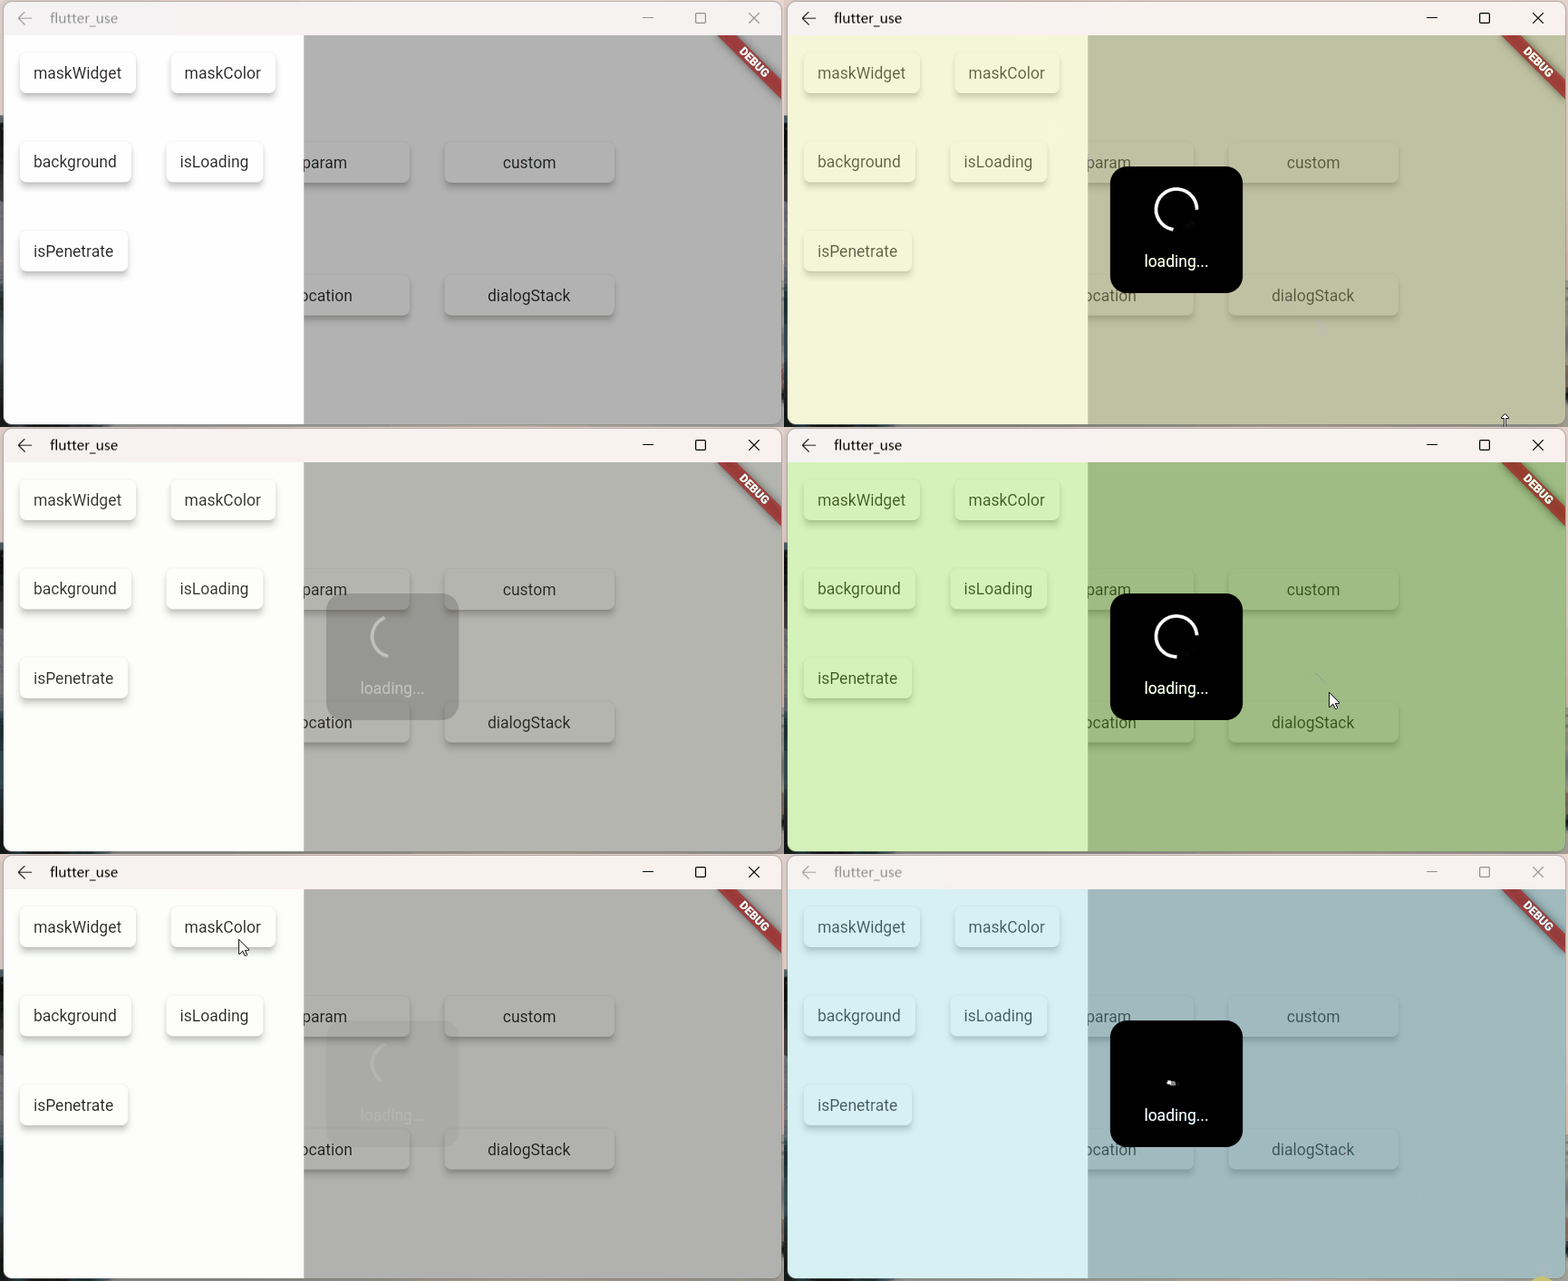
SmartDialog.showLoading(maskWidgetTemp: maskWidget);- maskColorTemp: support quick custom mask color
SmartDialog.showLoading(maskColorTemp: randomColor().withOpacity(0.3));

/// random color
Color randomColor() => Color.fromRGBO(
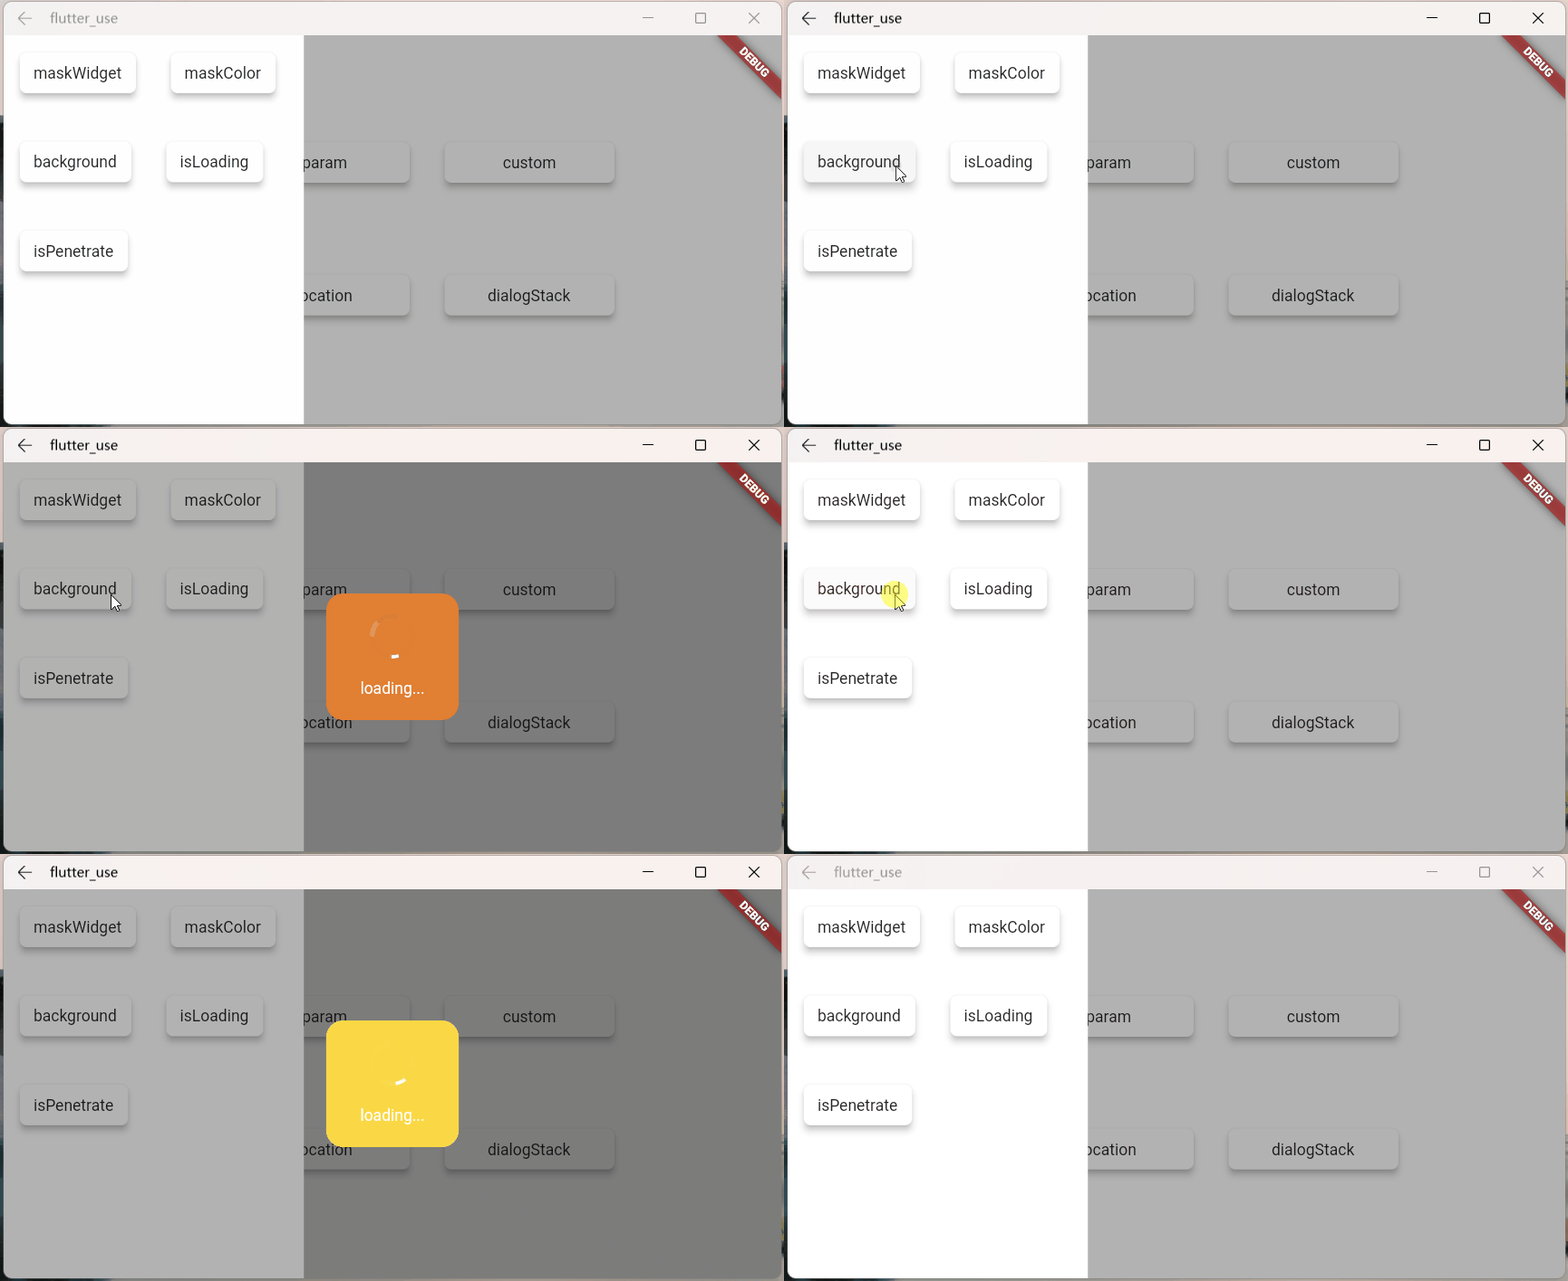
Random().nextInt(256), Random().nextInt(256), Random().nextInt(256), 1);- background: support loading background customization
SmartDialog.showLoading(background: randomColor());

/// random color
Color randomColor() => Color.fromRGBO(
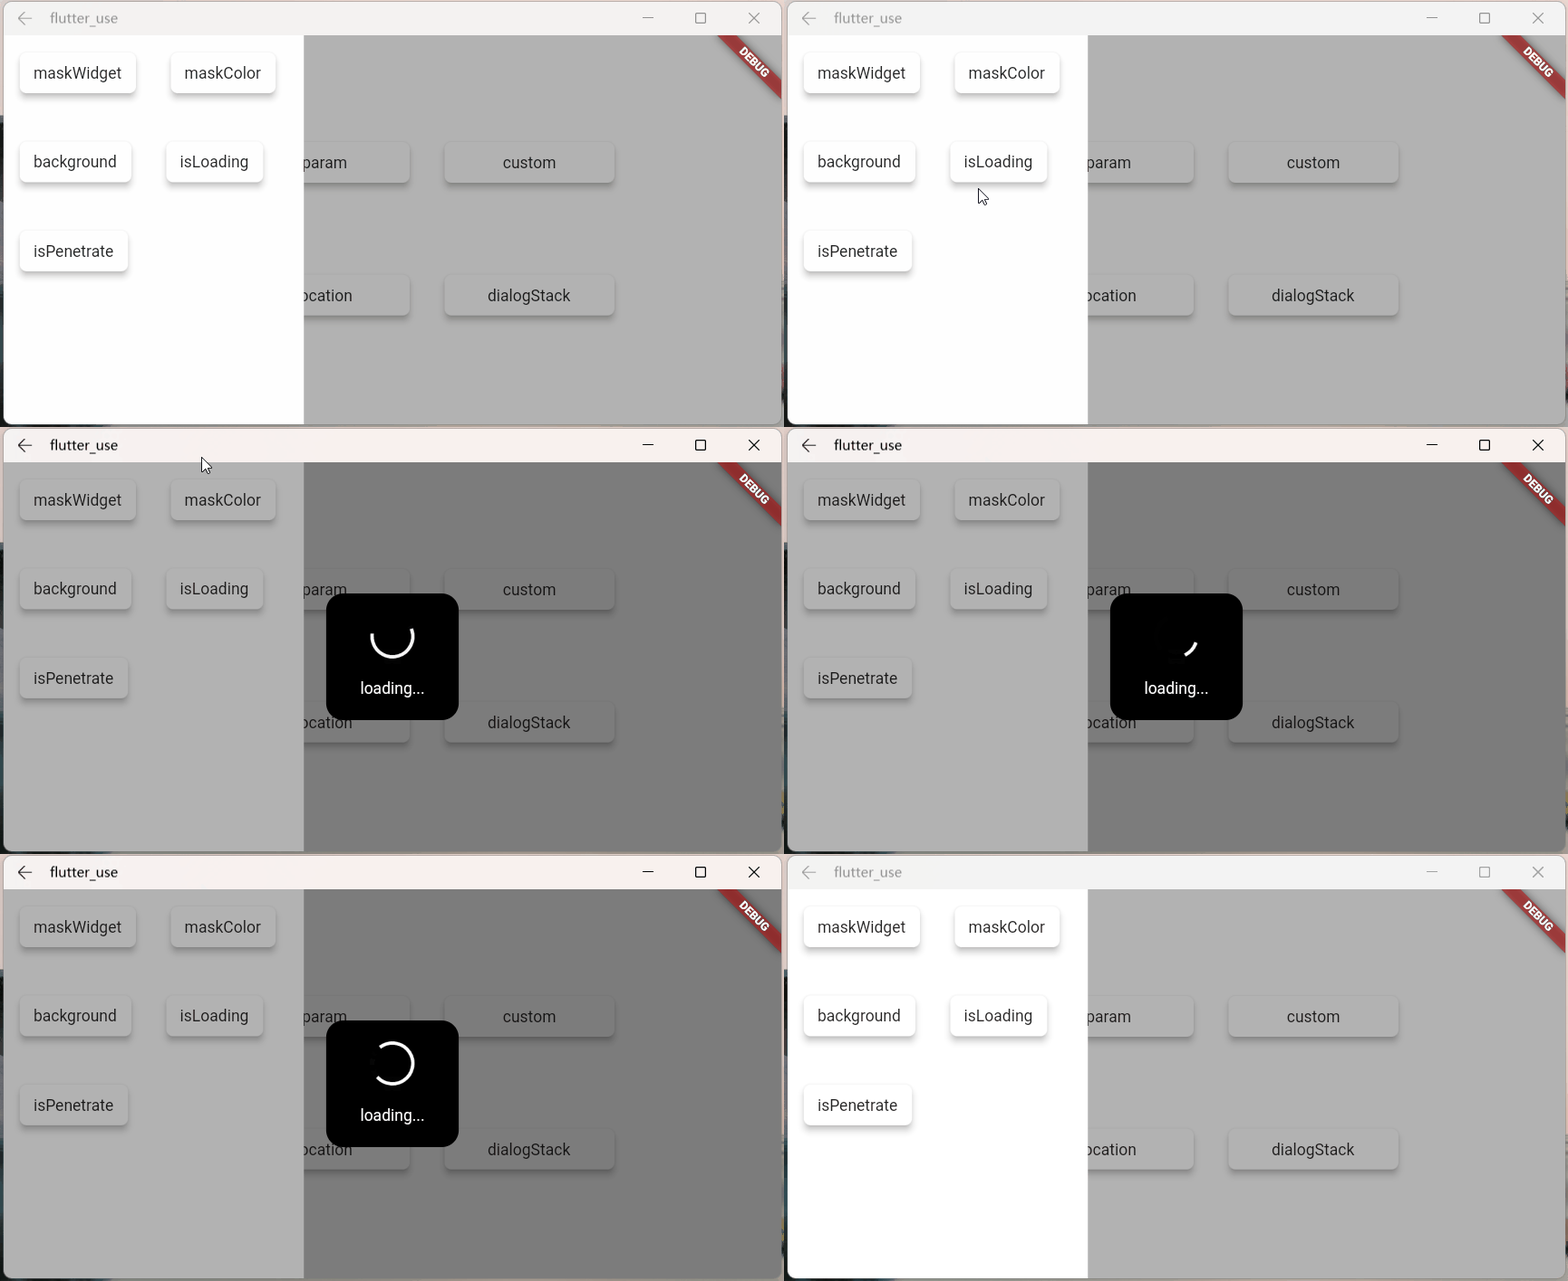
Random().nextInt(256), Random().nextInt(256), Random().nextInt(256), 1);- isLoadingTemp: Animation effect switch
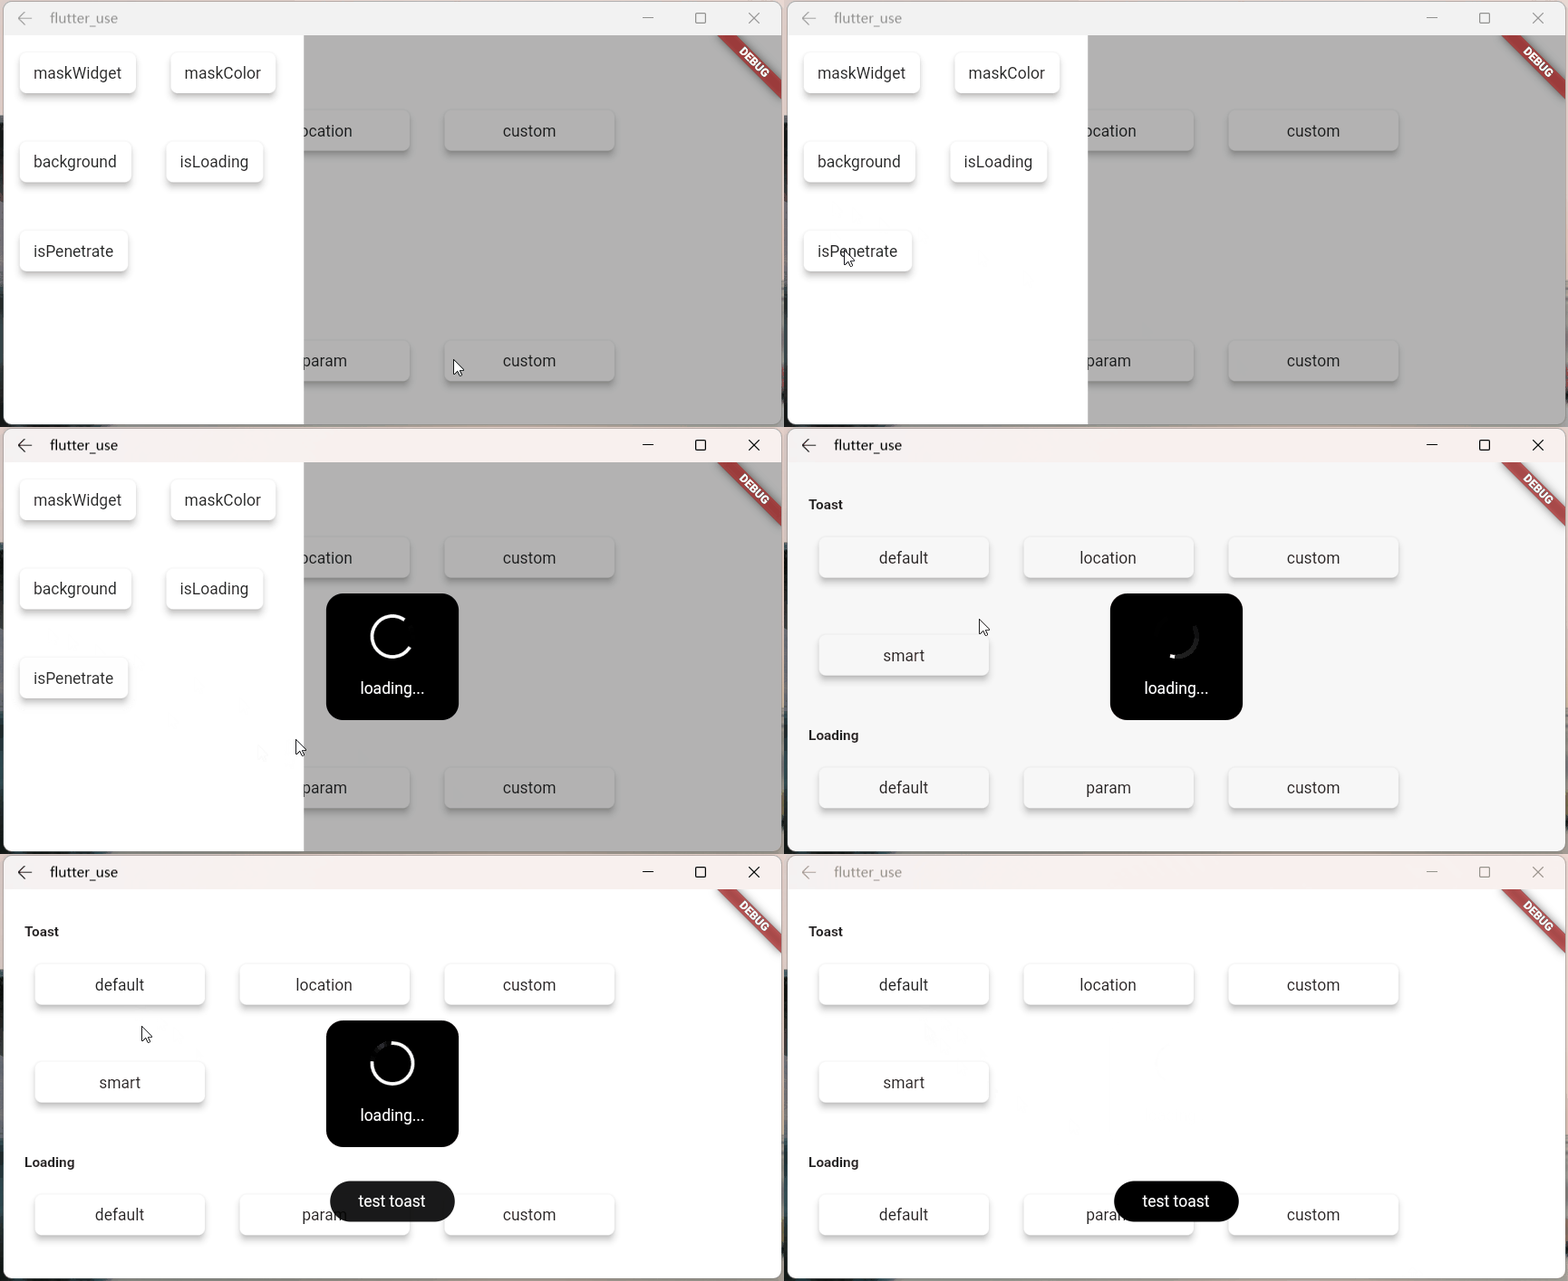
SmartDialog.showLoading(isLoadingTemp: false);- isPenetrateTemp: Interaction events can penetrate the mask, which is a very useful function, which is very important for some special demand scenes
SmartDialog.showLoading(isPenetrateTemp: true);Use showLoading to easily customize the powerful loading dialog; I have limited brains, just demonstrate it briefly
Customize a loading layout
class CustomLoading extends StatefulWidget {
  const CustomLoading({Key? key, this.type = 0}): super(key: key);

  final int type;

  @override
  _CustomLoadingState createState() => _CustomLoadingState();
}

class _CustomLoadingState extends State<CustomLoading>
    with TickerProviderStateMixin {
  late AnimationController _controller;

  @override
  void initState() {
    _controller = AnimationController(
      duration: const Duration(milliseconds: 800),
      vsync: this,
    );
    _controller.forward();
    _controller.addStatusListener((status) {
      if (status == AnimationStatus.completed) {
        _controller.reset();
        _controller.forward();
      }
    });
    super.initState();
  }

  @override
  Widget build(BuildContext context) {
    return Stack(children: [
      // smile
      Visibility(visible: widget.type == 0, child: _buildLoadingOne()),

      // icon
      Visibility(visible: widget.type == 1, child: _buildLoadingTwo()),

      // normal
      Visibility(visible: widget.type == 2, child: _buildLoadingThree()),
    ]);
  }

  Widget _buildLoadingOne() {
    return Stack(alignment: Alignment.center, children: [
      RotationTransition(
        alignment: Alignment.center,
        turns: _controller,
        child: Image.network(
          'https://cdn.jsdelivr.net/gh/xdd666t/MyData@master/pic/flutter/blog/20211101174606.png',
          height: 110,
          width: 110,
        ),
      ),
      Image.network(
        'https://cdn.jsdelivr.net/gh/xdd666t/MyData@master/pic/flutter/blog/20211101181404.png',
        height: 60,
        width: 60,
      ),
    ]);
  }

  Widget _buildLoadingTwo() {
    return Stack(alignment: Alignment.center, children: [
      Image.network(
        'https://cdn.jsdelivr.net/gh/xdd666t/MyData@master/pic/flutter/blog/20211101162946.png',
        height: 50,
        width: 50,
      ),
      RotationTransition(
        alignment: Alignment.center,
        turns: _controller,
        child: Image.network(
          'https://cdn.jsdelivr.net/gh/xdd666t/MyData@master/pic/flutter/blog/20211101173708.png',
          height: 80,
          width: 80,
        ),
      ),
    ]);
  }

  Widget _buildLoadingThree() {
    return Center(
      child: Container(
        height: 120,
        width: 180,
        decoration: BoxDecoration(
          color: Colors.white,
          borderRadius: BorderRadius.circular(15),
        ),
        alignment: Alignment.center,
        child: Column(mainAxisSize: MainAxisSize.min, children: [
          RotationTransition(
            alignment: Alignment.center,
            turns: _controller,
            child: Image.network(
              'https://cdn.jsdelivr.net/gh/xdd666t/MyData@master/pic/flutter/blog/20211101163010.png',
              height: 50,
              width: 50,
            ),
          ),
          Container(
            margin: EdgeInsets.only(top: 20),
            child: Text('loading...'),
          ),
        ]),
      ),
    );
  }

  @override
  void dispose() {
    _controller.dispose();
    super.dispose();
  }
}
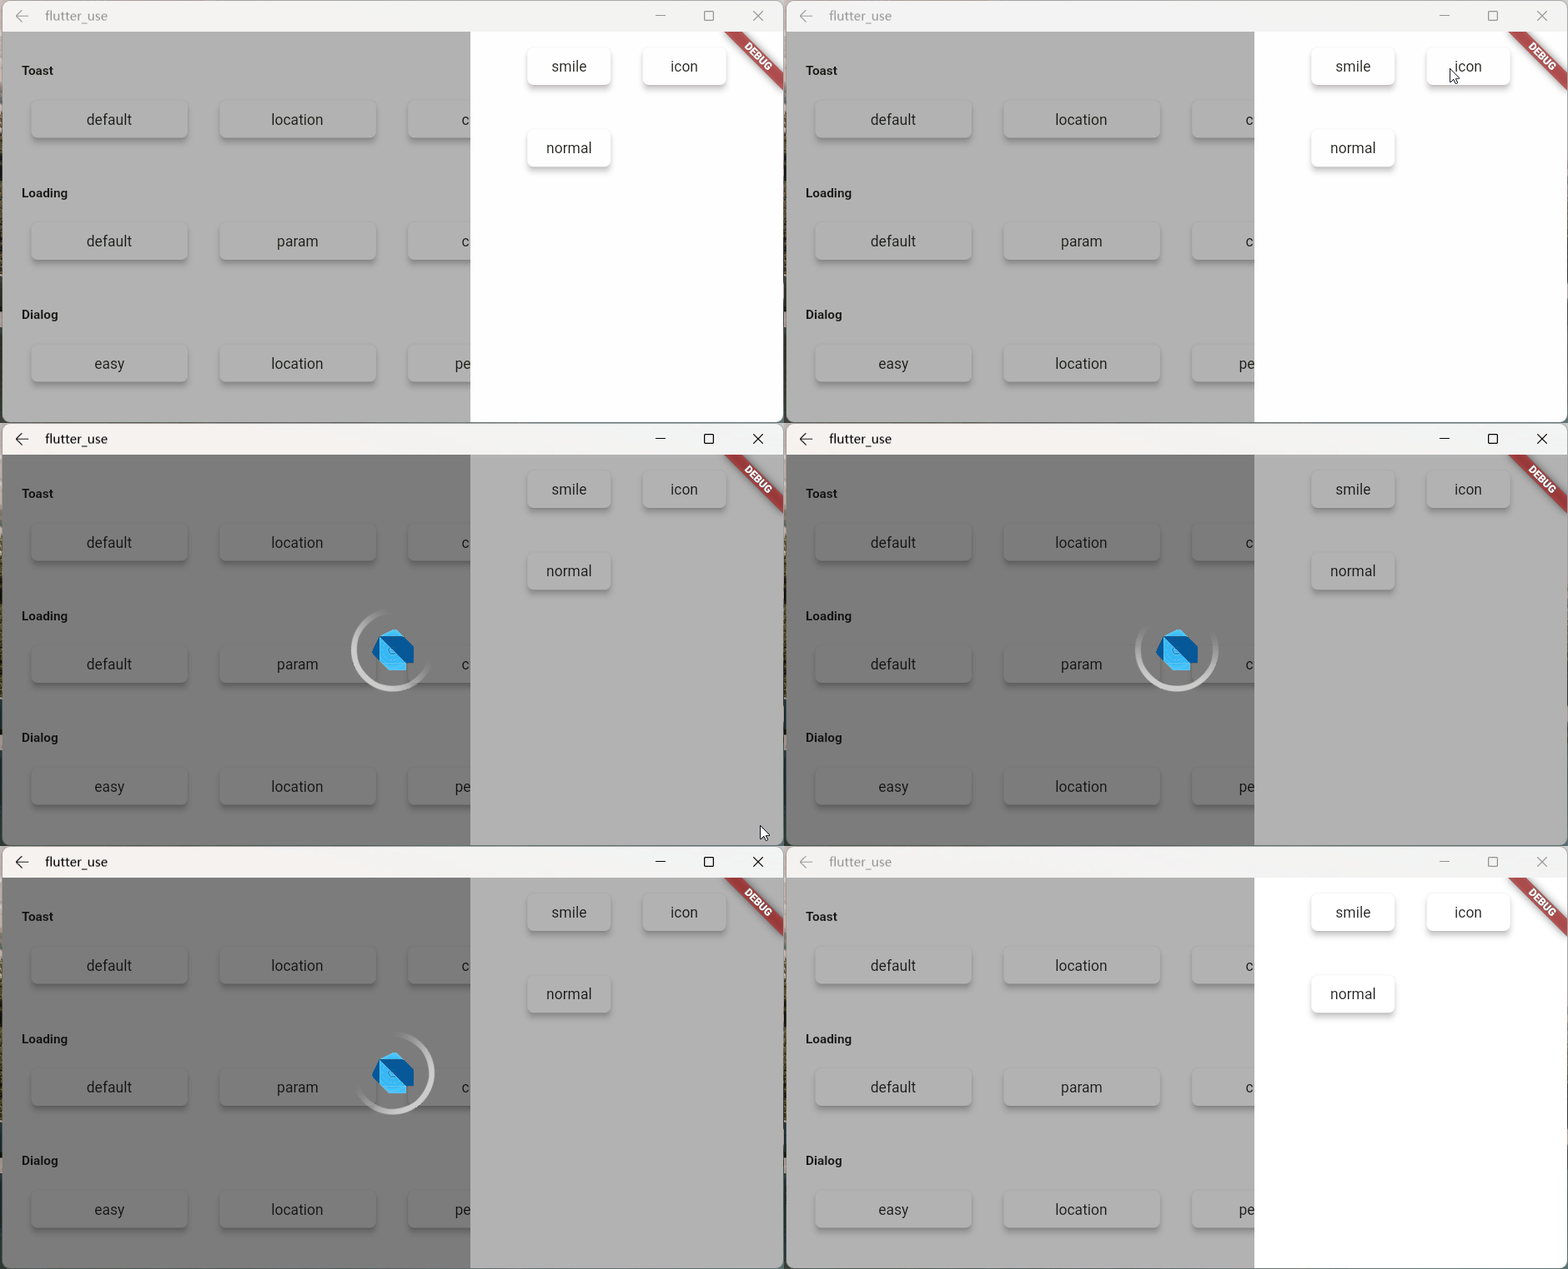
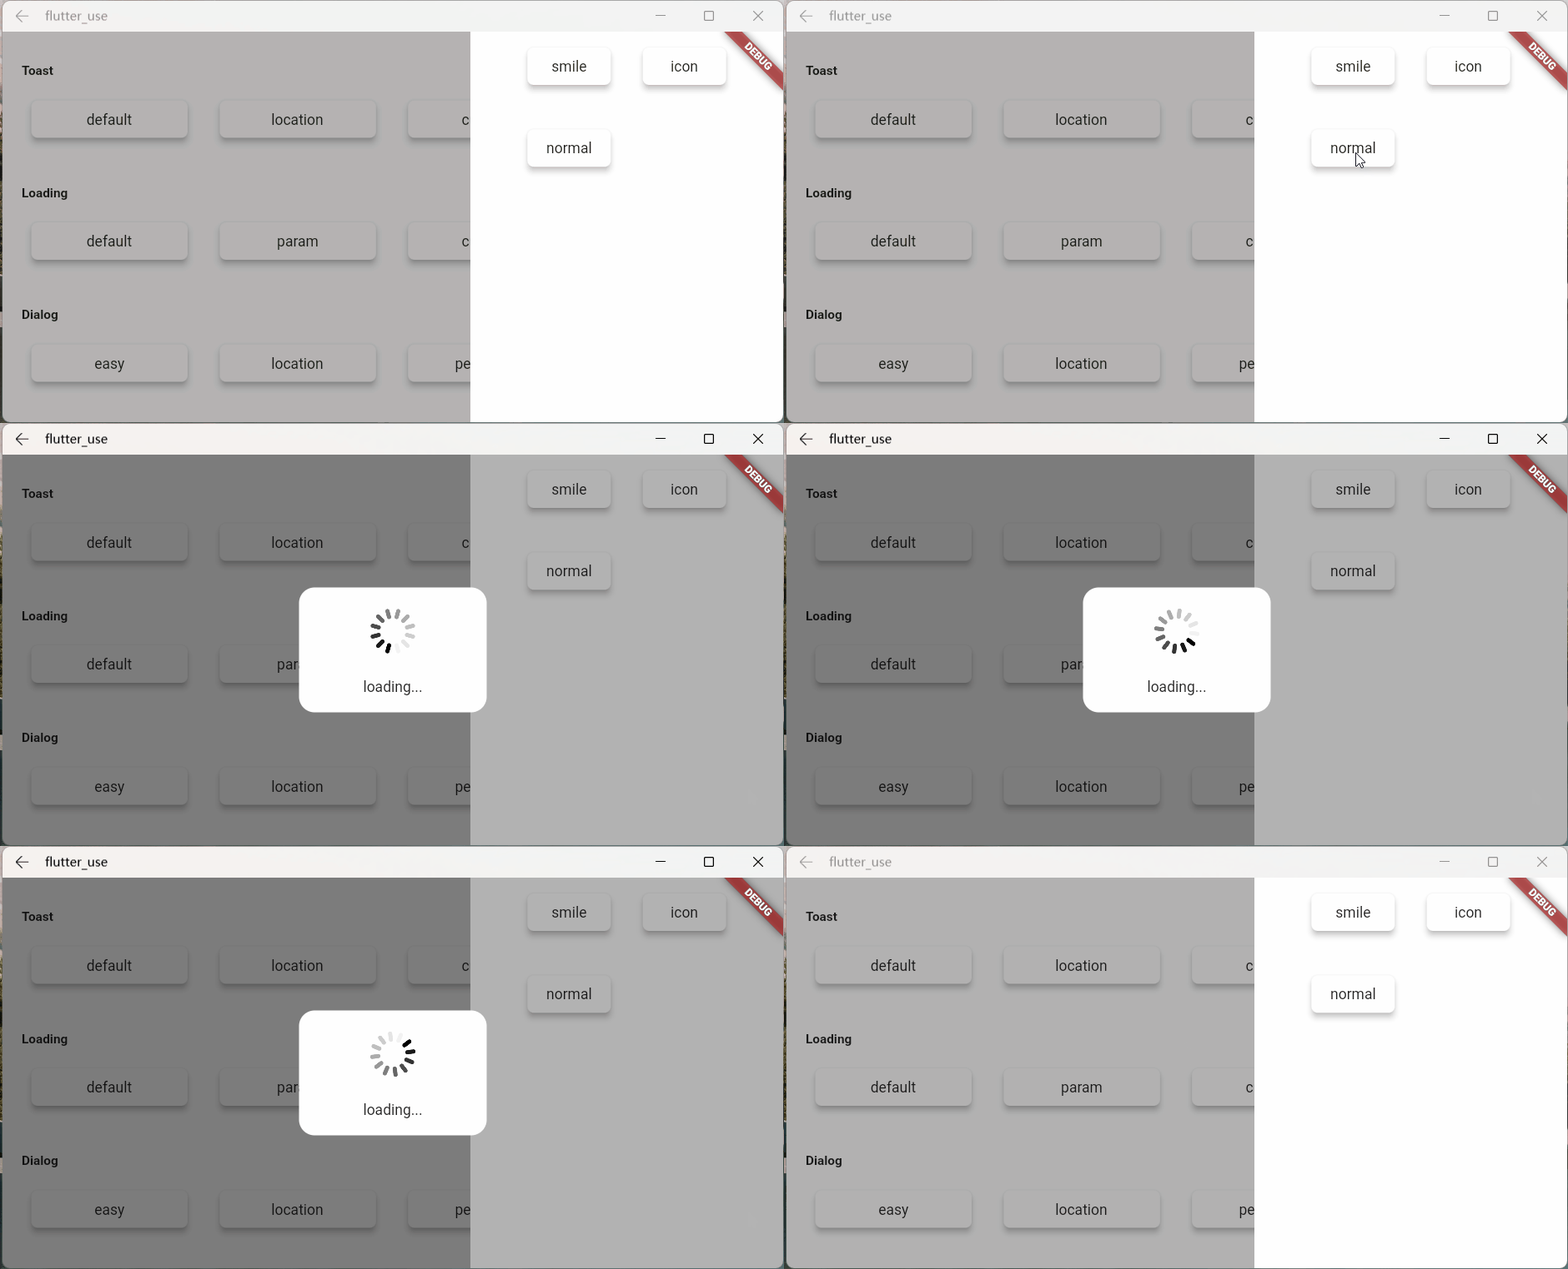
Let's see the effect
- Effect one
SmartDialog.showLoading(isLoadingTemp: false, widget: CustomLoading());
await Future.delayed(Duration(seconds: 2));
SmartDialog.dismiss();- Effect two
SmartDialog.showLoading(
    isLoadingTemp: false,
    widget: CustomLoading(type: 1),
);
await Future.delayed(Duration(seconds: 2));
SmartDialog.dismiss();- Effect three
SmartDialog.showLoading(widget: CustomLoading(type: 2));
await Future.delayed(Duration(seconds: 2));
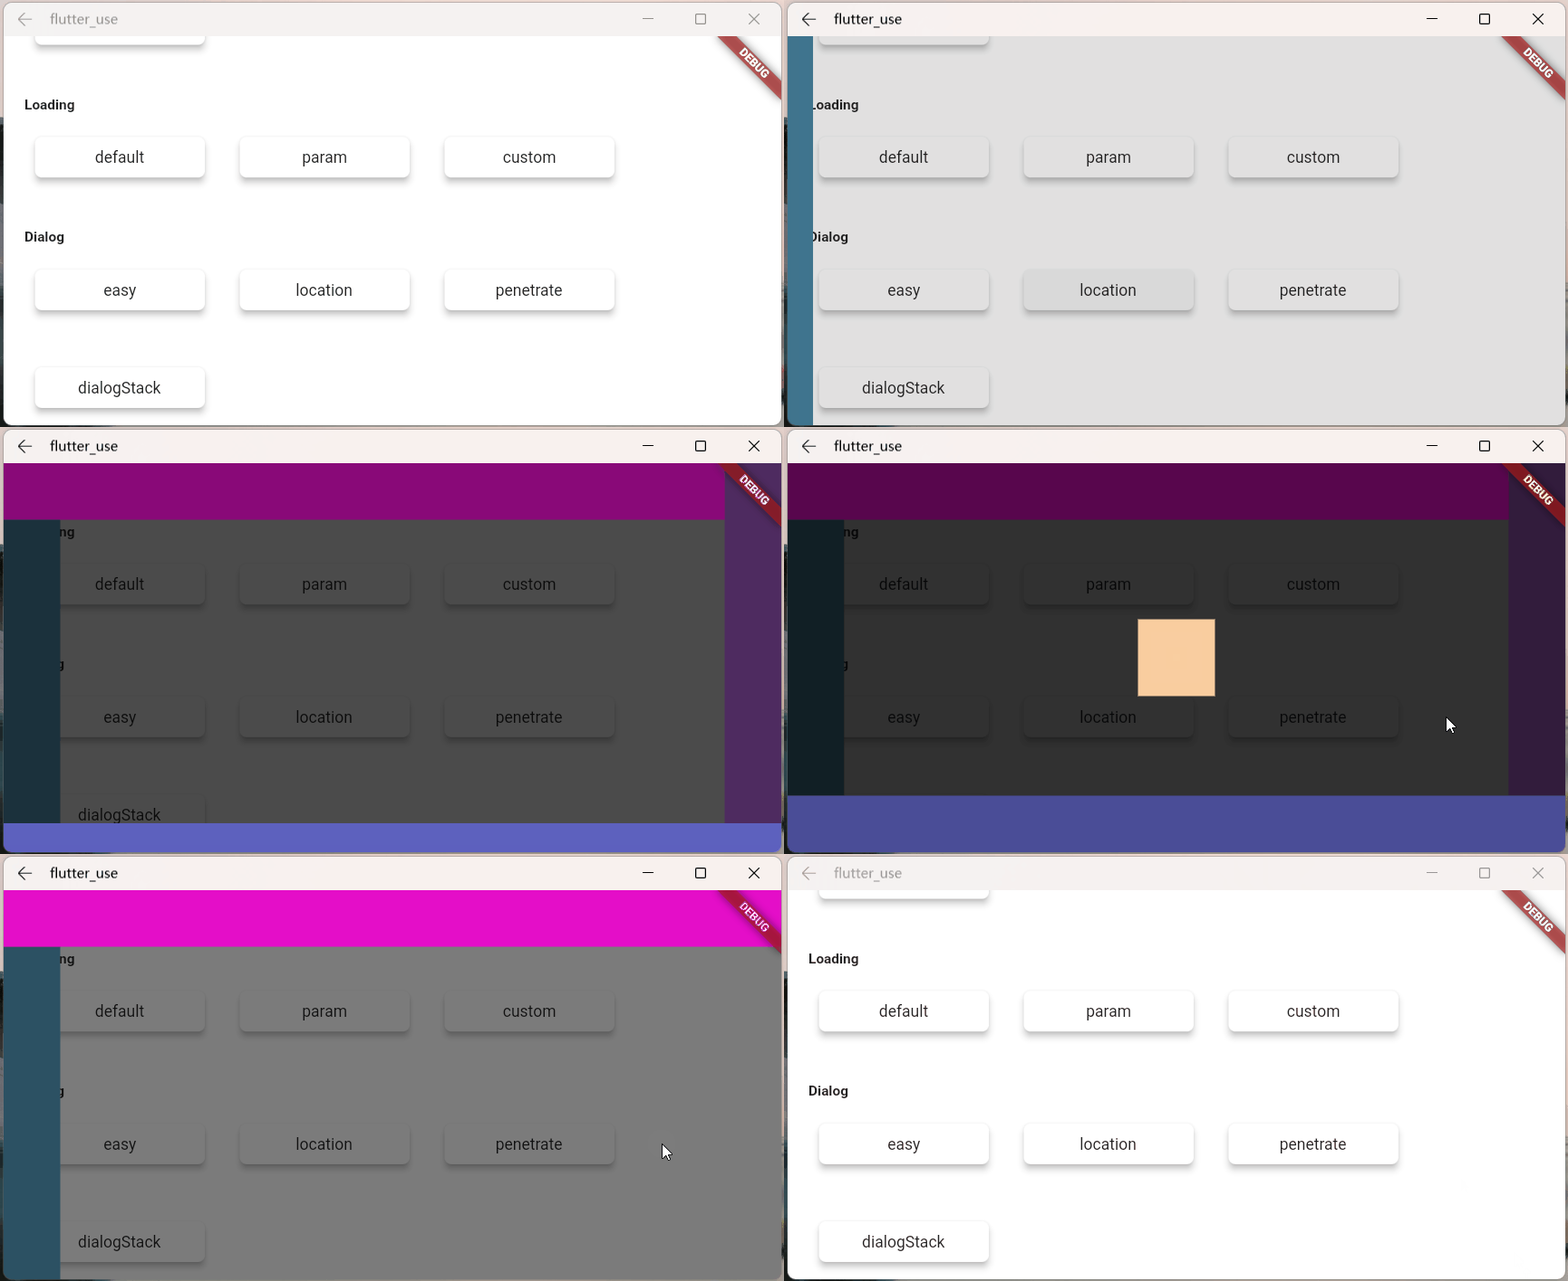
SmartDialog.dismiss();- alignmentTemp: The animation effect will be different if the parameter setting is different
var location = ({
    double width = double.infinity,
    double height = double.infinity,
}) {
    return Container(width: width, height: height, color: randomColor());
};

//left
SmartDialog.show(
    widget: location(width: 50),
    alignmentTemp: Alignment.centerLeft,
);
await Future.delayed(Duration(milliseconds: 500));
//top
SmartDialog.show(
    widget: location(height: 50),
    alignmentTemp: Alignment.topCenter,
);
await Future.delayed(Duration(milliseconds: 500));
//right
SmartDialog.show(
    widget: location(width: 50),
    alignmentTemp: Alignment.centerRight,
);
await Future.delayed(Duration(milliseconds: 500));
//bottom
SmartDialog.show(
    widget: location(height: 50),
    alignmentTemp: Alignment.bottomCenter,
);
await Future.delayed(Duration(milliseconds: 500));
//center
SmartDialog.show(
    widget: location(height: 100, width: 100),
    alignmentTemp: Alignment.center,
    isLoadingTemp: false,
);- isPenetrateTemp: Interaction event penetration mask
SmartDialog.show(
    alignmentTemp: Alignment.centerRight,
    isPenetrateTemp: true,
    clickBgDismissTemp: false,
    widget: Container(
        width: 80,
        height: double.infinity,
        color: randomColor(),
    ),
);- This is a powerful and useful feature!
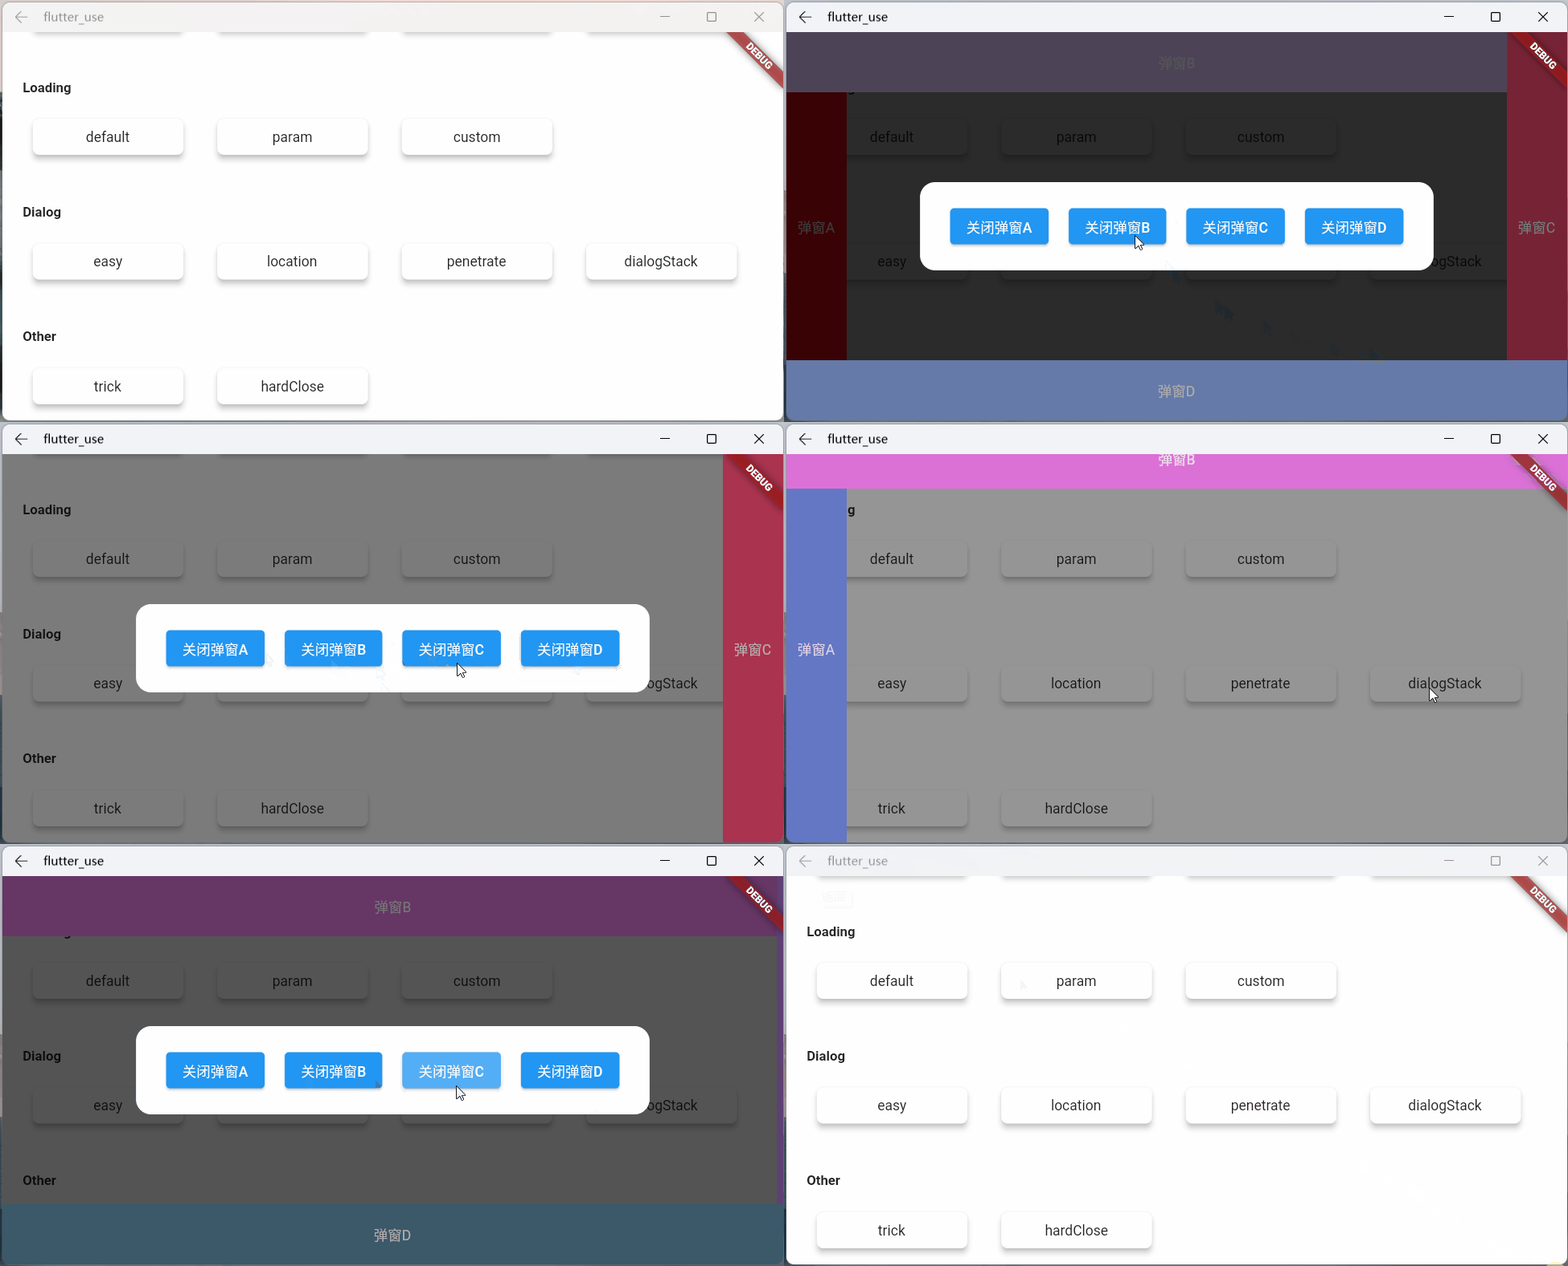
- You can easily close a dialog at a fixed point
var stack = ({
  double width = double.infinity,
  double height = double.infinity,
  String? msg,
}) {
  return Container(
    width: width,
    height: height,
    color: randomColor(),
    alignment: Alignment.center,
    child: Text('pop window$msg', style: TextStyle(color: Colors.white)),
  );
};

//left
SmartDialog.show(
  tag:'A',
  widget: stack(msg:'A', width: 60),
  alignmentTemp: Alignment.centerLeft,
);
await Future.delayed(Duration(milliseconds: 500));
//top
SmartDialog.show(
  tag:'B',
  widget: stack(msg:'B', height: 60),
  alignmentTemp: Alignment.topCenter,
);
await Future.delayed(Duration(milliseconds: 500));
//right
SmartDialog.show(
  tag:'C',
  widget: stack(msg:'C', width: 60),
  alignmentTemp: Alignment.centerRight,
);
await Future.delayed(Duration(milliseconds: 500));
//bottom
SmartDialog.show(
  tag:'D',
  widget: stack(msg:'D', height: 60),
  alignmentTemp: Alignment.bottomCenter,
);
await Future.delayed(Duration(milliseconds: 500));

//center: the stack handler
SmartDialog.show(
  alignmentTemp: Alignment.center,
  isLoadingTemp: false,
  widget: Container(
    decoration: BoxDecoration(
        color: Colors.white, borderRadius: BorderRadius.circular(15)),
    padding: EdgeInsets.symmetric(horizontal: 30, vertical: 20),
    child: Wrap(spacing: 20, children: [
      ElevatedButton(
        child: Text('Close popup A'),
        onPressed: () => SmartDialog.dismiss(tag:'A'),
      ),
      ElevatedButton(
        child: Text('Close popup B'),
        onPressed: () => SmartDialog.dismiss(tag:'B'),
      ),
      ElevatedButton(
        child: Text('Close the pop- up window C'),
        onPressed: () => SmartDialog.dismiss(tag:'C'),
      ),
      ElevatedButton(
        child: Text('Close pop- up window D'),
        onPressed: () => SmartDialog.dismiss(tag:'D'),
      ),
    ]),
  ),
);There is a scene that compares the egg cone
- We encapsulated a small component using StatefulWidget
- In a special situation, we need to trigger a method inside this component outside the component
- There are many implementation methods for this kind of scene, but it may be a little troublesome to make it
Here is a simple idea, which can be triggered very easily, a method inside the component
- Create a widget
class OtherTrick extends StatefulWidget {
  const OtherTrick({Key? key, this.onUpdate}): super(key: key);

  final Function(VoidCallback onInvoke)? onUpdate;

  @override
  _OtherTrickState createState() => _OtherTrickState();
}

class _OtherTrickState extends State<OtherTrick> {
  int _count = 0;

  @override
  void initState() {
    // here
    widget.onUpdate?.call(() {
      _count++;
      setState(() {});
    });

    super.initState();
  }

  @override
  Widget build(BuildContext context) {
    return Center(
      child: Container(
        padding: EdgeInsets.symmetric(horizontal: 50, vertical: 20),
        decoration: BoxDecoration(
          color: Colors.white,
          borderRadius: BorderRadius.circular(10),
        ),
        child: Text('Counter: $_count', style: TextStyle(fontSize: 30.0)),
      ),
    );
  }
}- Show this component and then trigger it externally
VoidCallback? callback;

// display
SmartDialog.show(
  alignmentTemp: Alignment.center,
  widget: OtherTrick(
    onUpdate: (VoidCallback onInvoke) => callback = onInvoke,
  ),
);

await Future.delayed(Duration(milliseconds: 500));

// handler
SmartDialog.show(
  alignmentTemp: Alignment.centerRight,
  maskColorTemp: Colors.transparent,
  widget: Container(
    height: double.infinity,
    width: 150,
    color: Colors.white,
    alignment: Alignment.center,
    child: ElevatedButton(
      child: Text('add'),
      onPressed: () => callback?.call(),
    ),
  ),
);- Let's see the effect


