-
Notifications
You must be signed in to change notification settings - Fork 22
Home
Get your own smart chatbot. Design your bot once, deploy it everywhere
Xatkit has been created to reduce boilerplate code, complex API understanding, and technical details to facilitate the definition and deployment of your bots. Xatkit helps you focus on what really matters: the conversation logic you want to embed in your chatbot.
To do so, we have baked a chatbot-specific definition language to specify user intentions, receive events (your bots can also be proactive!), and bind them to computable actions following powerful state machine semantics. Our chatbot language is implemented as a Java Fluent Interface combining the low-code benefits of using a dedicated chatbot Internal DSL with the full power of Java when you need to write complex bot behaviours.
This chatbot specification is then handled by the Xatkit Runtime Engine, which automatically manages its deployment and execution. See some examples of what you can do with Xatkit!. Reuse the existing platforms (or add your own) to make your bot talk with external services (Slack, GitHub, websites,...).
1- Build the latest version of Xatkit
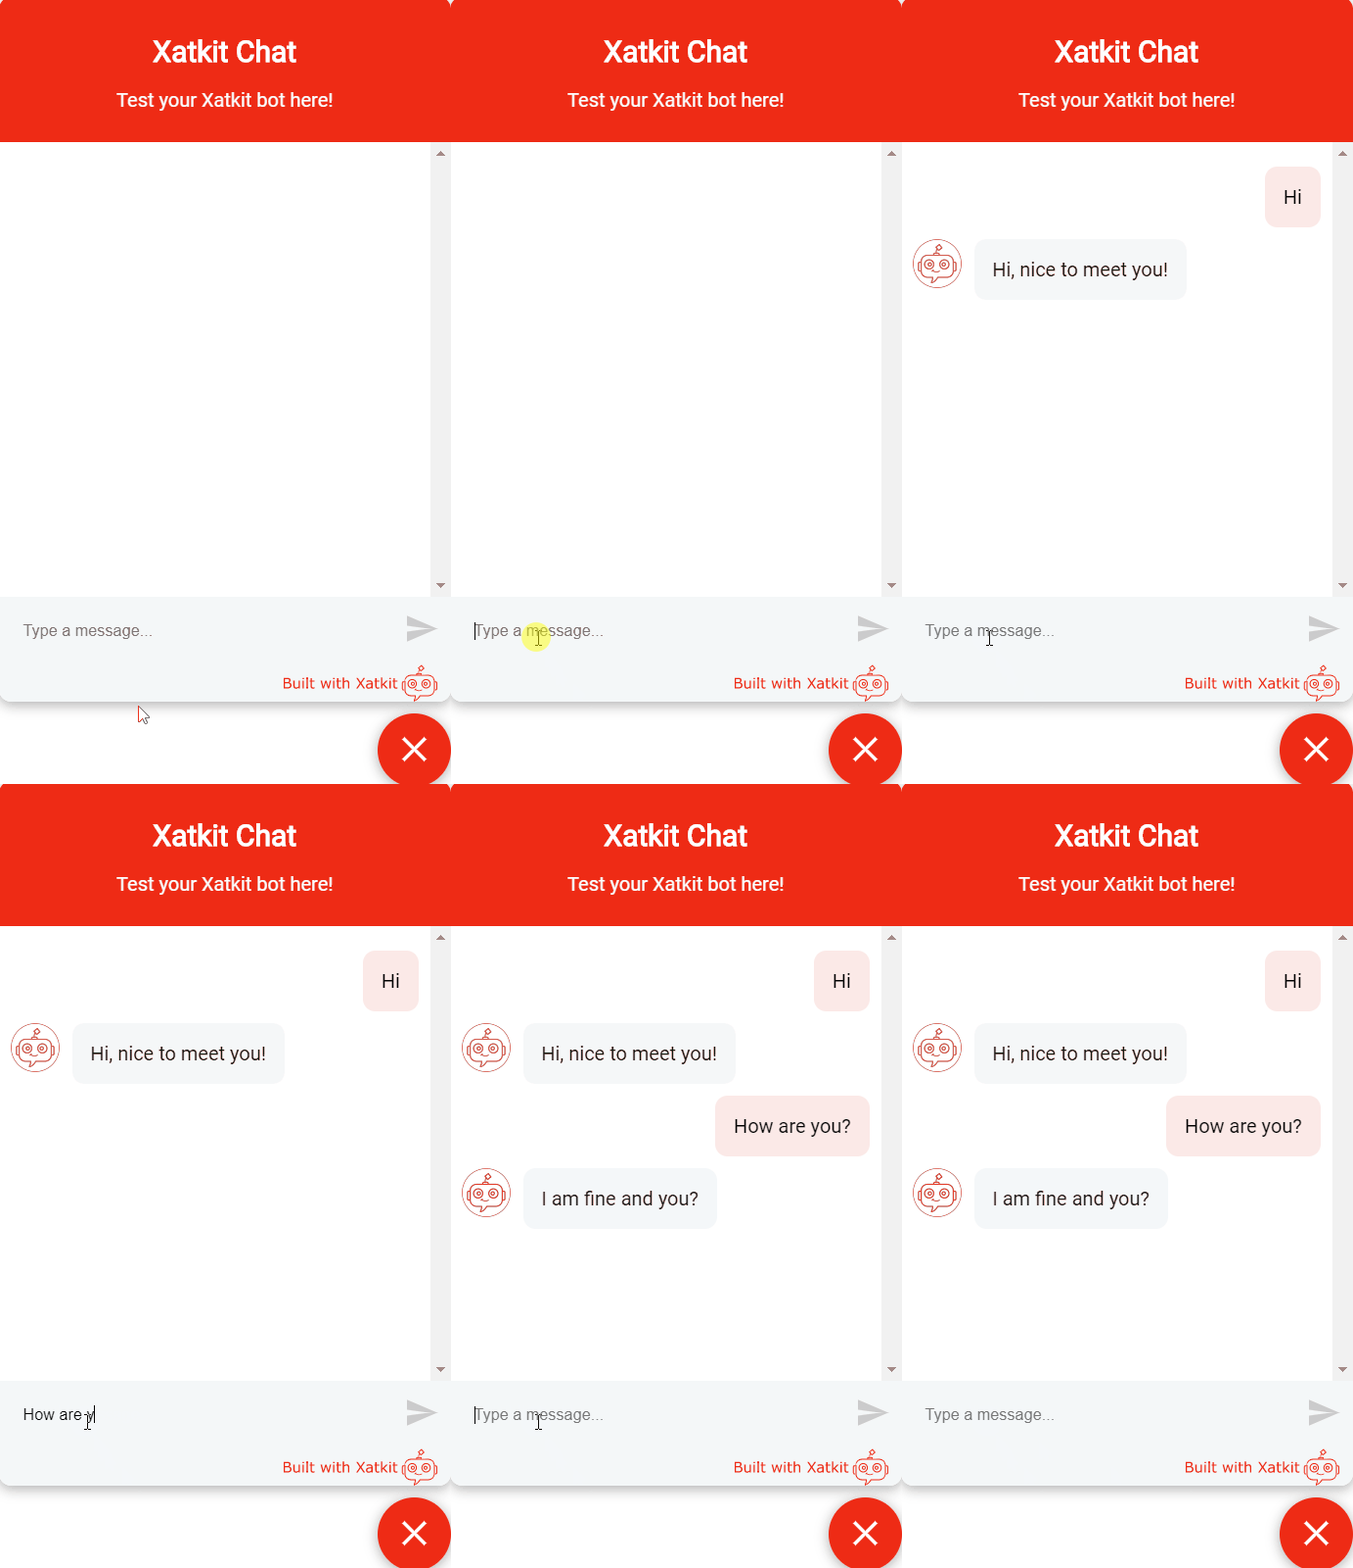
2- Navigate to xatkit-examples/GreetingsBots/GreetingsBot and start the example digital assistant (a basic web-based bot that greets users)
mvn clean compile
mvn exec:java -Dexec.mainClass="com.xatkit.example.GreetingsBot"
The console will log some initialization information, and after a few seconds you should see the following message:
You can test your chatbot here http://localhost:5000/admin (note that the bots behavior can be slightly different on the test page than when it is deployed on a server)Open your browser and navigate to http://localhost:5000/admin to test your deployed web-based bot! Remember this bot is just a greetings bot to test your installation so beyond saying 'Hi', the bot will respond to everything else with the default answer! Also, to simplify its configuration, this sample bot just uses regular expression to match your intent but you could easily configure it to use a real NLP such as DialogFlow.
You can see a more complete online demo by talking to our ecommerce chatbot, available as a demo in our home page.

Congratulations, you just started your first Xatkit digital assistant!
You can now have a look at the tutorial to learn how bots are defined with the Xatkit language, or if you are already familiar with it you can take a look at the documentation for additional information on Xatkit capabilities.
You can also kickstart the process thanks to our pre-configured Xakit Bot Template.
Your bot will be able to use any of the over a dozen platforms (and counting) available in Xatkit such as Slack, Telegram, Github, React ... You can find the full list of supported platform in our wiki.
If you experience any issue with Xatkit you can open an issue on our tracker and we will be happy to help you! Note that we may move your issue to a different repository based on the impacted components.
You want to contribute to Xatkit? We would love to hear from you. Remember that there are many ways to support open source projects beyond committing code!. Talking about Xatkit, writing documentation, contributing examples,... all are great ways to help us.
And, of course, if you want/can fix bugs and/or implement new features for Xatkit, do not hesitate to create a pull-request on the repository you updated and we will be happy to review your code and help you!
Feel free to reach out by mail or ping us in social media.
Thanks for reading until the end! If you like what you see, don't forget to star/watch this repository, thanks!
- Getting Started
- Configuring your bot
- Integrating an Intent Recognition Provider
- Adding a bot to your website
- Deploying on Slack
- Basic concepts
- Intents and Entities
- States, Transitions, and Context
- Default and Local Fallbacks
- Core Library