|| Basics • Contribution Guidelines • Experiences || Setup • Getting Started || Samples ||
What is Try .NET: Try .NET is an interactive documentation generator for .NET Core.
Please Note: At the moment Try .NET only works with C# documentation.
As we are still in the early stages of our development, we are unable to take any feature PRs at the moment but, we do intend to do this in the future. Please feel free to file any bugs reports under our issues. And if you have any feature suggestion, please submit them under our issues using the community suggestions label.
Use Try .NET to create executable C# snippets for your websites or, interactive markdown files that users can run on their machine.
Websites
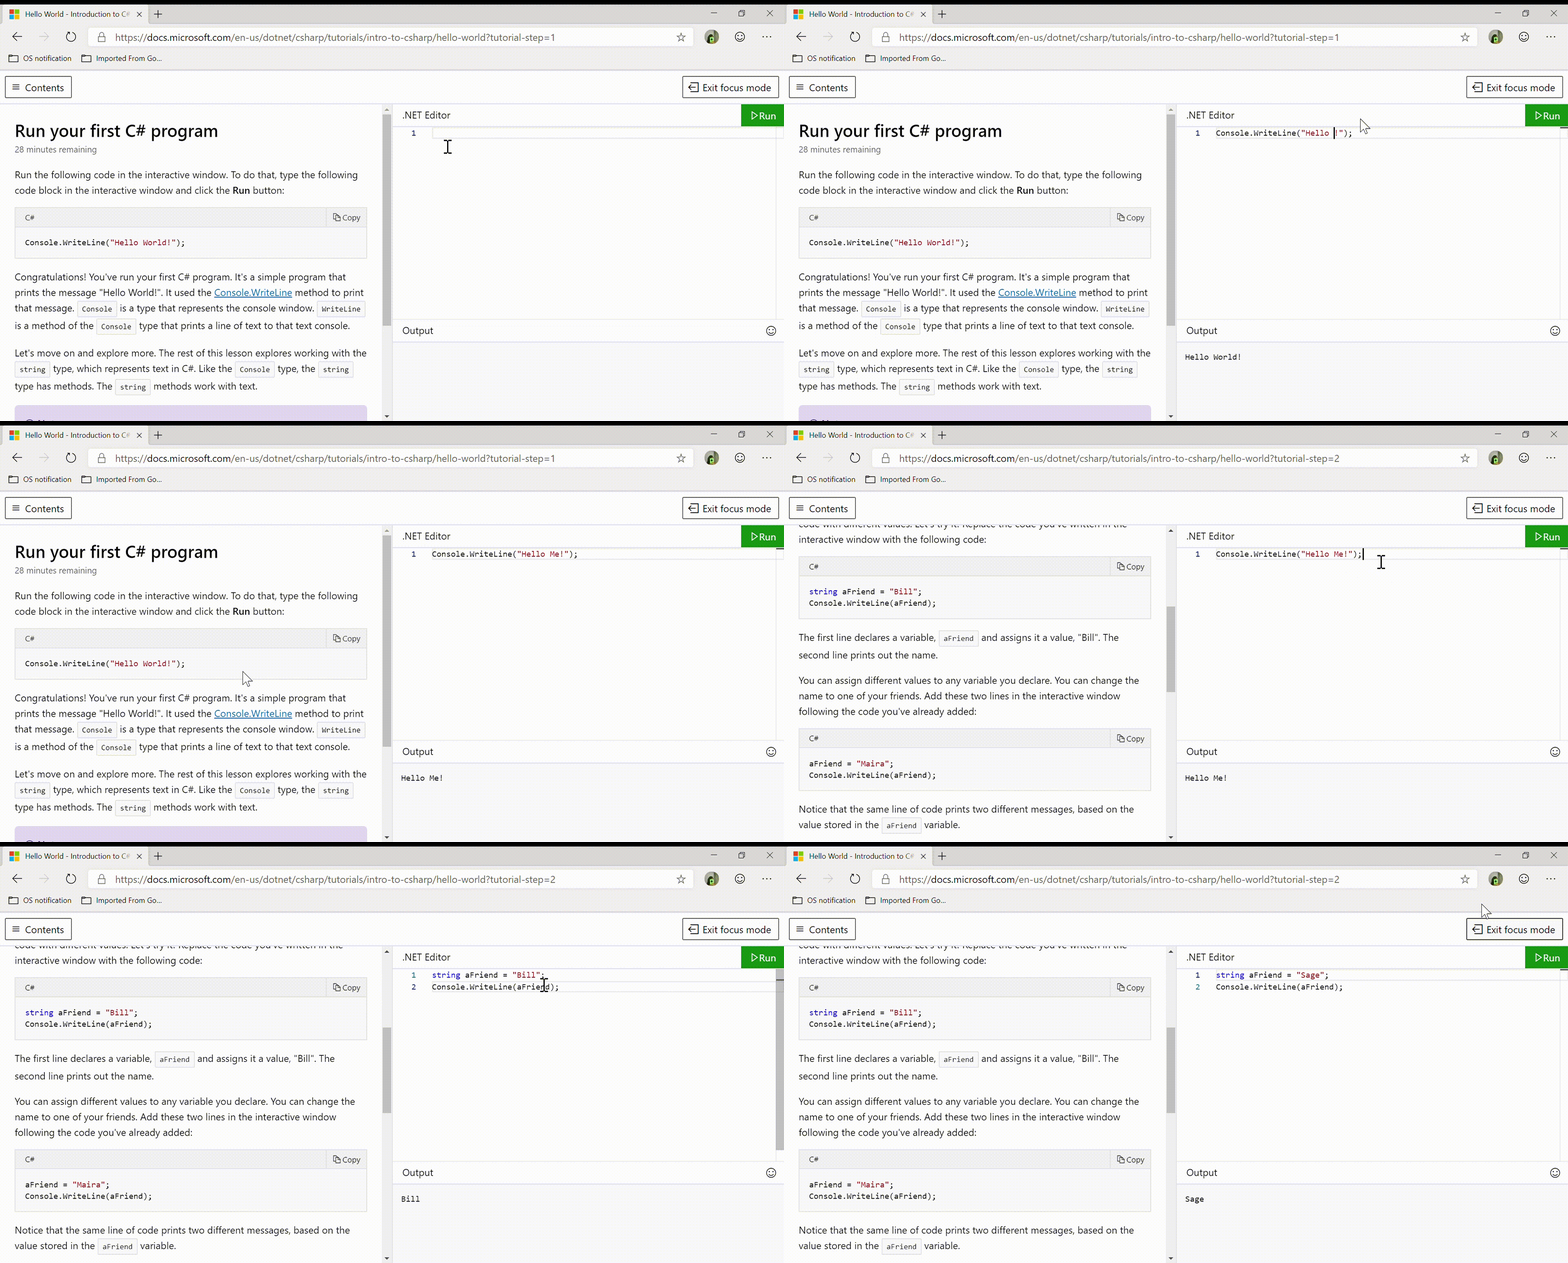
Microsoft Docs uses Try .NET to create interactive documentation. Users can run and edit code all in the browser.

Interactive .NET documentation
Try .NET enables .NET developers to create interactive markdown files.
To make your markdown files interactive, you will need to .NET Core 3.0 SDK, the dotnet try global tool(coming soon) and Visual Studio / VS Code(or any other editor of your choice).

Before you get can start creating interactive documentation, you will need to install the following:
- .NET Core 3.0 SDK and 2.1 currently
dotnet tryglobal tool targets 2.1. - dotnet try global tool
dotnet tool install --global dotnet-try --version 1.0.19264.11
Updating to the latest version of the tool is easy just run the command below
dotnet tool update -g dotnet-try
Once you have successfully installed dotnet try global tool, enter the command dotnet try -h you will see a list of commands:
| Command | Purpose |
|---|---|
demo |
Learn how to create Try .NET content with an interactive demo |
verify |
Verify Markdown files in the target directory and its children. |
You can get started using either one of the options below.
Option1: dotnet try demo
- Create a new folder.
cdto your new folder.- Run command
dotnet try demo
Option 2: Starting from scratch.
- Go to the terminal and create a folder called
mydoc. cdto themydocfolder and create a new console app with the following command
> dotnet new console -o myAppThis will create a console app with the files myApp.csproj and Program.cs.
-
Open
mydocfolder in Visual Studio Code. -
Create a file called
doc.md. Inside that file, add some text and a code fence:
# My Interactive Document:

```cs --source-file ./myApp/Program.cs --project ./myApp/myApp.csproj
```- Now, navigate back to the
mydocfolder and run the following command:
> dotnet tryYou have created your first C# interactive developer experience. You should now be able to run your console app and see the result in the browser.
Option 3: Explore our samples Repo.
- Clone the dotnet/try-samples repo.
- Follow the quick steps listed here to get started.

