TODO: make this documentation more user friendly and less nerdy
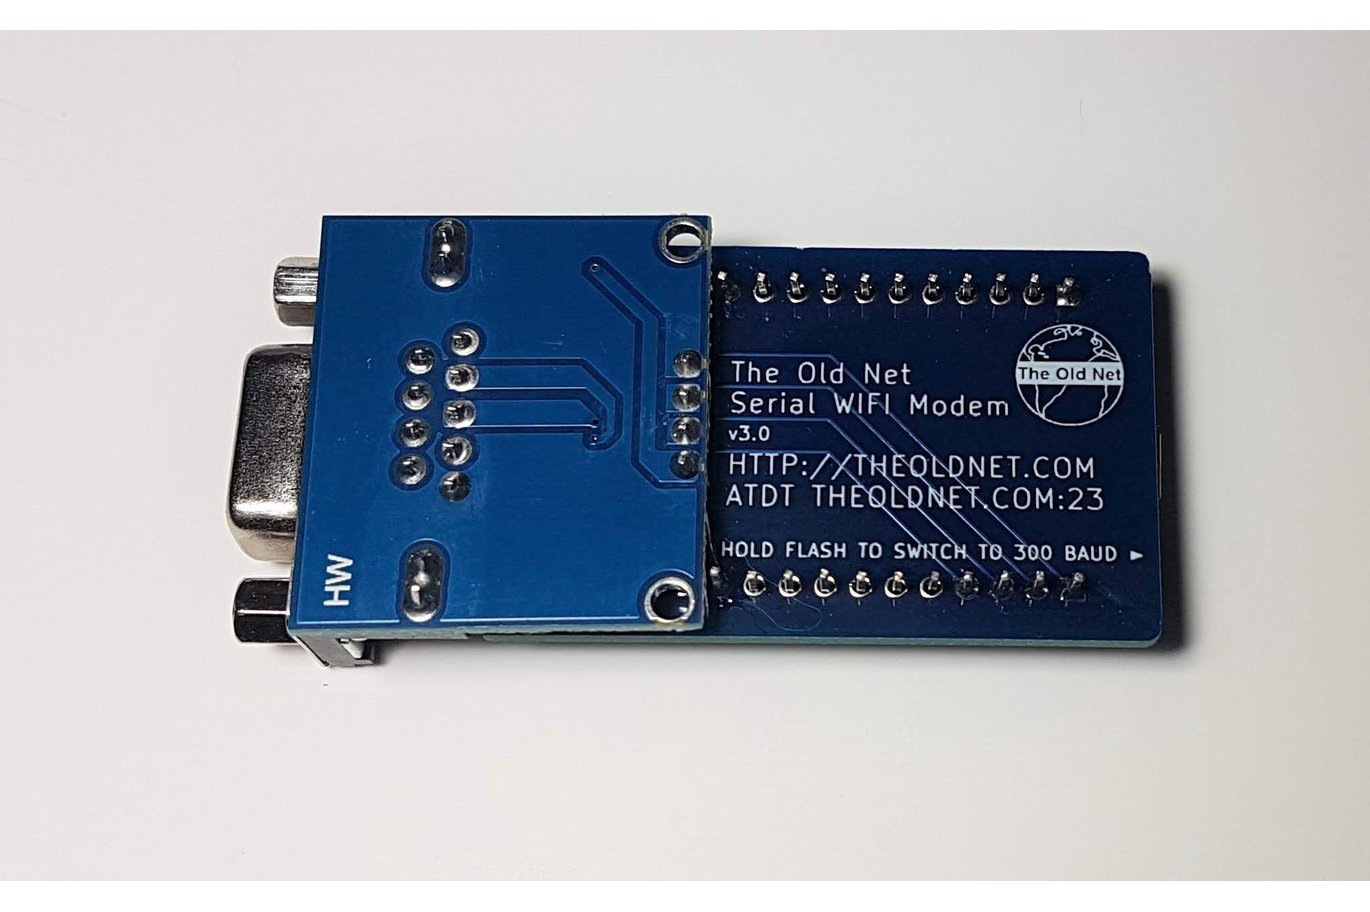
This repository contains the Hayes Modem & PPP firmware for The Old Net Serial to WIFI Adapter. If you do not care about the source code and just want the firmware, supporting tools and documentation please direct your attention here instead: https://github.com/TheOldNet/theoldnet-wifi-firmware-binaries
Copyright (C) 2020 Richard Bettridge under GPLv3 license.
based on https://github.com/RolandJuno/esp8266_modem Copyright (C) 2016 Paul Rickards [email protected] under GPLv3 license.
based on https://github.com/jsalin/esp8266_modem Copyright (C) 2015 Jussi Salin [email protected] under GPLv3 license.
I make these modems on a custom PCB for a reasonable price. I try to keep the shipping low and the modem always in stock. You can get one at TheOldNet Store
Read the docs that ship with the modem here https://github.com/ssshake/vintage-computer-wifi-modem/blob/master/docs/Wifi%20Modem%20Welcome%20Guide.pdf
I created this document showing the pin mappings for various systems which do not have a DE/DB9 port. Thanks to members of the community for verifying these pinouts!
You can reference this to make your own custom cables https://github.com/ssshake/vintage-computer-wifi-modem/blob/master/docs/pin-mapping.md
To flash the firmware you need three things:
-
This firmware file: https://github.com/ssshake/vintage-computer-wifi-modem/raw/master/firmware/theoldnet_serial_wifi_modem/theoldnet_serial_wifi_modem.ino.nodemcu.bin
-
This program: https://github.com/esphome/esphome-flasher/releases/tag/v1.3.0
-
If on windows, this driver: https://www.silabs.com/documents/public/software/CP210x_Universal_Windows_Driver.zip
TheOldNet.com is a set of services which aim to revitalize vintage computers by way of providing network access.
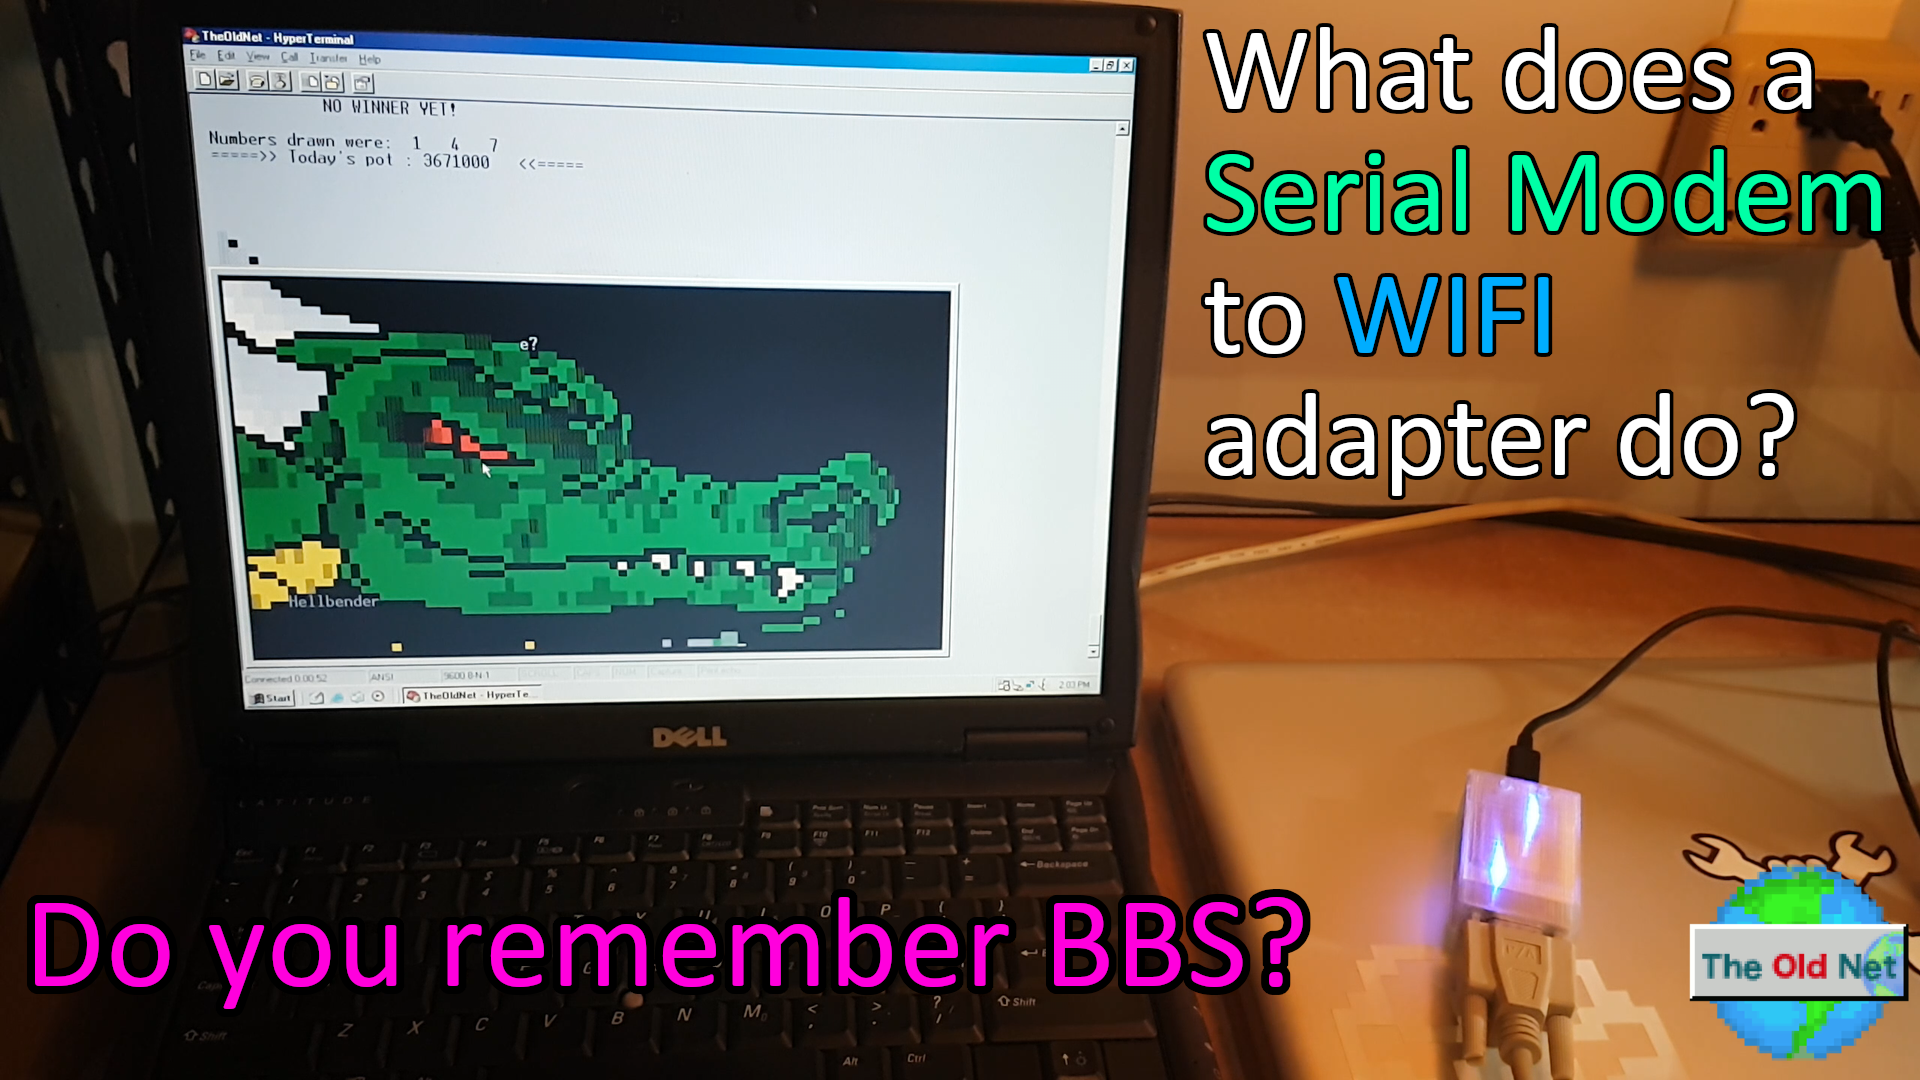
The Serial WIFI Modem Emulator is a RS232 DB9 connection which provides a bridge to the internet over WIFI. This device does not show up like a wifi network card on the old device. Rather it shows up as a Hayes compatible dial up modem. Instead of dialing phone numbers to connect to remote computers, it connects to remote computers via telnet.
This means that you do not need any special software. Any old terminal program works. Instead of dialing a phone number, you "dial" an IP. It's that simple and easy.
- Change baud rate: AT$SB=N (N=300,1200,2400,4800,9600,19200,38400,57600,115200)
- Set WiFi SSID: AT$SSID=YourWiFiSSID
- Set WiFi Password: AT$PASS=YourWiFiPassword
- Connect to WiFi: ATC1
- Save current settigns to NVRAM: AT&W
- Connect by TCP: ATDTsome.bbs.com:23
- Connect by PPP: ATDTPPP or ATDT777 (for systems which cannot dial letters)
- Disable telnet command handling: ATNET0
- Get my IP: ATIP
- Make a HTTP GET request: ATGEThttp://host:80/path
- Answer a RING: ATA
- Disconnect: +++ (following a delay of a second)
- Speed Dial: ATDSN (N=0-9)
- Set Speed Dial: AT&ZN=HOST:PORT (N=0-9)
- Complete commands can be found with AT? or ATHELP
Note that the key and port are optional parameters. Port defaults to 23. All parameters are case sensitive, the command itself not. You must always connect to an access point before dialing, otherwise you get an error. When you connect to WIFI you get either OK or ERROR after a while, depending on if it succeeded. If you get ERROR the connection might still occur by itself some time later, in case you had a slow AP or slow DHCP server in the network. When dialing, you get either CONNECT when successfully connected or ERROR if the connection couldn't be made. Reasons can be that the remote service is down or the host name is mistyped.
Default Baud rate is defined in the code as 300. 2400 is safe for C64 and 19200 for any PC and Amiga. 115200 for PC's with "new" 16550 UART. You must always have that default rate on the terminal when powering on. After giving a command for a higher rate nothing is replied, just switch to the new baud rate in your terminal as well. Then you can give next command in the new baud rate. Note that the first command after switching baud rate might fail because the serial port hardware is not fully synchronized yet, so it might be good idea to simply give "AT" command and wait for "ERROR" or "OK" before giving an actual command.
You can always default the baud rate back to 300 baud by pressing and holding the button (GPIO 0 to ground) for 5 seconds until the LED (GPIO 5) flashes fast.
OK
at$ssid=MyWiFiNetwork

OK
at$pass=MyPassword

OK
atc1

CONNECTING TO SSID MyWiFiNetwork......
CONNECTED TO MyWiFiNetwork
IP ADDRESS: 192.168.2.3

OK
atdtbat.org:23
DIALING bat.org:23

CONNECT 2400


           ^_                                   _^
          /  \__________   /\___/\   __________/  \
         /              \  \     /  /              \
        /      \   \     \_/ ` ' \_/     /   /      \
       /   _/\  \   \        ---        /   /  /\_   \      Logo by:
      /  _/   \  \   \                 /   /  /   \_  \        Saruman
     / _/      \          _       _          /      \_ \
    /_/         \/\/\/\/\/ \_____/ \/\/\/\/\/         \_\
   //                                                   \\
.       Welcome to BatMUD, Online since 14th April 1990!
.     EMail: [email protected] about problems concerning BatMUD

     This machine is owned by B.A.T. ry, a non-profit organization,
                    and is hosted at Nebula, Finland.
This PR contains a small change which:
- Implements logic required to make gopher requests
- Adds the gopher command to the help documentation
- Updates the build number
The code used for making Gopher requests is based on the HTTP GET code, but with the necessary changes made for the Gopher protocol.
Usage
The command can be used like so:
ATGPHgopher://gopherpedia.com
Selectors can be added after the URL:
ATGPHgopher://gopherpedia.com/Gopher_(protocol)
Port is optional and will default to the standard gopher port of 70.
Working Demo

