Spring Boot is the framework to create standalone production ready restful web services. This opens the way for designing SAAS solution as microservices. Traditionally Spring MVC application which used to provide restful apis would be generated as a war. In case of Spring Boot it is created as a jar. This jar file also includes the application server (tomcat/jetty). The reason we call Spring Boot Production ready is because it provides numerous features out of the box. Few examples of these are autoconfig, which can be looked at as convention for production configuration. Additional End Points to monitor and gauge the health of the system. Other end points also provies you metrics, thread trace etc. These can be turned on or off.
- Ensure you have Java JDK 7+ on your machine
- Step Download Gradle and keep its binary in path
- $>./gradlew build
The jar executable artifact "build/libs/spring-boot-sample-0.1.0.jar" is create as a result of the above command
- $>java -jar build/libs/spring-boot-sample-0.1.0.jar
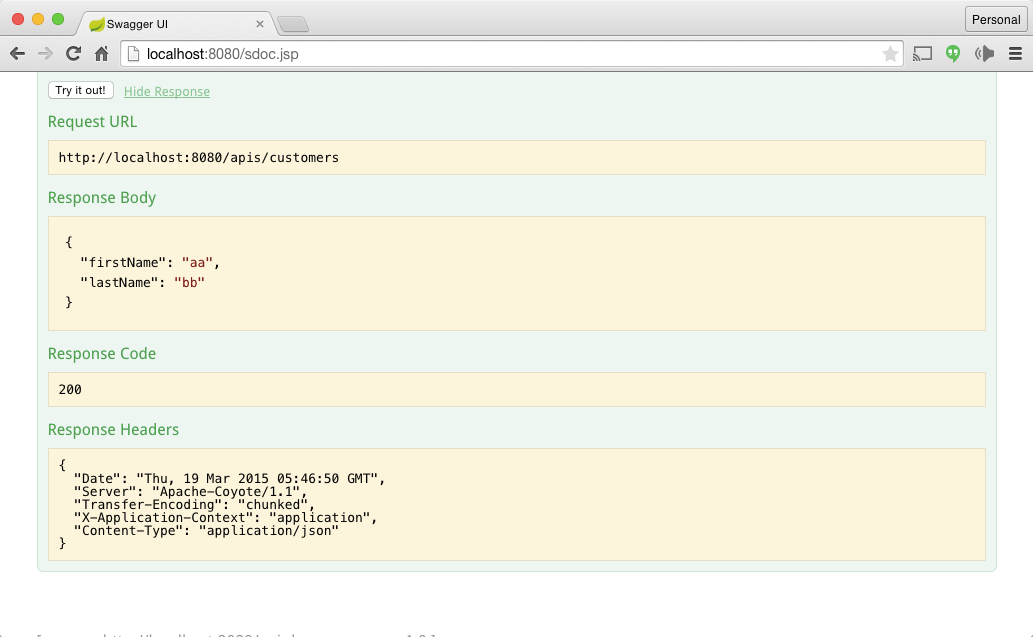
Open http://localhost:8080/sdoc.jsp in your browser. You will be shown Swagger Restful Documentation there. Refer the screenshot below
Swagger is a tool to
- provide auto generated docummentation for your restful apis
- provide a UI playground to test your restful apis
- provide code generators to generate iOS, Android, Java, C# restful clients
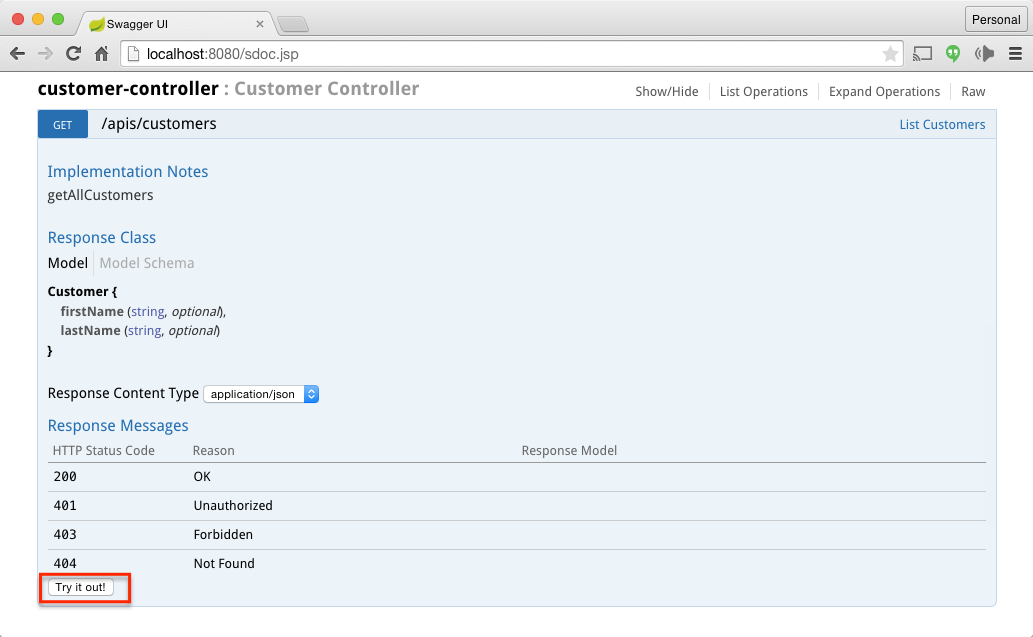
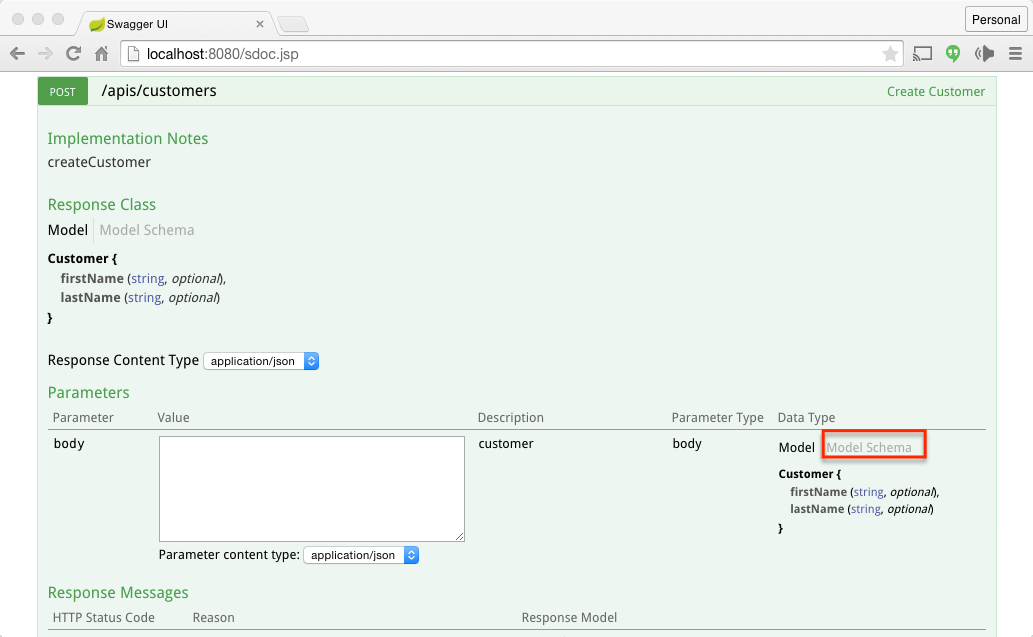
This projects shows an example of how you can integrate Swagger to document the restful apis Click on Expand Operation and try out the Create Customer API and List Customers API. Refer the screenshot below
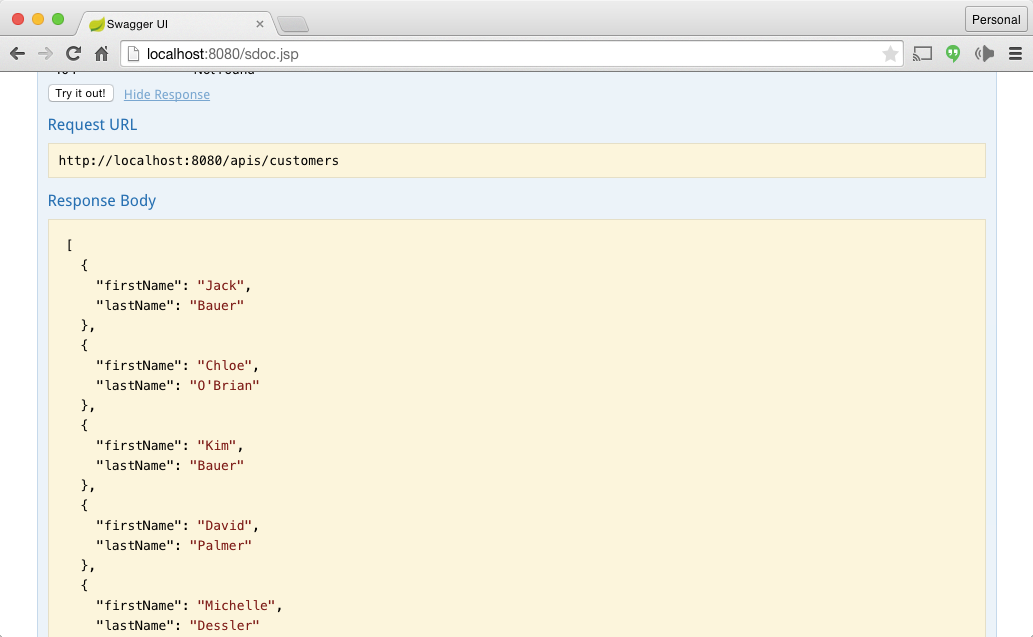
Trying out the List Customers Web Services is simple, just click on tryout button.
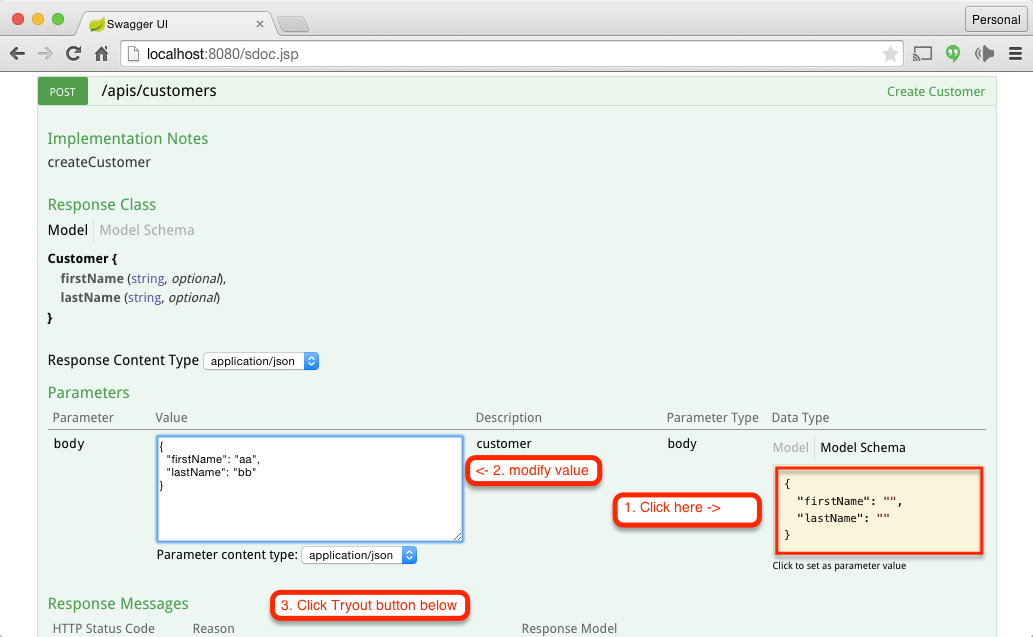
Click on the Schema
Change the values
Click on the tryout button and see the results. You can try the List Customers Web Service to check if this new customer has been added to the list.
With the advent of Docker the focus changes from creating application binary as artifacts to creating complete Dockerized Image of your application (or part of your application like a microservices). This project show an example as to how a gradle code creates a Docker Image for the Business Application. This image can be launched on laptop, QA machines, Staging and Even in Production and will behave exactly the same way.
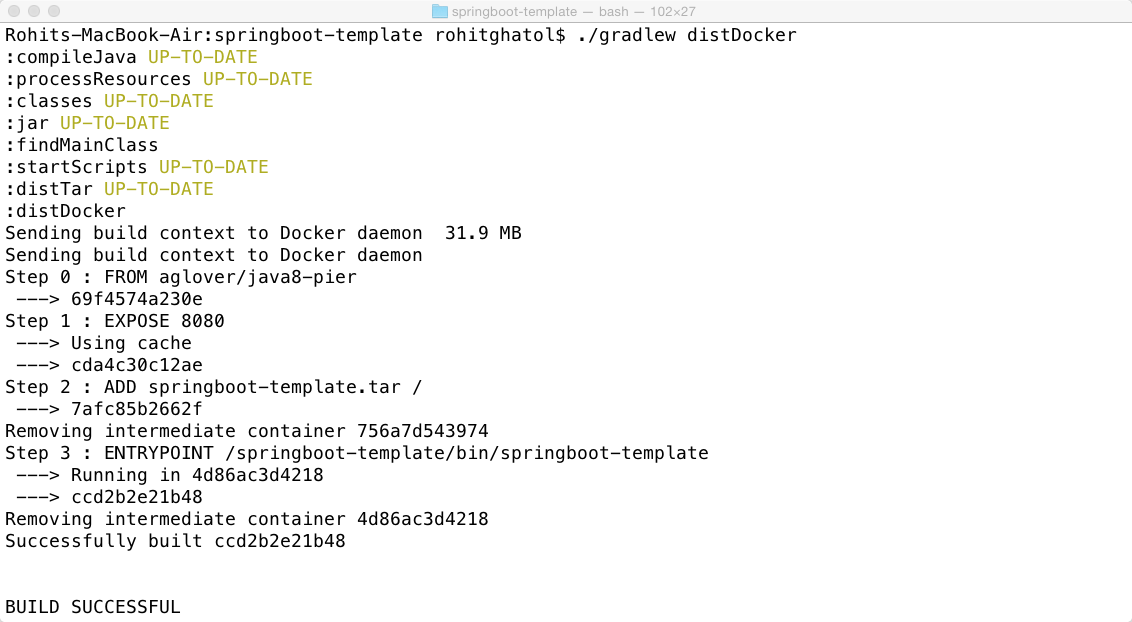
Luckily we have a Gradle Plugin that can directly create the Docker Image of the Business Application (in our case our restful web service).
$>./gradlew distDocker
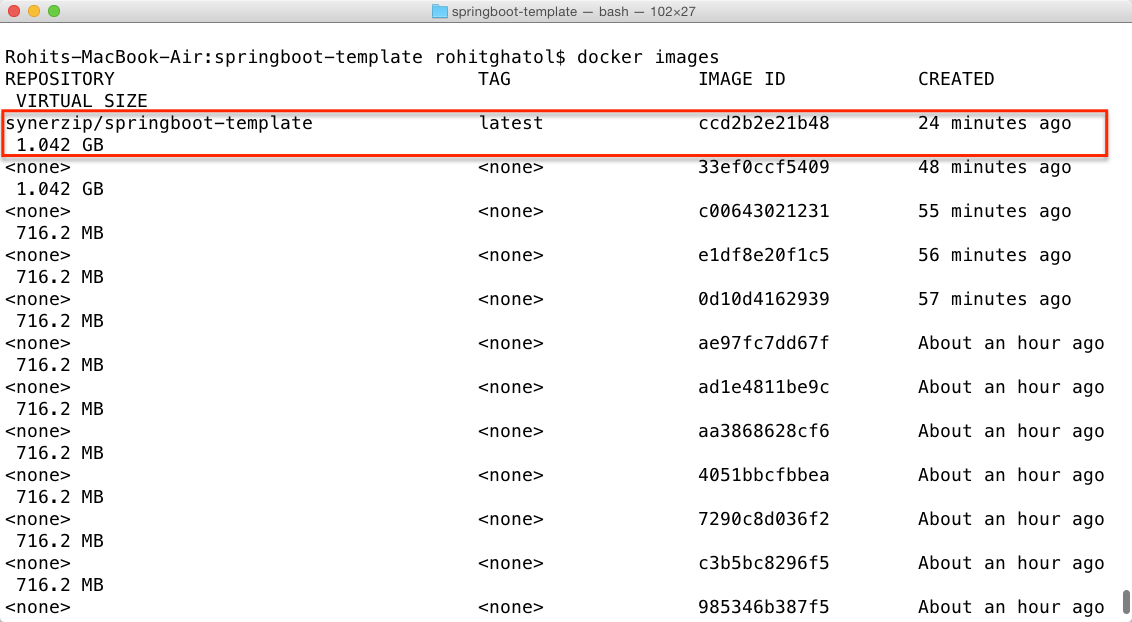
We can now check if this image (synerzip/springboot-template) is created as part of this build. Note the name comes from build.gradle file
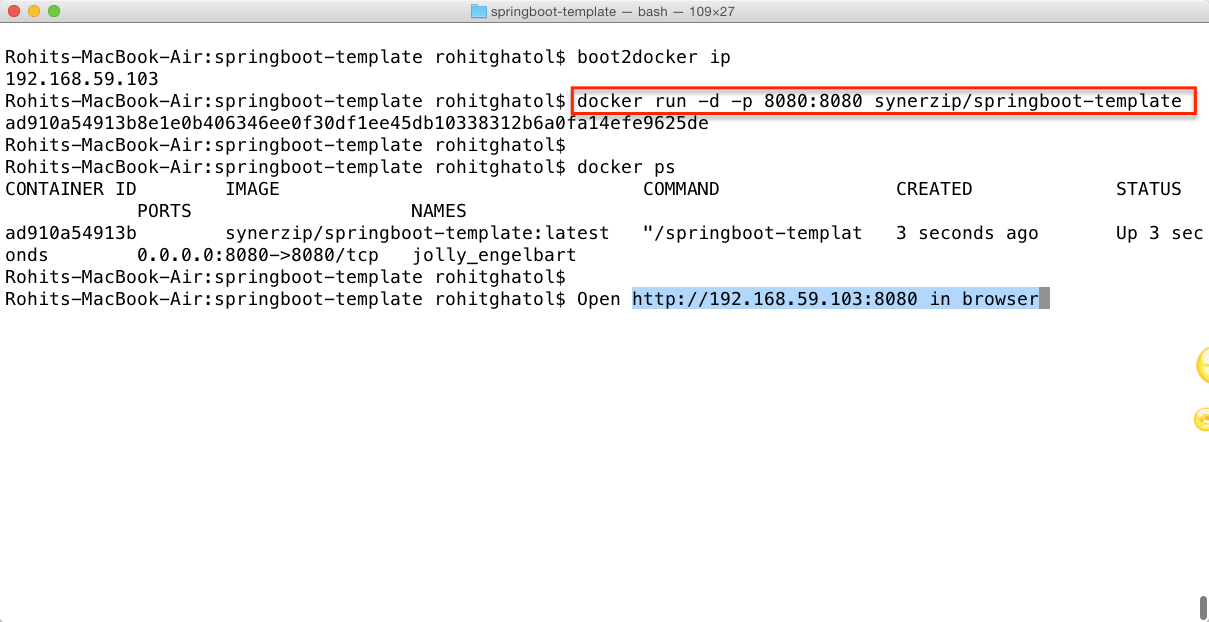
The next step is to take this image and run it. Note you can push this image to docker hub private repository which the devops team can then take to put it on a production server.
$>docker run -d -p 8080:8080 synerzip/springboot-template
- -d option is to run the container in deamon mode
- -p is to map port 8080 from the container to the host machine (in this case boot2docker machine on mac)
- synerzip/springboot-template is the image we want to run
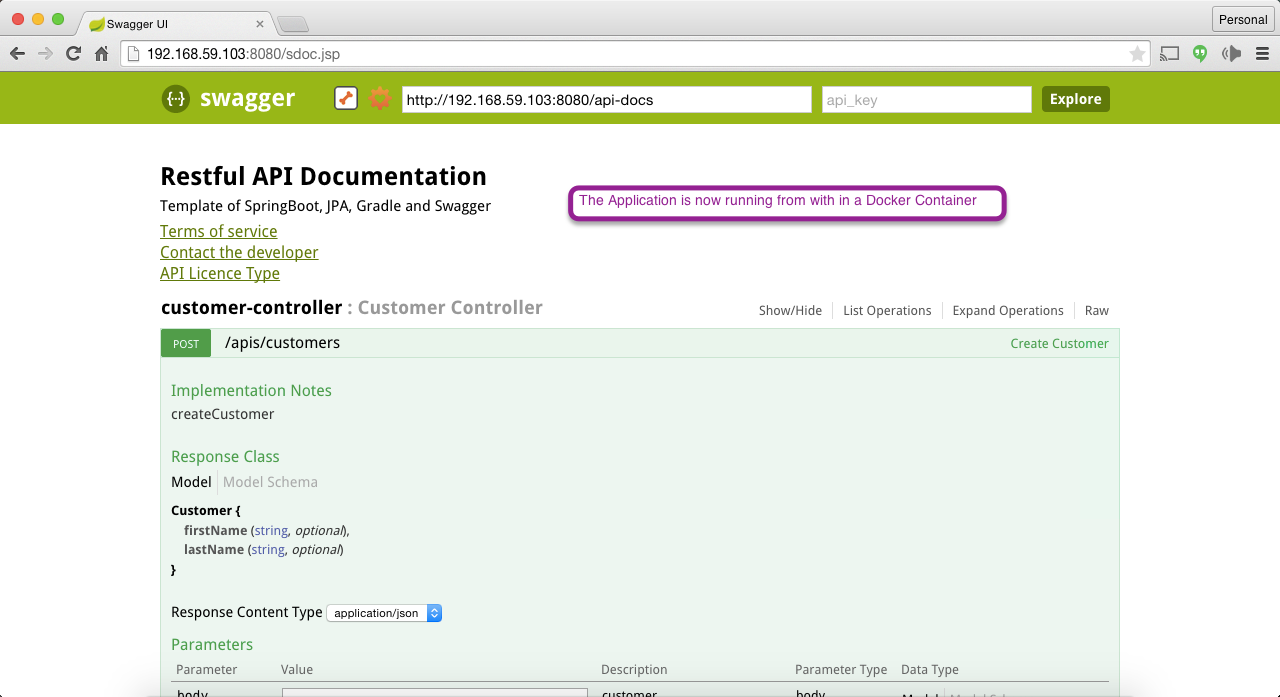
Now you can point your browser to http:<<host-machine-ip>>:8080/sdoc.jsp. You can see the same application we earlier ran from our host machine, now running in the container container from a Docker Image
More over Sprint Boot is appealing because it can easily integrate with Netflix OSS (Microservices framework) via Spring Cloud. With Spring Cloud, you can
- launch a central configuration server and all other servers will fetch configuration from that
- launch a Service Discovery registery to discover services
- launch a Circuit Breaker server which injects a fallback mechanism in your code when certain services go down
- launch a API Gateway for security, proxy (to consolidate web services) etc
All these servers are spring boot servers and most of the time require only one Application class with few Spring Cloud Annotations.


