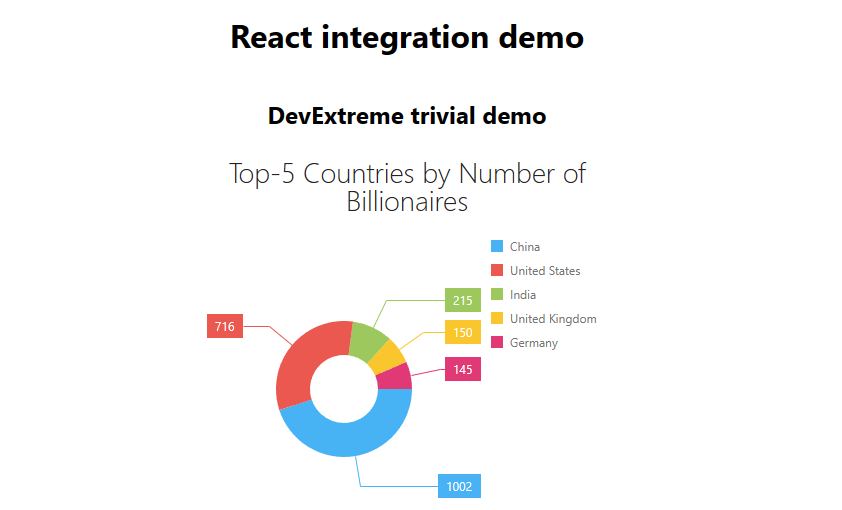
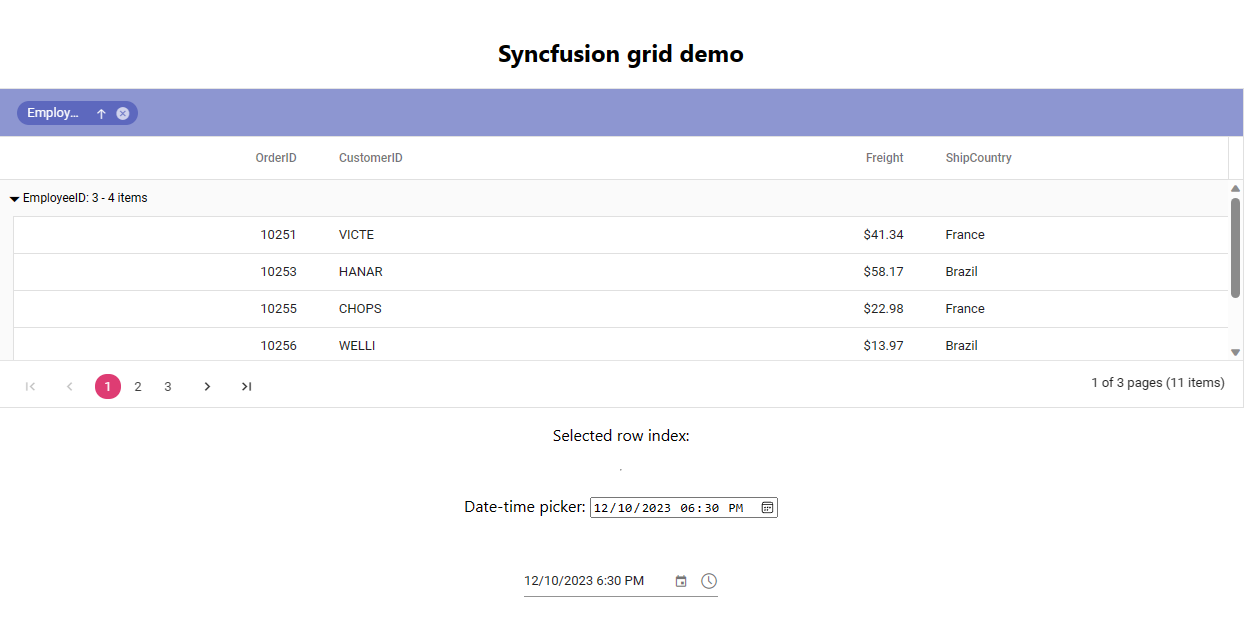
This sample shows how to host React components in DotVVM pages.
- .NET 6
- node.js and npm
- Optionally, yarn package manager (as alternative to npm)
- Optionally, DotVVM for Visual Studio
-
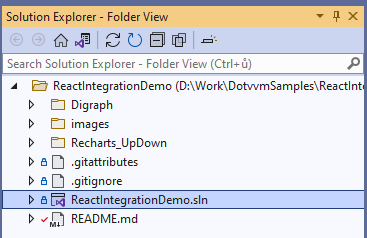
Open the GitHub repo in Visual Studio or
git clone https://github.com/riganti/dotvvm-samples-react-integration.git
- In your favorite shell, navigate in the solution directory and run the following commands:
cd Recharts_UpDown
yarn install --immutable
yarn build
-
Execute
dotnet runor right-click theRecharts_UpDownproject and select View > View in Browser
-
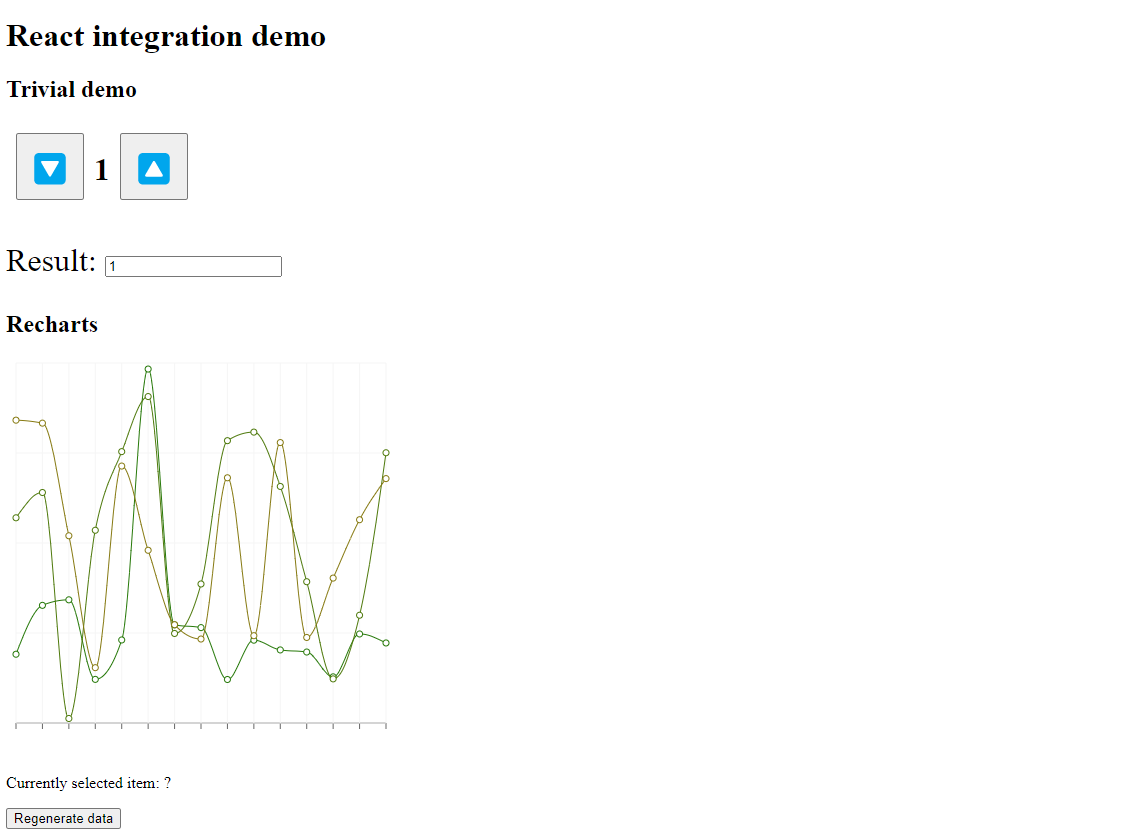
You can interact with the React components in the page and see how they are able to synchronize with the other controls in the page.
- In your favorite shell, navigate in the solution directory and run the following commands. Make sure
yarnis installed
cd Digraph
dotnet run
-
Execute
dotnet runor right-click theDigraphproject and select View > View in Browser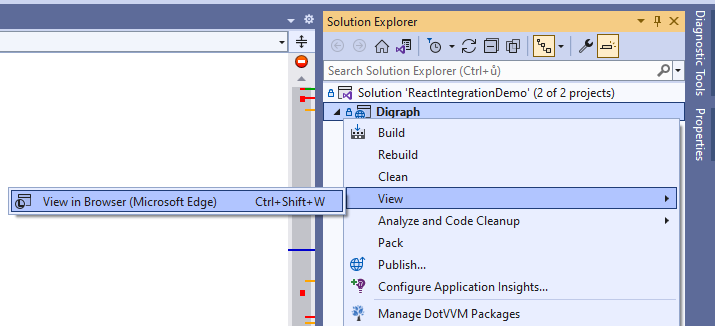
-
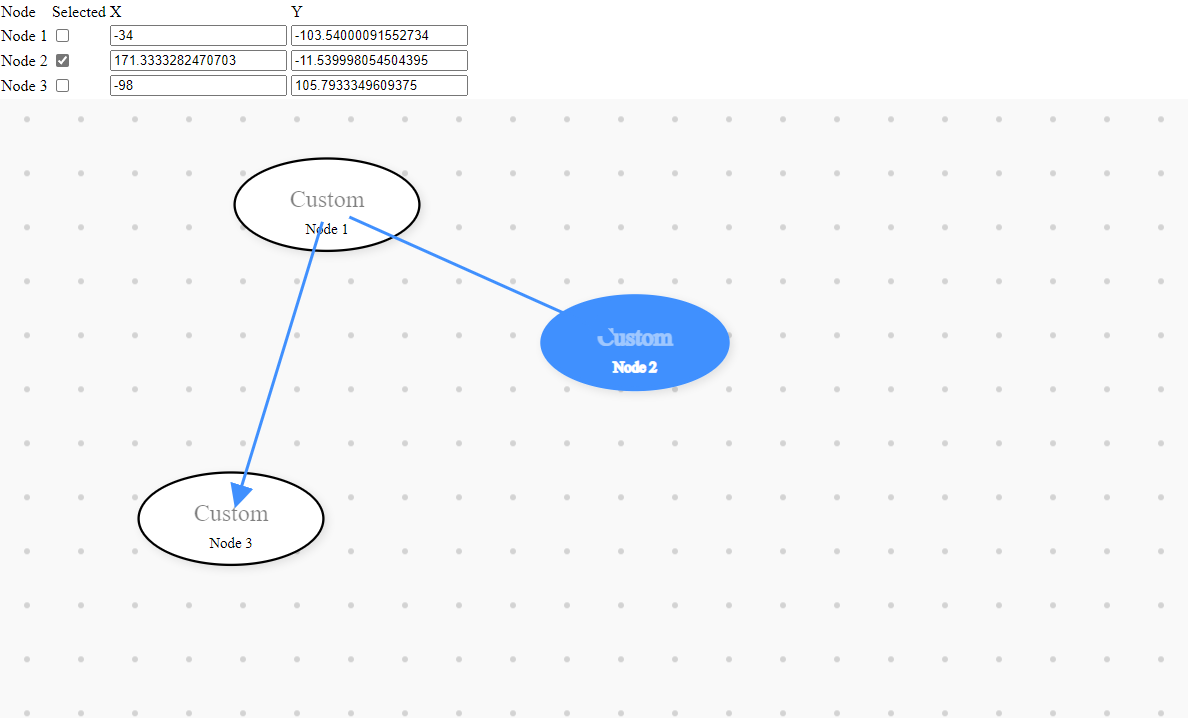
You can interact with the React components in the page and see how they are able to synchronize with the other controls in the page.
In order to rebuild JavaScript files faster,
yarn devcommand can be used to start rollup in watch mode.
-
Obtain a license of Telerik KendoReact and place the license text file to the following path:
Kendo/kendo-ui-license.txt -
In your favorite shell, navigate in the solution directory and run the following commands.
cd Kendo
npm ci
npm run build
-
Execute
dotnet runor right-click theKendoproject and select View > View in Browser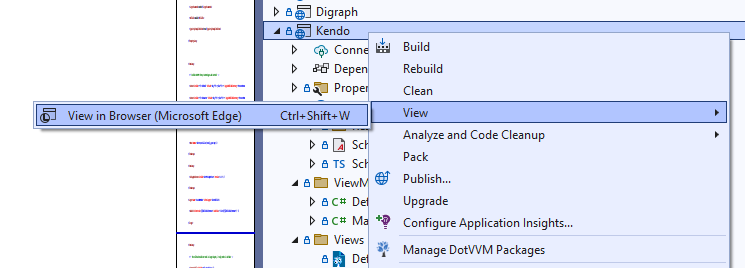
-
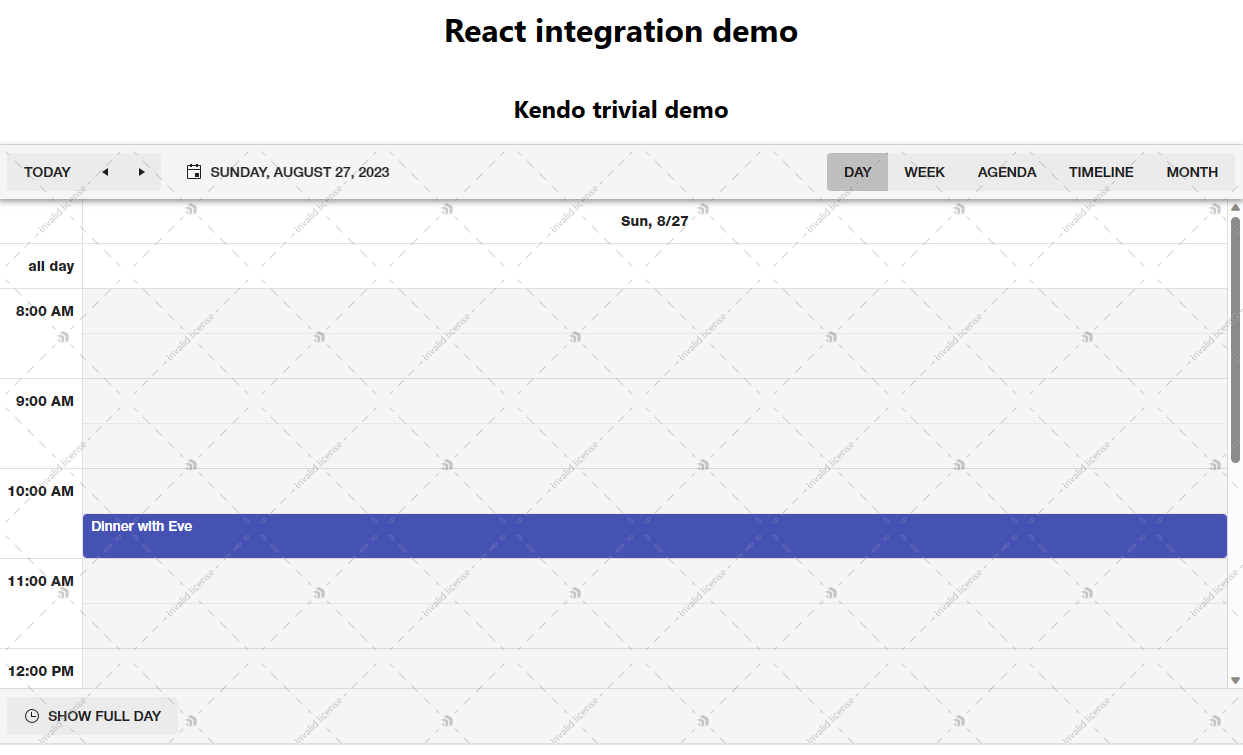
You can interact with the React components in the page and see how they are able to synchronize with the other controls in the page.
-
Obtain a license of DevExtreme React.
-
In your favorite shell, navigate in the solution directory and run the following commands.
cd DevExtreme
npm ci
npm run build
-
Execute
dotnet runor right-click theDevExtremeproject and select View > View in Browser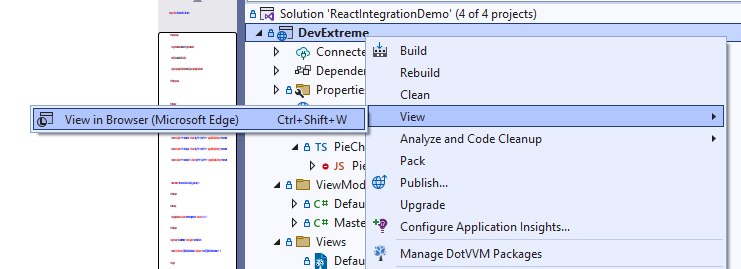
-
You can interact with the React components in the page and see how they are able to synchronize with the other controls in the page.
-
Obtain a license of Syncfusion React UI.
-
In your favorite shell, navigate in the solution directory and run the following commands.
cd Syncfusion
npm ci
npm run build
-
Execute
dotnet runor right-click theSyncfusionproject and select View > View in Browser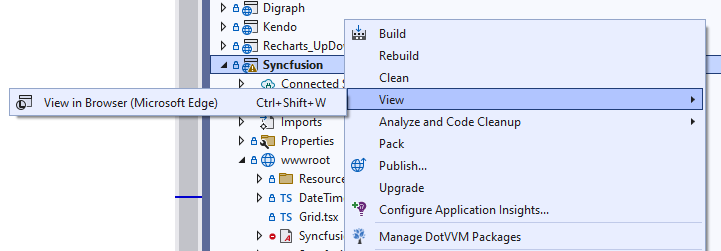
-
You can interact with the React components in the page and see how they are able to synchronize with the other controls in the page.
- Wrapping React components to be used in DotVVM using the
<js:Component />control. - Set up rollup or esbuild pipeline to bundle all resources together

