-
Notifications
You must be signed in to change notification settings - Fork 205
tutorials AddingSensors
This tutorial explains how to create your own robot description file (URDF) for a custom WAM-V with your choice of components. These components will use gazebo to simulate sensors (camera, lidar, GPS, IMU, etc) as well as the ball shooter component, and publish the corresponding topics to ROS.
This guide assumes you already have installed ROS and the VRX packages as covered in the setup instructions. It also assumes that you sourced your setup.bash from the VRX workspace:
E.g.:
cd ~/vrx_ws
source ./devel/setup.bash
A URDF file is a format to describe a robot – including joints, sensors, inertial properties, and more. The file is used by Gazebo, rviz, and many other ROS packages. Several example URDF files for representing a WAM-V are included in the VRX packages.
Let's copy an example locally as a starting point:
If you have a directory for your project already, copy it there instead
$ mkdir example_vrx_package
$ cd example_vrx_package/
$ roscp wamv_gazebo wamv_gazebo.urdf.xacro my_wamv.urdf.xacro
Notice that the file you copied is a .xacro file. If you aren't familiar with xacro files, you should read this tutorial first.
The original xacro file defines the base WAM-V, the propulsion configuration, and then adds some example sensors using xacro tags.
Let's look at the contents within the tag, which describes the robot. The first line includes wamv_gazebo.urdf.xacro. This adds the basic WAM-V mesh and joints along with the plugins for dynamics. You will likely want to keep this in, unless you are using a different model or dynamics simulation.
After that several macros are added for a GPS, IMU, and ground truth pose. These macros are found in the sensors directory for common sensors. You can of course create your own, following those as examples.
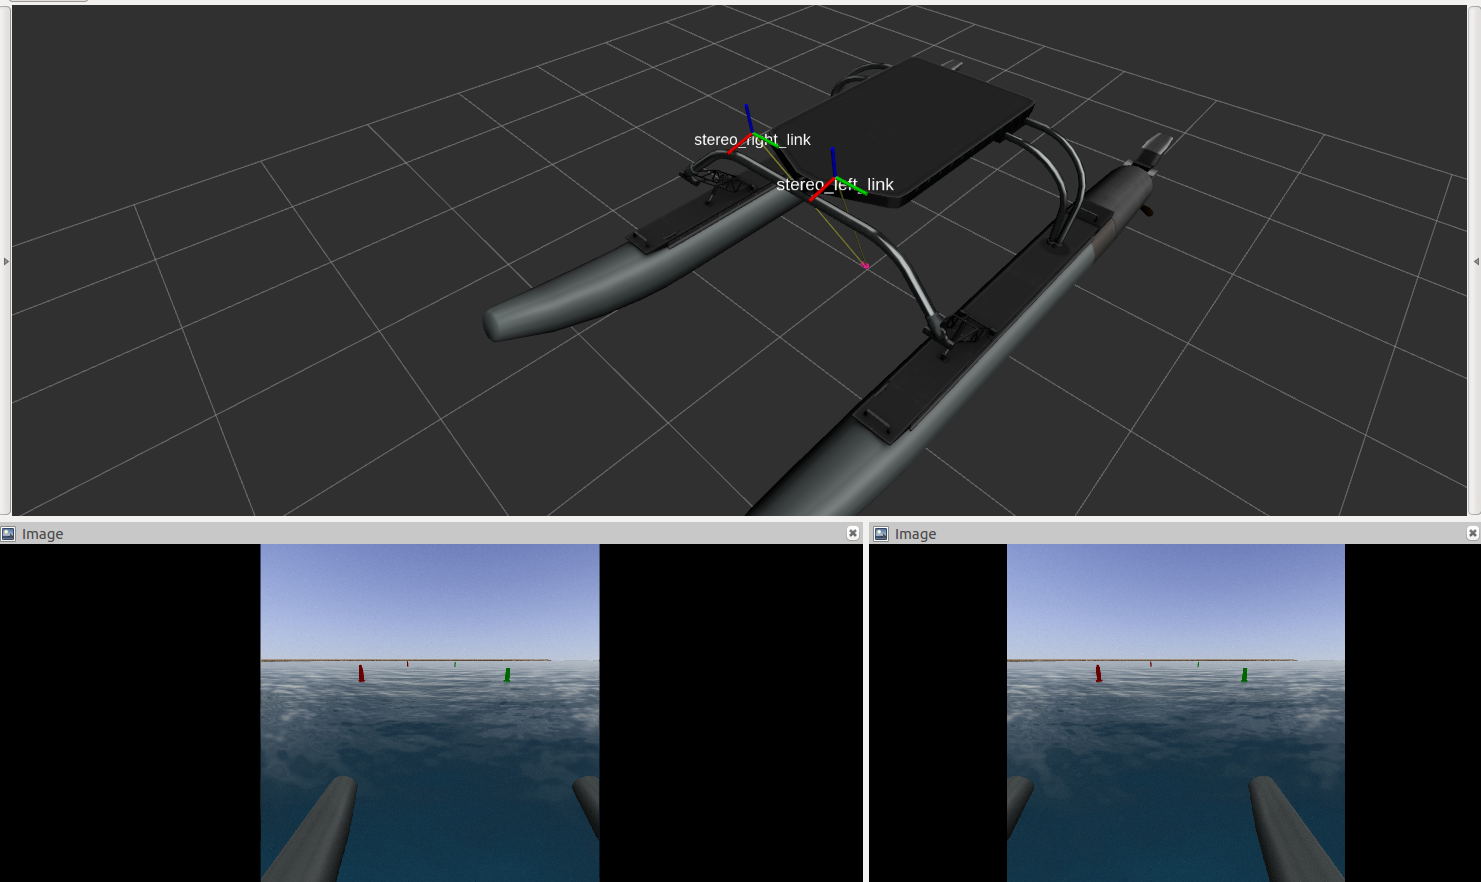
Let's add a stereo camera pair to the robot. Add the following lines after the other sensors:
  <xacro:property name="stereo_x" value="1.0" />
  <xacro:wamv_camera name="stereo_left" x="${stereo_x}" y="0.3" z="1.5" P="${radians(15)}" />
  <xacro:wamv_camera name="stereo_right" x="${stereo_x}" y="-0.3" z="1.5" P="${radians(15)}" />
A couple things to notice about this:
- A common property "stereo_x" is used so the value is not copied in multiple places
- The x,y,z and P (pitch) set where the cameras are located relative to the WAM-V base link
- A Python expression
${radians(15)}was used to convert 15 degrees to radians
Now that you have a custom URDF modeling your WAM-V, let's run the simulation!
First, generate the compiled XML from the xacro file using the command below (or another method):
$ rosrun xacro xacro my_wamv.urdf.xacro > my_wamv.urdf
Next, run the simulation with a custom urdf argument:
$ roslaunch vrx_gazebo sydneyregatta.launch urdf:=`pwd`/my_wamv.urdf
You can open rviz/rqt to see your new sensors (for help on how to do this, see the RVIZ tutorial):

- To visualize sensors in ROS, check out the RVIZ tutorial