-
Notifications
You must be signed in to change notification settings - Fork 208
Plugin installation and usage
oauthd is built to be extendable, thanks to plugins, which can add a lot of different features, like statistics, user management, or other API unifications.
You are welcome to develop your own plugins and even more welcome to share them with the community. The more open source plugins there are, the more interesting the platform will be.
To learn about plugin development, please check out the dedicated WIKI page.
A plugin must be a git repository, and has to be versioned thanks to tags or branches.
You can install a plugin in an oauthd instance by running the following command:
$ oauthd plugins install https://your/plugin/git#your_mask_tag_or_branchThe plugin will be installed in the plugins folder of the instance, and an entry
will be added in the plugins.json file.
This file holds all activated plugins, and allows you to reinstall plugins easily
if you lose the plugins folder. This works a bit like npm's package.json file.
This file looks like this (with default plugins installed):
{
    "request": {
        "repository": "https://github.com/oauth-io/oauthd-request",
        "version": "0.x.x"
    },
    "slashme": {
        "repository": "https://github.com/oauth-io/oauthd-slashme",
        "version": "0.x.x"
    },
    "admin-auth": {
        "repository": "https://github.com/oauth-io/oauthd-admin-auth",
        "version": "0.x.x"
    },
    "front": {
        "repository": "https://github.com/oauth-io/oauthd-front",
        "version": "0.x.x"
    }
}
The version fields that specifies the target version. It can be a string of the format /^(\d+)\.(\d+|\+)\.(\d+|\+)$/, giving a mask for a version in three digits separated by dots, or a string of the format /^[^\s]+$/, giving a target tag or branch to be installed.
To install plugins from the plugins.json file, all you need to do is to run:
$ oauthd plugins installAs plugins are git repositories, you can choose a specific branch or tag for your instance.
Using a branch
You can specify a branch when installing a plugin by adding #the_branch_name
at the end of the repository URL.
If you are directly editing the plugins.json file, you can specify the target branch in the version field for a plugin.
For example in the plugins.json file, to install the branch develop:
{
    "plugin_name": {
        "repository": "https://repo_address.git",
        "version": "develop",
        "active": true|false
    }
}
Or in the command line:
$ oauthd plugins install 'https://repo_address.git#develop'Using a tag
You can specify a tag to be installed by adding #the_tag_name at the end of the
repository URL, in the plugins.json file or directly in the command line.
For example in the plugins.json file, to install the version tagged 1.5.4:
{
    "plugin_name": {
        "repository": "https://repo_address.git",
        "version": "1.5.4"
    }
}
Or in the command line:
$ oauthd plugins install 'https://repo_address.git#1.5.4'Using a version mask
If the plugin is versioned with tags respecting the regex /^(\d+)\.(\d+)\.(\d+)$/, which is to say of the formal x.x.x, you can install a plugin using a version mask.
Instead of specifying a targed version directly (e.g. 0.5.2), you can use 0.5.x
or 0.x.x.
The 0.5.x version mask will install the latest version (tag) beginning with 0.5..
For example, if two tags are available, 0.5.4 and 0.5.9, the 0.5.9 tag will
be installed.
The 0.x.x version mask will install the latest version (tag) beginning with 0.
For example, if three tags are available, 0.5.4, 0.5.9 and 0.6.3, the 0.6.3
will be installed.
This also allows you to update plugins to the latest version without risking to install
a version that gives another interface (usually, versions that break previous usage would
have be major release, changin the first number, for example passing from 1.8.3 to 2.0.0.
You can update an installed plugin to its latest versions according to the version mask you specified, or the branch you specified (the branch is fast forwarded to the branch of the remote repository) by running the following command:
$ oauthd plugins update plugin_nameYou can also update all installed plugin by running the following command:
$ oauthd plugins updateWhen you change the version field in the plugins.json and run the update command, the installed version will change to the specified target version.
To uninstall a plugin, all you need to do is to run the following command:
$ oauthd plugins uninstall plugin_nameThis removes the plugin's entry from the plugin.json file and deletes the plugin's folder in the plugins folder.
Deactivate a plugin
You can deactivate a plugin, that is to say prevent it from being loaded when
launching oauthd, without deleting its folder from the plugins folder, by
setting the plugin's field active in the plugins.json to false. The active field is true by default.
You can also deactivate a plugin by running the following command:
$ oauthd plugins deactivate plugin_nameReactivating a plugin
You can activate a deactivated plugin by setting its active field to true in the plugins.json file, or by running the following command:
$ oauthd plugins activate plugin_nameYou can list installed plugins in an oauthd instance by running the following command:
$ oauthd plugins listThis will tell you which plugins are activated or deactivated.
You can get information about installed plugins (like the installed version, available updates and the plugin's description) by running the following command:
$ oauthd plugins info [plugin_name]To retrieve the latest information from the plugins' repositories.
Plugins will usually give add their own endpoints to your oauthd instance, and add custom features.
These endpoints are callable from your front-end directly, or via plugin specific SDKs, which can be developed by plugin authors.
The default front plugin also allows other plugins to show their own interfaces.
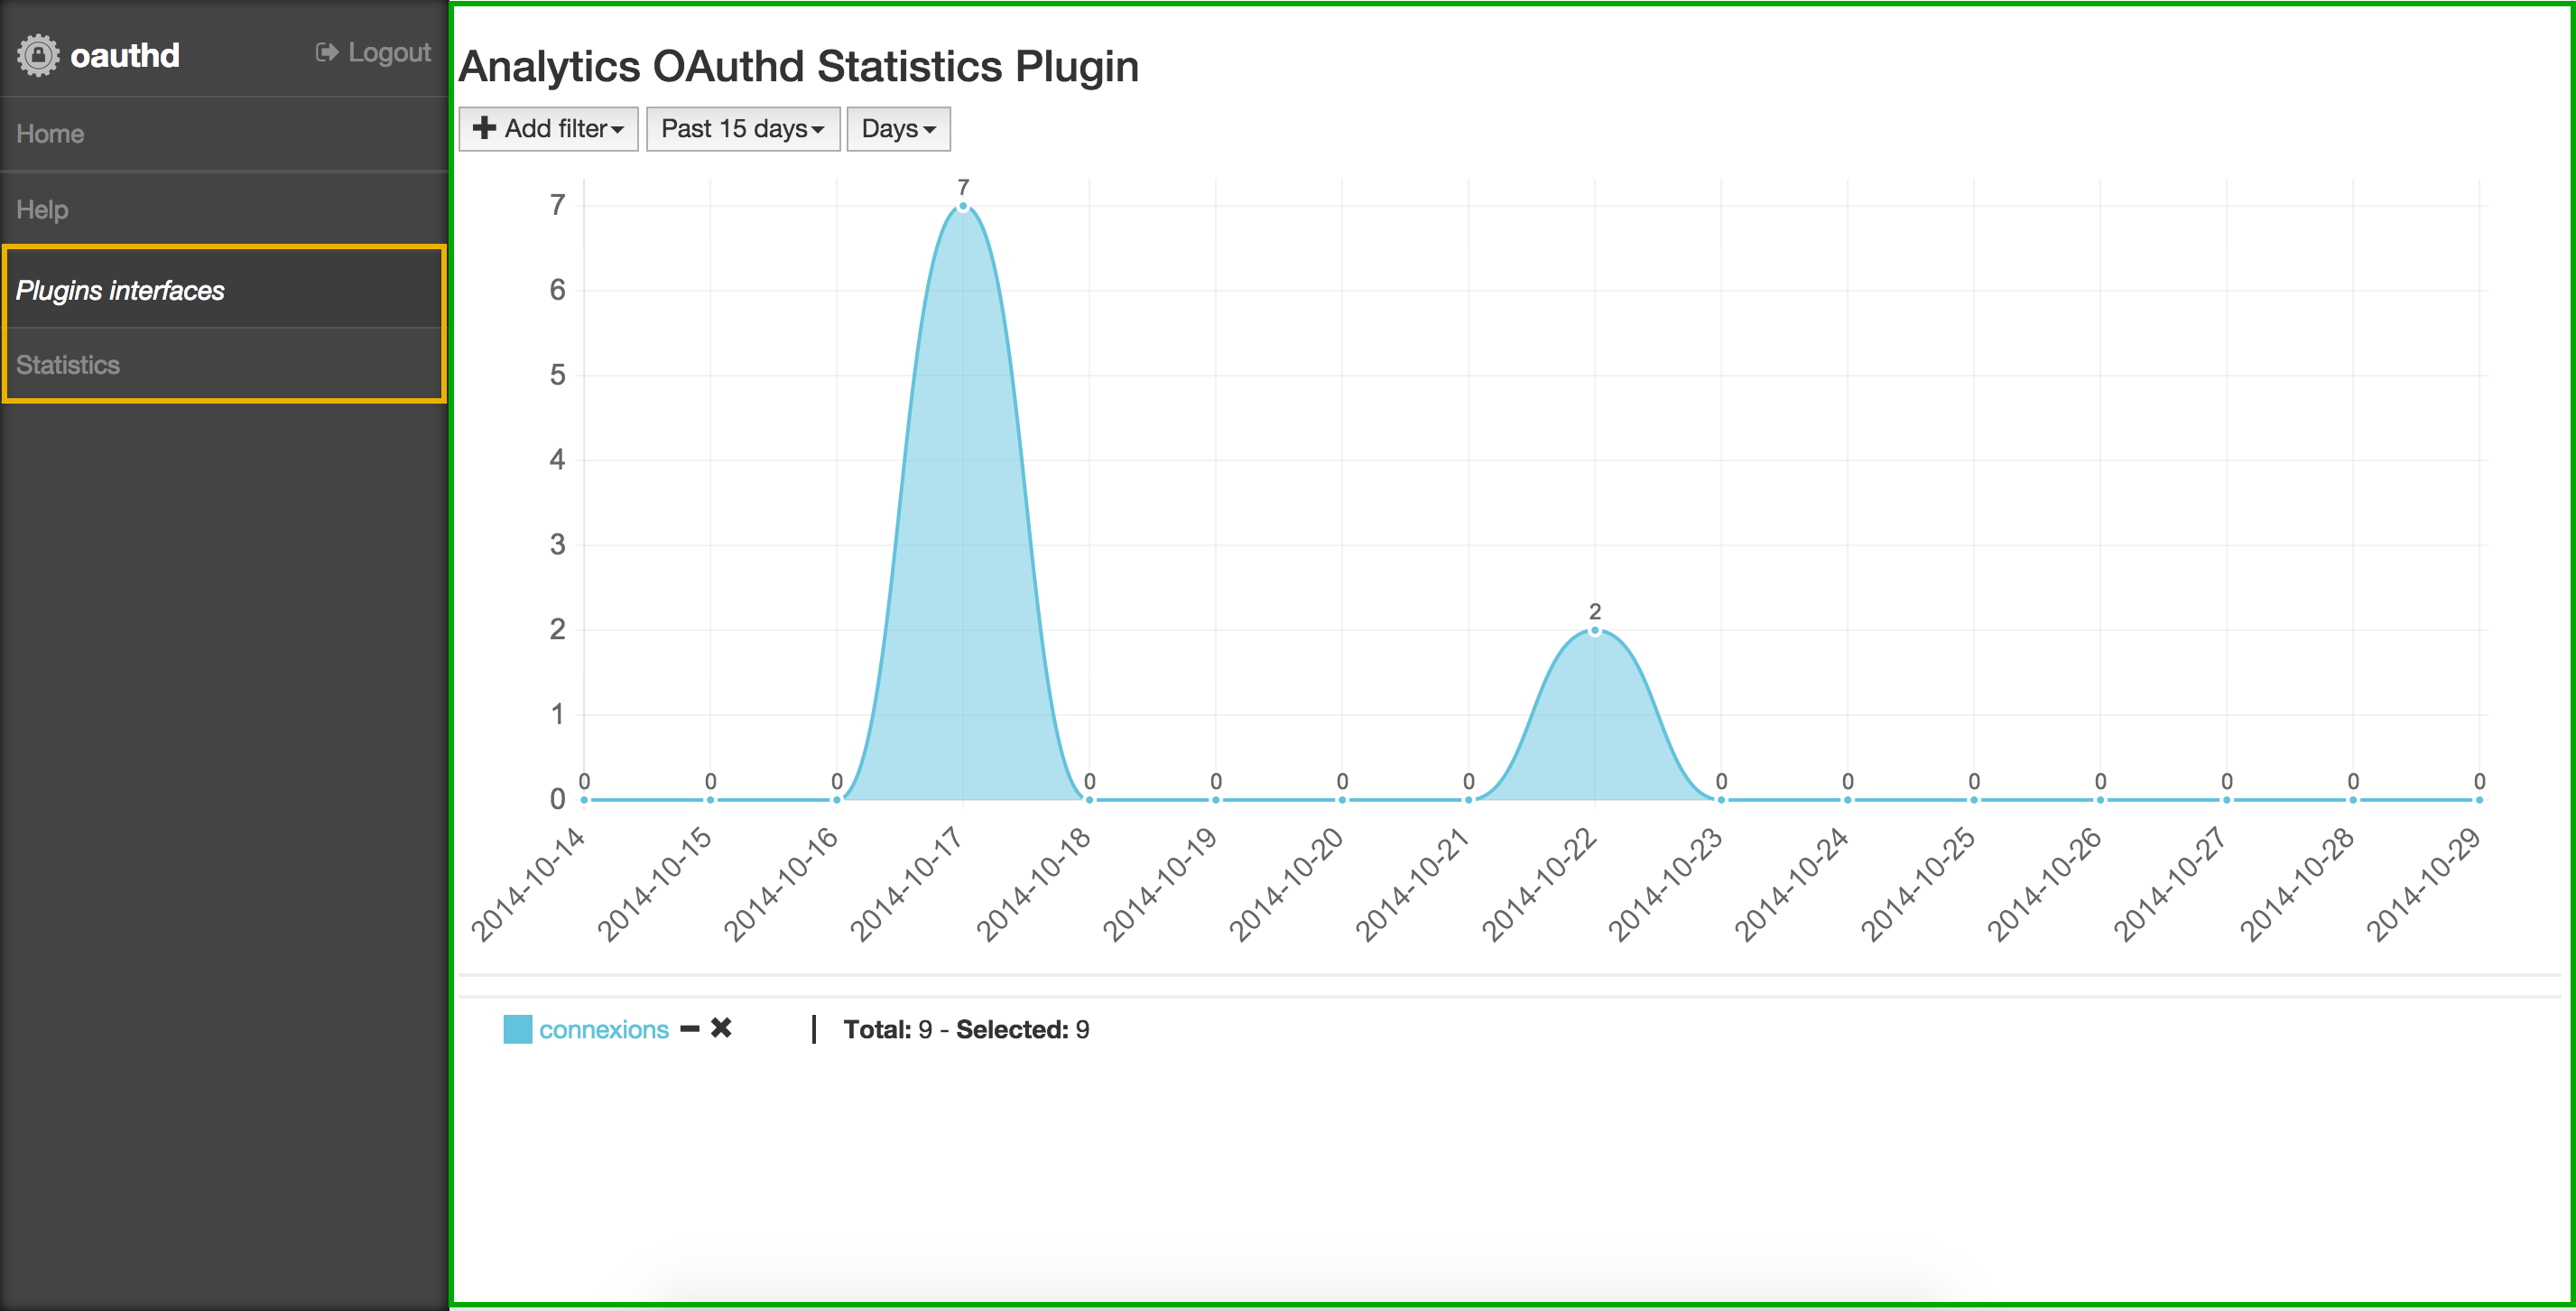
These interfaces are listed on the left menu of the oauthd default front dashboard. For example, the following screenshot shows a statistics plugin's interface:
Plugin configuration will usually be available in that kind of interfaces.
