-
Notifications
You must be signed in to change notification settings - Fork 14
Environment | World Building Atom Workflow Test Plan
1.1 Preface Information
- Owners/Points of Contact
- Resources
- Applicable Components
1.2 Feature Workflow
- Preparation & Prefabs
- Workflow Steps
- Physical Sky
- Placing multiple Diffuse GI Probes and Reflection Probes in a level
- Deferred Fog
- Multi-Layer Materials
- Decals
List of applicable owners.
| SDE | NAME |
| Primary QAE | Neil Widmaier |
| Secondary QAE | NAME |
Add any pertinent information here for documentation / Epics / Jira labels and filters here.
| Description | Link |
|---|---|
| Description | Link |
| --- | --- |
| [Notable Document / Jira Filter / Etc.] | [Link goes here] |
- Physical Sky
- Post Processing Volumes & Layers
- Multiple Reflection Probe
- Multiple Diffuse GI Grids
- Deferred Fog
- Multi-Layer Materials
- Decals
State the goal of the workflow here. What will be covered in the workflow | What does it test | How will it look in the end (You can post a screenshot of a completed workflow here as a guide)
List any necessary steps that must be done beforehand.
Include any prefabs that can be used to make putting together the workflow easier.
Create a step-by-step guide for the workflow. The steps themselves should be simple, and the workflow should be comprehensive.
- Create a new level
- Select the Shaderball entity
- Set the material component to "basic_m10_r-2"
- Add three new entities to the level, add a mesh asset to each (such as: "lucy_high.fbx", "bunny.fbx", and "suzanne.fbx")
- Add a different material to each, try to vary the reflective and roughness of the materials
- Place one object close to the shadershphere and on the same plane (about 1.5-2.5 meters), one at medium (about 3-4 meters), one further away (about 8-9 meters)
- Delete the Global Sky element
- Add a new entity to the level, give it a Physical Sky component
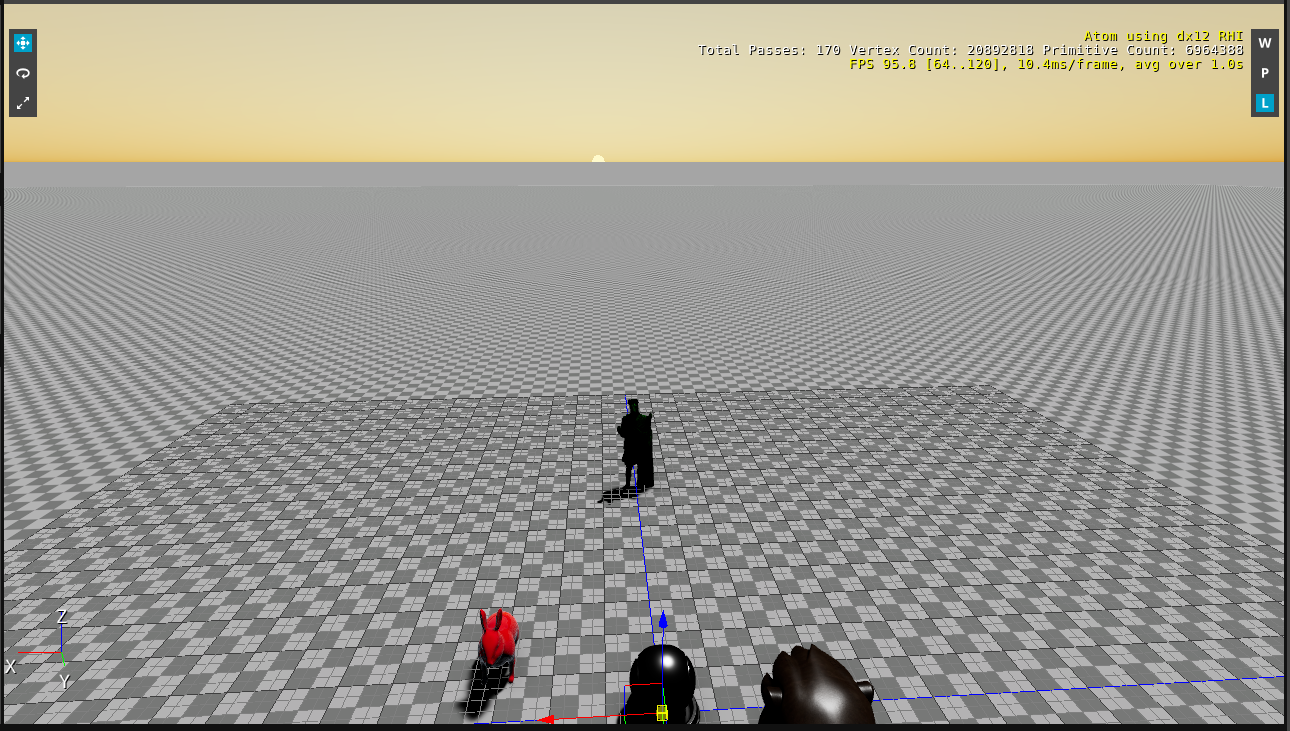
- Level should look similar to this:

- Change the Sky Intensity slider and observe change in level
Sky Intensity 0.65

Sky Intensity 4.5

- Change Sky back to Intensity to 4.0
- Change the Sun Intensity slider and observe change in level
Sun Intensity 3.5

Sun Intensity -4

- Change Sun Intensity back to 8
- Adjust Turbidity value from 1-10, observe color change in sky
- Set Turbidity back to 1
- Adjust Sun Radius Factor from 0.1 - 2.0, observe change in sun
- Change Sun Radius Factor back to 1.0
- Enable Fog
- Change Fog color, increase top height, and bottom height
Example of fog:

Steps to create a modular Physical Sky. (Had help from Jonny after asking why no light cam from the Physical Sky)
-
Create Entity
-
Zero out transforms
-
Add Physical Sky Component
-
Add Deferred Fog Component
-
Add PostFX Layer
-
Add the Sun under this Entity (Make the new Physical Sky Entity the parent)
-
Zero out the Sun Transforms
Now you will have a modular Physical Sky, see image:

- Create a new level
- Select the Shaderball entity
- Set the material component to "basic_m10_r-2"
- Copy
- Add six or more new entities to the level, add a mesh asset to each (such as: "lucy_high.fbx", "bunny.fbx", and "suzanne.fbx")
- Add a different material to each, try to vary the reflective and roughness of the materials
- Move each around the origin on the XY plane, for 1-10 meters
- Create a new level
- Select the Shaderball entity
- Set the material component to "basic_m10_r-2"
- Add three to six new entities to the level, add a mesh asset to each (such as: "lucy_high.fbx", "bunny.fbx", and "suzanne.fbx")
- Add a different material to each, try to vary the reflective and roughness of the materials
- Move each around the origin on the XY plane, for 1-10 meters
- Add a new Entity to the level named "Fog"
- Add a "Deferred Fog" component to the entity and the required PostFX Layer
- Change the Fog color, and adjust the Fog Start Distance to around 5 and Fog End Distance to around 15
Example:

- Turn on "Enable Fog Layer" and "Enable Turbulence Layer"
- Change noise texture
- Adjust each of the noise settings, observe the result
Example:

- Adjust the "Octave Blend Factor" observe the result
Example:

In Blender, Maya or Max add Multi UVs Maps (Sets) to your mesh object.

Export an .FBX
In o3de:
Drag the FBX into the scene.
Under the Entity, Add the Material Component.
Launch the o3de material O3DE Material Editor
Under File > New

Select the Standard MultilayerPBR Material.
After playing around with this Material Type, I think it has opportunities to be more intuitive, also has some broken areas I will report as bugs.
- Use AutomatedTesting as the active project.
- Launch Editor, create a new level
- Add an entity, and assign a mesh component to it
- Assign the cone.fbx to the mesh component, and give it a non-reflective material
- Create two more entities, and add decal components to each
- Assign the first decal to the material "airship_symbol_decal"
- Assign the first decal to the material "airship_nose_number_decal"
- Move the first decal near the cone, and rotate until it project on the cone
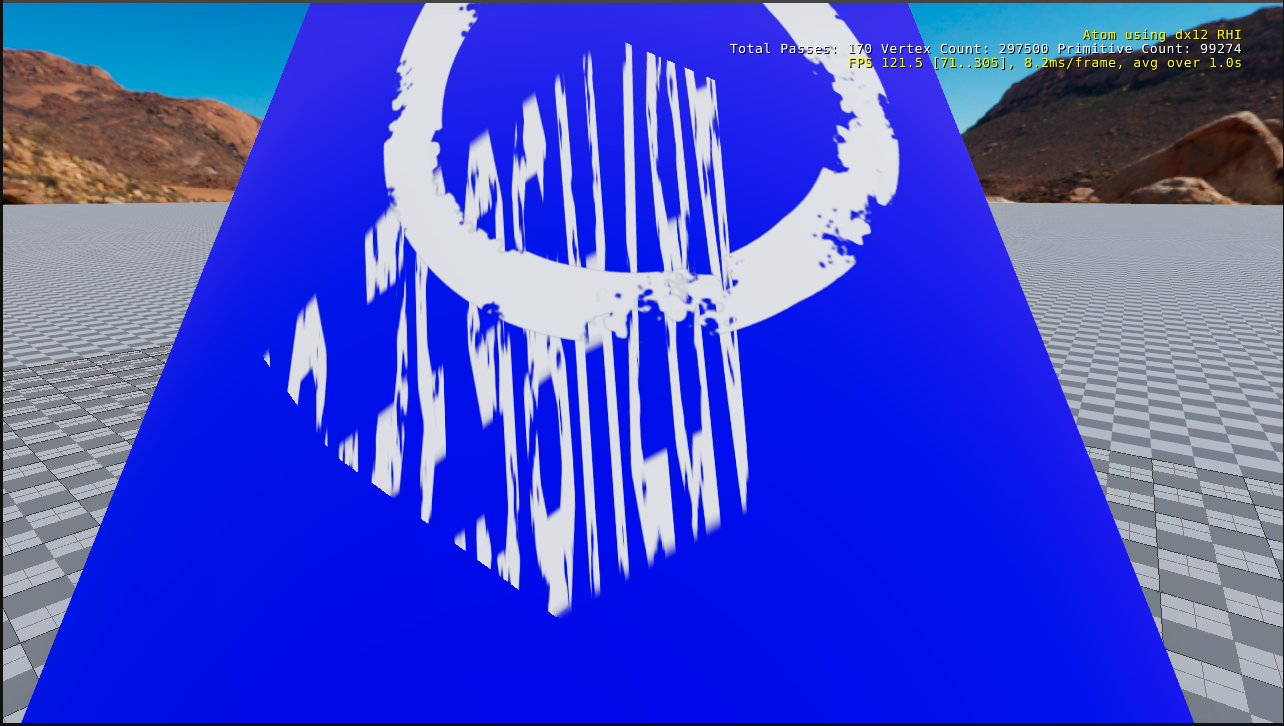
Example:

- Adjust Attenuation Angle observe change in icon (should become more opaque at lower values)
- Adjust Opacity observe change in icon (should become more opaque/transparent up to the limit of Attenuation Angle)
- Move the other decal so it projects on the cone, on top of the first decal
- Set both decal's Attenuation Angle to 0.0
- Adjust the Sort key of each decal, confirm that the decal with the lower key is obscured by the decal with the higher key
Example:
