How to configure authentication
DfMon (in Standalone and Injected mode) uses AAD to authenticate users and supports both server-directed and client-directed login flows.
Server-directed (cookie-based) flow is the easiest to configure, but relies on Easy Auth module and therefore only works in Azure. Client-directed (token-based) flow works everywhere, but is generally slower and more error-prone.
-
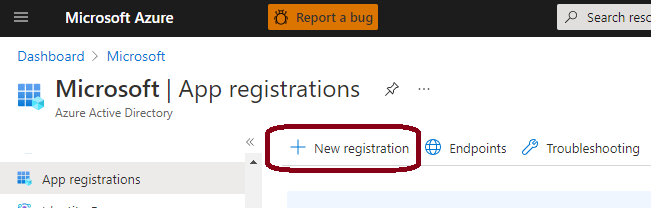
Go to Azure Portal->Azure Active Directory->App Registrations and press New registration:
-
Give your app registration a name and put
https://<my-dfm-function-app-name>.azurewebsites.net/.auth/login/aad/callbackas the Redirect URI: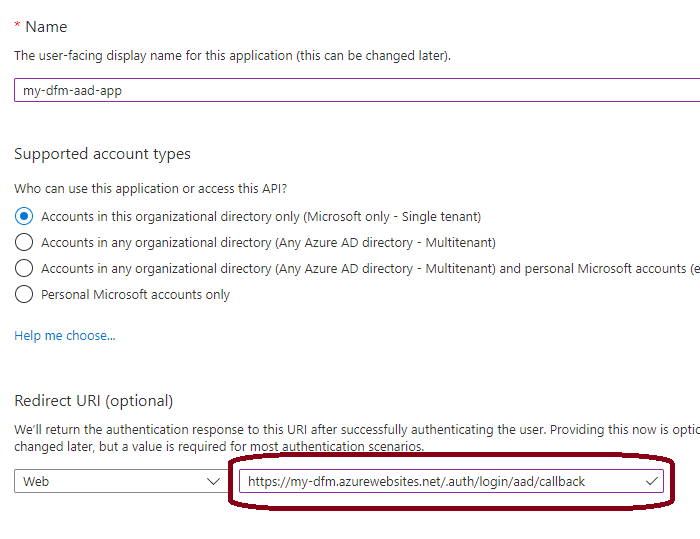
-
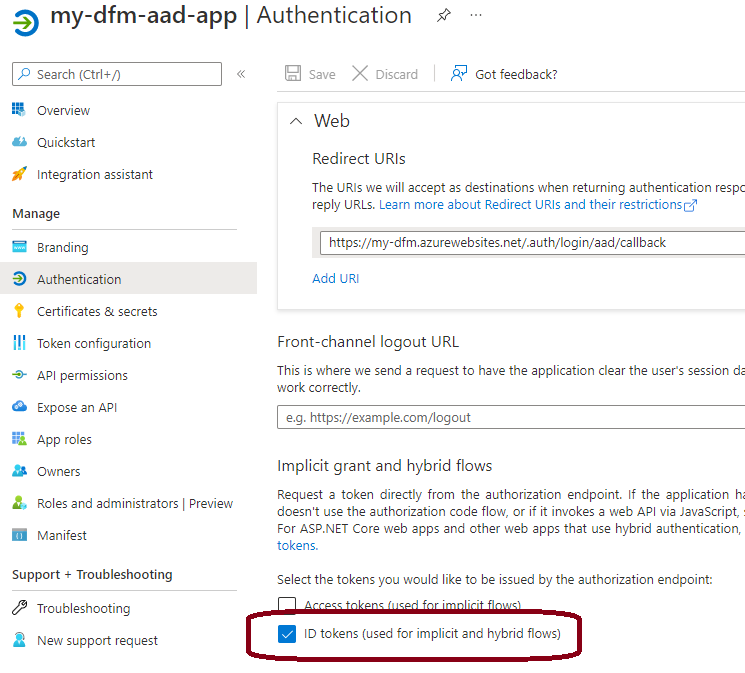
Go to Authentication tab and make sure ID tokens are enabled:
-
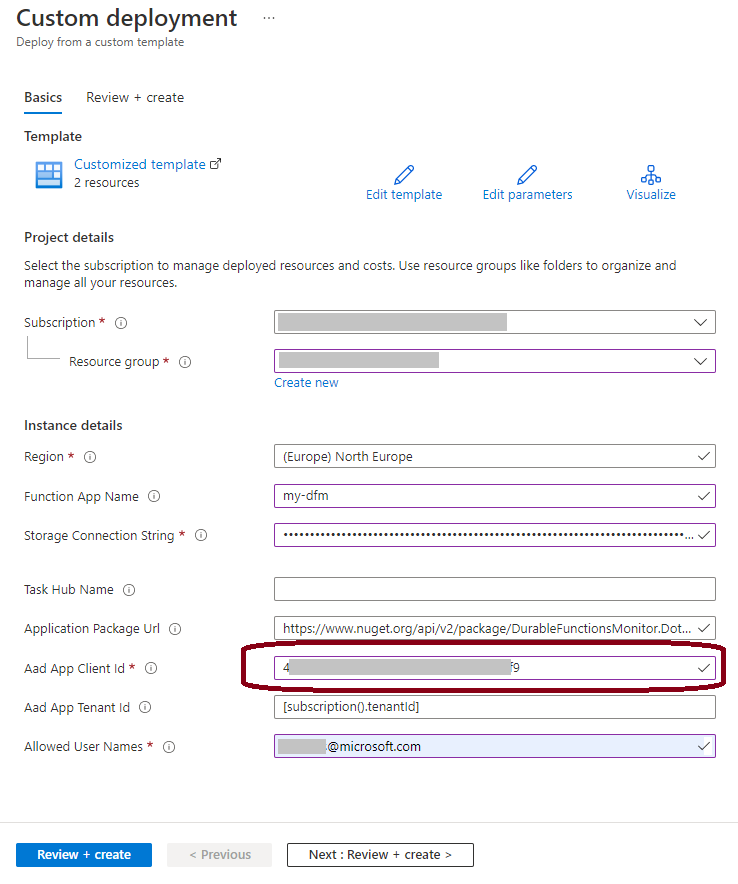
Deploy DfMon with
button and set Aad App Client Id setting to this newly created app registration's Client Id:
-
Restrict the list of allowed users by configuring either
DFM_ALLOWED_USER_NAMESorDFM_ALLOWED_APP_ROLESconfig settings. See more details on these settings in Config Settings Reference.
-
Go to Azure Portal->Azure Active Directory->App Registrations and press New registration:
-
Give your app registration a name and put
https://<my-dfm-endpoint-url>as the Redirect URI: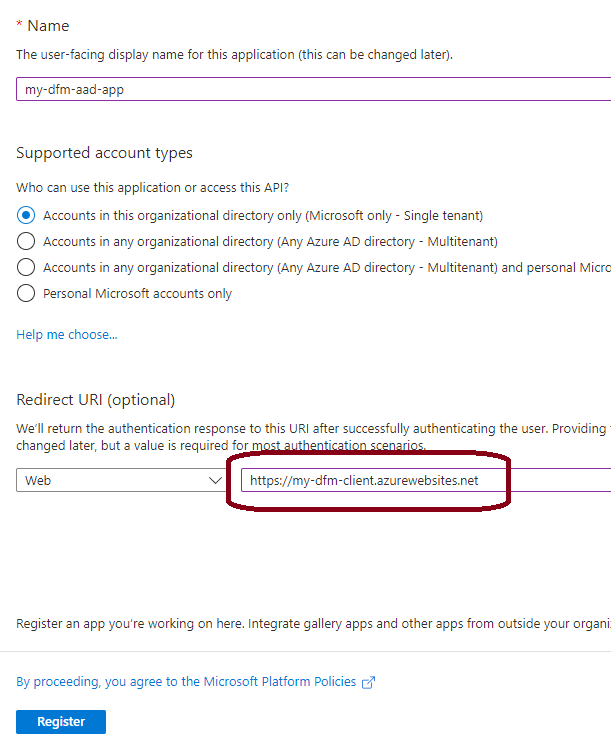
-
Go to Authentication tab and make sure ID tokens are enabled:
-
Deploy DfMon with whatever method you prefer and set the following config settings:
-
WEBSITE_AUTH_CLIENT_IDto the newly created app registration's Client Id; -
WEBSITE_AUTH_OPENID_ISSUERtohttps://login.microsoftonline.com/<my-azure-tenant-id>/v2.0.
-
-
Restrict the list of allowed users by configuring either
DFM_ALLOWED_USER_NAMESorDFM_ALLOWED_APP_ROLESconfig settings. See more details on these settings in Config Settings Reference.