-
Notifications
You must be signed in to change notification settings - Fork 0
Moodle plugin installation
Install the Moodle plugin by putting the contents of https://github.com/lucaboesch/moodle-report_datawarehouse to
{your/moodle/dirroot}/report/datawarehouse
.
(The following can be omitted, if desired: tests/, docs/)
Afterwards, log in to your Moodle site as an admin and go to Site administration > Notifications to complete the installation.
Alternatively, you can run
$ php admin/cli/upgrade.php
to complete the installation from the command line.
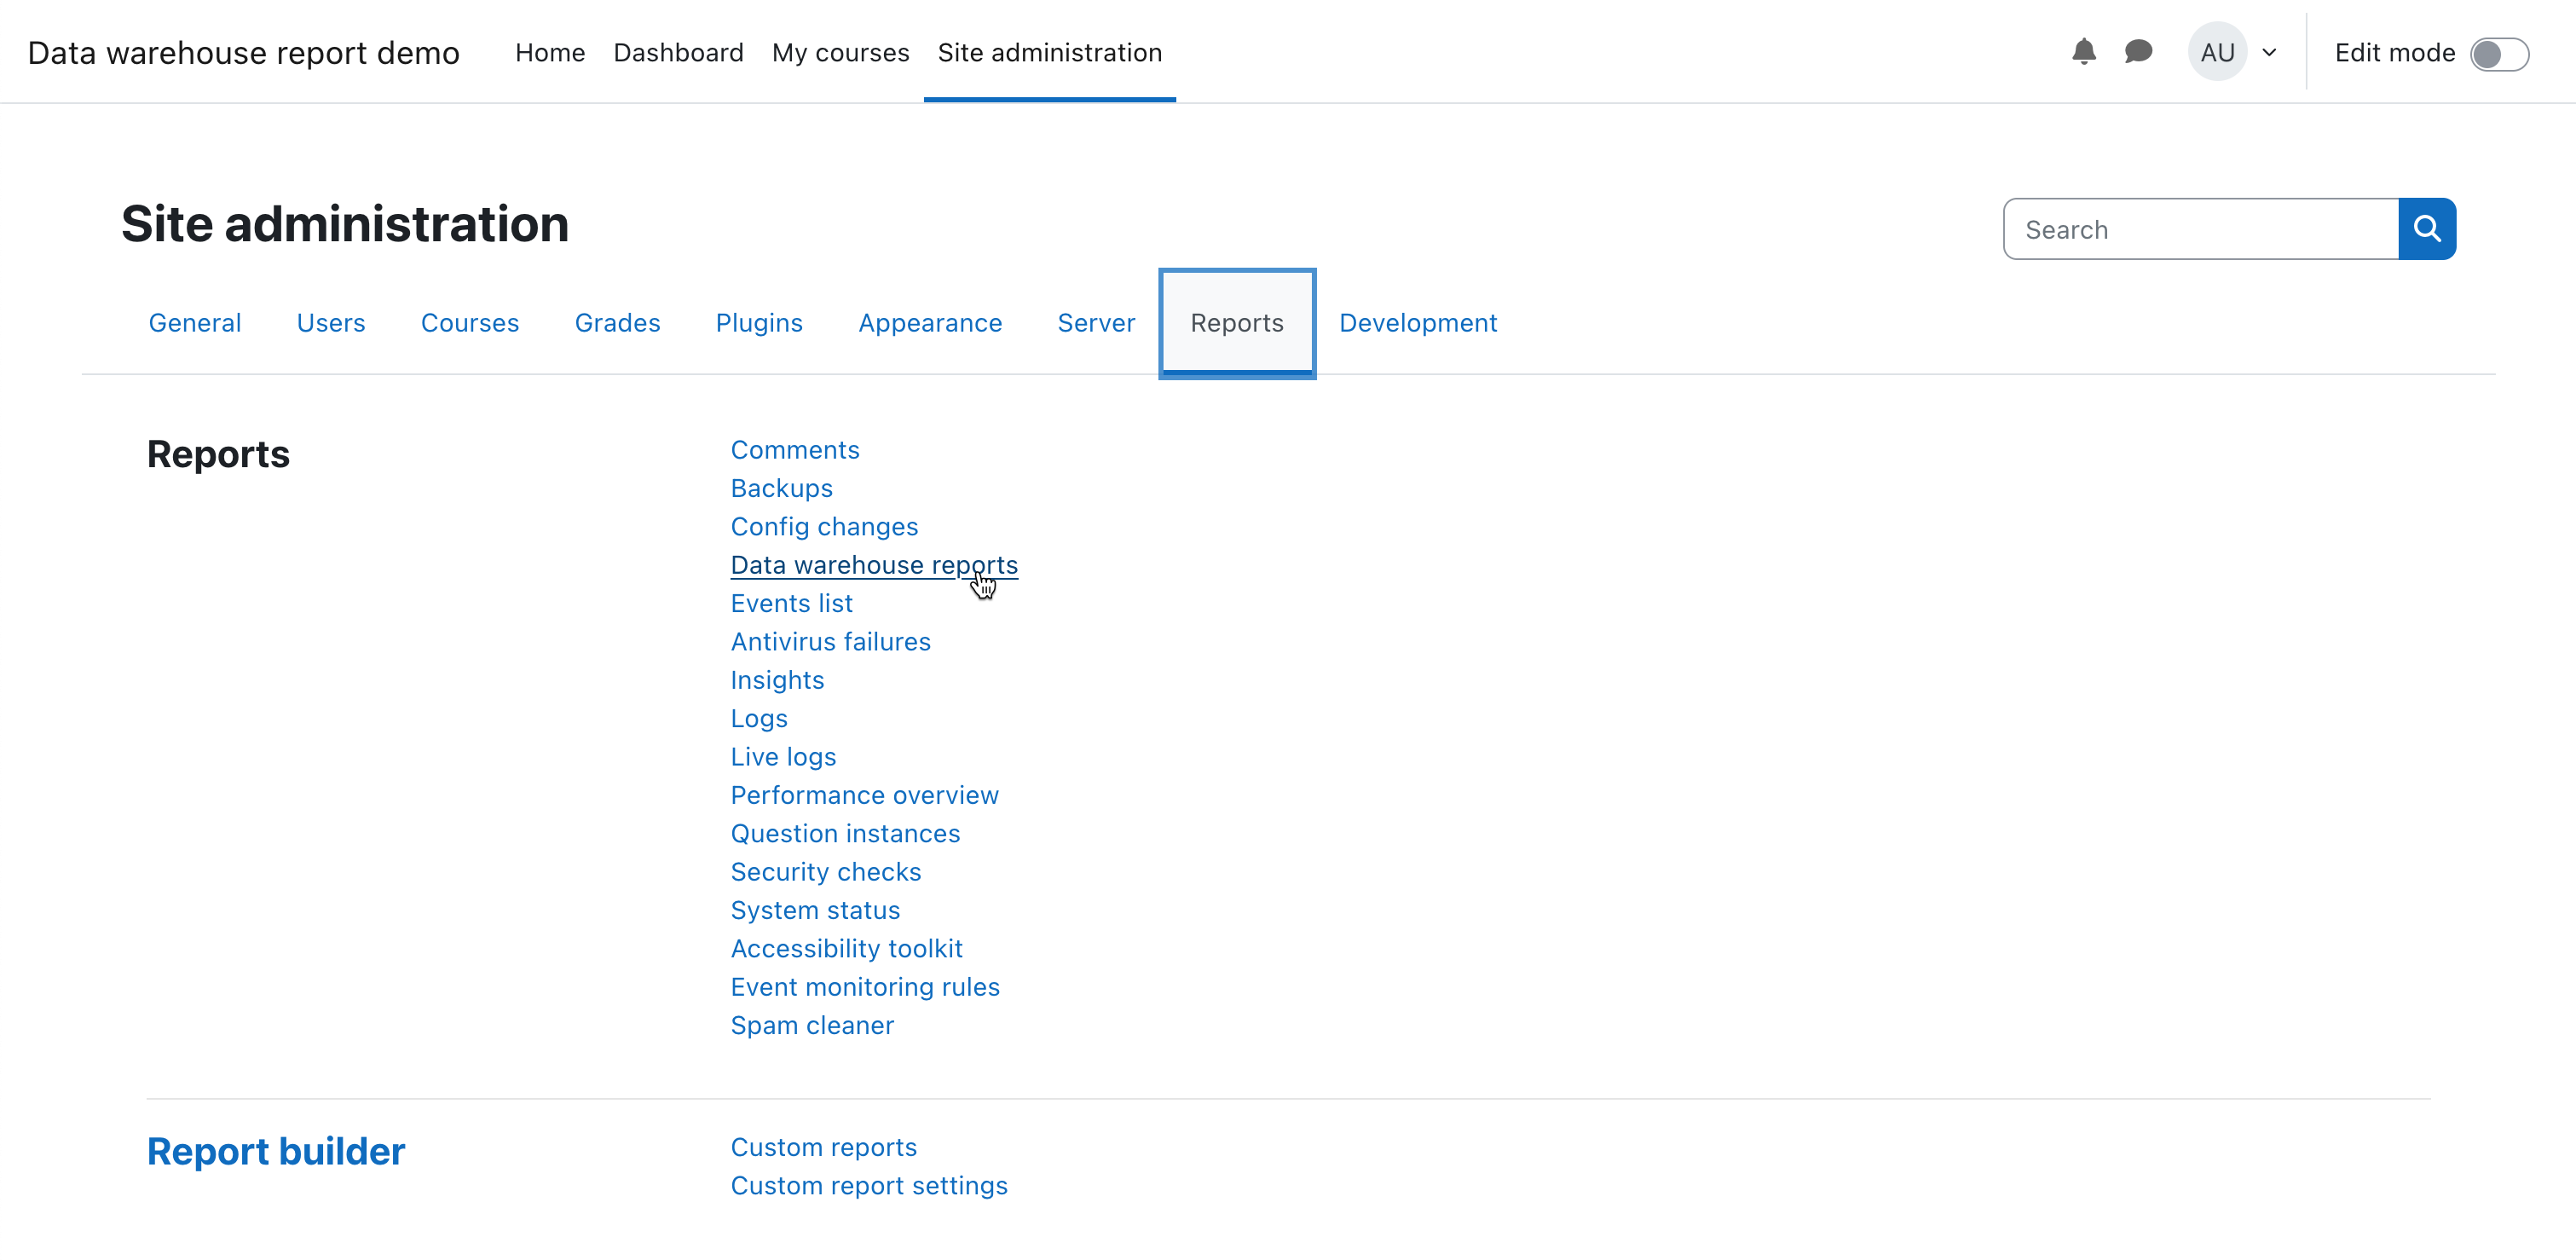
After successful installation under Site administration > Reports there is an entry "Data warehouse reports".
If you want to allow a user to access the files the data warehouse report generates, activate web services, activate a protocol and create a user with the appropriate capabilities. In detail:
In Site administration > Advanced features, make sure ”Enable web services” is clicked.

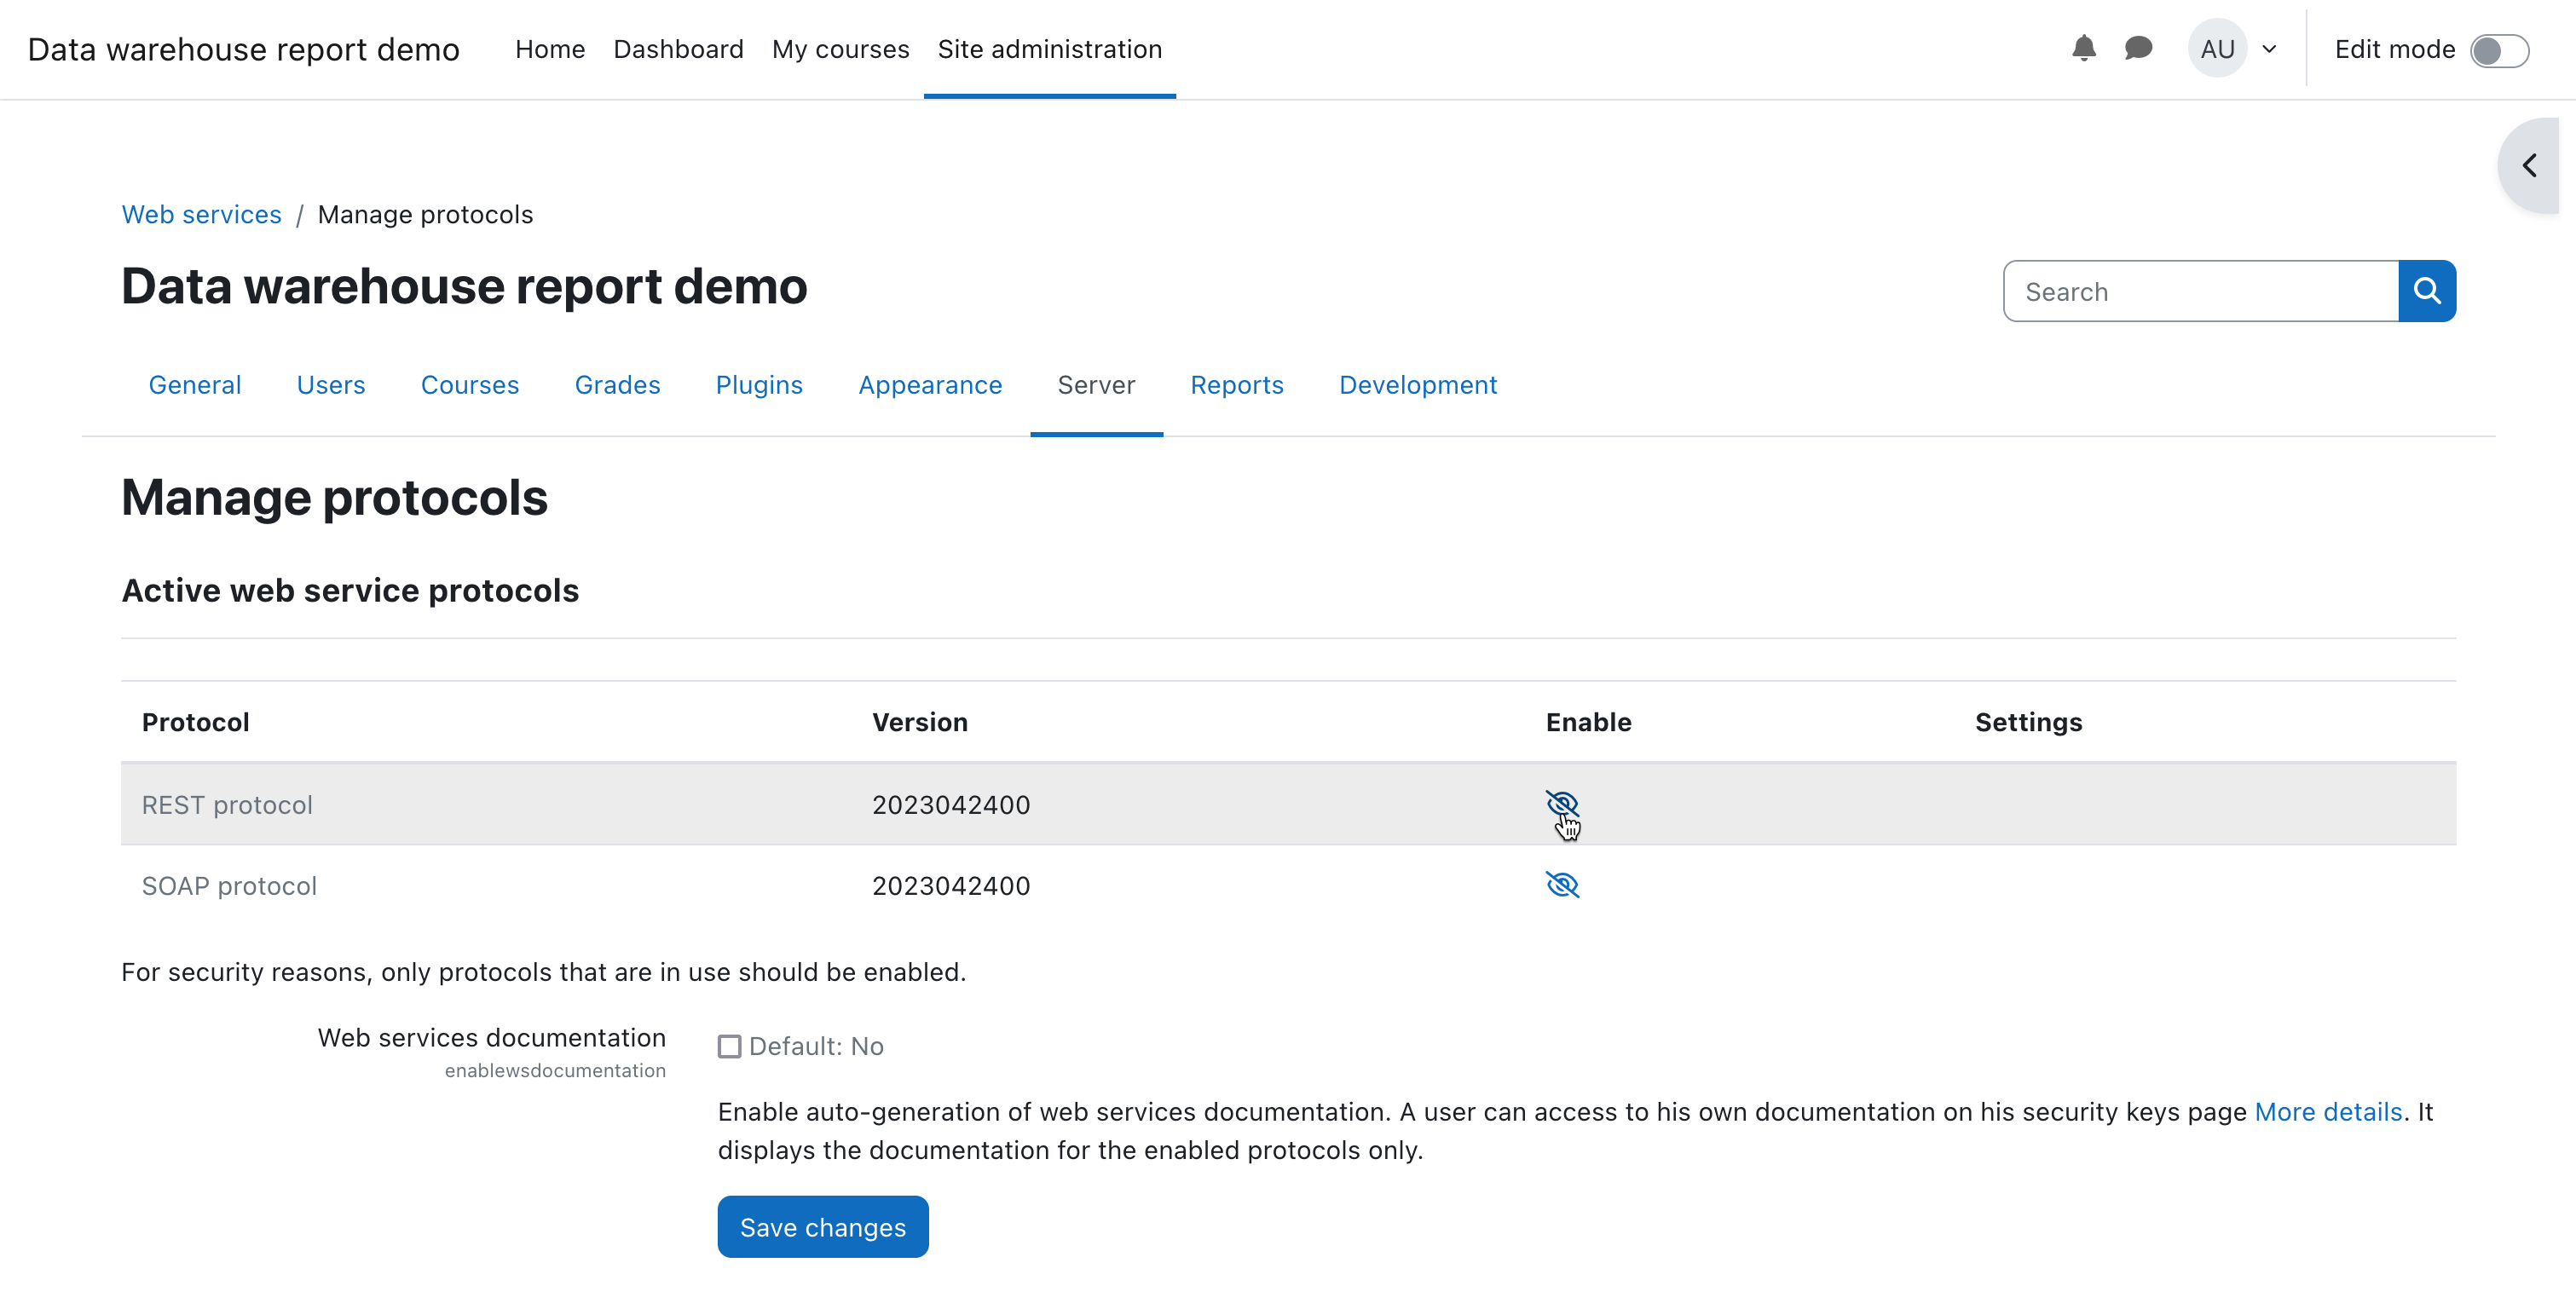
Under Site administration > Server > Web services > Manage protocols, enable ”REST protocol”.
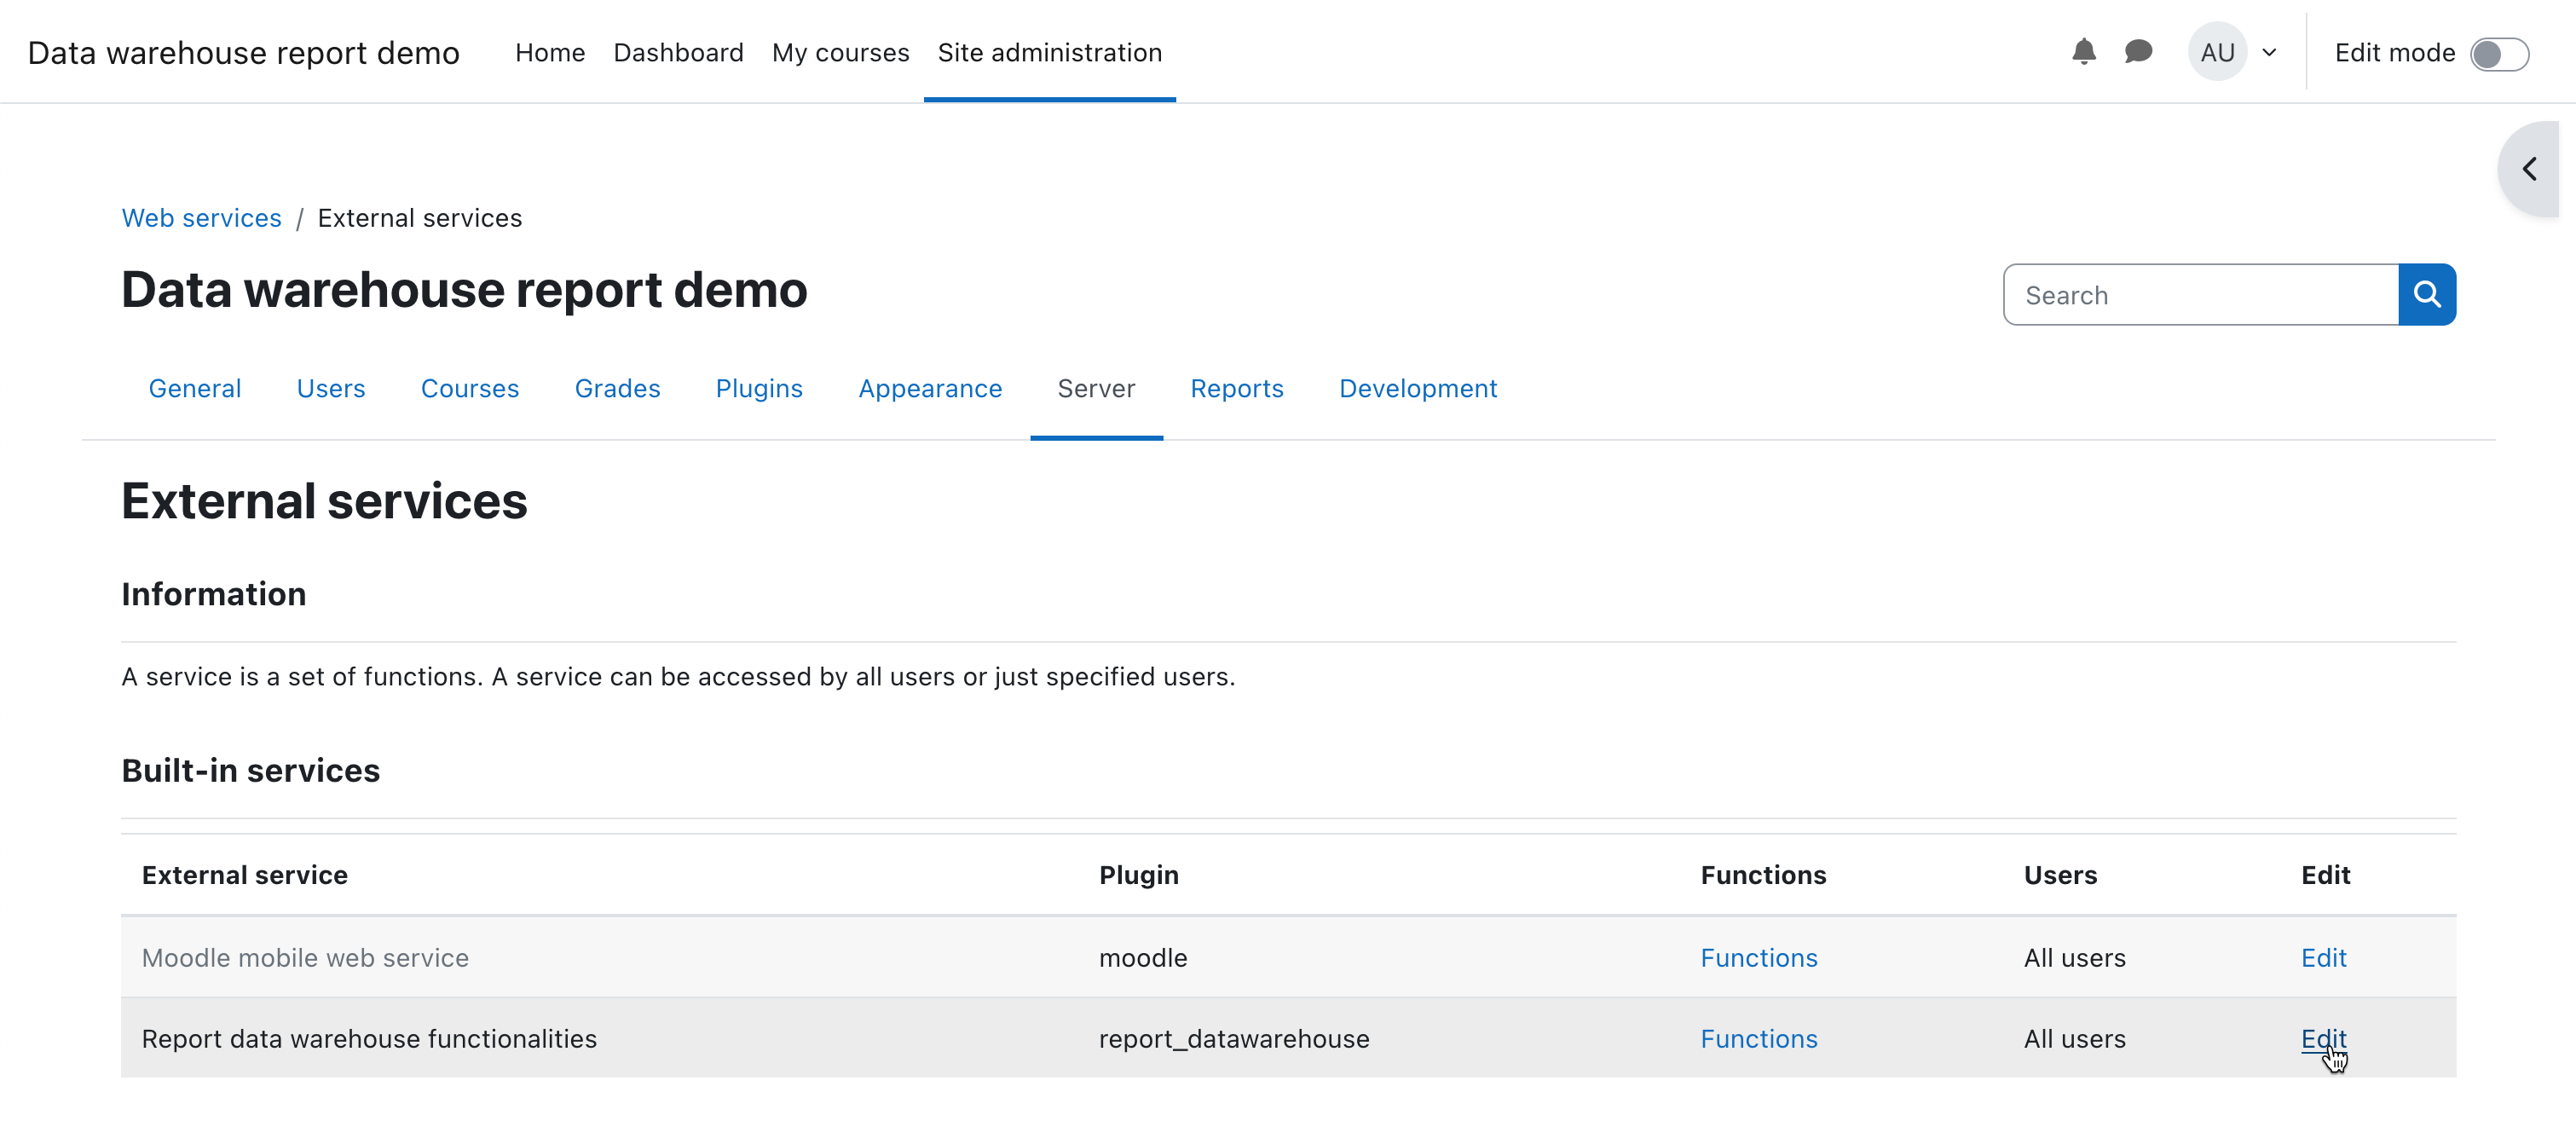
Under Site administration > Server > Web services > External services, there is a ”Report data warehouse functionalities” available. Click on "Edit".
Under Site administration > Server > Web services > External services > Report data warehouse functionalities, after clicking "Show more", enable "Can download files", in order that it's possible to access files with the web service.

If no modification is made, only managers and administrators are able to access the data warehouse report site on the URL report/datawarehouse of the Moodle installation. To grant other users access, it's best to create a custom role and equip that role with the required capabilities, and then assign this role to users.
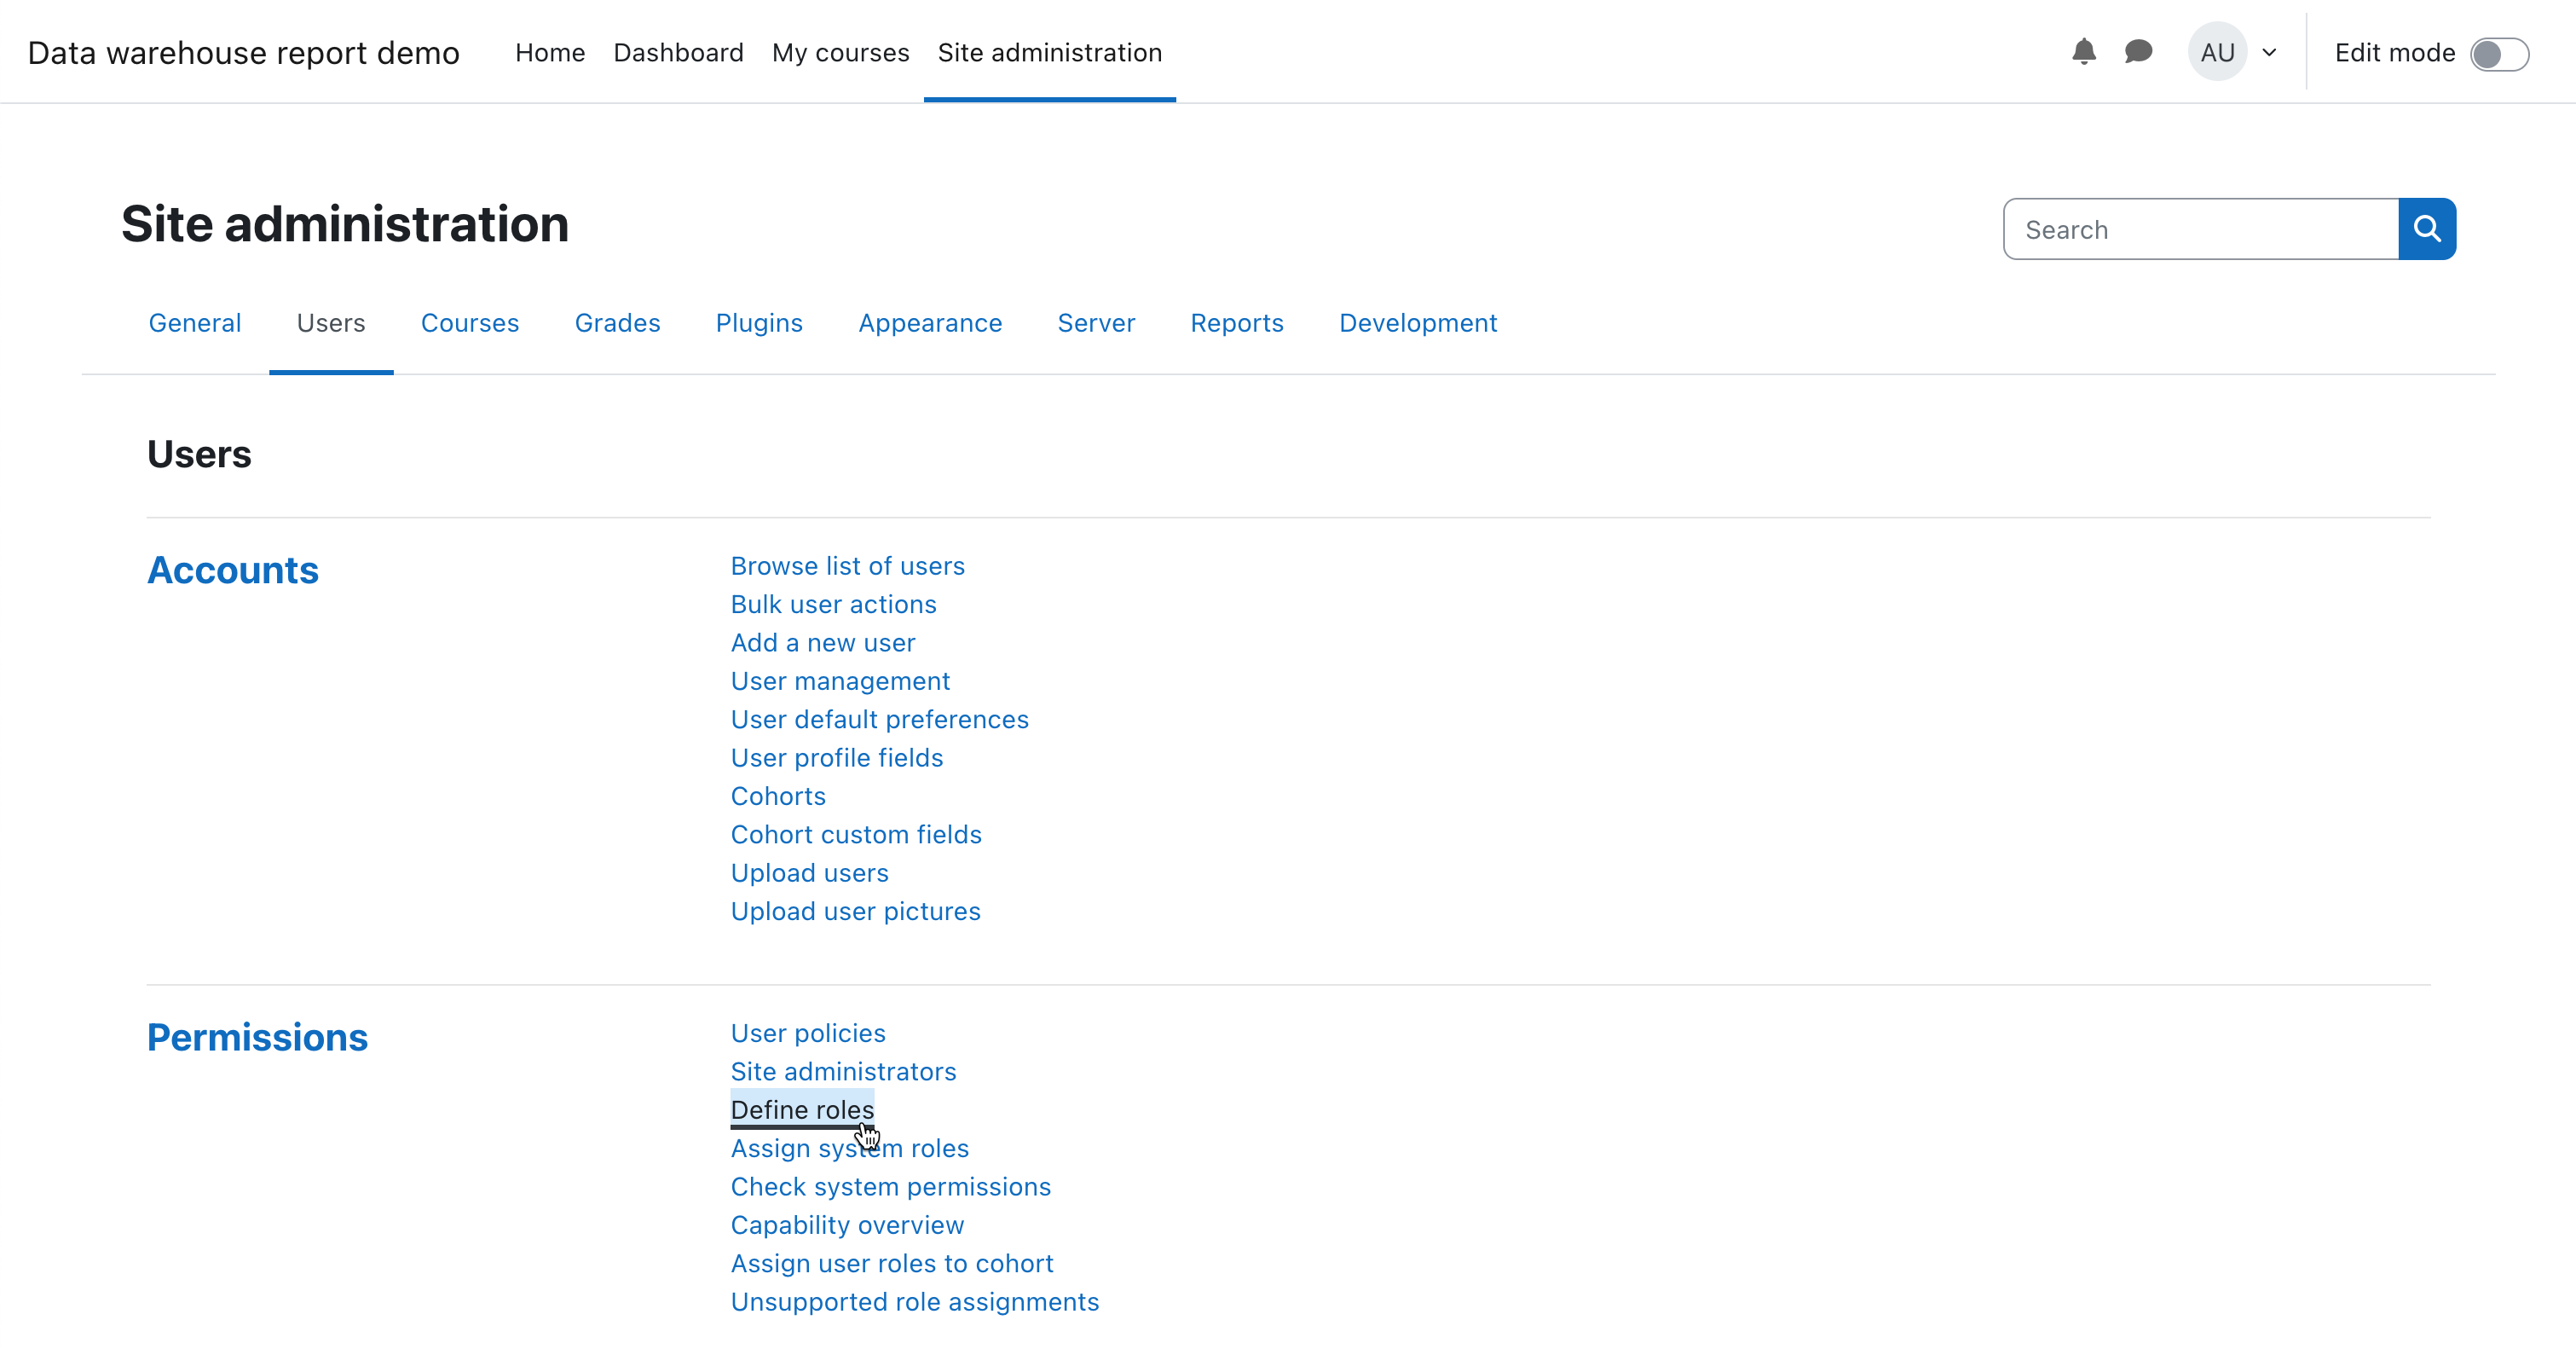
To create such role, go to Site administration > Permissions > Define roles and click "Add a new role", and then for "Use role or archetype", choose "No role" and click "Continue".
For "Short name", choose something like "reportdatawarehouseuser", for "Custom full name", take "User of "Data warehouse reports". Set "Context types where this role may be assigned" to "System" and allow the capability "report/datawarehouse:view" as well as the capability "report/datawarehouse:viewfiles" and click "Create this role".

Similarly to the above step, go to Site administration > Permissions > Define roles > Authenticated user > Edit and grant the role "Authenticated User" the capability "moodle/webservice:createtoken".

Now, go to Site administration > Users > Accounts and click "Add a new user" and create a user you want to grant rights to access and list files in the report_datawarehouse data area.

and then assign this role to users.
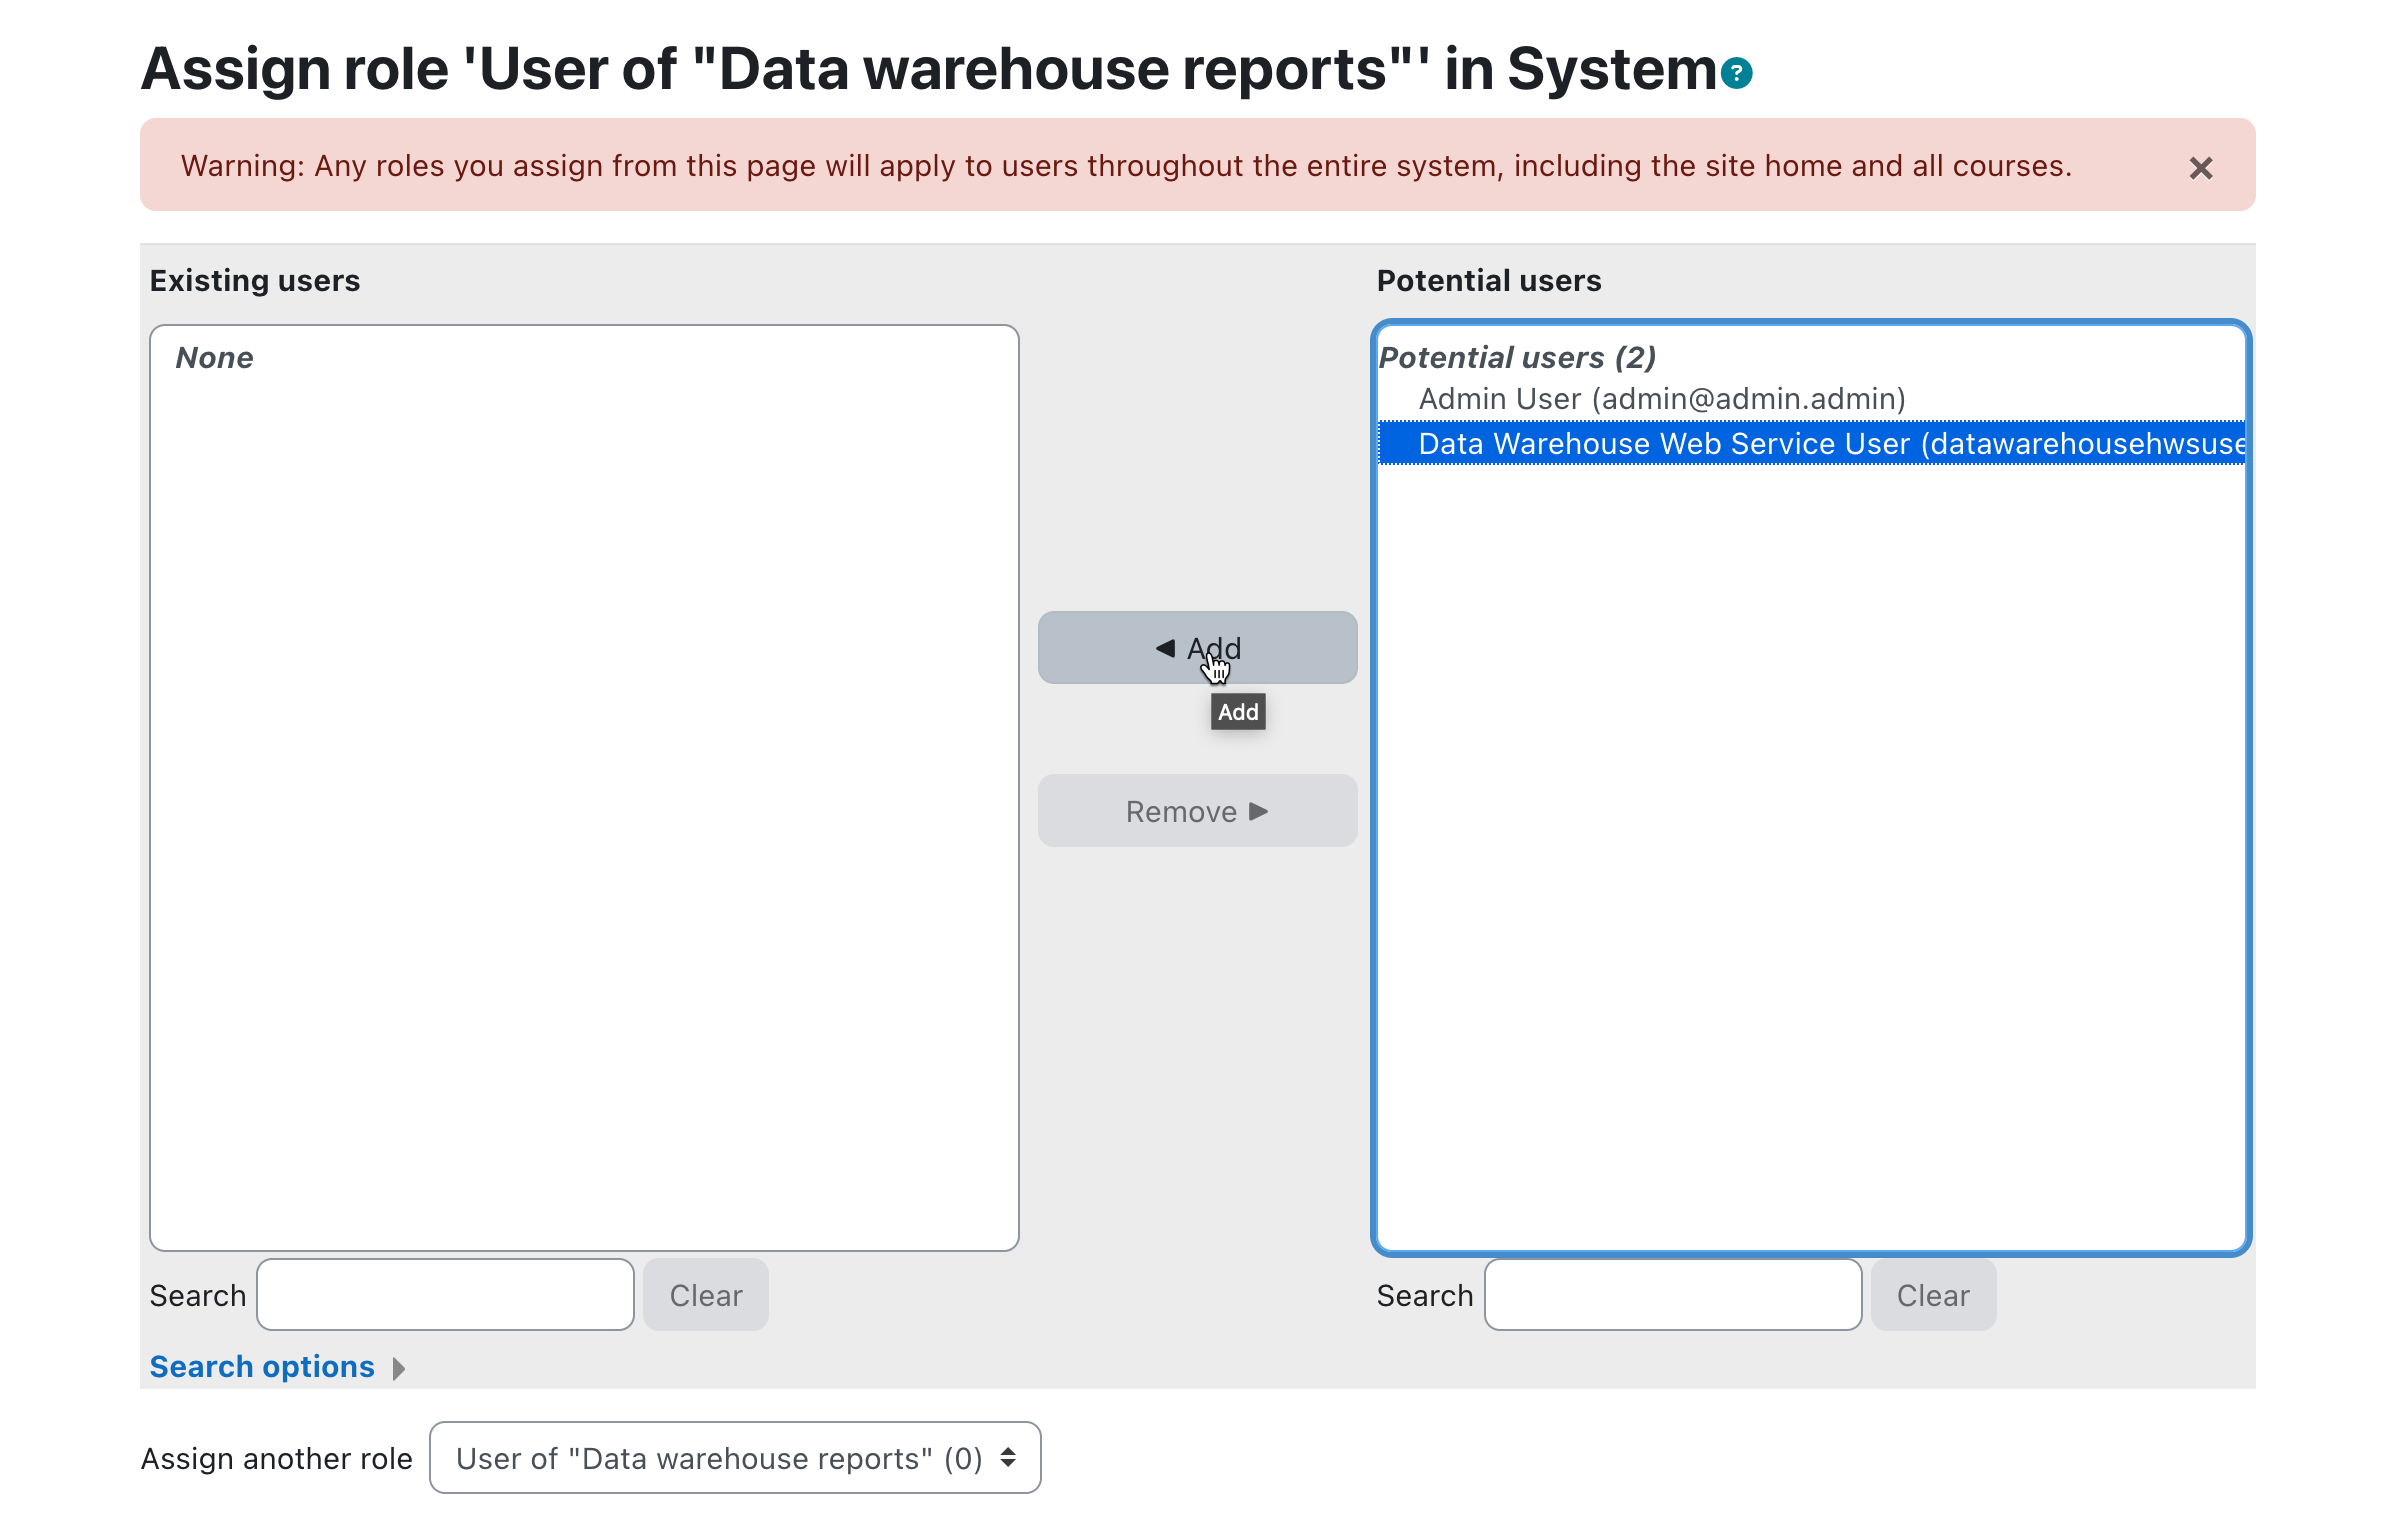
To grant this user the capabilities, go to Site administration > Permissions > Assign system roles and click "User of "Data warehouse reports"".

In the following screen, choose the user in the right hand side select window and using the "◀ Add" button, move it over to the left hand side.
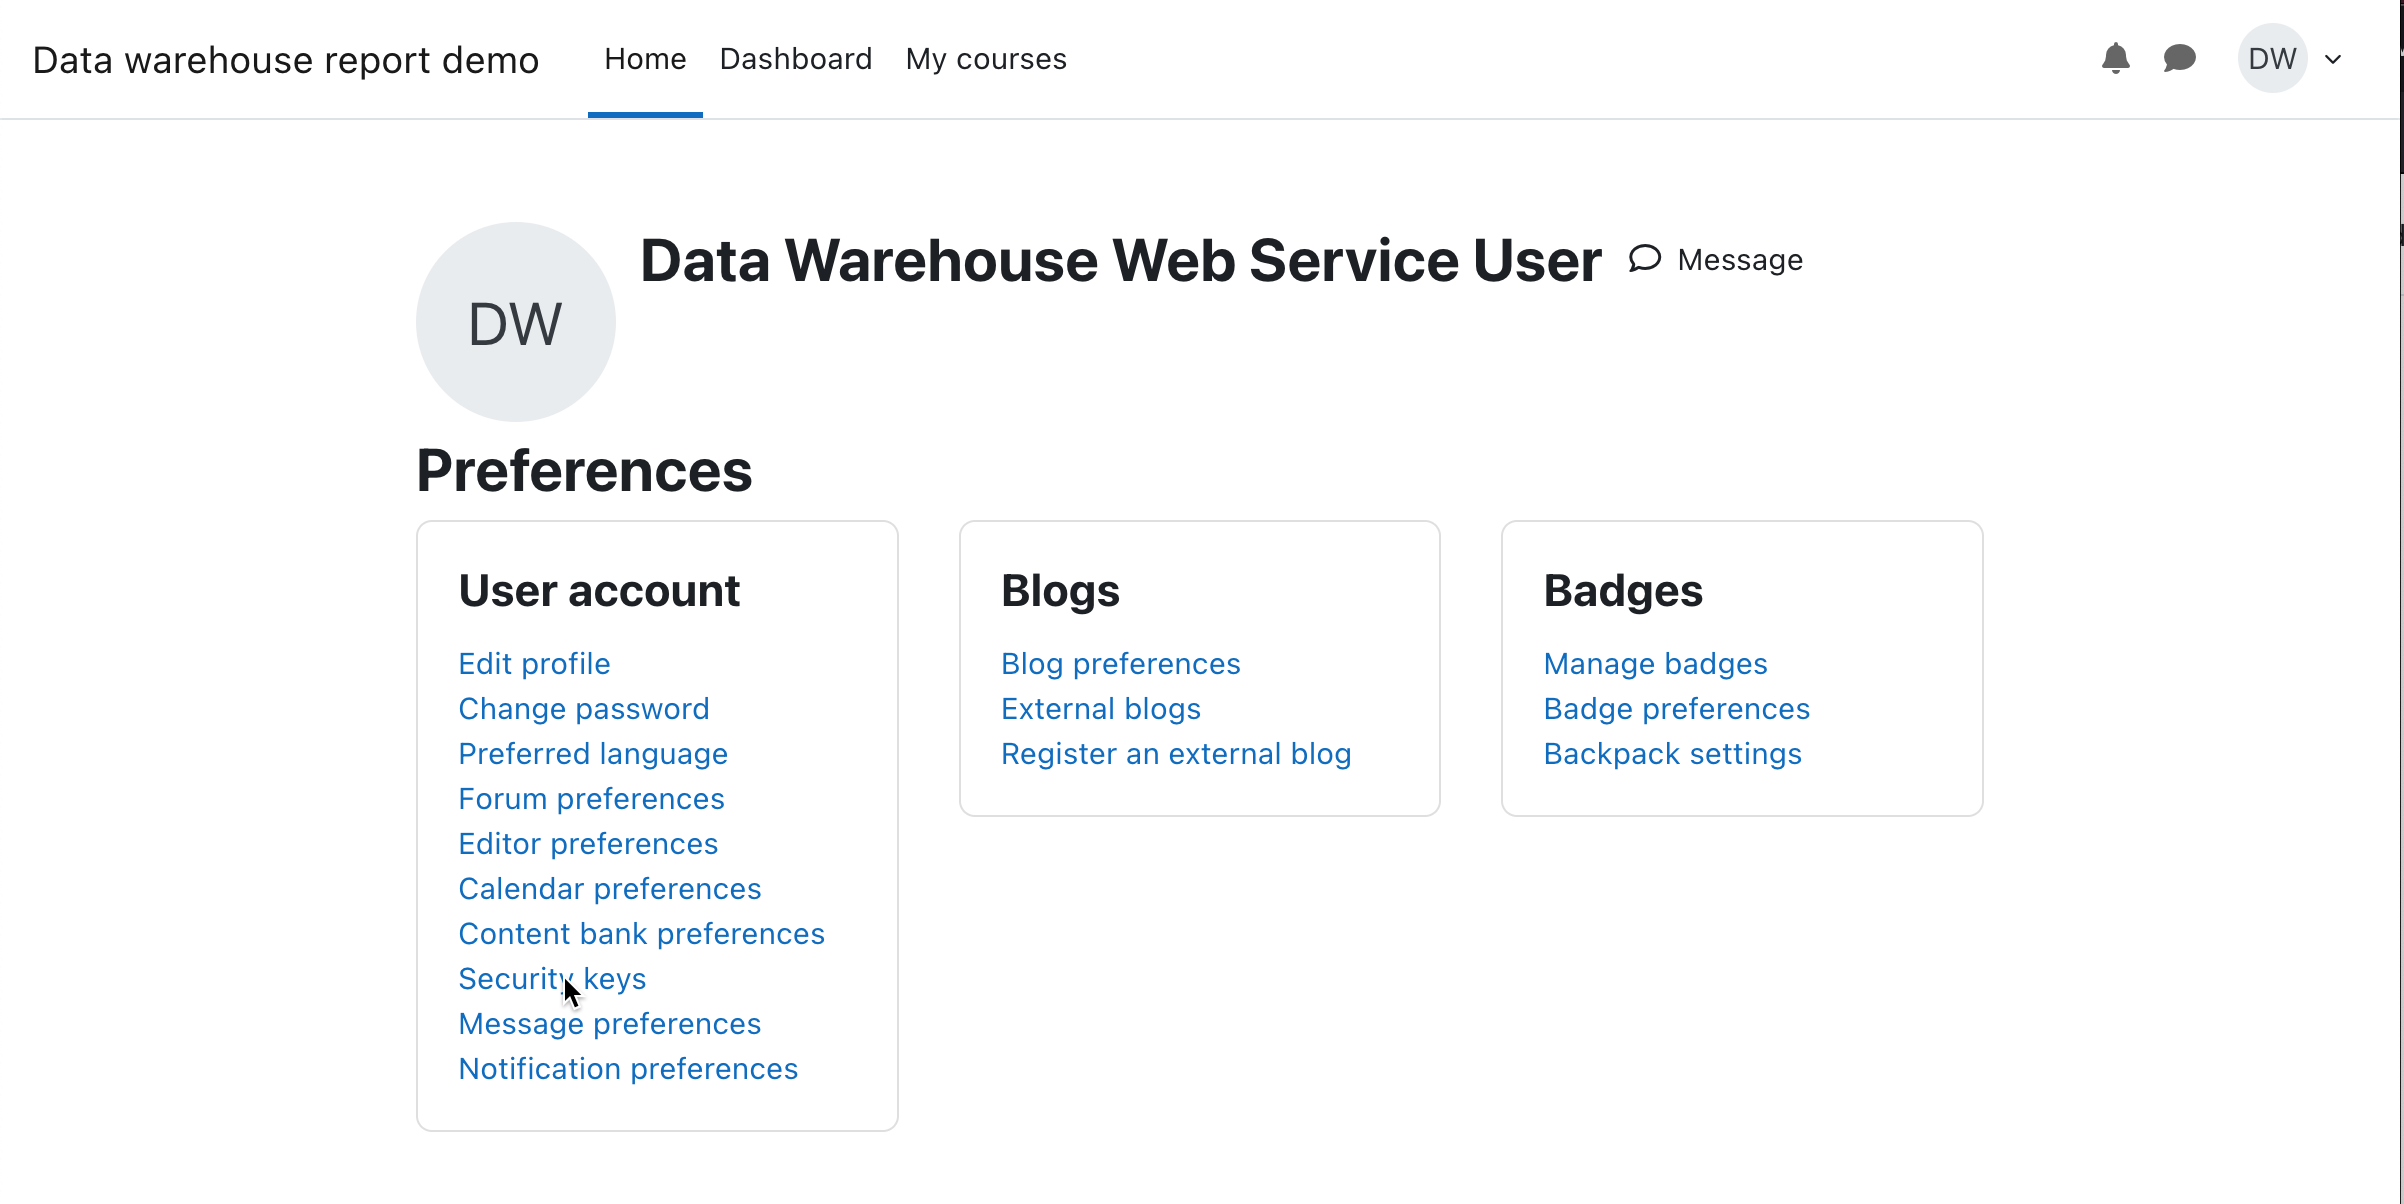
In the User menu > Preferences, click on "Security key".
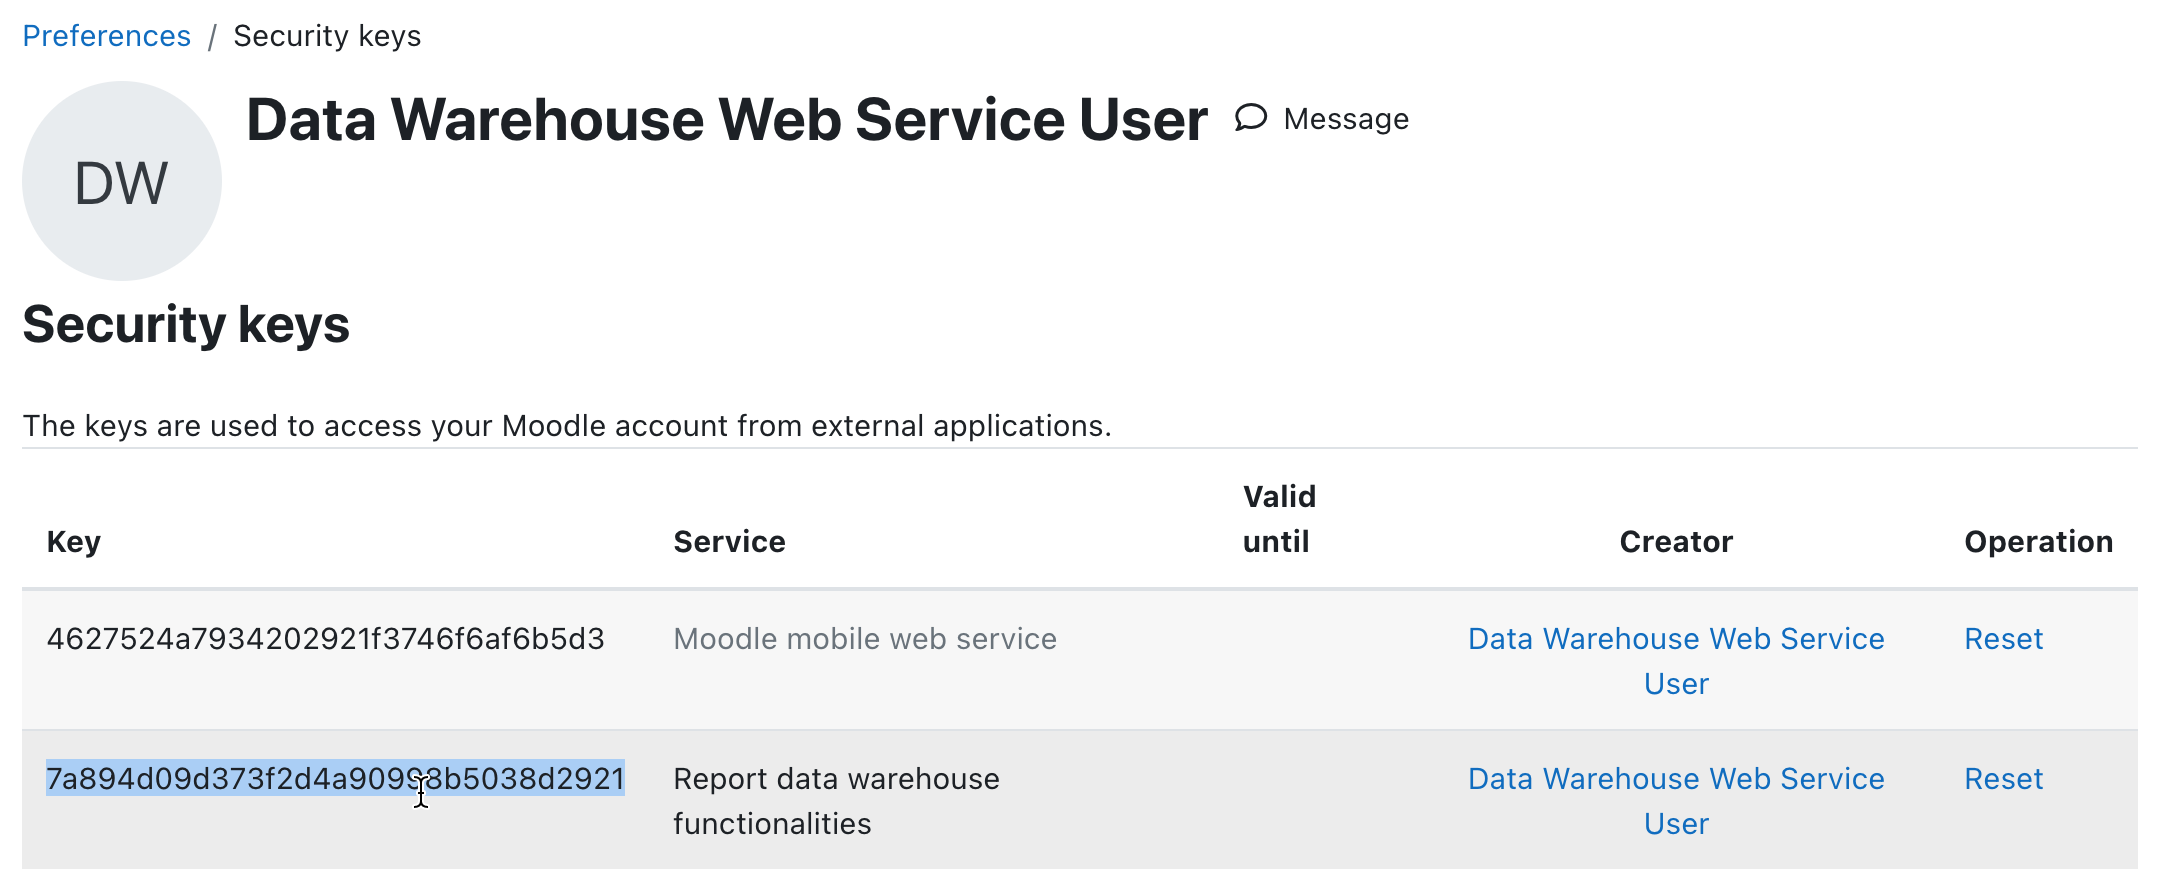
The security key to use is the one in the line with the "Service" "Report data warehouse functionalities".
Documentation:
-
Moodle plugin installation
Installation instructions for the Moodle plugin -
Data warehouse setup
Setup instructions for the data warehouse -
Queries for the Data Warehouse side Queries available to be run in the Data Warehouse part of the system
-
Queries for the Moodle side
Queries available to be run in the Moodle part of the system -
Documentation regarding the Moodle Database and Moodle functionalities Documentation about the inner mechanics of the Moodle LMS system
-
Structure of tables in the Data Warehouse Documentation about the modeling of the tables inside the Data Warehouse