-
Notifications
You must be signed in to change notification settings - Fork 7
Creating Your First Custom Tool
This is a walkthrough of creating a custom tool for Alteryx using the Omnibus framework. The tool we are going to create is an XML Input tool along the lines of the JSON Input tool.
It based on version 0.5.2 of the Omnibus.Framework Nuget packages.
The TL:DR; sections will contain a few extra details, but feel free to skip!
You will need to have a version of Visual Studio installed. Visual Studio Community edition should be perfectly fine, but screenshots in this post are from Visual Studio 2017 Professional.
You need to have Alteryx Designer installed on the same machine. The framework needs access to this to get the required DLLs. It will work with either an Admin or User install but will choose the Admin version if found over the User version.
The OmniBus Framework is built on top of .Net 4.5. As I believe this is a requirement for Alteryx (the GUI is a .Net application) if you have Alteryx installed it should be present.
The process was developed on Windows 10 and has dependencies on PowerShell version 3.0 or above. This was installed inside Windows 8 and can be downloaded for Windows 7 if needed.
-
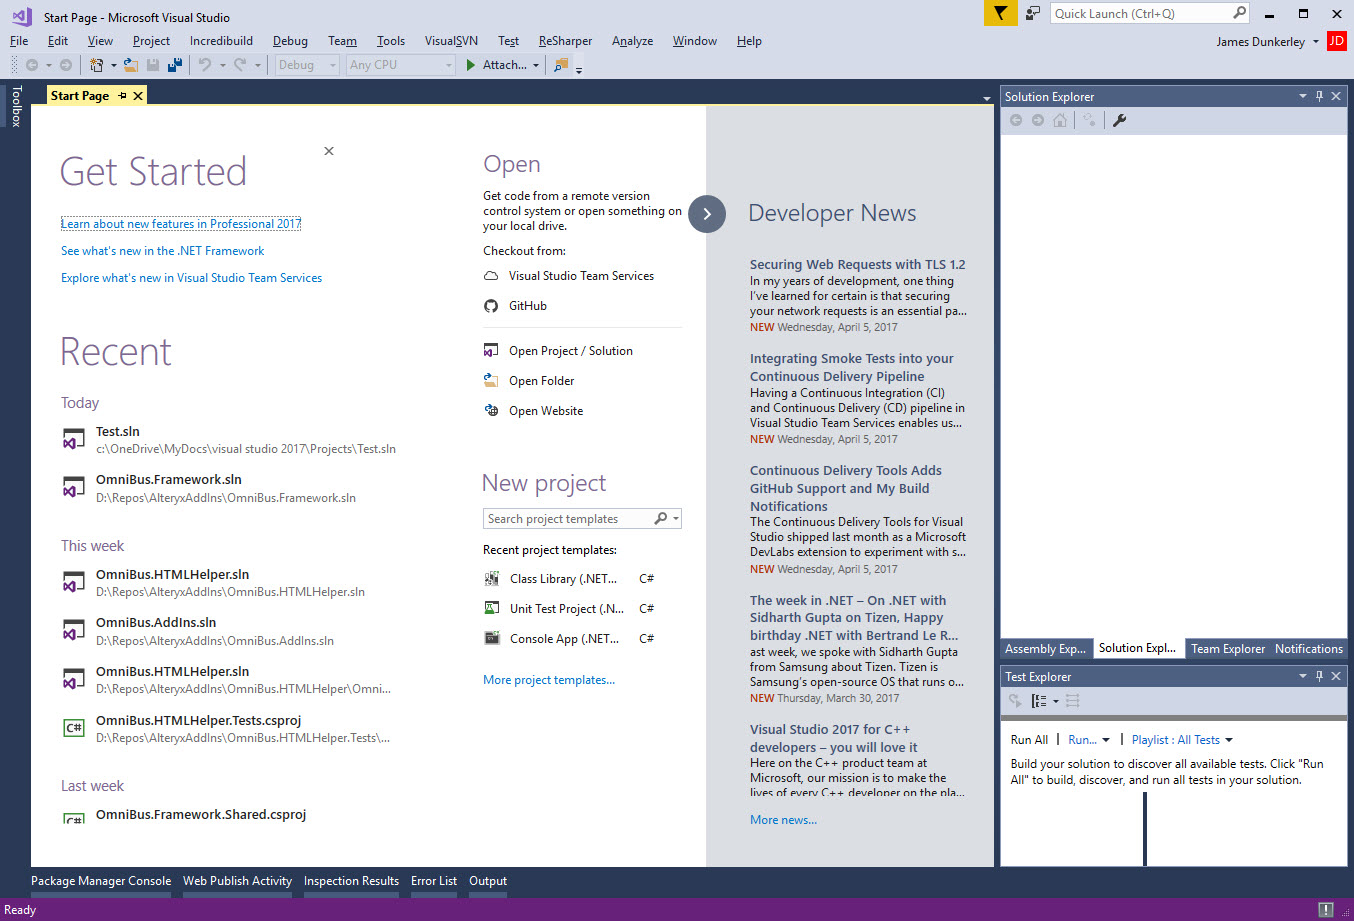
Open Visual Studio
-
Create a New C# Class Library Project (File => New Project... or Ctrl-Shift-N)
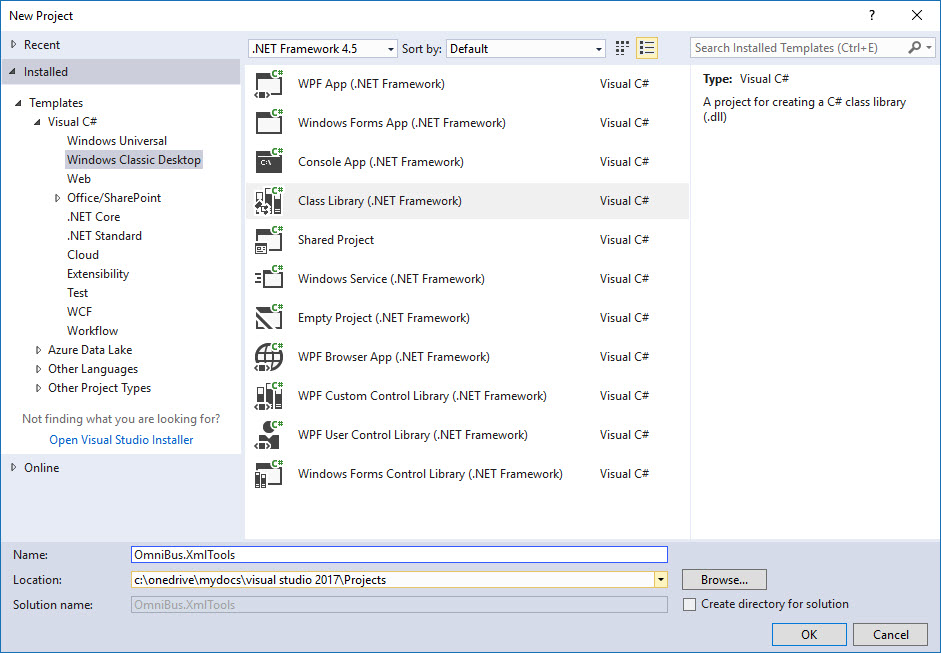
- This must be a Windows Classic Desktop, not .Net Core or .Net Standard
- You need to target at least .Net 4.5 (as this is the version used by the framework)
-
Add the following NuGet Packages:
- Omnibus.Framework.GUI
- Omnibus.Framework
- Omnibus.Framework.Shared This will be added when you add either of the first two
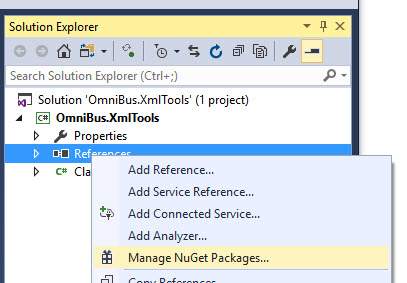
You can either do this using the Package Manager Console or via Manage Nuget Packages:
- Right click on the Project and go to Manage Nuget Packages
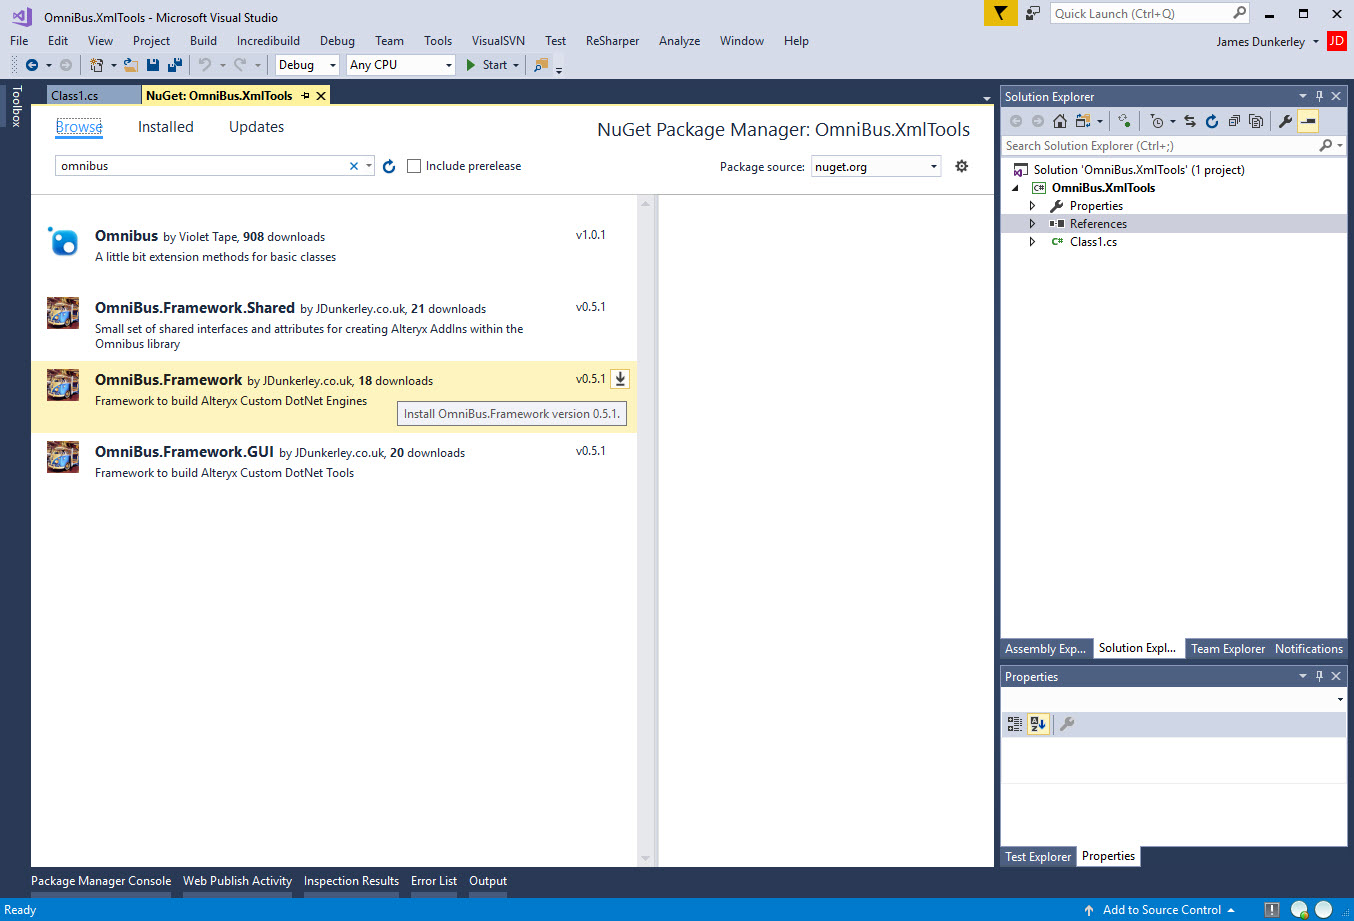
- Search for Omnibus
- Click the Install button next to GUI and Framework to install
-
After this your project should look like this: assets/newTool/Solution Explorer.jpg
-
Installation of the Omnibus.Framework.Shared will do a couple of things to your project
- It sets the target platform to be 64-bit
- It will locate the Alteryx install directory and add a reference to AlteryxRecordInfo.dll
- It also sets Copy local for this dll to be false
-
Installation of the Omnibus.Framework.GUI will do the following
- It will set the debug action to start Alteryx within Debug mode
- It will add System.Drawing and System.Windows.Forms
- It will locate the Alteryx install directory and add a reference to AlteryxRecordInfo.dll
- It also sets Copy local for this dll to be false
- Finally it will set up and configure Install.bat and Uninstall.bat scripts
- These will create a tool group with the project name
- They are set to copy to the output directory on a build
- I still have to see what happens when I upgrade the packages expect there will be a warning message
A custom tool consists of three parts:
- Configuration object
- Engine
- Plug In (The name of this class will be used by Alteryx in the tool bar)
I like calling the engine class <PlugIn>Engine and the configuration class <PlugIn>Config.
- Remove the default Class1.cs
- Add a new class (Shift-Alt-C) with code like:
namespace OmniBus.XmlTools
{
    /// <summary>
    /// Configuration Class for <see cref="XmlInputEngine"/>
    /// </summary>
    public class XmlInputConfig
    {
        public override string ToString() => string.Empty;
    }
}This class will hold the configuration of the object. It is also responsible for creating the Default Annotation for the tool, using the ToString method of the class. To get started, we will just create an empty class returning an empty string:
Note: The serialiser in the framework is pretty basic at the moment and can't cope with complex objects or properties. Currently just numeric types, strings and dates. This will be improved in the next version of the framework.
- Add another new class for the engine
- This needs to be derived from BaseEngine with a type argument of the Config type you created before.
using OmniBus.Framework;

namespace OmniBus.XmlTools
{
    /// <summary>
    /// Read An Xml File Into Alteryx
    /// </summary>
    public class XmlInputEngine : BaseEngine<XmlInputConfig>
    {
    }
}The engine class is the guts of the tool. The Omnibus.Framework package has a BaseEngine<TConfig> which has the interface needed by Alteryx INetPlugIn.
- Add another class for the engine
- This needs to be derived from the BasePlugIn with type arguments of the Engine class and Config class you created.
using AlteryxGuiToolkit.Plugins;

using OmniBus.Framework;

namespace OmniBus.XmlTools
{
    /// <summary>
    /// Tell Alteryx About The Config And Engine
    /// </summary>
    public class XmlInput : BaseTool<XmlInputConfig, XmlInputEngine>, IPlugin
    {
    }
}This class tells Alteryx Designer about the class. The Omnibus.Framework.GUI package has a BaseTool<TConfig,TEngine> which will provide all the bootstrapping needed for Alteryx. It also will provide a PropertyGrid as a property grid for Alteryx.
If you move to an HTML designer then this class isn't needed. However, for getting started and debugging this place holder class and GUI is an easy way forward.
- Build In Debug Mode
- Go to the bin/Debug folder
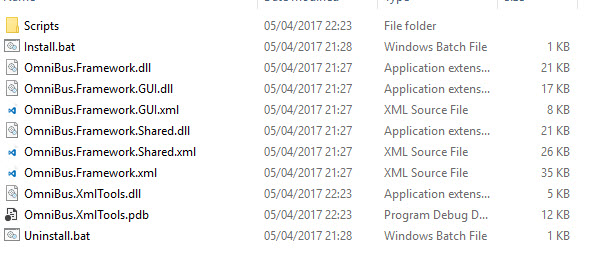
- Run Install.bat
- Accept In UAC
- Start Debugging within Visual Studio
- Alteryx Should Start and a new entry in the ribbon should be there

- Exit Alteryx
- This batch file uses PowerShell to Request UAC and then calls Scripts/Installer.ps1.
- The batch file specifies the name of the Ini file which will be written to Alteryx's *Settings\AdditionalPlugins* folder (the 2nd parameter in the Argument list)
- It also specifies the ToolGroup (the 3rd parameter) for Alteryx to add the tool.
- The Ini file will tell Alteryx where to load the DLL from and where to place it in the ribbon:
[Settings]
x64Path=C:\OneDrive\MyDocs\Visual Studio 2017\Projects\OmniBus.XmlTools\bin\Debug
x86Path=C:\OneDrive\MyDocs\Visual Studio 2017\Projects\OmniBus.XmlTools\bin\Debug
ToolGroup=OmniBus.XmlTools
Developing Functions
Grouped Record ID