OCR powered screen-capture tool to capture information instead of images. For Linux, macOS and Windows.
Links: Source Code | Documentation | FAQs | Releases | Changelog
Choose one of the options for a prebuilt release. If you encounter an issue please take a look at the FAQs or report it.
- NormCap-0.5.9-x86_64-Windows.msi (Installer)
- NormCap-0.5.9-x86_64-Windows.zip (Portable)
- NormCap-0.5.9-x86_64.AppImage (Binary, requires fuse)
- com.github.dynobo.normcap @ FlatHub (FlatPak)
normcap@ AUR (Arch/Manjaro)
Note: You have to allow the unsigned application on first start: "System Preferences" → "Security & Privacy" → "General" → "Open anyway". You also have to allow NormCap to take screenshots. (#135)
- NormCap-0.5.9-x86_64-macOS.dmg (Installer for x86/64)
- NormCap-0.5.9-arm64-macOS.dmg (Installer for M1)
As an alternative to a prebuilt package from above you can install the NormCap Python package for Python >=3.9, but it is a bit more complicated:
# Install dependencies (Ubuntu/Debian)
sudo apt install build-essential tesseract-ocr tesseract-ocr-eng libtesseract-dev libleptonica-dev wl-clipboard

## Install dependencies (Arch)
sudo pacman -S tesseract tesseract-data-eng wl-clipboard

## Install dependencies (Fedora)
sudo dnf install tesseract wl-clipboard

## Install dependencies (openSUSE)
sudo zypper install python3-devel tesseract-ocr tesseract-ocr-devel wl-clipboard

# Install normcap
pip install normcap

# Run
./normcap# Install dependencies
brew install tesseract tesseract-lang
# Install normcap
pip install normcap
# Run
./normcap1. Install Tesseract 5 by using the
installer provided by UB Mannheim.
2. Identify the path to Tesseract base folder. It should contain a /tessdata subfolder
and the tesseract.exe binary. Depending on if you installed Tesseract system-wide or
in userspace, the base folder should be:
C:\Program Files\Tesseract-OCR
or
C:\Users\<USERNAME>\AppData\Local\Programs\Tesseract-OCR
3. Adjust environment variables:
-
Create an environment variable
TESSDATA_PREFIXand set it to your Tesseract base folder, e.g.: "System Properties" → Tab "Advanced" → "Environment Variables..." → "New..." → Variable:TESSDATA_PREFIX, Value:"C:\Program Files\Tesseract-OCR" -
Append Tesseract's base folder to the environment variable
PATH, e.g.: "System Properties" → Tab "Advanced" → "Environment Variables..." → Section "User variables" → SelectPATH→ "Edit..." → Add a new entry"C:\Program Files\Tesseract-OCR" -
To test your setup, open a new
cmd-terminal and run:tesseract --list-langs
4. Install and run NormCap:
# Install normcap
pip install normcap

# Run
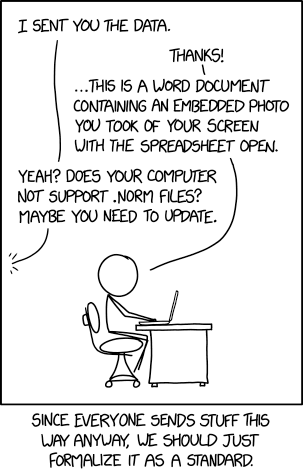
normcapSee XKCD:
Prerequisites for setting up a development environment are: Python >=3.9, uv and Tesseract >=5.0 (incl. language data).
# Clone repository
git clone https://github.com/dynobo/normcap.git

# Change into project directory
cd normcap

# Create virtual env and install dependencies
uv venv
uv sync

# Register pre-commit hook
uv run pre-commit install

# Run NormCap in virtual env
uv run python -m normcapPlease use Weblate to complement or correct text for existing language as well as for adding new languages.
(If you prefer to not use Weblate, you can also do it manually, but be aware, that this more cumbersome.)
This project uses the following non-standard libraries:
- pyside6 - bindings for Qt UI Framework
And it depends on external software:
- tesseract - OCR engine
- wl-clipboard - Wayland clipboard utilities
- xclip - CLI to the X11 clipboard
Packaging is done with:
- briefcase - converting Python projects into standalone apps
Thanks to the maintainers of those nice tools!
If NormCap doesn't fit your needs, try those alternatives (no particular order):
- TextSnatcher (Linux)
- GreenShot (Linux, macOS)
- TextShot (Windows)
- gImageReader (Linux, Windows)
- Capture2Text (Windows)
- Frog (Linux)
- Textinator (macOS)
- Text-Grab (Windows)
- dpScreenOCR (Linux, Windows)
- PowerToys Text Extractor (Windows)
Made with contrib.rocks


