- 1st Jan 2025: Added support for OnnxStream's new custom resolutions and updated some documentation. Special thanks to Vito Plantamura, Delph and Roger
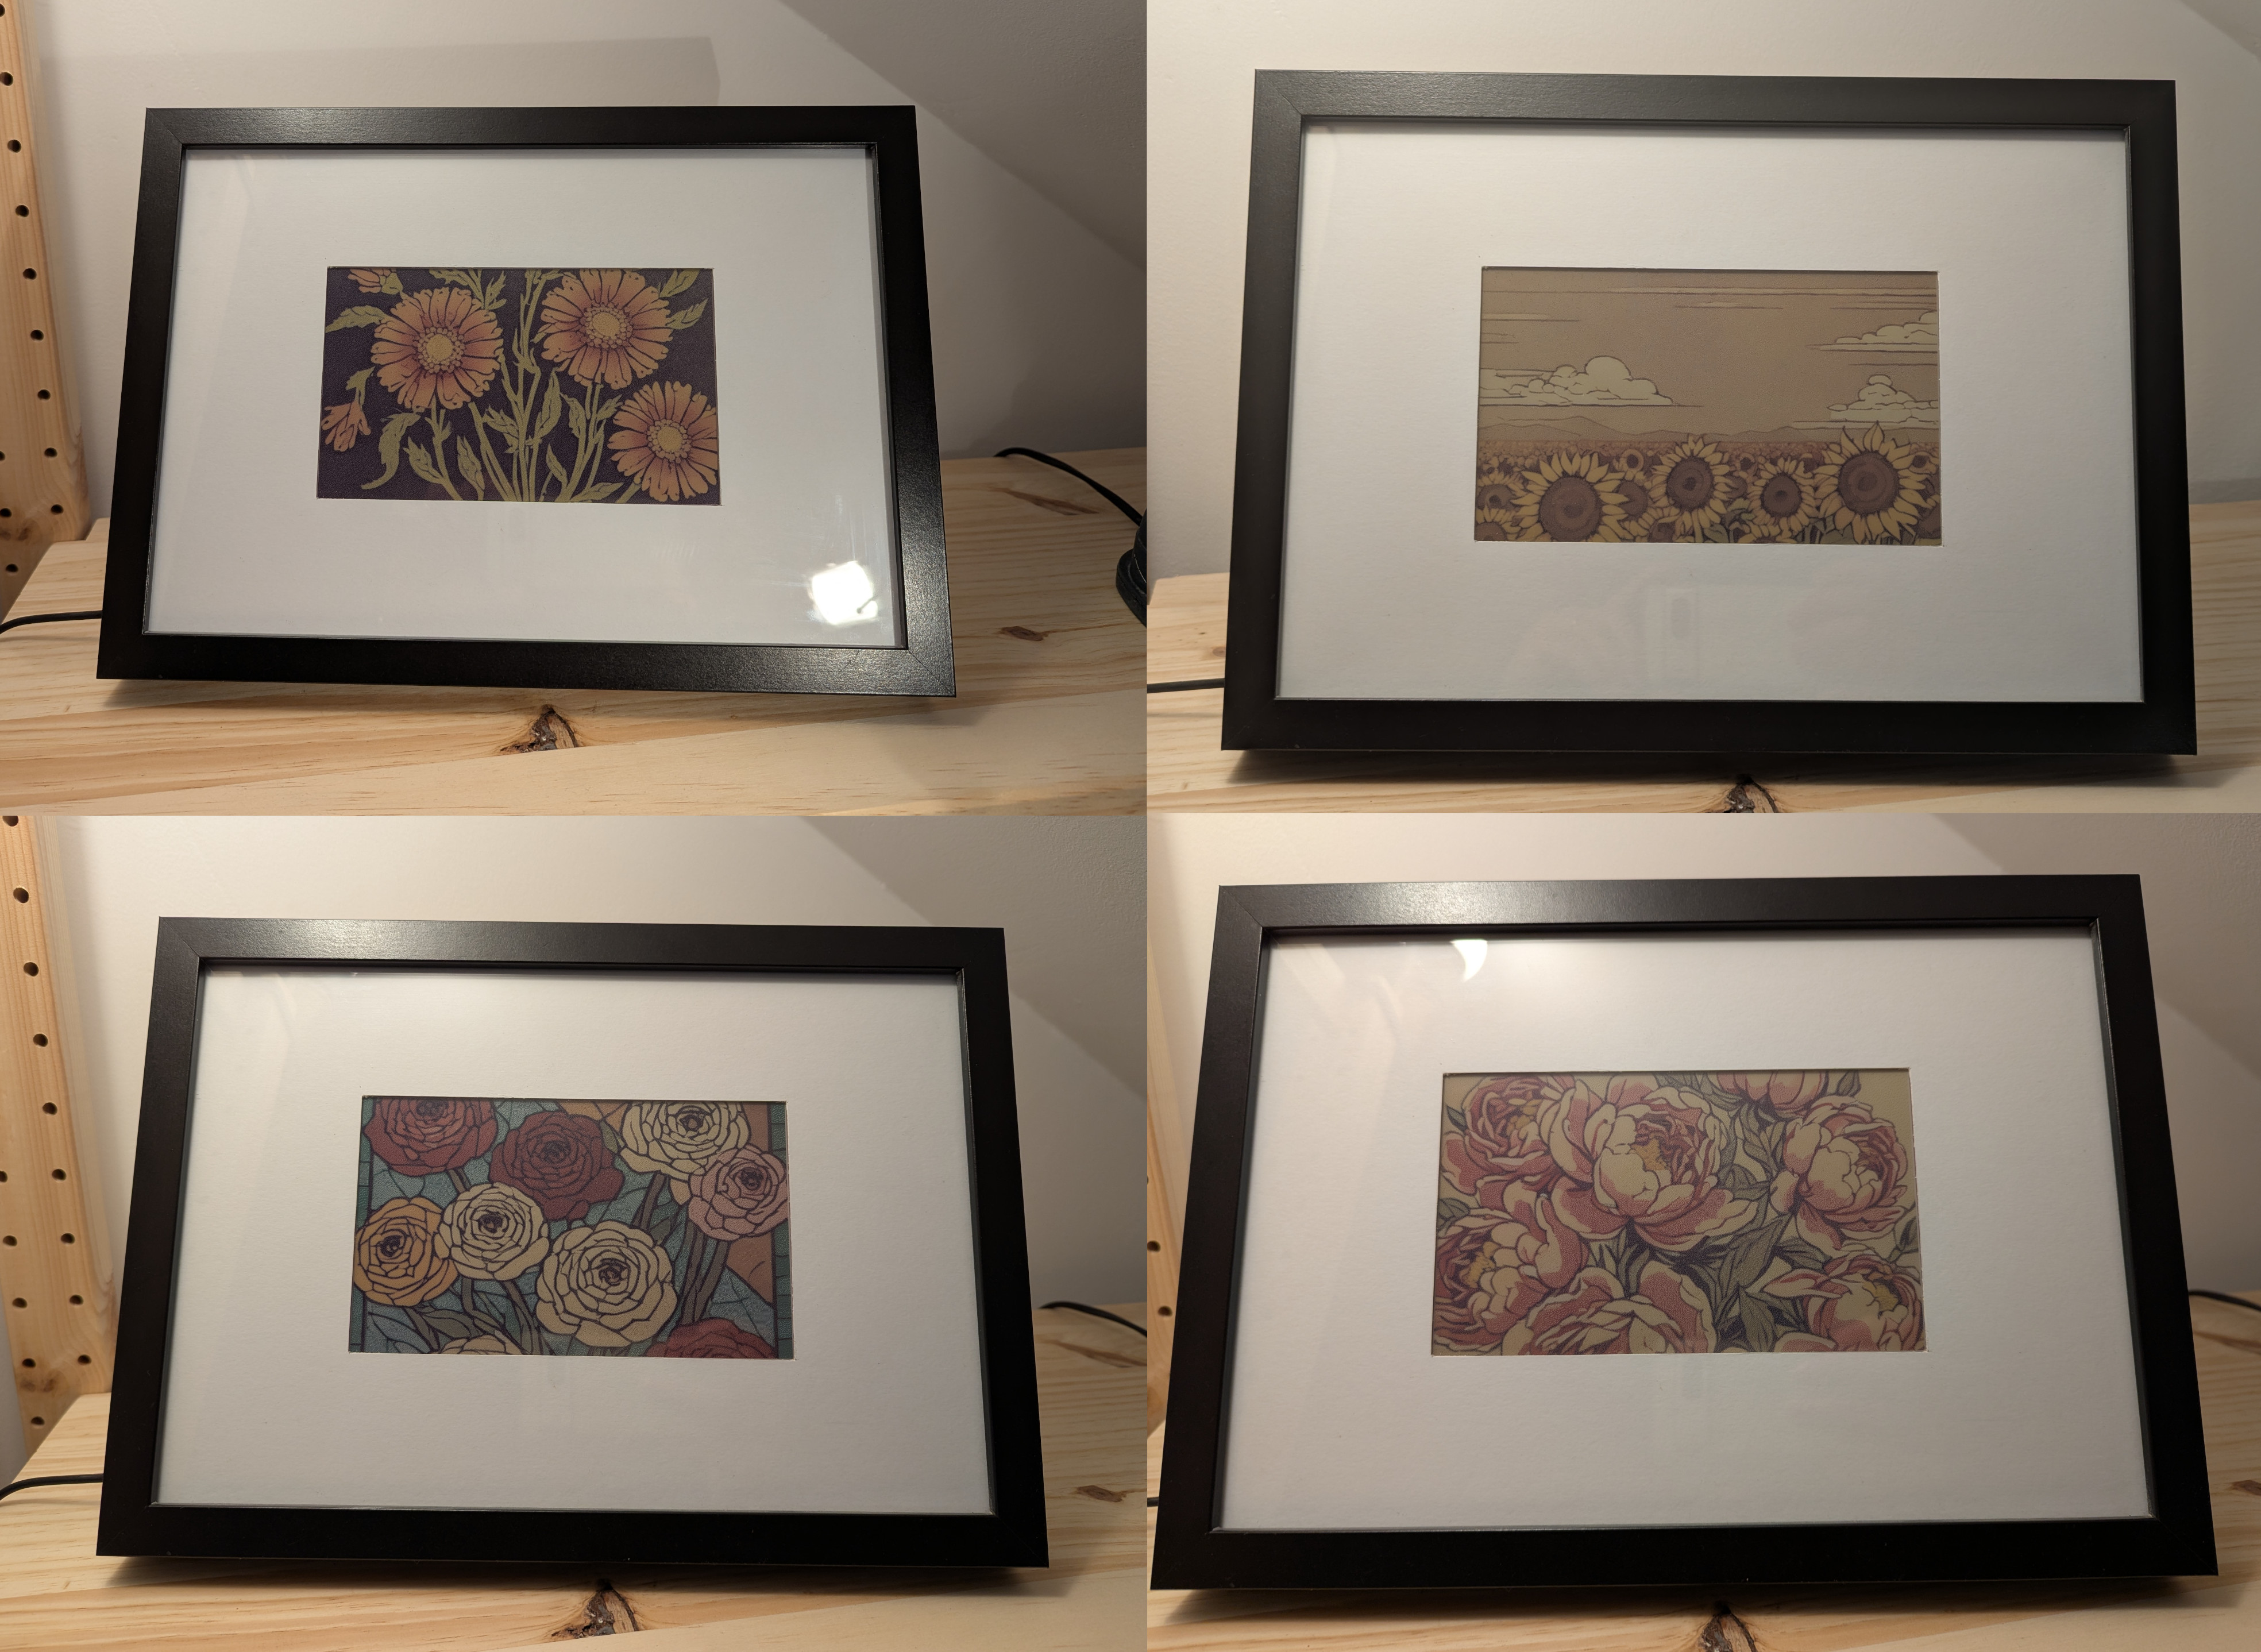
PaperPiAI is a standalone Raspberry Pi Zero 2 powered e-ink picture frame running stable diffusion generating an infinite array of pictures.
This default set-up generates random flower pictures with random styles that I've found to work particularly well on the Inky Impressions 7.3" 7-colour e-ink display, i.e. low-colour palette styles and simple designs.
Once set up the picture frame is fully self-sufficient, able to generate unique images with no internet access until the end of time (or a hardware failure - which ever comes first).
Each image takes about 30 minutes to generate and about 30 seconds to refresh
to the screen. You can change the list of image subjects and styles to
anything in generate_picture.py file. Ideally I'd like to generate the image
prompts with a local LLM but have not found one that runs on the RPi Zero 2
yet. It would not have to run fast - just fast enough to generate a new prompt
within 23 hours to have a new picure every day.
OnnxStream now supports custom resolutions for Stable Diffusion XL Turbo 1.0 so we can render directly for the display size. If for some reason you cannot make use of this feature (e.g. using a different model) there is support to use 'intelligent' cropping that uses salient spectral feature analysis to guide the crop (landscape or portrait) towards most interesting part of the image. This was needed in an earlier version when we could only generate 512x512 images.
- Raspberry Pi Zero 2
- Inky Impression 7.3" 7-colour e-ink display
- Picture frame, ideally with deep frame to accommodate RPi Zero
- Heatsink (optional) - I saw a max of 70°C (ambient was ~21°C) but one might be useful in a hot area or confined space
- Raspbian Bullseye Lite. A similar set-up ought to work with Bookwork (install inky 2.0 using Pimoroni's instructions) but I had odd slowdowns using Bookwork which I could not resolve.
Edit /etc/dphys-swapfile (e.g. sudo vim /etc/dphys-swapfile) and change
the value of CONF_SWAPSIZE to 1024. You might be able to get away with a
smaller swap size but it's been reported that the build process stalls with a
swap size of 256.
Then restart swap with sudo /etc/init.d/dphys-swapfile restart
run sudo raspi-config and enable SPI interface and I2C interface
Firstly download this repo somewhere with:
https://github.com/dylski/PaperPiAI.git
PaperPiAI/scripts/install.sh has all the commands needed to install all the
required system packages, python libraries and
OnnxStream - Stable Diffusion
for the Raspberry Pi Zero. If you are feeling brave then run install.sh in
the directory you want to install everything, otherwise run each command
manually.
The whole process takes a long time, i.e. several hours. If you are building
in a RPi 4 or 5 you can speed it up by appending -- -j4 or -- -all to
the cmake --build . --config Release lines in install.sh. This instructs
the compiler to use four cores or all cores, respectively. This speed up does
not work on the RPi Zero 2 as it only has 512MB RAM. Also note that 8GB of
model parameters will be downloaded. Depending on your wifi signal and braodband
speed this can also take a long time. It is recommended to position the RPi such
that the e-ink display does not impair the wifi signal!
Once installed, you need to edit the installed_dir path in
PaperPiAI/src/generate_picture.py to point to you installed everything, i.e.
where OnnxStream and the models folders were created.
Apologies for the rather manual approach - my install-fu is not up to scratch!
You need to run generate_picture.py with the resolution of the display and a
target directory to save the images. The Inky Impressions has a resolution of
800x480 so for a landscape image the command would be:
python PaperPiAI/src/generate_picture.py --width=800 --height=480 output_dir
This generates a new image with a unique name based on the prompt, and a copy called 'output.png' to make it simple to display.
Note that if you install the python packages into a virtual env (as the script above does) then you need to use that python instance, e.g.:
<install_path>/venv/bin/python PaperPiAI/src/generate_picture.py --width=800 --height=480 /tmp
To send to the display use python PaperPiAI/src/display_picture.py -r <image_name>
Tie -r option skips any intelligent cropping (as this is no longer needed)
and just resizes the image to make sure it fits the display.
To generate portrait images to display on portrait-oriented display switch the
width and height values for generate_picture.py and include the -p with the
display_picture.py script. I.e. for the Inky Impression:
python PaperPiAI/src/generate_picture.py --width=480 --height=800 output_dir
and
python PaperPiAI/src/display_picture.py -r -p output_dir/output.png
To automate this I make a script that runs these two commands in sequence and put an entry in crontab to call it once a day. Note that e-paper displays are suspectible to temperature. The Pi Zero will get hot for an extended period of time which can cause the display to render with some discoloration which can be avoided by delaying the display update after generating the image.
All the generated images are currently retained locally. Each image is ~1.2MB (assuming 800x480px resolution), so generating an image every 24 hours for 2.25 years would take up ~1GB storage. If you are generating images at a faster rate and/or storage is limited then this would lead to issues.
A simple fix is to not save images with unique names, i.e. change this line from
fullpath = os.path.join(output_dir, f"{unique_arg}.png")
to
fullpath = os.path.join(output_dir, shared_file)
and comment out lines 90 - 92.
