Last year, Cannonical published an article on 6 reasons why Docker and ROS are not a good fit. To summarize, here are the main points of the article:
- Privileged containers are a security risk
- Configuring networking is challenging
- No notifications for updating vulnerable software packages
- No transactional updates for ROS on Docker
- No delta updates for applications
- Fleet management is a pain.
While the last four would be solved just by running your robotics stack on balena, the first two need some extra attention.
This repository is not meant to be an extensive library of ROS software packages that were modified to run on docker, but more of a guide on how to write your own.
However, at the end of this document, you'll find a list of pre-made images for some common hardware like cameras and LIDAR sensors and applications like SLAM and object detection.
One instance of this image required to run anything ROS-related on balena devices. Instead of a having full copy of ROS for each service, we define a volume mount share.
It's main functionality however is to run theroscoreprocess. This process keeps track of the nodes that are running, how to reach them, and what their message types are.
Additionally, ROSCore makes it possible that ROS nodes can all to talk to each other even if they are part of different services/containers. For security reasons, there's a separate internal network for the services. However, you can open whatever port you want to the external world.
For multi-machine setups, or multi-container in our case, ROS requires two environment variables to be set, one is ROS_HOSTNAME, which is the hostname of the service in question. Since docker engine allows services get resolved by their name, you need to set it to your service name. ROS_MASTER_URI is basically the hostname of the machine/service that runs roscore.
After ROS_MASTER_URI has been set, services will able to send messages to the core process, but the reverse it's not true, core has no way to know where to send the callback. To solve this issue we need to set links to help resolve them.
Here is an example of a docker-compose.yaml file for a robotics solution:
version:  '2.1'

volumes:
	shered-ros-bin:

services:
 -  roscore:
	   build: cristidragomir97/roscore
	   environment:
		- ROS_HOSTNAME=roscore
		- ROS_MASTER_URI=http://roscore:11311
	    links:
	      - SERVICE_0
	      - SERVICE_1
	    volumes:
	      - shered-ros-bin:/opt/ros/noetic
you need to set ROS_HOSTNAME and ROS_MASTER_URI=http://roscore:11311 for each service. You can either define it in the docker-compose.yml or use the dashboard.
This will give you a bare-bones ROS installation together with all the tools you need to build packages. From here onward, it's like compiling a package on any regular ROS installation you have used.
FROM cristidragomir97/roscore AS builder
If you are reading this, you probably want to do one of the following, either containerize your own ROS package, or convert an existing application for easier deployment and fleet management.
In order to do that you need to create a workspace for catkin, ROS' build system, and clone the repository containing the package in question.
mkdir -p ~/catkin_ws/src/ \
&& cd ~/catkin_ws/src/ \`
&& git clone https://github.com/YOUR_REPOSITORYThis is probably the most tricky part of this whole process. We want to be able to layer any number of ROS images on top of the ROSCore container and share common binaries to save space. Therefore, we want to bundle all the dependencies together with our ROS package. We'll use wstool and rosinstall_generator to pull the source of our dependencies and import them into our catkin_ws folder.
cd /root/catkin_ws/src && catkin_init_workspace rosdep init && rosdep updatecd /root/catkin_ws && wstool init src An important file for every ROS package is it's manifest, the package.xml file. You can find all the dependencies the package use
Here's a snippet from the package.xml file of ... :
<?xml version="1.0"?>
	....
	<depend>compressed_image_transport</depend>
	<depend>roscpp</depend>
	<depend>std_msgs</depend>
	<depend>std_srvs</depend>
	<depend>sensor_msgs</depend>
	<depend>camera_info_manager</depend>
	<depend>dynamic_reconfigure</depend>
	<depend>diagnostic_updater</depend>
	<depend>libraspberrypi0</depend>
	....
Ok, let's go trough these and figure out what's what. roscpp, std_msgs, std_srvs, sensor_msgs are all part of the core ROS installation, they are already taken care of. libraspberrypi0 is an external dependency that needs to be installed from apt.
So, the packages we are concerned are: camera_info_manager, dynamic_reconfigure, diagnostic_updater, compressed_image_transport.
Let's see how we can install them.
Move into the root of our workspace:
cd /root/catkin_ws At this point we can use rosinstall_generator to pull the source of all the required packages and wstool to add it to the build list.
rosinstall_generator compressed_image_transport --rosdistro noetic --tar > compressed_image_transport.rosinstall
wstool merge -t src compressed_image_transport.rosinstall
rosinstall_generator camera_info_manager --rosdistro noetic --tar > camera_info_manager.rosinstall
wstool merge -t src camera_info_manager.rosinstallrosinstall_generator dynamic_reconfigure --rosdistro noetic --tar > dynamic_reconfigure.rosinstall
wstool merge -t src dynamic_reconfigure.rosinstallrosinstall_generator diagnostics --rosdistro noetic --tar > diagnostics.rosinstall
wstool merge -t src diagnostics.rosinstall wstool update -t srcAll these commands prepare catkin to build all the dependencies before building our package.
Not all dependencies are ROS packages, but we can use rospack to install any other system libraries we might be missing.
rosdep install --from-paths src --ignore-src --rosdistro=noetic --os=ubuntu:focal -y We are finally ready to build everything,
If you are trying to build a package found on the web, you might want to check their official repository for more accurate build and installation instructions. If you are working on your own code, this is a good place to start.
catkin_make -DCATKIN_ENABLE_TESTING=False -DCMAKE_BUILD_TYPE=Release
catkin_make install 4.1. Start from a base image I obviously recommend choosing balena base images for a few reasons : Also, you'd be making easier for us to help you in case you get stuck.
FROM balenalib/rpi-raspbian:bullseye as runtime4.2. Move artifacts from the to runtime image. I usually move the whole catkin workspace to the runtime image, but you could get more granular if you want to save more space. However that requires some deeper knowledge about catkin and the package you are trying to build.
COPY --from=builder /root/catkin_ws/src/ /root/catkin_ws/src/First off, you will need the following libraries to be able to use the shared ROS binaries. Every balenified ROS image needs these libraries:
install_packages \
	libboost-thread-dev \
	libboost-program-options-dev \
	libboost-filesystem-dev \
	libboost-regex-dev \
	libboost-chrono-dev \
	libconsole-bridge-dev \
	liblog4cxx-dev \
	libtinyxml2-dev
pip3 install defusedxml netifacesI might create volume shares for libboost binaries and python packages (maybe even opencv) as they are repeated in many services, but the size difference seems deeecent for now.
Ok, that's about it. The last step in this process is to add the CMD line that runs when the service starts.
First we need to add all the binaries in the core ROS installation from the volume share and the additional packages that we just built to the path:
source /opt/ros/noetic/setup.sh
source /root/catkin_ws/devel/setup.sh
Now, launch a package configuration using either rosrun or roslaunch
These images are meant to simplify working with complex external hardware like LIDARs, cameras, that usually come with a ROS package from their vendors. Once you add them in you
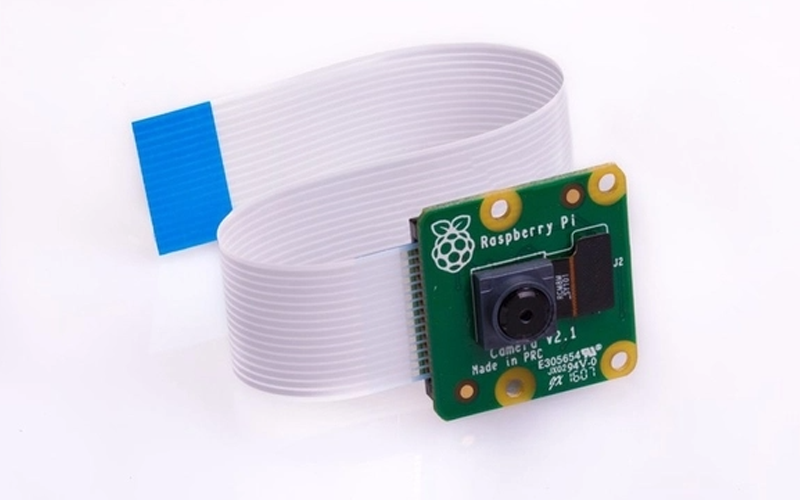
Based on UbiquityRobotics' ROS package, this image provides plug and play functionality for the official Paspberry Pi camera.
On runtime, you'll see the information from this sensor on the /image and /image/compressed topics.
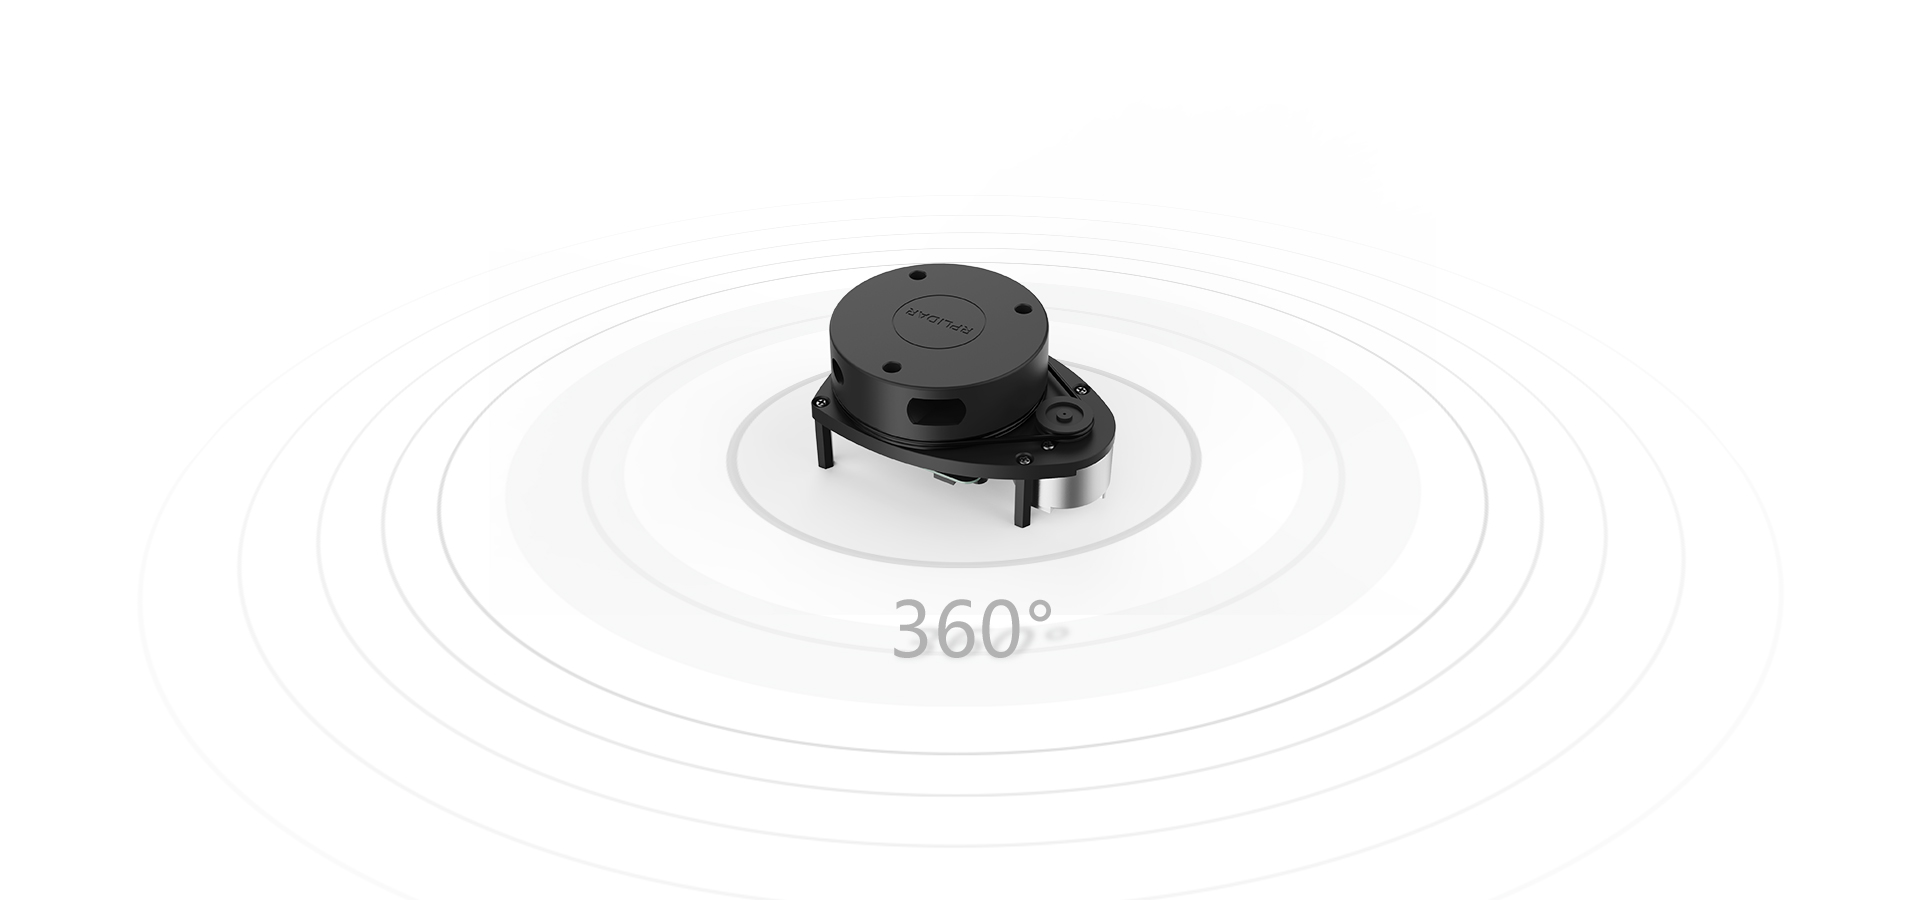
Based on SLAMTEC's official ROS package, this image provides plug and play functionality for the RPLidar series of LIDAR sensors. On runtime, you'll see the information from this sensor on the /scan topic, and you'll be able to perform 2D SLAM using these data.
You already know.
ROSboard is a very useful tool that allows you to graph and visualize ROS information in real time. This provides the same functionality as RViz but it's in a web browser.
Note: Streaming video, pointcloud and other similar messages is quite computationally intensive.

/scan topic and is able to perform SLAM without odometry and IMU data. However, both of those would help increase accuracy.


