This application helps to control electronic devices remotely. This can be installed in your localnetwork, and if you have a static IP you can access your devices from any where. You need a WiFi/Ethernet at Home/Office to connect Arduino devices. Then from your phone, you can control connected appliances
This app is tested using Google Chrome in both Windows 10 and Android only
- This support PWA [Progressive Web App]. So this can be easily installed into any OS supporting PWA
- The Arduino code for the devices is also included in the Hardware folder.
- Mainly supporting ESP8266 devices
- You are always free to modify the code for your requirements
| Main Screen [Android] | Main Screen [Other] | Devices | Main Menu | Login Screen |
|---|---|---|---|---|
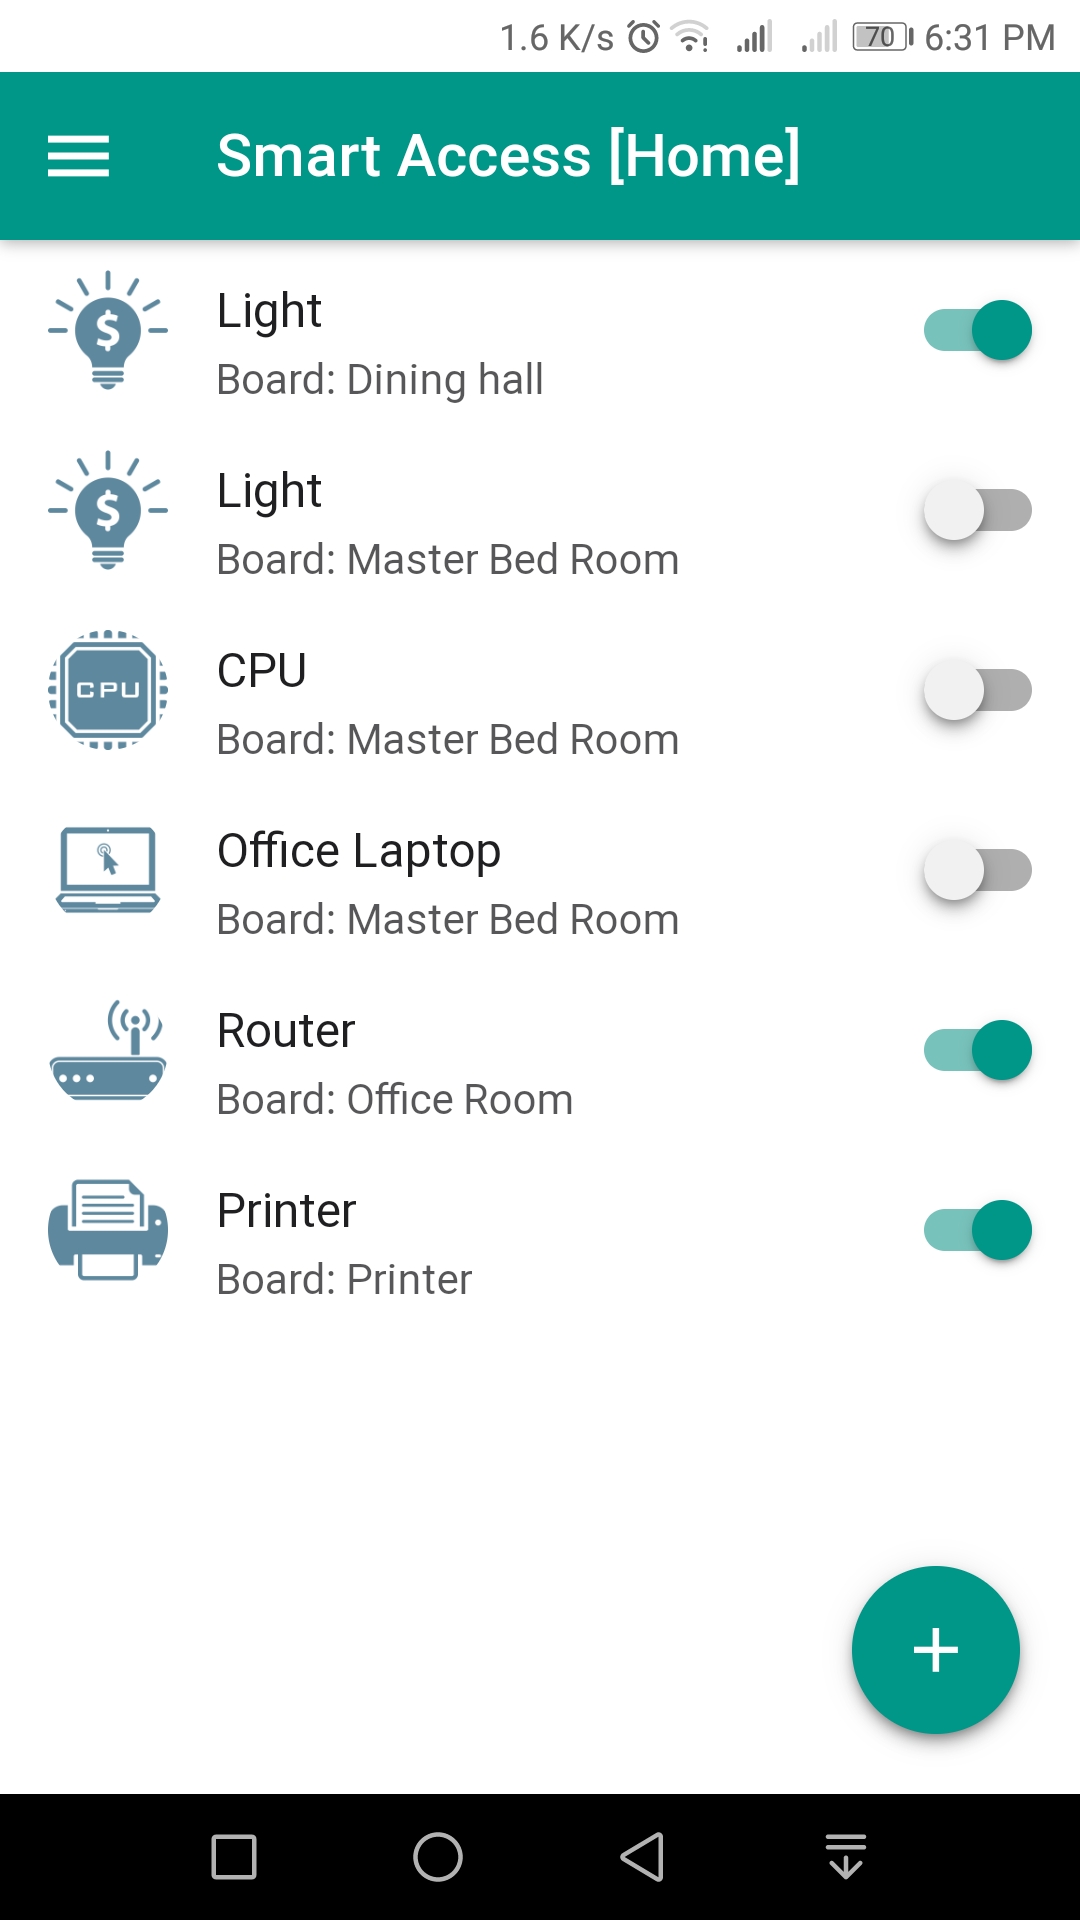 |
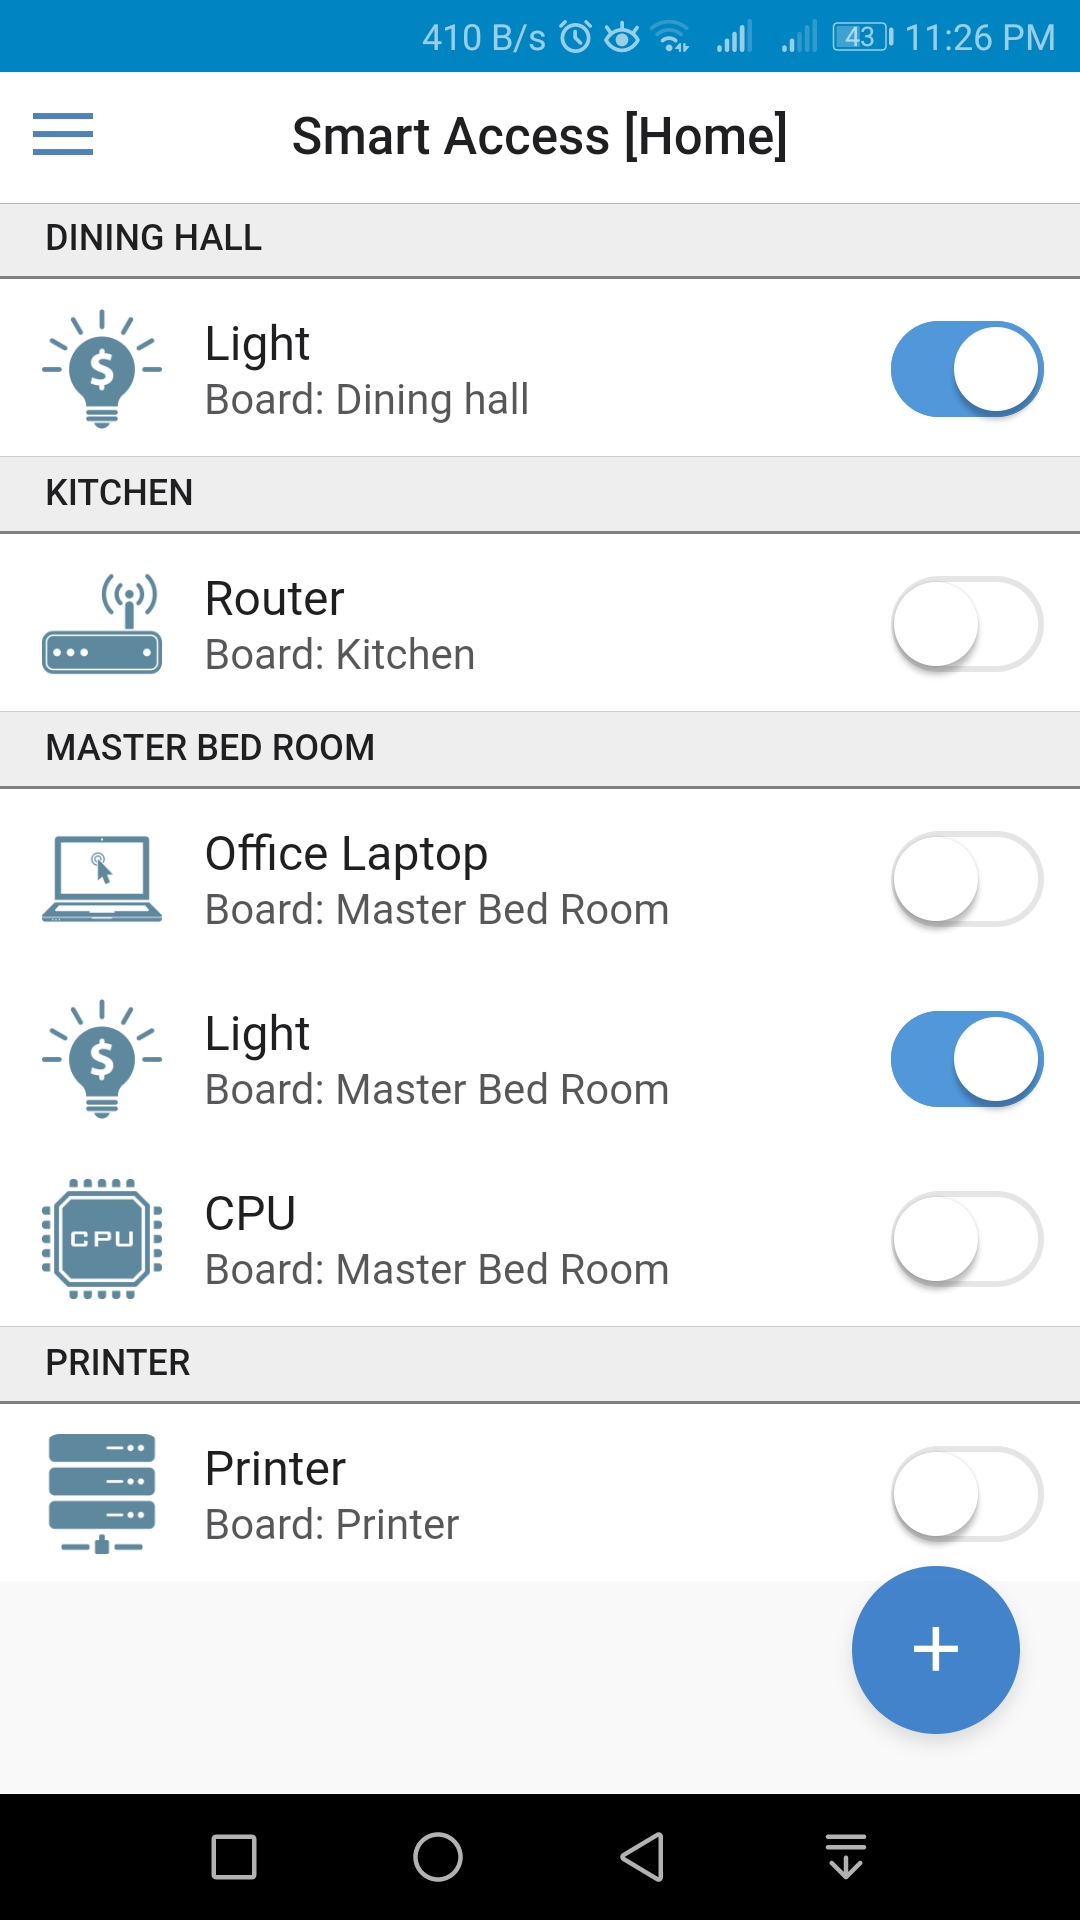 |
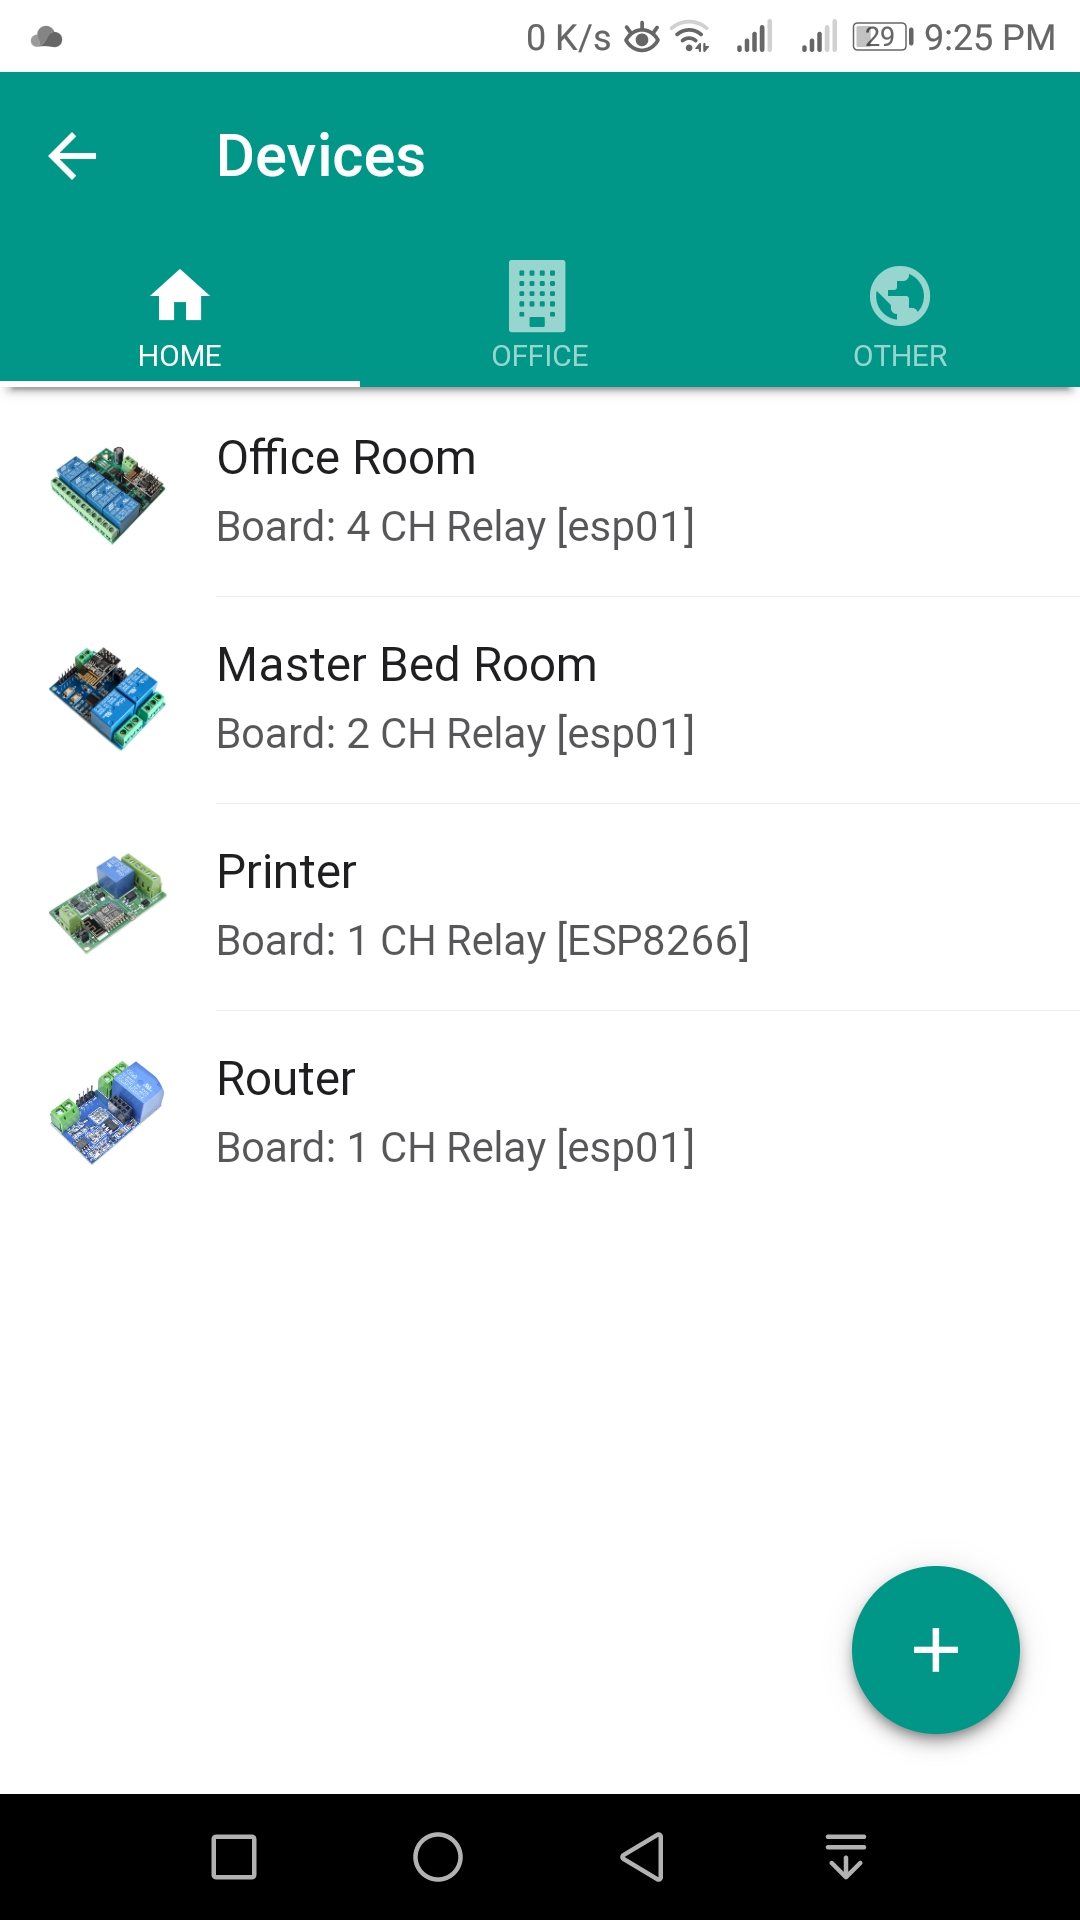 |
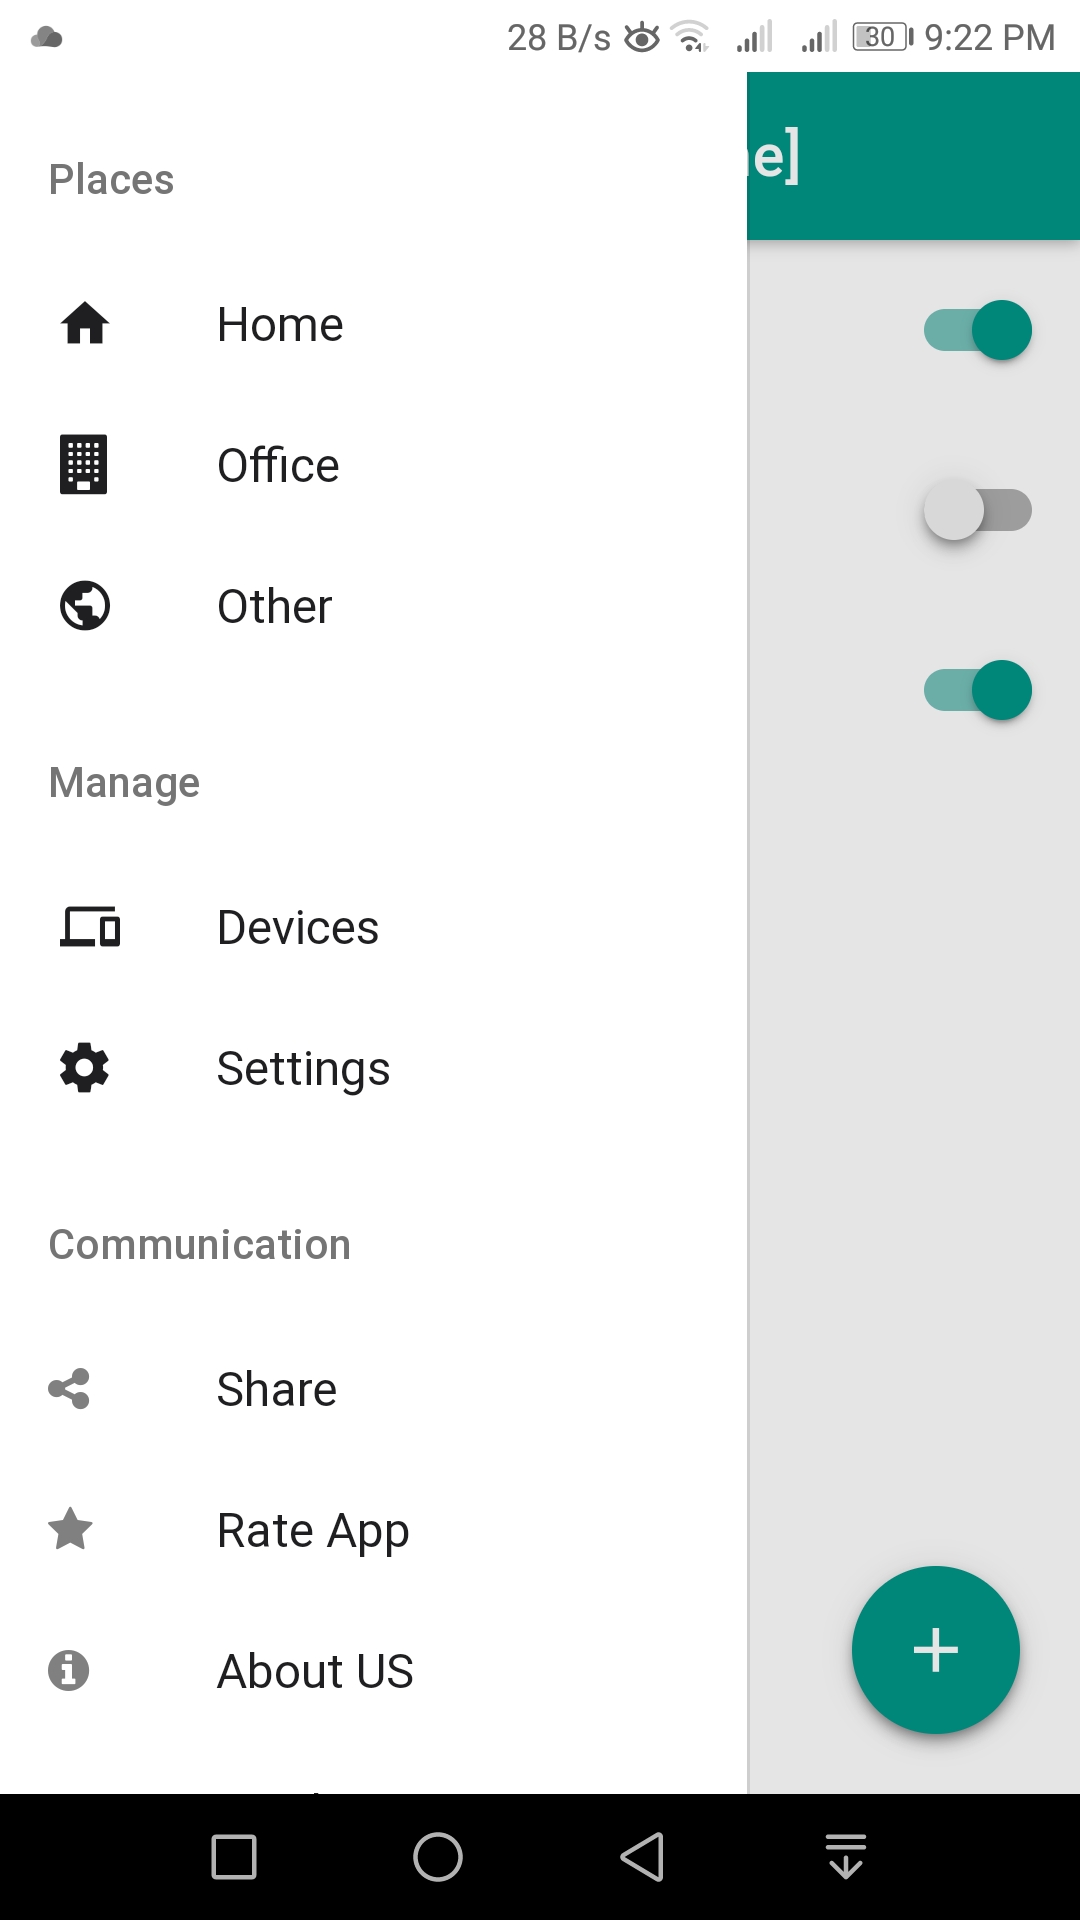 |
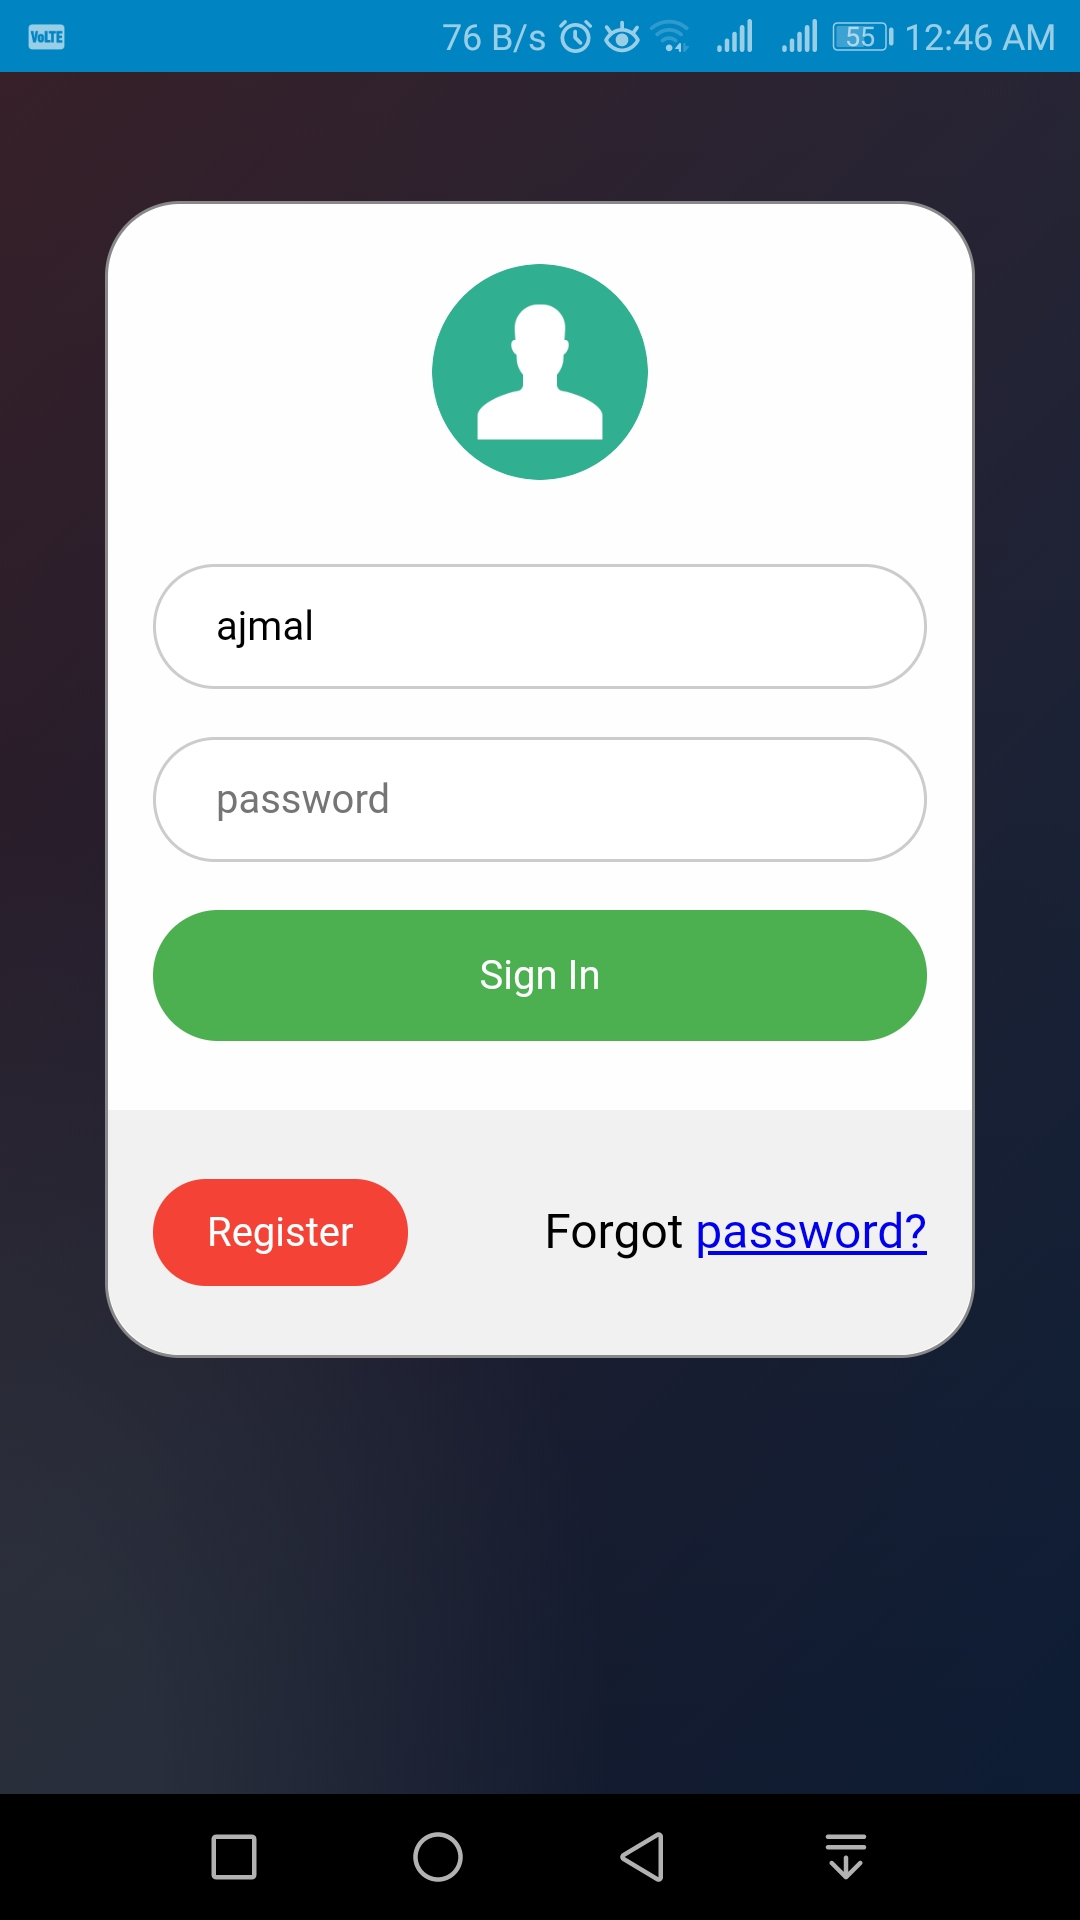 |
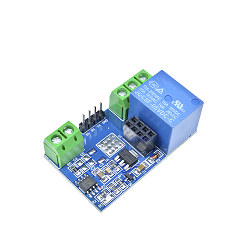
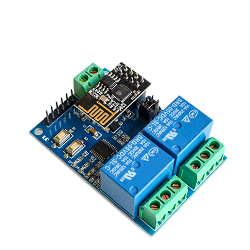
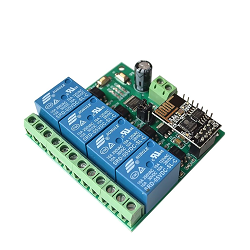
| 1 Channel Module | 1 Channel Module | 4 Channel Module | 1 Channel Module |
|---|---|---|---|
 |
 |
 |
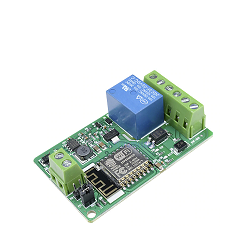 |
- Install XAMPP with Apache MySQL Download here
- Install Mosquitto MQTT Doanload here
- Download the complete source code and place it inside XAMPP/htdocs folder. [You should place it inside a folder say "sa"]
- Make sure XAMPP is installed properly and also Apache and MySQL is working. Link localhost/phpmyadmin should open MySQL Manager
- Inside the res/db fodler you can see the query to create the tables.
- Execute this query in phpmyadmin. You can see the tables created
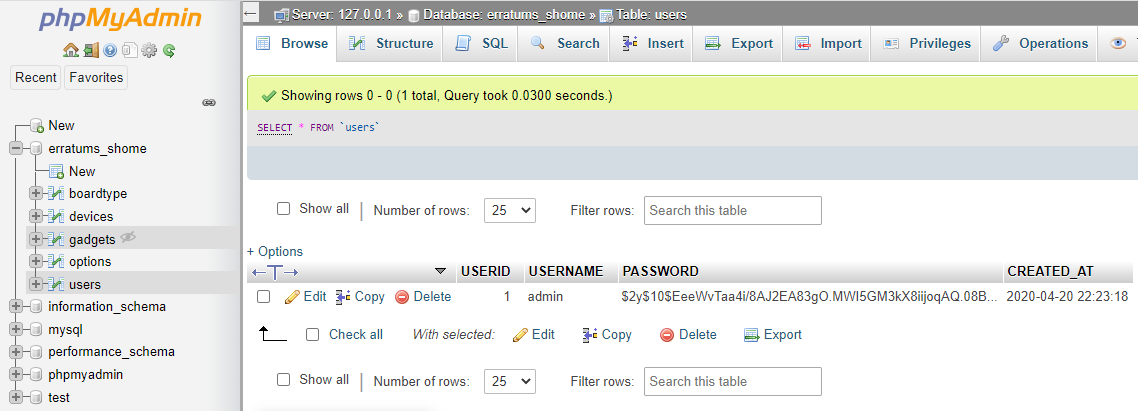
- The MySQL user and password will be automatically set in the above query. If you want to set a different password, you can change it in the config file
- Now run the mosquitto.exe file in the mosquitto folder you installed earlier
- It should be ready now. Open the index.html in the htdocs/sa folder in your Google Chrome. [I tested this in Google Chrome only, so I suggest you to use Google Chrome]
- You will see the Main Screen now. You should move to Devices screen and add device before adding switchs.
There are different types of ESP8266 modules. Here we are mainly using the ESP01S with the relay relay modules
If you don't know how to install ESP8266 into Arduino IDE, please refer this link
How to install ESP8266 in Arduino
If you don't know how to program ESP01S, please refer this link
How to program ESP01S
|
|
|---|
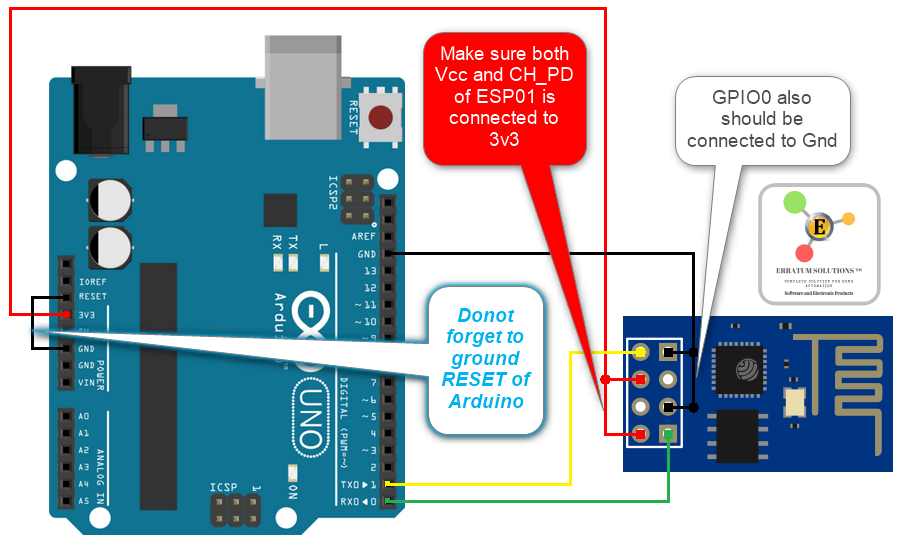
Please note: In the above image, the Tx or Arduino is directly connected to Rx of ESP01S which not recomended for long time use. You should use a 5v to 3v3 logic converter
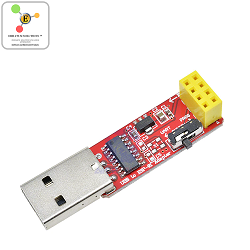
Once you have the programmer or TTL to USB converter you can start programming ESP01S
- Go to Hardware folder
- Open the SS-ESP01S.ino in Arduino IDE
- Select the Board Type as ESP8266 Generic
- Select the port
- Upload the code



%20code%20snippets-charalampos%20karypidis-yellow)


