-
Notifications
You must be signed in to change notification settings - Fork 36
Example 02: Blink

Additional documentation for an example supplied with the GEM library that demonstrates creation of submenu, validation callback and button actions with custom context.
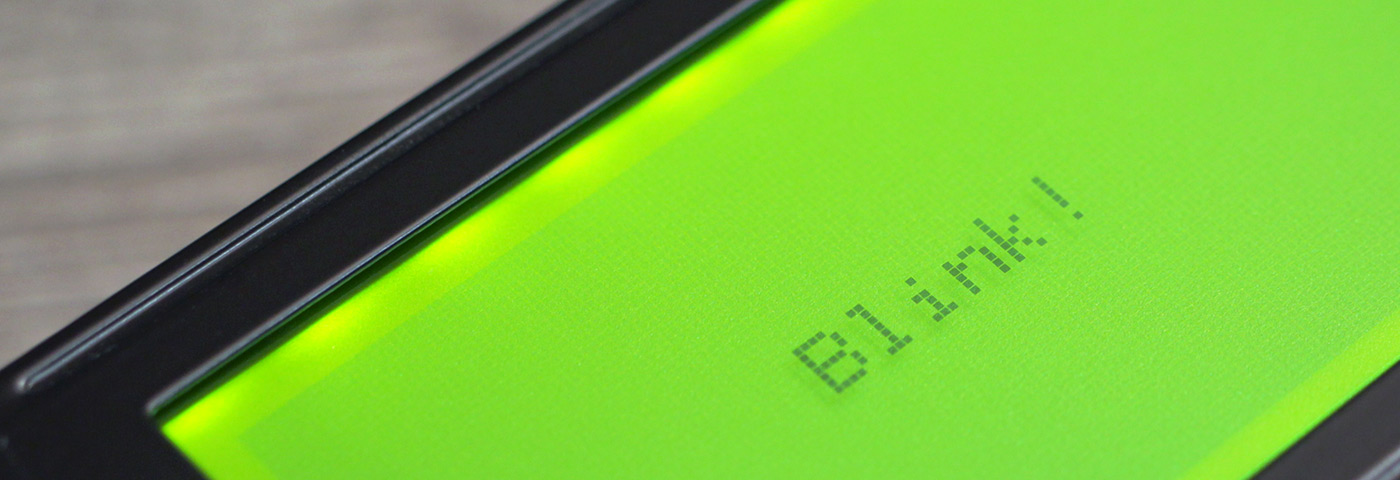
This example demonstrates creation of two page menu with one editable menu item associated with int variable, one with char[17] variable, and two buttons, pressing of which will result in flashing of label on the screen (and blinking with internal LED for AltSerialGraphicLCD version): one button will launch delay() based routine and create context with context.allowExit set to true, and the second one - millis() based routine with context.allowExit set to false, that will require manual exit from the context's loop with explicit call to context.exit() routine.
Callback function is attached to menu item linked to int variable, making sure that variable is within allowable range.
Another version of this example with additional option select for menu color scheme presets selection (for Adafruit GFX version of GEM only) can be found here.
In this example it will be shown how to:
- create editable menu item associated with
intvariable; - create editable menu item associated with
char[17]variable; - add menu item callback;
- create submenu;
- create button with context-based action.
In additional Adafruit GFX version of this sketch also will be shown how to:
- create
byteoption select; - add menu item callback for aforementioned select;
- change text (foreground) and background colors of the menu.
This example relies on the Test bench configuration (AltSerialGraphicLCD version, U8g2 version and Adafruit GFX version).
Annotated sketch is supplied with the library and can be found at:
- "examples/AltSerialGraphicLCD/Example-02_Blink/Example-02_Blink.ino" (AltSerialGraphicLCD version);
- "examples/U8g2/Example-02_Blink/Example-02_Blink.ino" (U8g2 version);
- "examples/AdafruitGFX/Example-02_Blink/Example-02_Blink.ino" (Adafruit GFX version).
Additional version of this example is available for Adafruit GFX version of GEM at "examples/AdafruitGFX/Example-04_Blink_Recolor/Example-04_Blink_Recolor.ino".
Simulation of this example (using U8g2 version of GEM) is available on Wokwi. It is possible to interact with the simulation using mouse or keyboard: keys w, a, s, d, e, q are bound to the corresponding buttons on the breadboard (make sure to focus simulation window by clicking on it first).
After compiling and uploading sketch to Arduino, wait while LCD screen boots and menu is being initialized and drawn to the screen. Then start pressing the push-buttons and navigate through the menu. Pressing "Ok" button (attached to pin 7) will trigger edit mode of the "Interval" or "Label" variable, or invoke action associated with "Blink v1" and "Blink v2" menu buttons.
Setting "Interval" variable to the value less then 50 will result in it set to the value of 50 automatically. Launching then one of the "Blink" actions will result in flashing of "Label" variable value on the screen (and blinking with internal LED of Arduino board for AltSerialGraphicLCD version) with specified interval (in ms).
To exit Blink loop press "Cancel" button (attached to pin 6).
delay() based Blink ("Blink v1" button) makes it harder to exit the loop due to the blocking nature of the delay() function - carefully match timing of exit key presses with the blink cycles. millis() based blink ("Blink v2" button) has no such restriction - program flow is not paused and key press allows to exit Blink routine immediately.

- Test bench (push-buttons):
- Example 01: Basic
- Example 02: Blink
- Example 03: Party Hard!
- Test bench (rotary encoder):
- Example 05: Encoder
- Example 06: Todo List