-
Notifications
You must be signed in to change notification settings - Fork 56
Part 2. A Sense HAT Dashboard

Let's test our Sense HAT to make sure everything is working. We will use the script located at https://github.com/InitialState/wunderground-sensehat/blob/master/sensehat.py. You can copy this script to a file on your Pi or access it from our Github repository that we cloned earlier. Change into your wunderground-sensehat directory and then nano into your sensehat.py file by typing:
$ nano sensehat.py
Notice on the first line that we are importing the SenseHat library into the script. Before you run this script, we need to setup our user parameters.
# --------- User Settings ---------
CITY = "Nashville"
BUCKET_NAME = ":partly_sunny: " + CITY + " Weather"
BUCKET_KEY = "sensehat"
ACCESS_KEY = "Your_Access_Key"
SENSOR_LOCATION_NAME = "Office"
MINUTES_BETWEEN_SENSEHAT_READS = 0.1
# ---------------------------------
Specifically, you need to set your ACCESS_KEY to your Initial State account access key. Notice how easy it is to read data from the Sense HAT in a single line of Python (e.g. sense.get_temperature()).
At a command prompt on your Pi, run the script:
$ sudo python sensehat.py
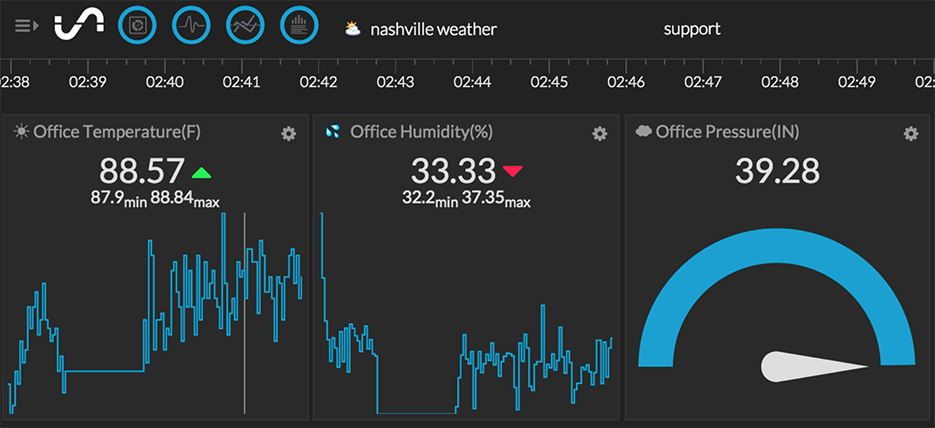
Go to your Initial State account and view the new data bucket created by the Sense HAT.
We are ready to put it all together and create our hyper-local weather dashboard.
<< Part 2: How to Use the Sense HAT - Part 3: Hyper-Local Weather Dashboard >>