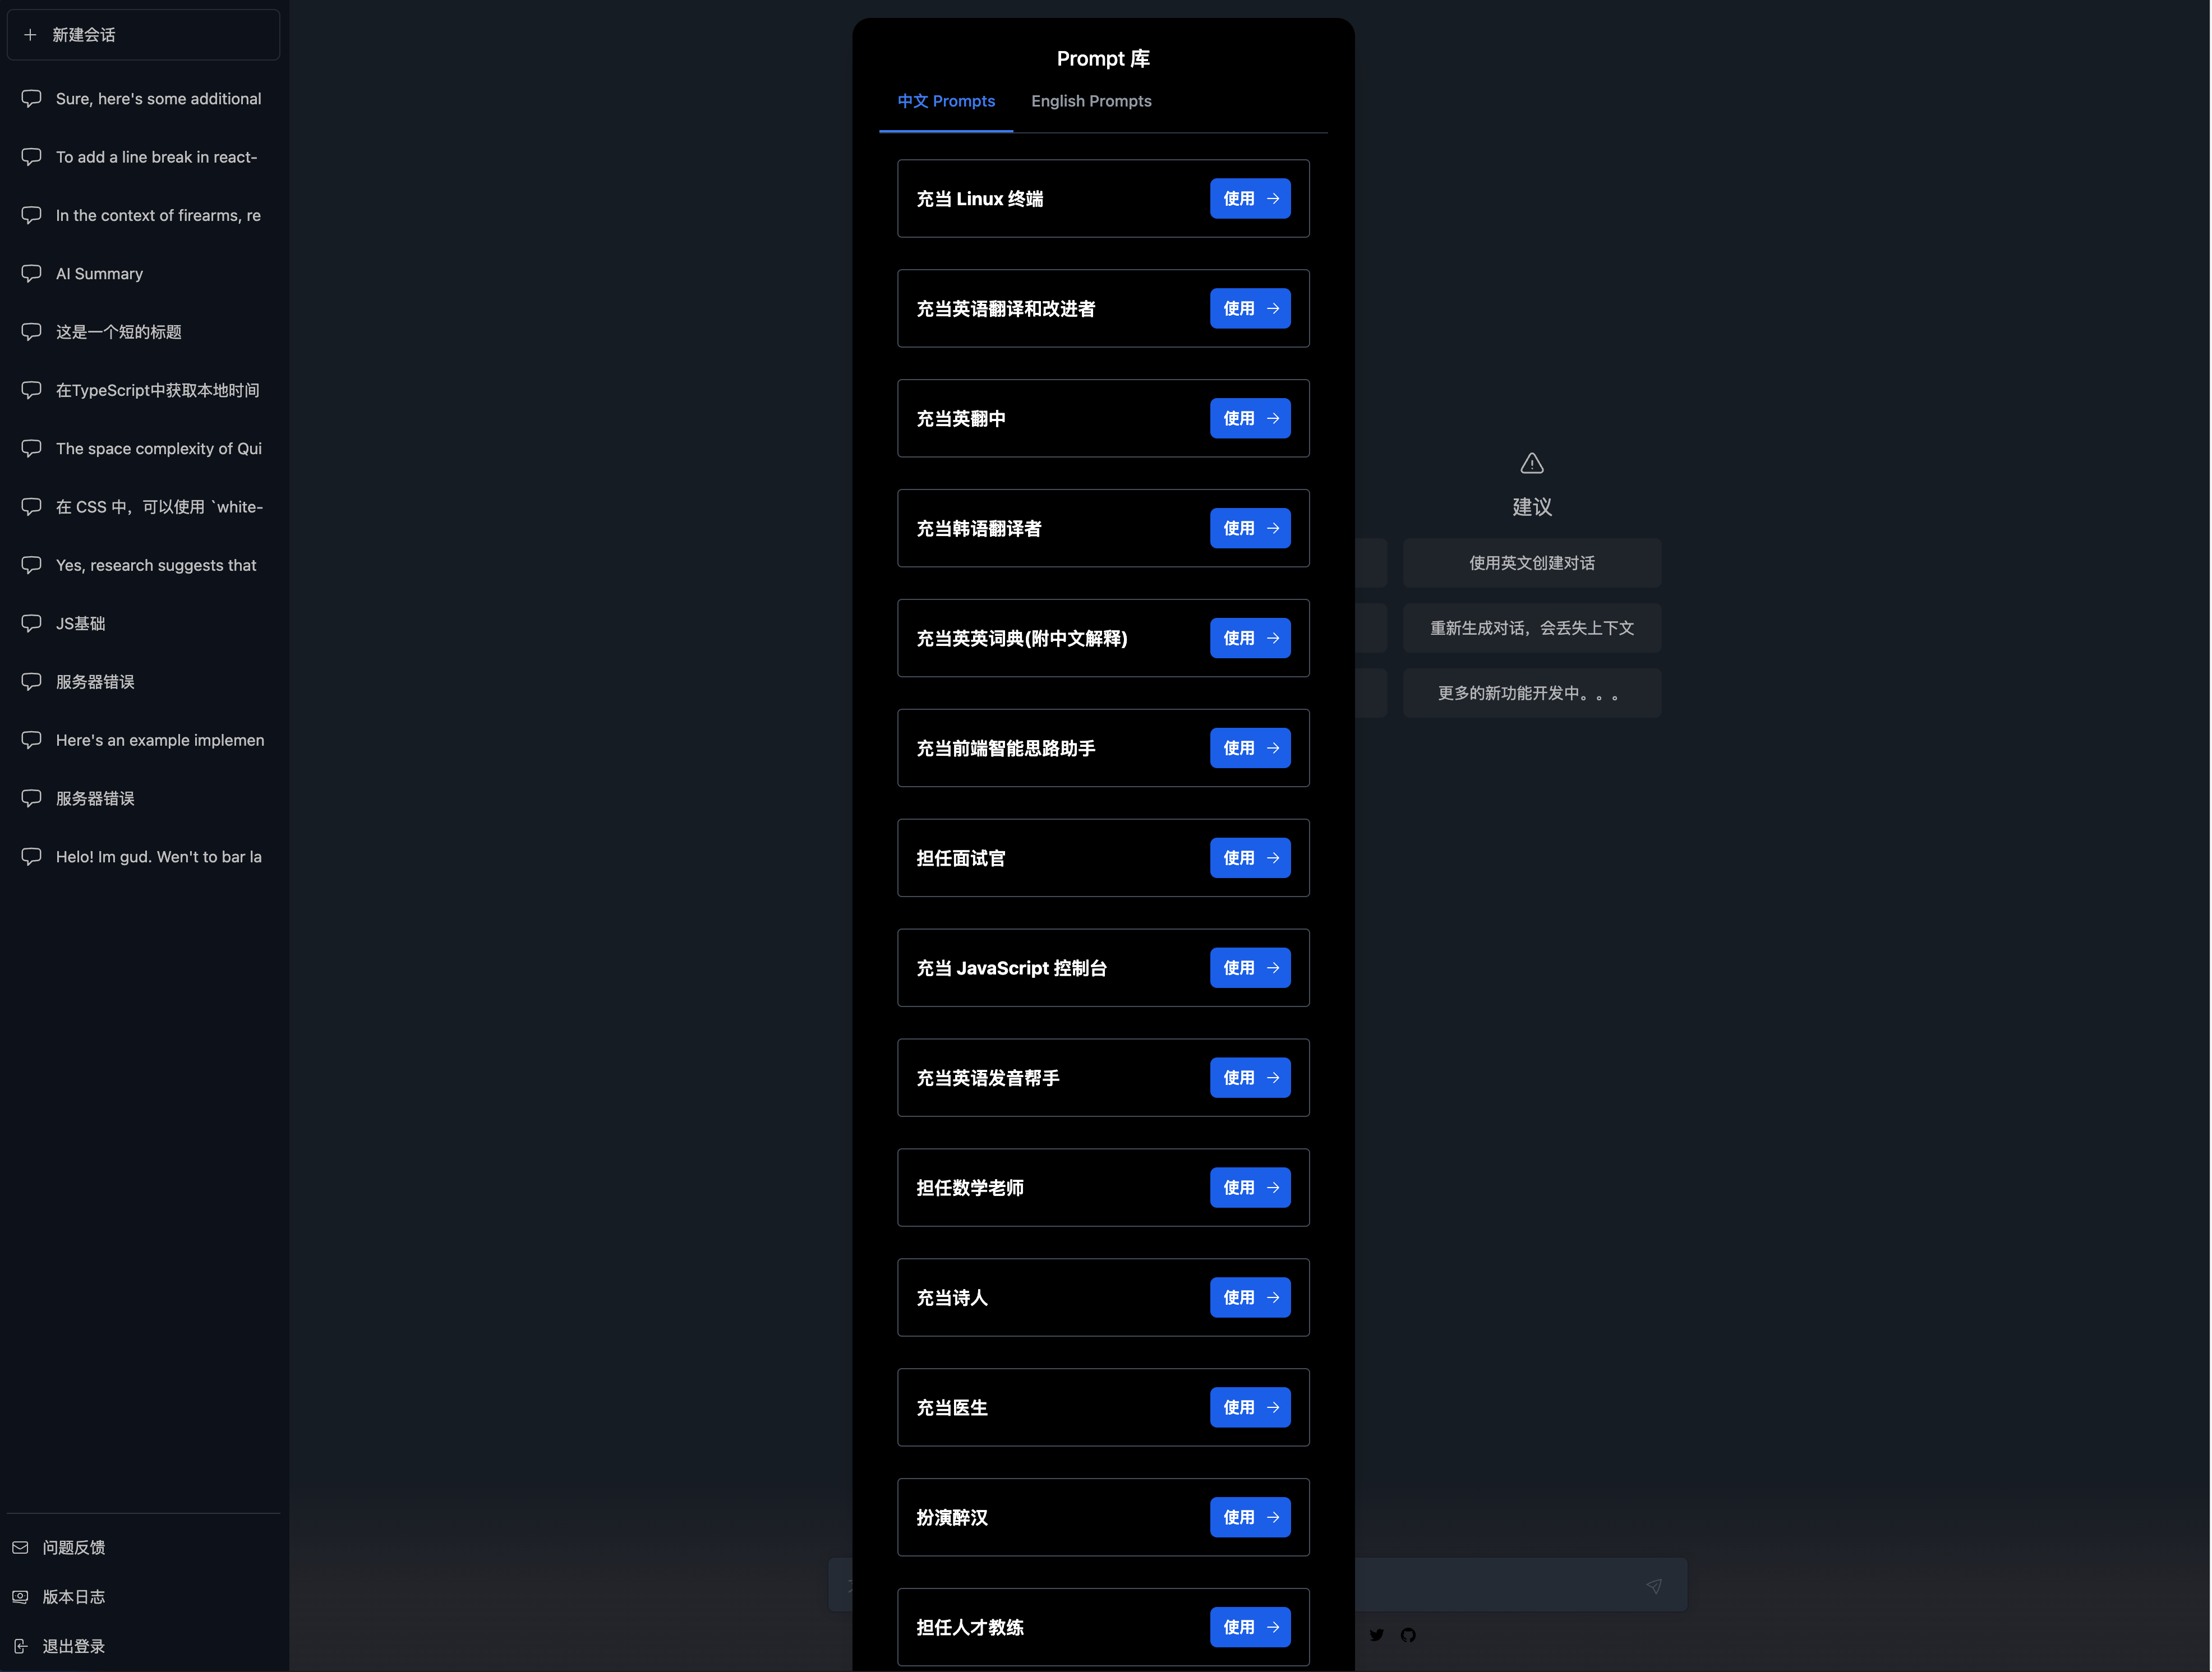
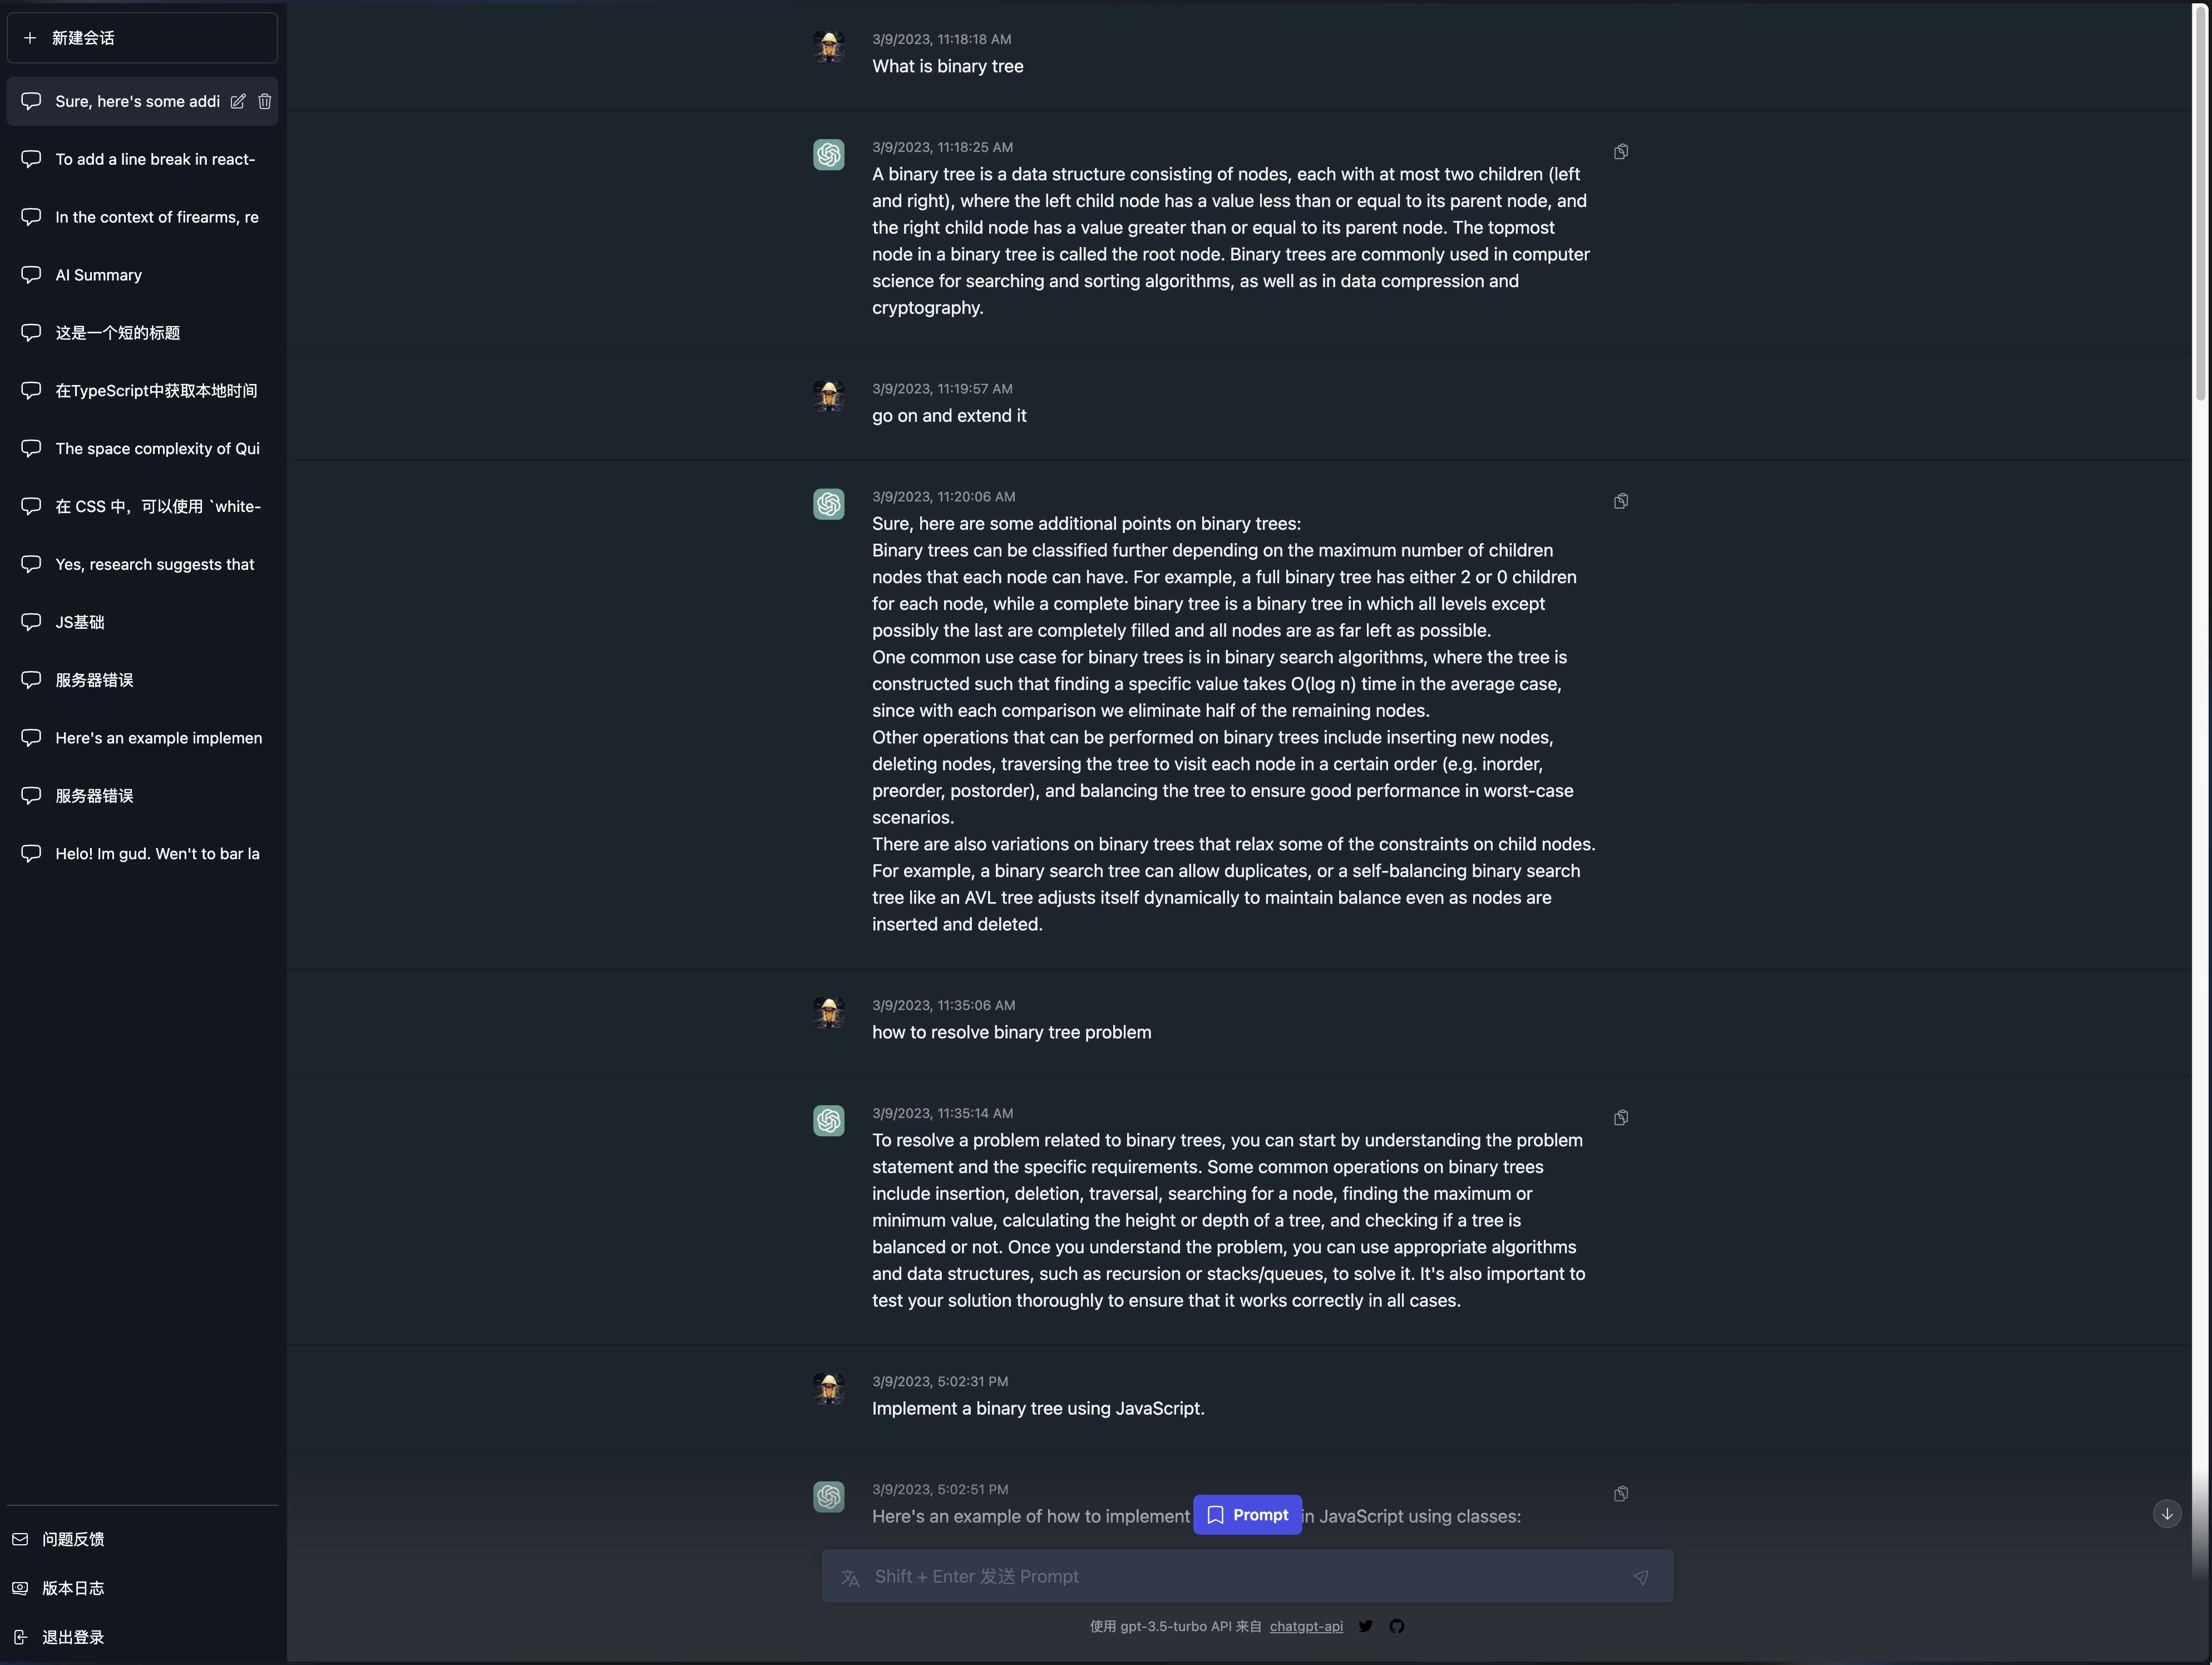
Use as the official ChatGPT, with even more powerful features.
- Same UI as the official version, responsive design, and support for dark mode.
- Built-in
Promptlist,,Chinese Prompt and English Prompt - One-click translation of
Promptto English (English is recommended for more accurate results) - Use
Firebasestorage data - Use
next-authlogin authentication - i18n
- Free
keyis currently available.
- Custom
Prompt - Export conversation as
Markdown - Add custom
key - More options for selecting a
model - More optional role information
Upgraded to Vercel Pro, now the timeout is 60s.
❗ The project is deployed on Vercel. As a hobby user, the Serverless Function Execution Timeout (Seconds) is 10s (general limit). Therefore, when the API response time exceeds 10s, no message will be returned and a 504 timeout error will be displayed.
Create a file named ".env.local " in the root directory
GOOGLE_ID=
GOOGLE_SECRET=
NEXTAUTH_SECRET=ThisIsASuperSecretAuth
OPENAI_API_KEY=
FIREBASE_SERVICE_ACCOUNT_KEY=
Get OPENAI_API_KEY from the openai platform
- Create a project using Firebase
- Jump to the Authentication directory
- Click on the Sign-in method tab
- Select Google and save
- The ID and key in the Web SDK configuration correspond to GOOGLE_ID and GOOGLE_SECRET respectively
- Enter the project settings
- Under the service account tab, click Generate new private key
- Open the textfixer website
- Copy the contents of the downloaded file into the input box to get the private key without line breaks
- This private key is the
FIREBASE_SERVICE_ACCOUNT_KEYthat you will eventually use.
- open project settings
- Create the web application under the General tab
- Replace the corresponding part of the "firebase.ts" file with the firebaseConfig object from the SDK obtained after successful creation
Open the Firestore Database directory 2. Click Create to create the database
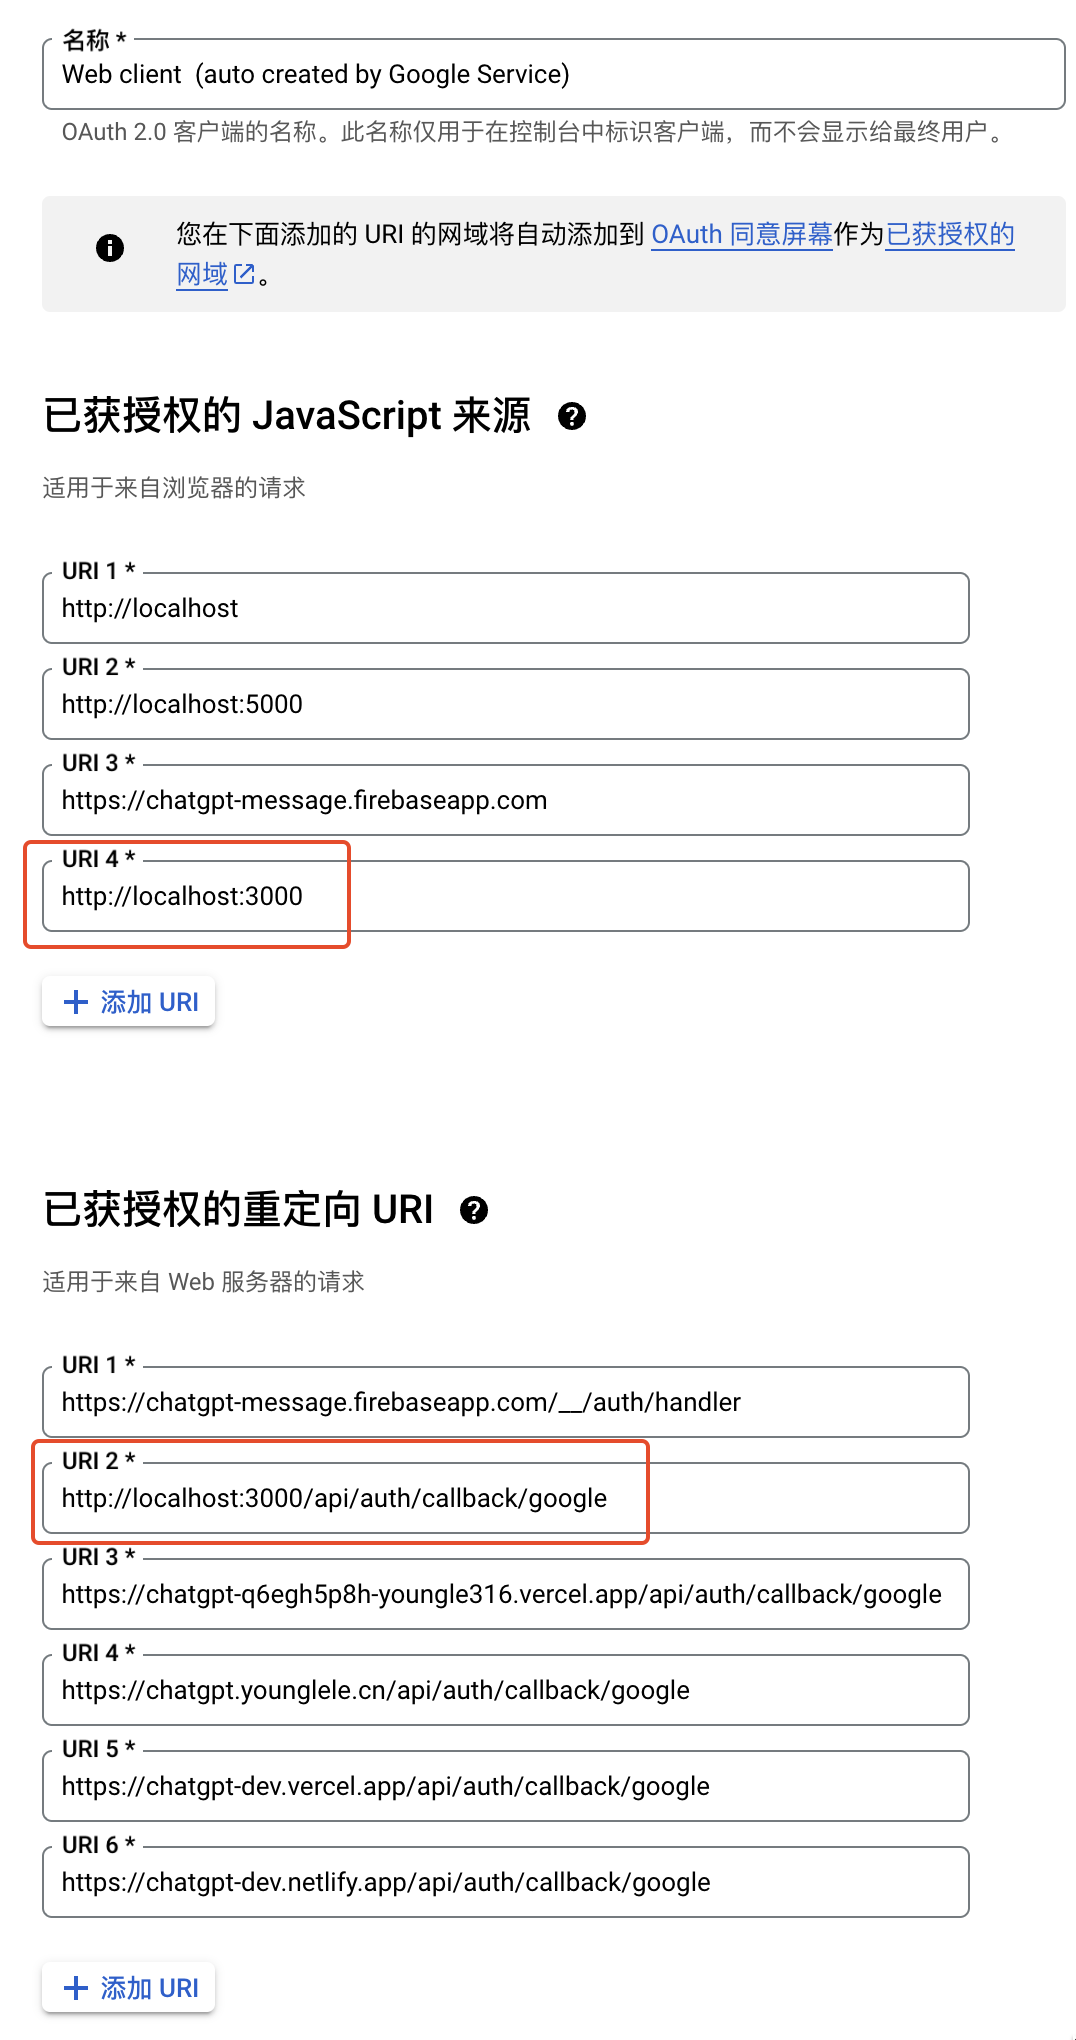
- Login to google cloud console
- Select the project you created in Firebase (you can find it by searching without showing it)
- Click API and Services -> Credentials
- Select the OAuth2.0 client ID
- Add the url to be authorized to the redirected url
npm install

npm run devJust give a 'Star' ⭐ and that's all.


