-
-
Notifications
You must be signed in to change notification settings - Fork 6
TeamCity Setup
This guide assumes you have TeamCity installed and a build agent installed on a Windows computer that can build Xamarin projects. The build agent should also have access to a Mac to compile the iOS parts.
Create a new project by logging into the TeamCity and navigating to the Administration page a pick projects. Then click Create Project button.

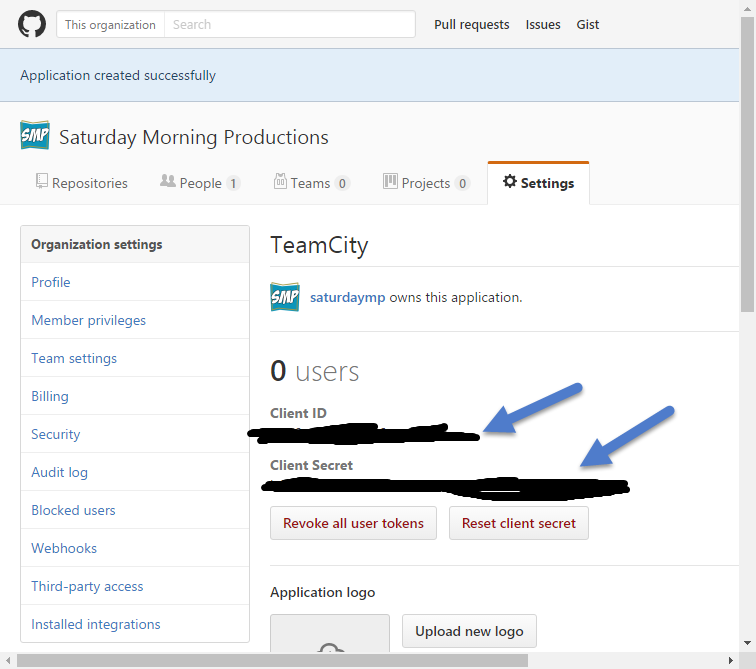
Click the register TeamCity link to setup OAuth. Make sure you are setting up the OAuth for Saturday MP and not your personal account.


Register the TeamCity build server on GitHub. Then copy over the tokens generated tokens to create the connection.

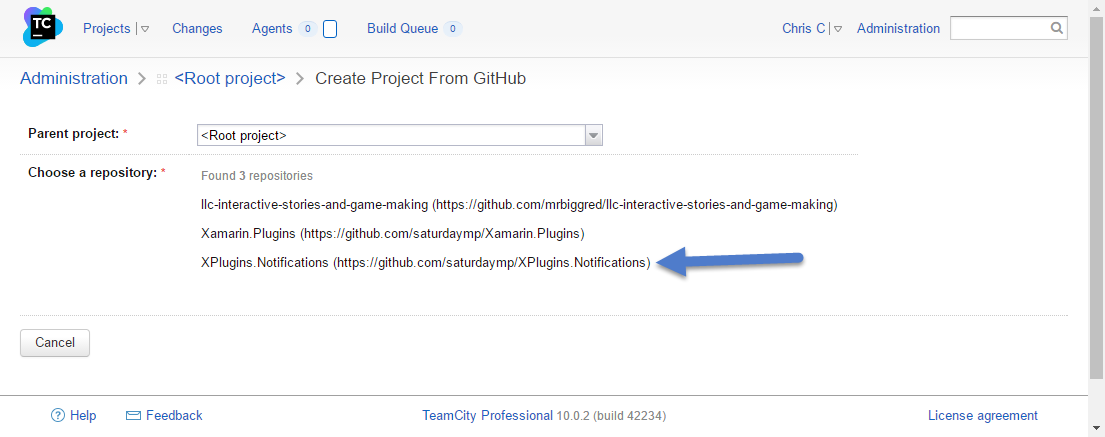
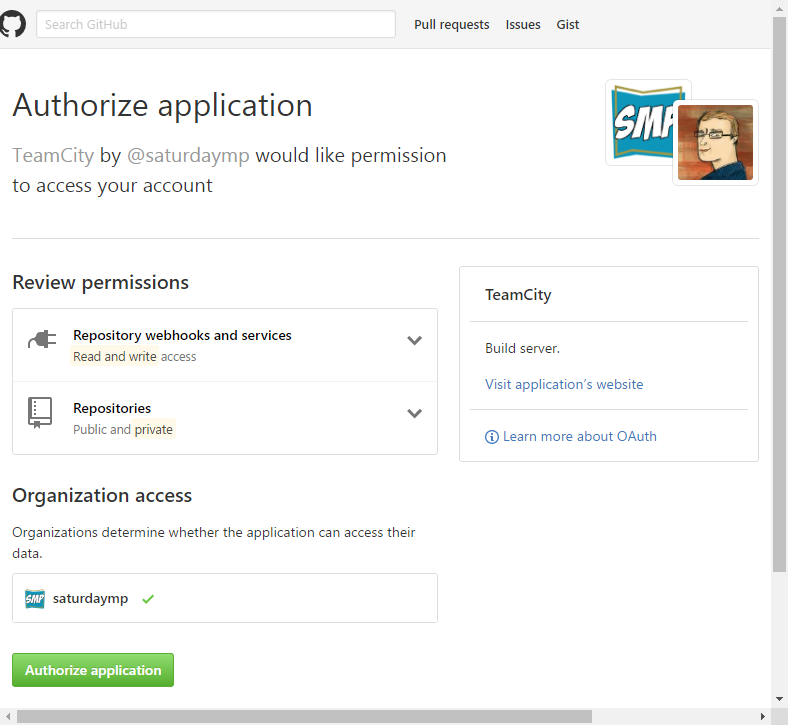
Put the new project under the root project and sign into GitHub. You might be prompted to authorise the application to access GitHub and prompted for your GitHub password.
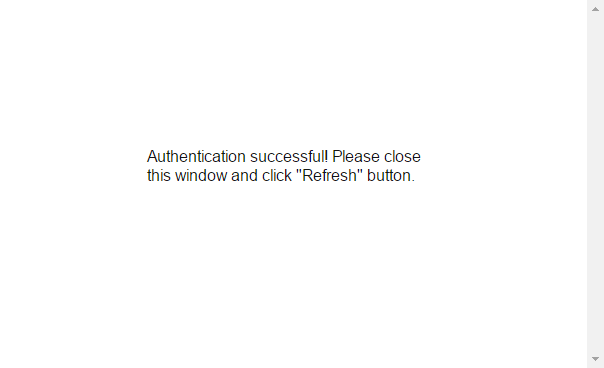
Now set the name of the project and build. If it auto detects any build steps you can ignore them and/or delete them.
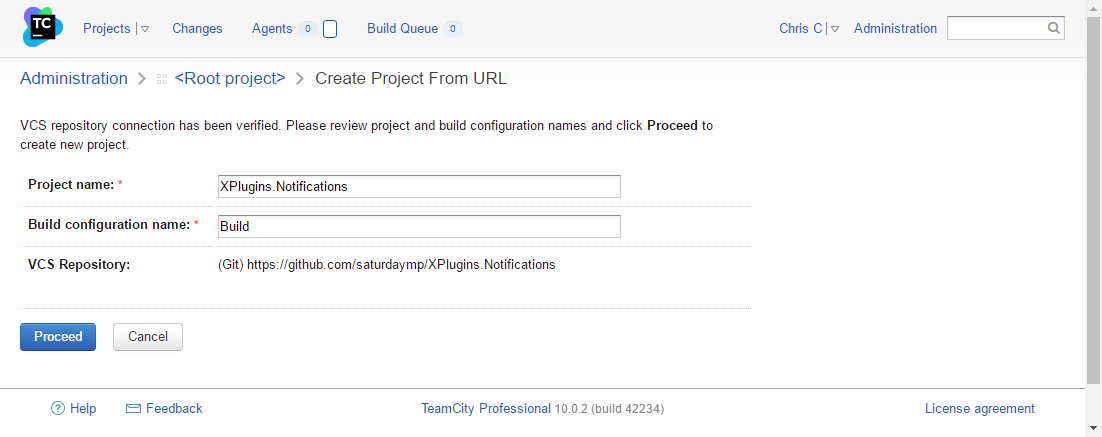
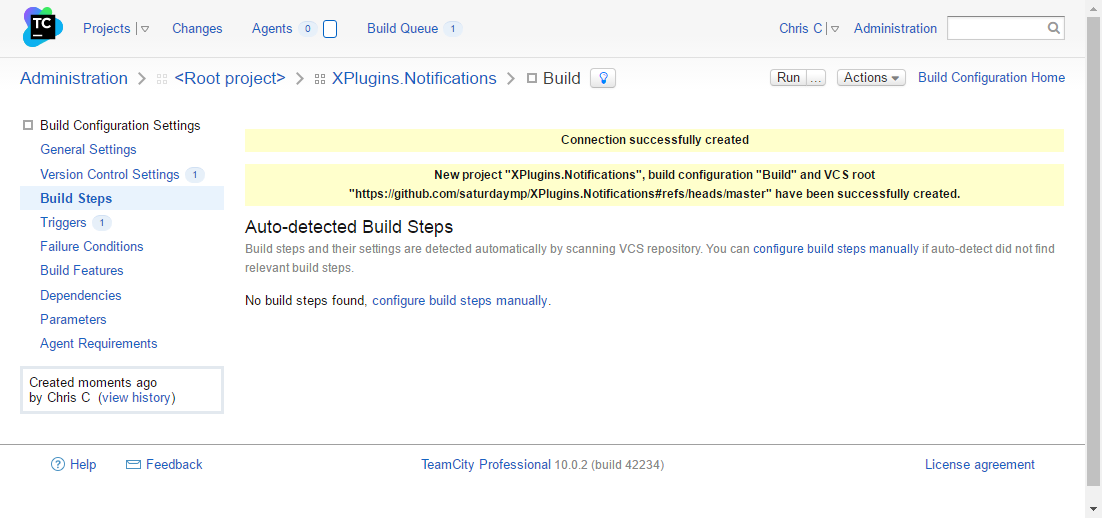
Now lets being the TeamCity setup. For now we will ignore the General Settings bug return their later to setup the artifacts. Start with the Version Control Settings.
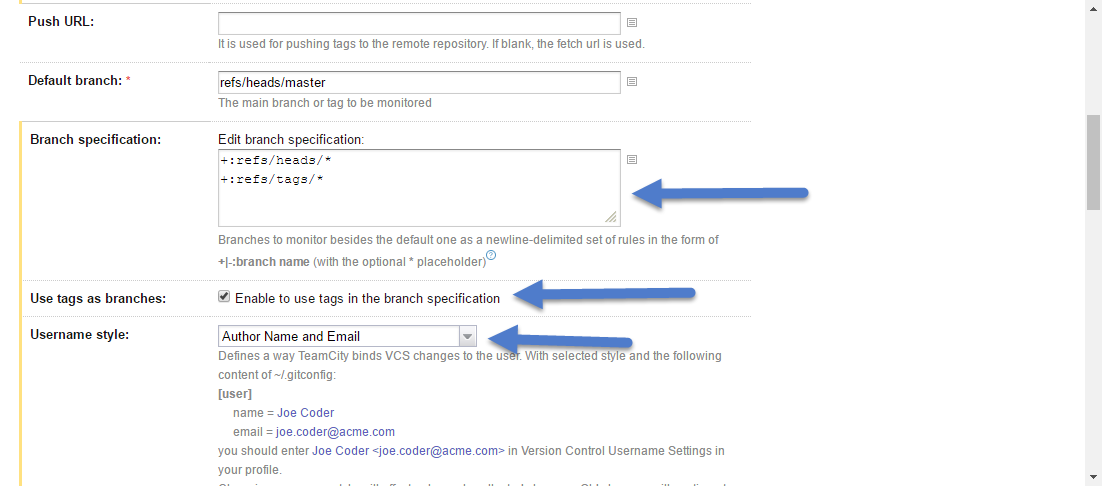
You can use the defaults but make sure the Clean Build checkbox is checked. Also set the Username Style to Author Name and Email.

Click to edit the actual link and again you can leave most of the defaults as is but need to change the Branch Specifications and Use Tags as Branches. This setup lets us use GitVersion.
We will also need to update the authentication to use SSH key. The key should already exists and creating it is outside scope. If you don't have a key you just use your GitHub login information.

The overall process for the build is:
- Determine the version.
- Update assembly files with version.
- Install NuGet packages.
- Compile.
- Run Tests.
- Create NuGet package.
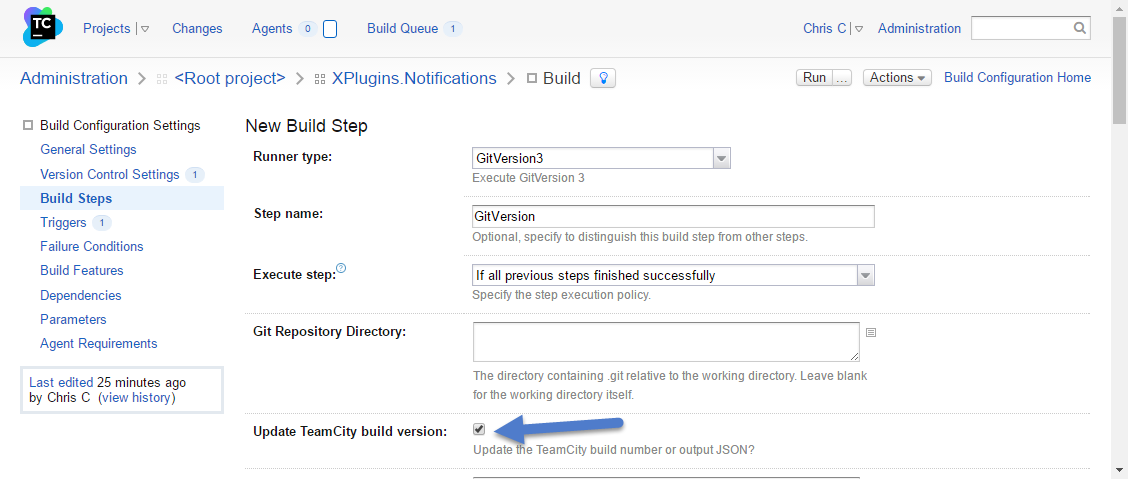
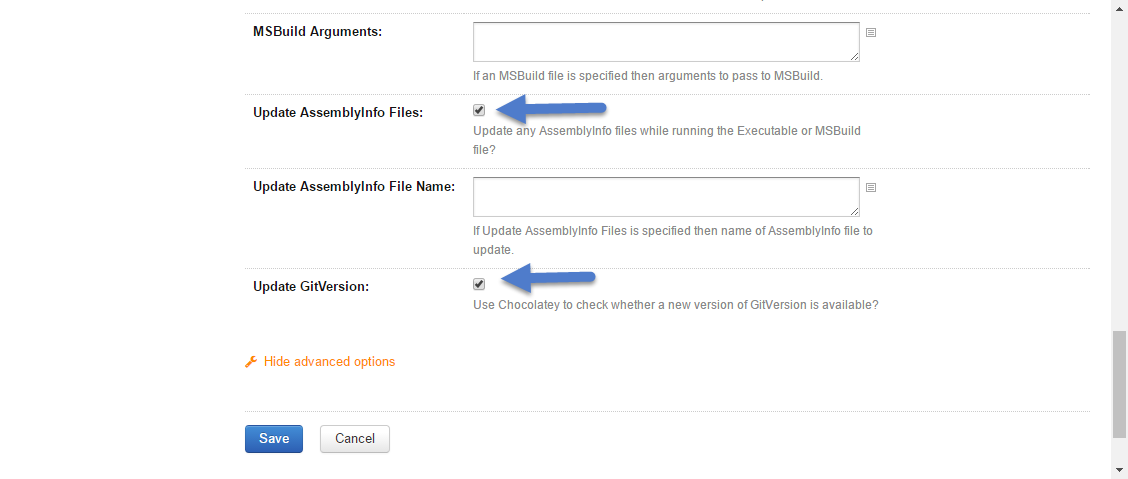
The first step uses the GitVersion build runner. If it's not installed then get it here. Leave most of the runners as default but make sure the Update TeamCity Build Version, Update Assembly Files and Update GitVersion checkboxes are checked.
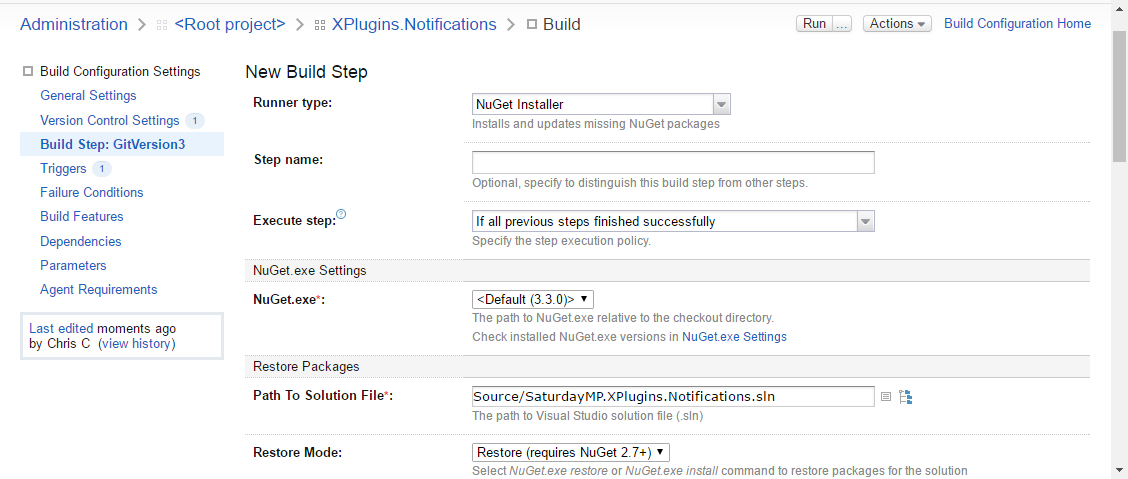
For the next build step choose NuGet Installer runner. Everything can stay as default but make sure you set the Path to Solution File.
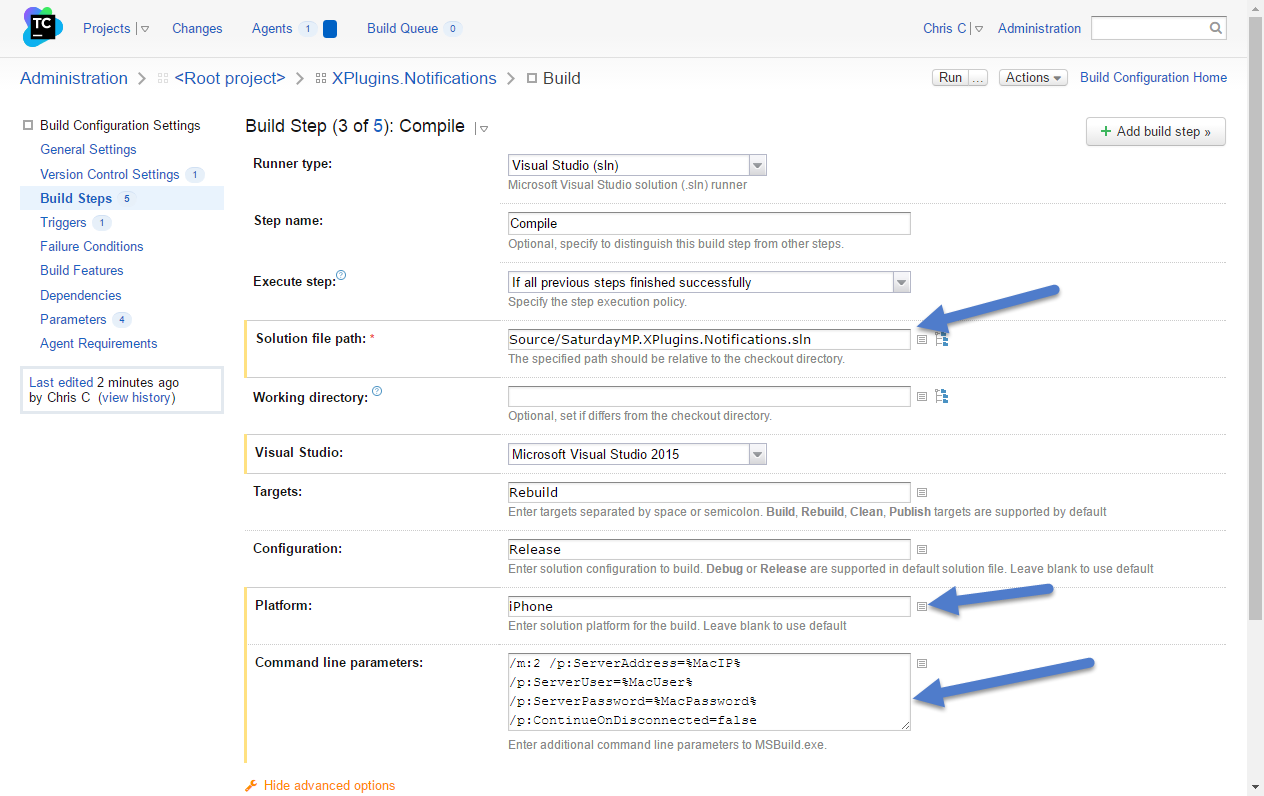
Setup the compile setup next. This uses the Visual Studio (sln) runner. You will have to tell it where the Solution File and also some settings to compile iOS. First change the project type to iPhone and then set the command line parameters. Most of these parameters are required to find the Mac when compiling iOS projects. The m:2 says to use 2 CPUs when doing the build to allow iOS projects to be compiled remotely as the rest of the build happens.
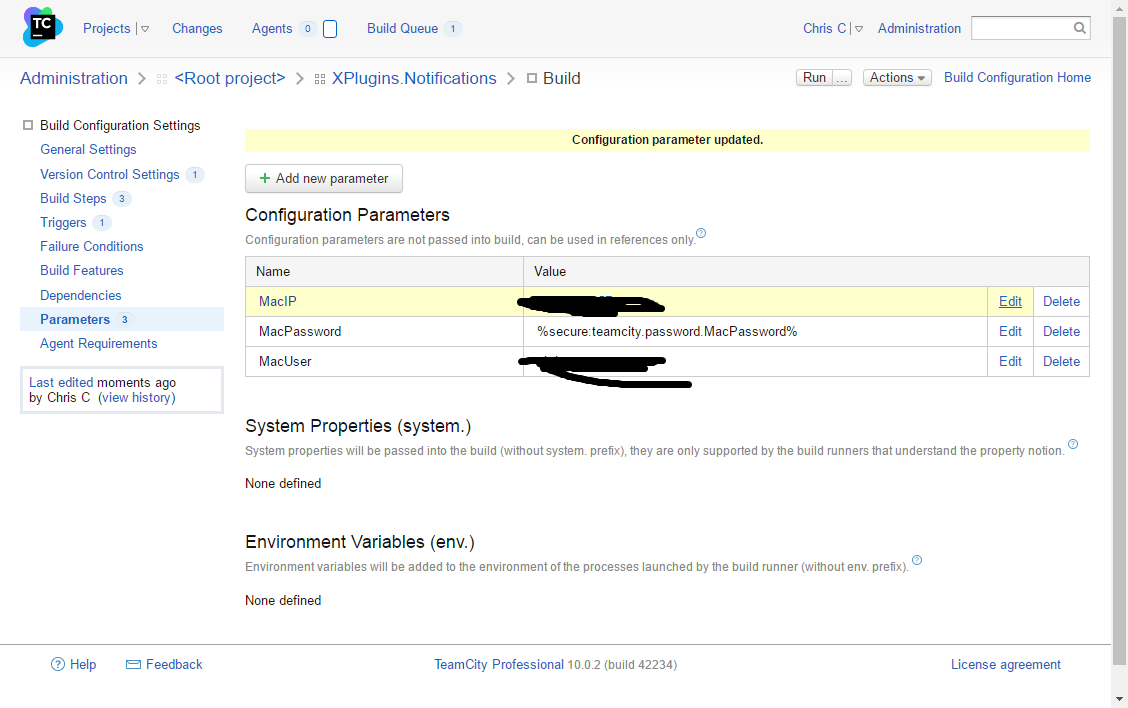
If the parameters don't exist they can be created in the Parameters section of the project. The MacPassword parameter should be setup as a password field.
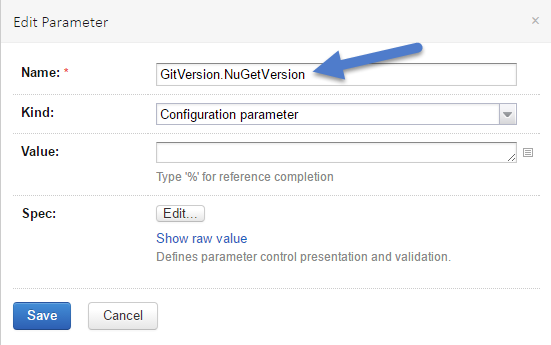
Get the version for the NuGet pacakge from GitVersion. To do this create a empty parameter called [GitVersion.NuGetVersion] (http://gitversion.readthedocs.io/en/latest/build-server-support/build-server/teamcity/#running-inside-teamcity).
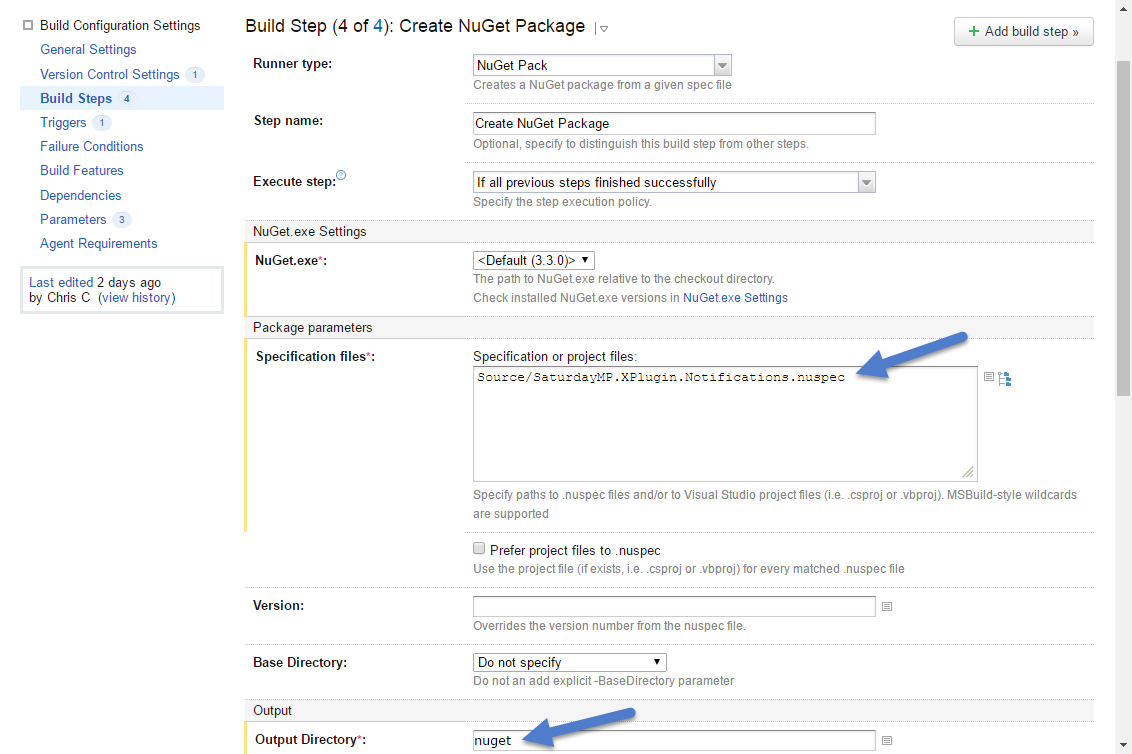
Create the NuGet package for the plugin. Use the default TeamCity Create NuGet Package runner and point to the existing nuspec file and put the created nuget package in a nuget folder.
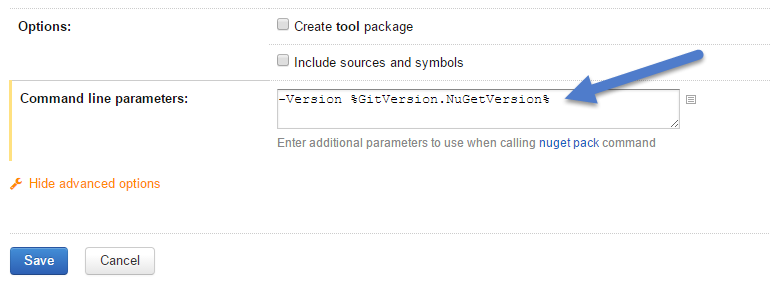
Also set the version of the NuGet package using the newly created GitVersion.NuGetVersion. This assumes the NuSpec file has the version property set to be a replacment token (i.e.
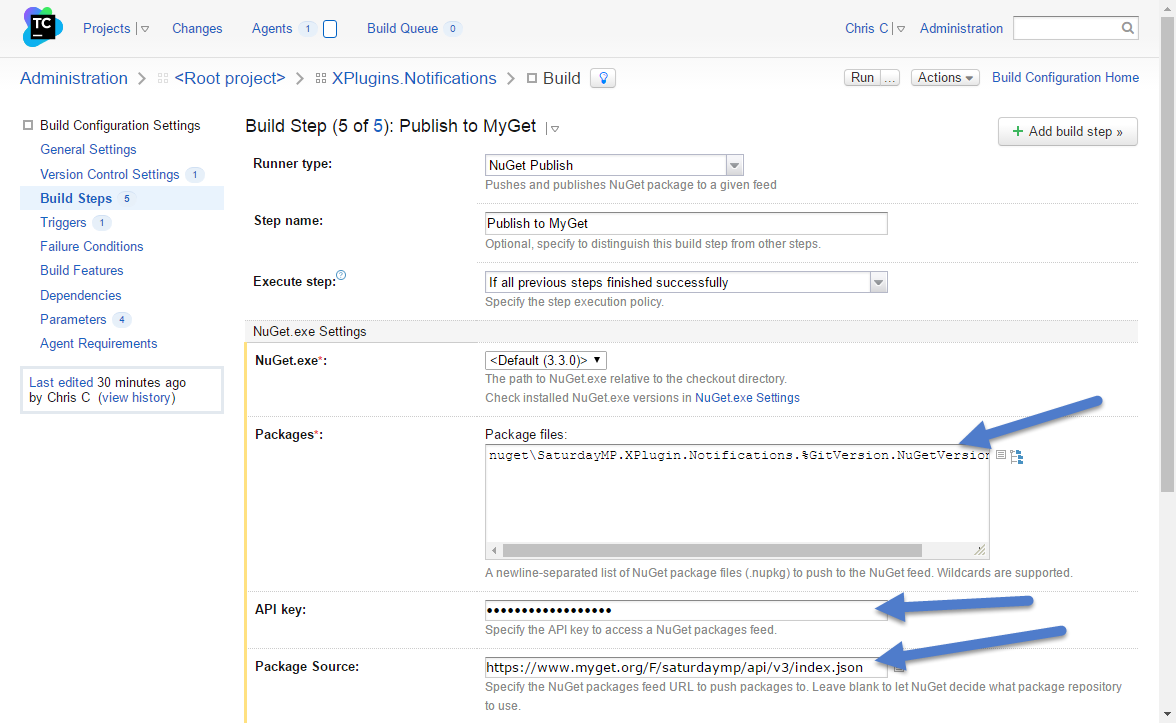
Publish our unstable or alpha builds to MyGet. The stable versions will be published to NuGet as well as MyGet.
Create a NuGet Publish build step and set it up as shown. The package is the one created in the previous step. You get the API key from the MyGet feed.
We need to tell TeamCity to use the VS2015 pool to compile this project. Open up the Agents page then choose Pools.

Click the Assign Projects button in the VS2015 pool to move the XPlugins.Notifications project to that pool. Don't forget to dissociate it with the default pool.

You should not be able to click run the project in TeamCity and the project should compile successfully. Currently there are no tests or NuGet package but once they are added to the project this page will be updated.
