The Open Source Learning Management System for Companies
Website | Join Discord community
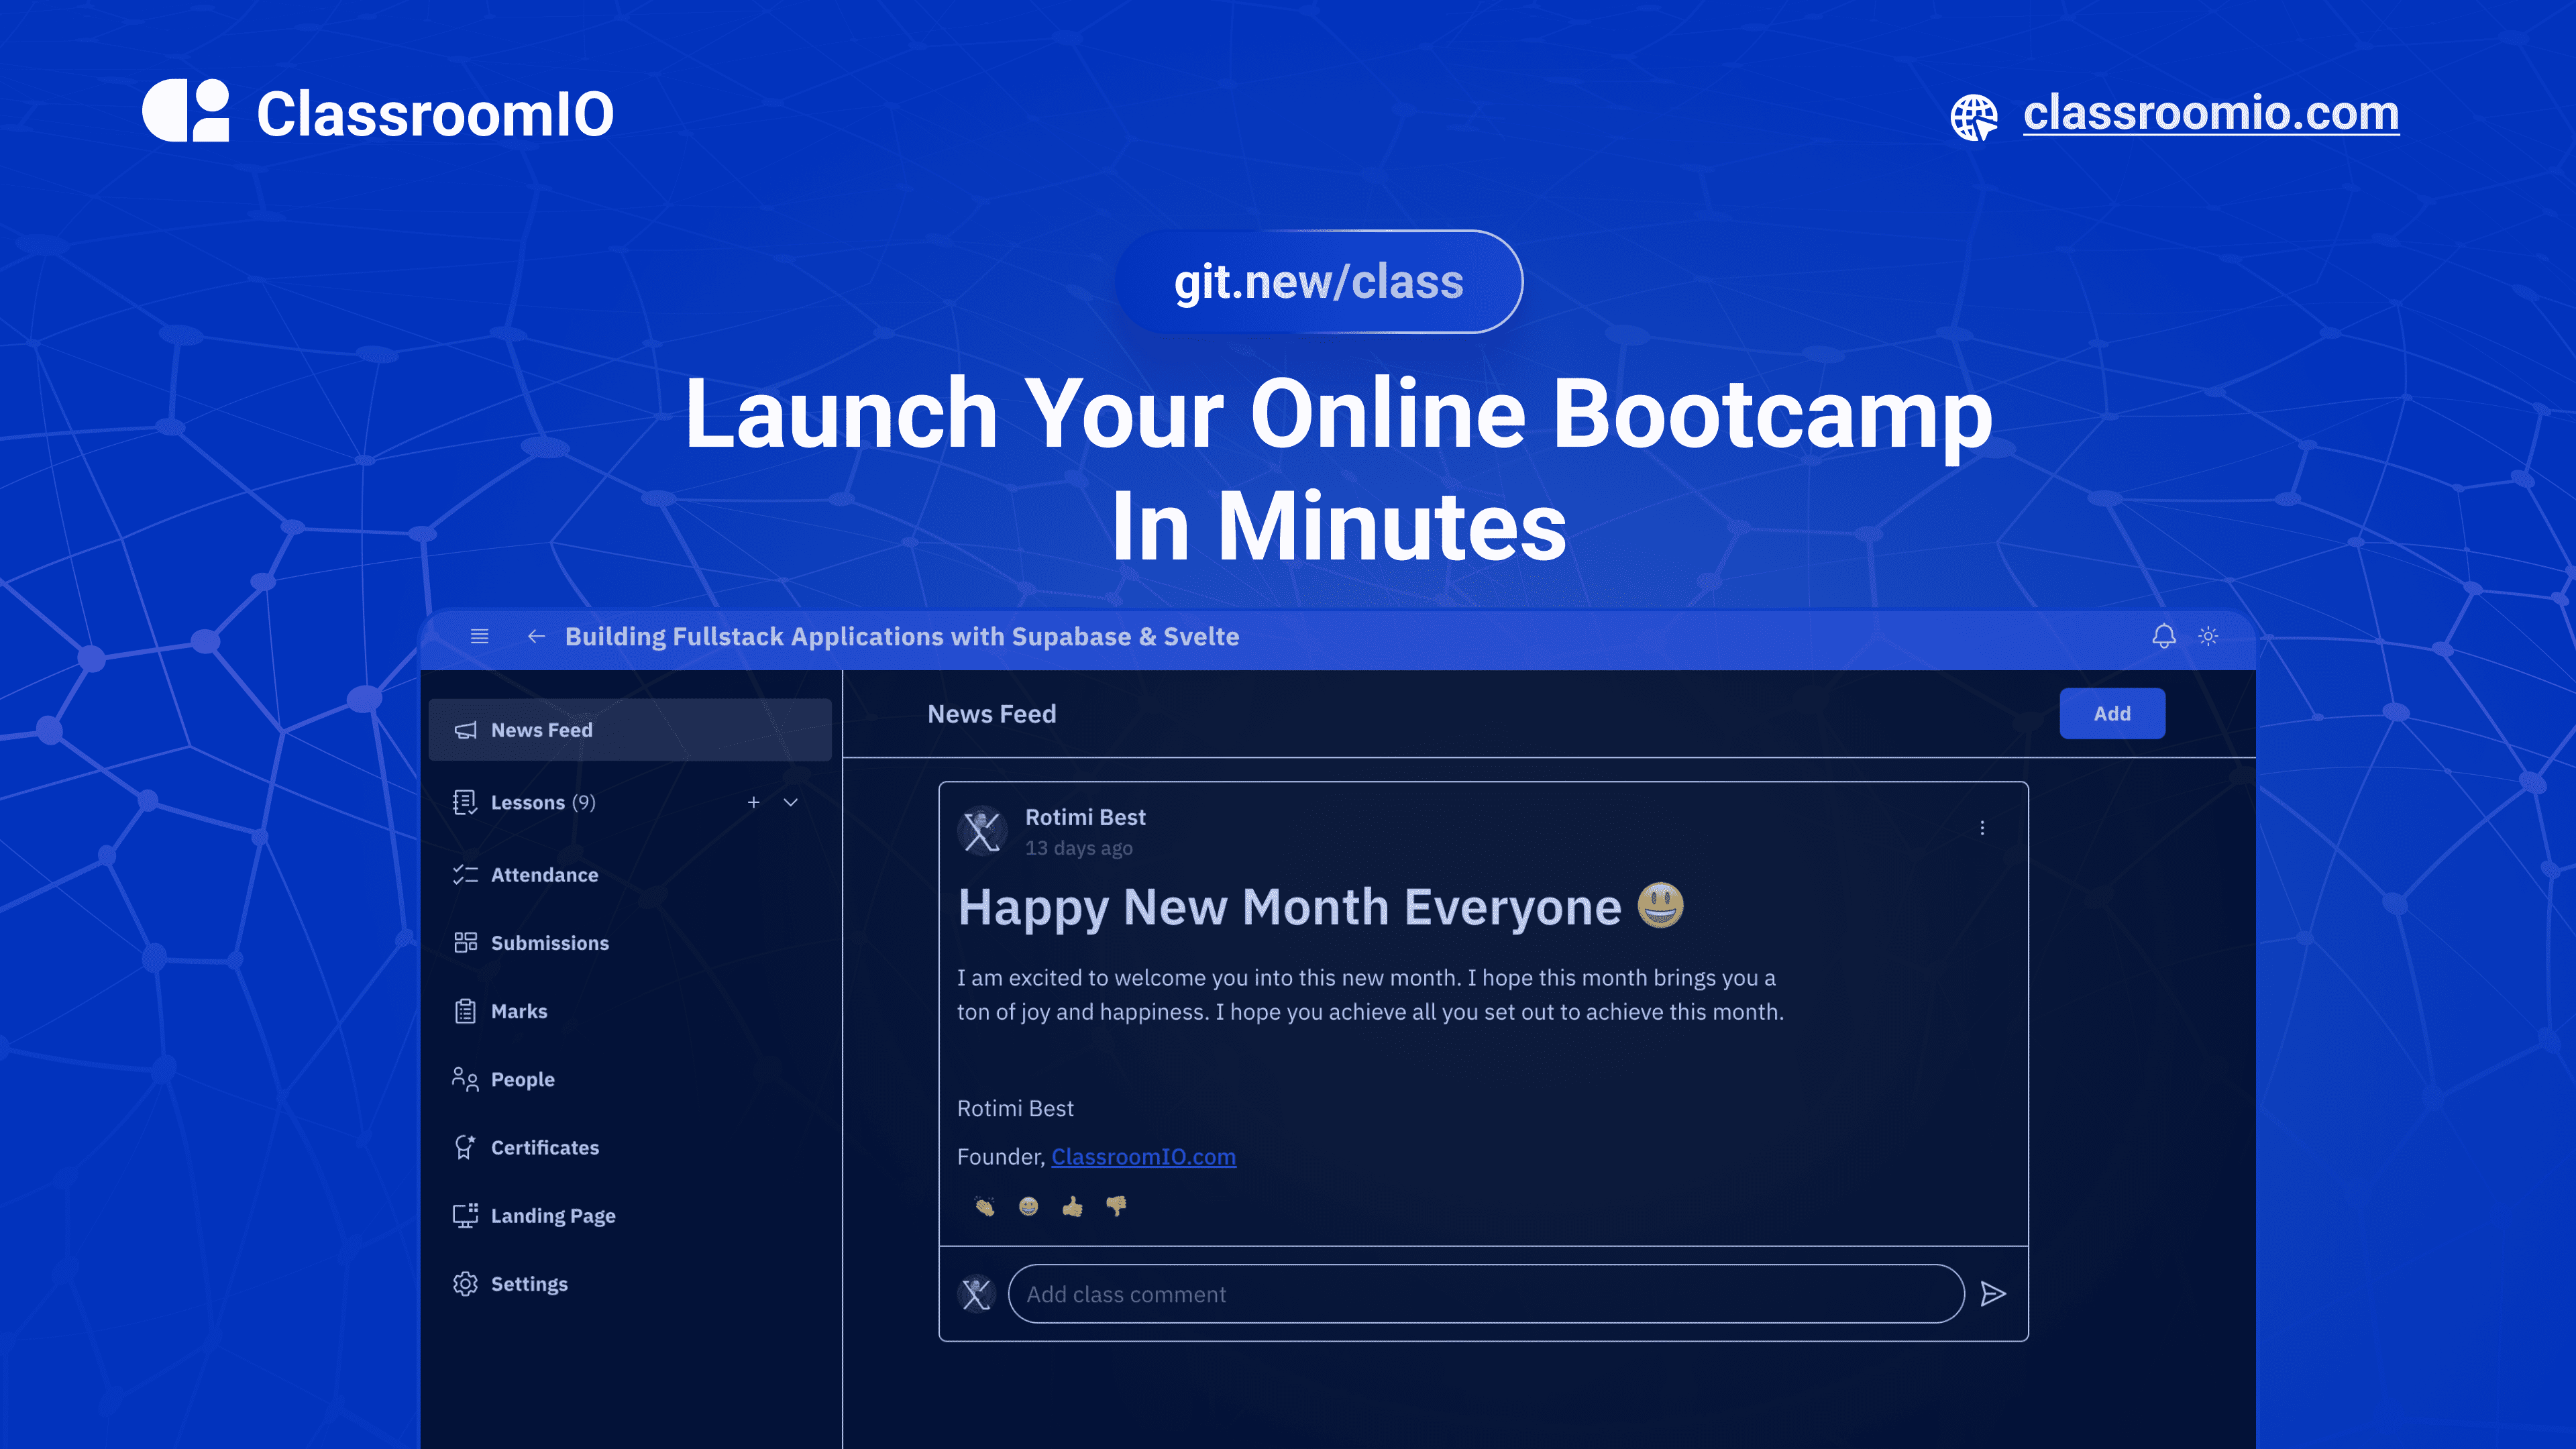
Streamline training for everyone with ClassroomIO.com. Our all-in-one platform empowers bootcamps, educators, and businesses to manage training programs easily. With our platform, anyone can run multiple classes and cohorts all from one UI. The application is mobile-first, which means that students can access your lesson materials from any device.
At ClassroomIO, our mission is to provide students with the best possible learning experience. We believe in empowering educators with the tools they need to deliver high-quality education that is accessible, engaging, and effective.
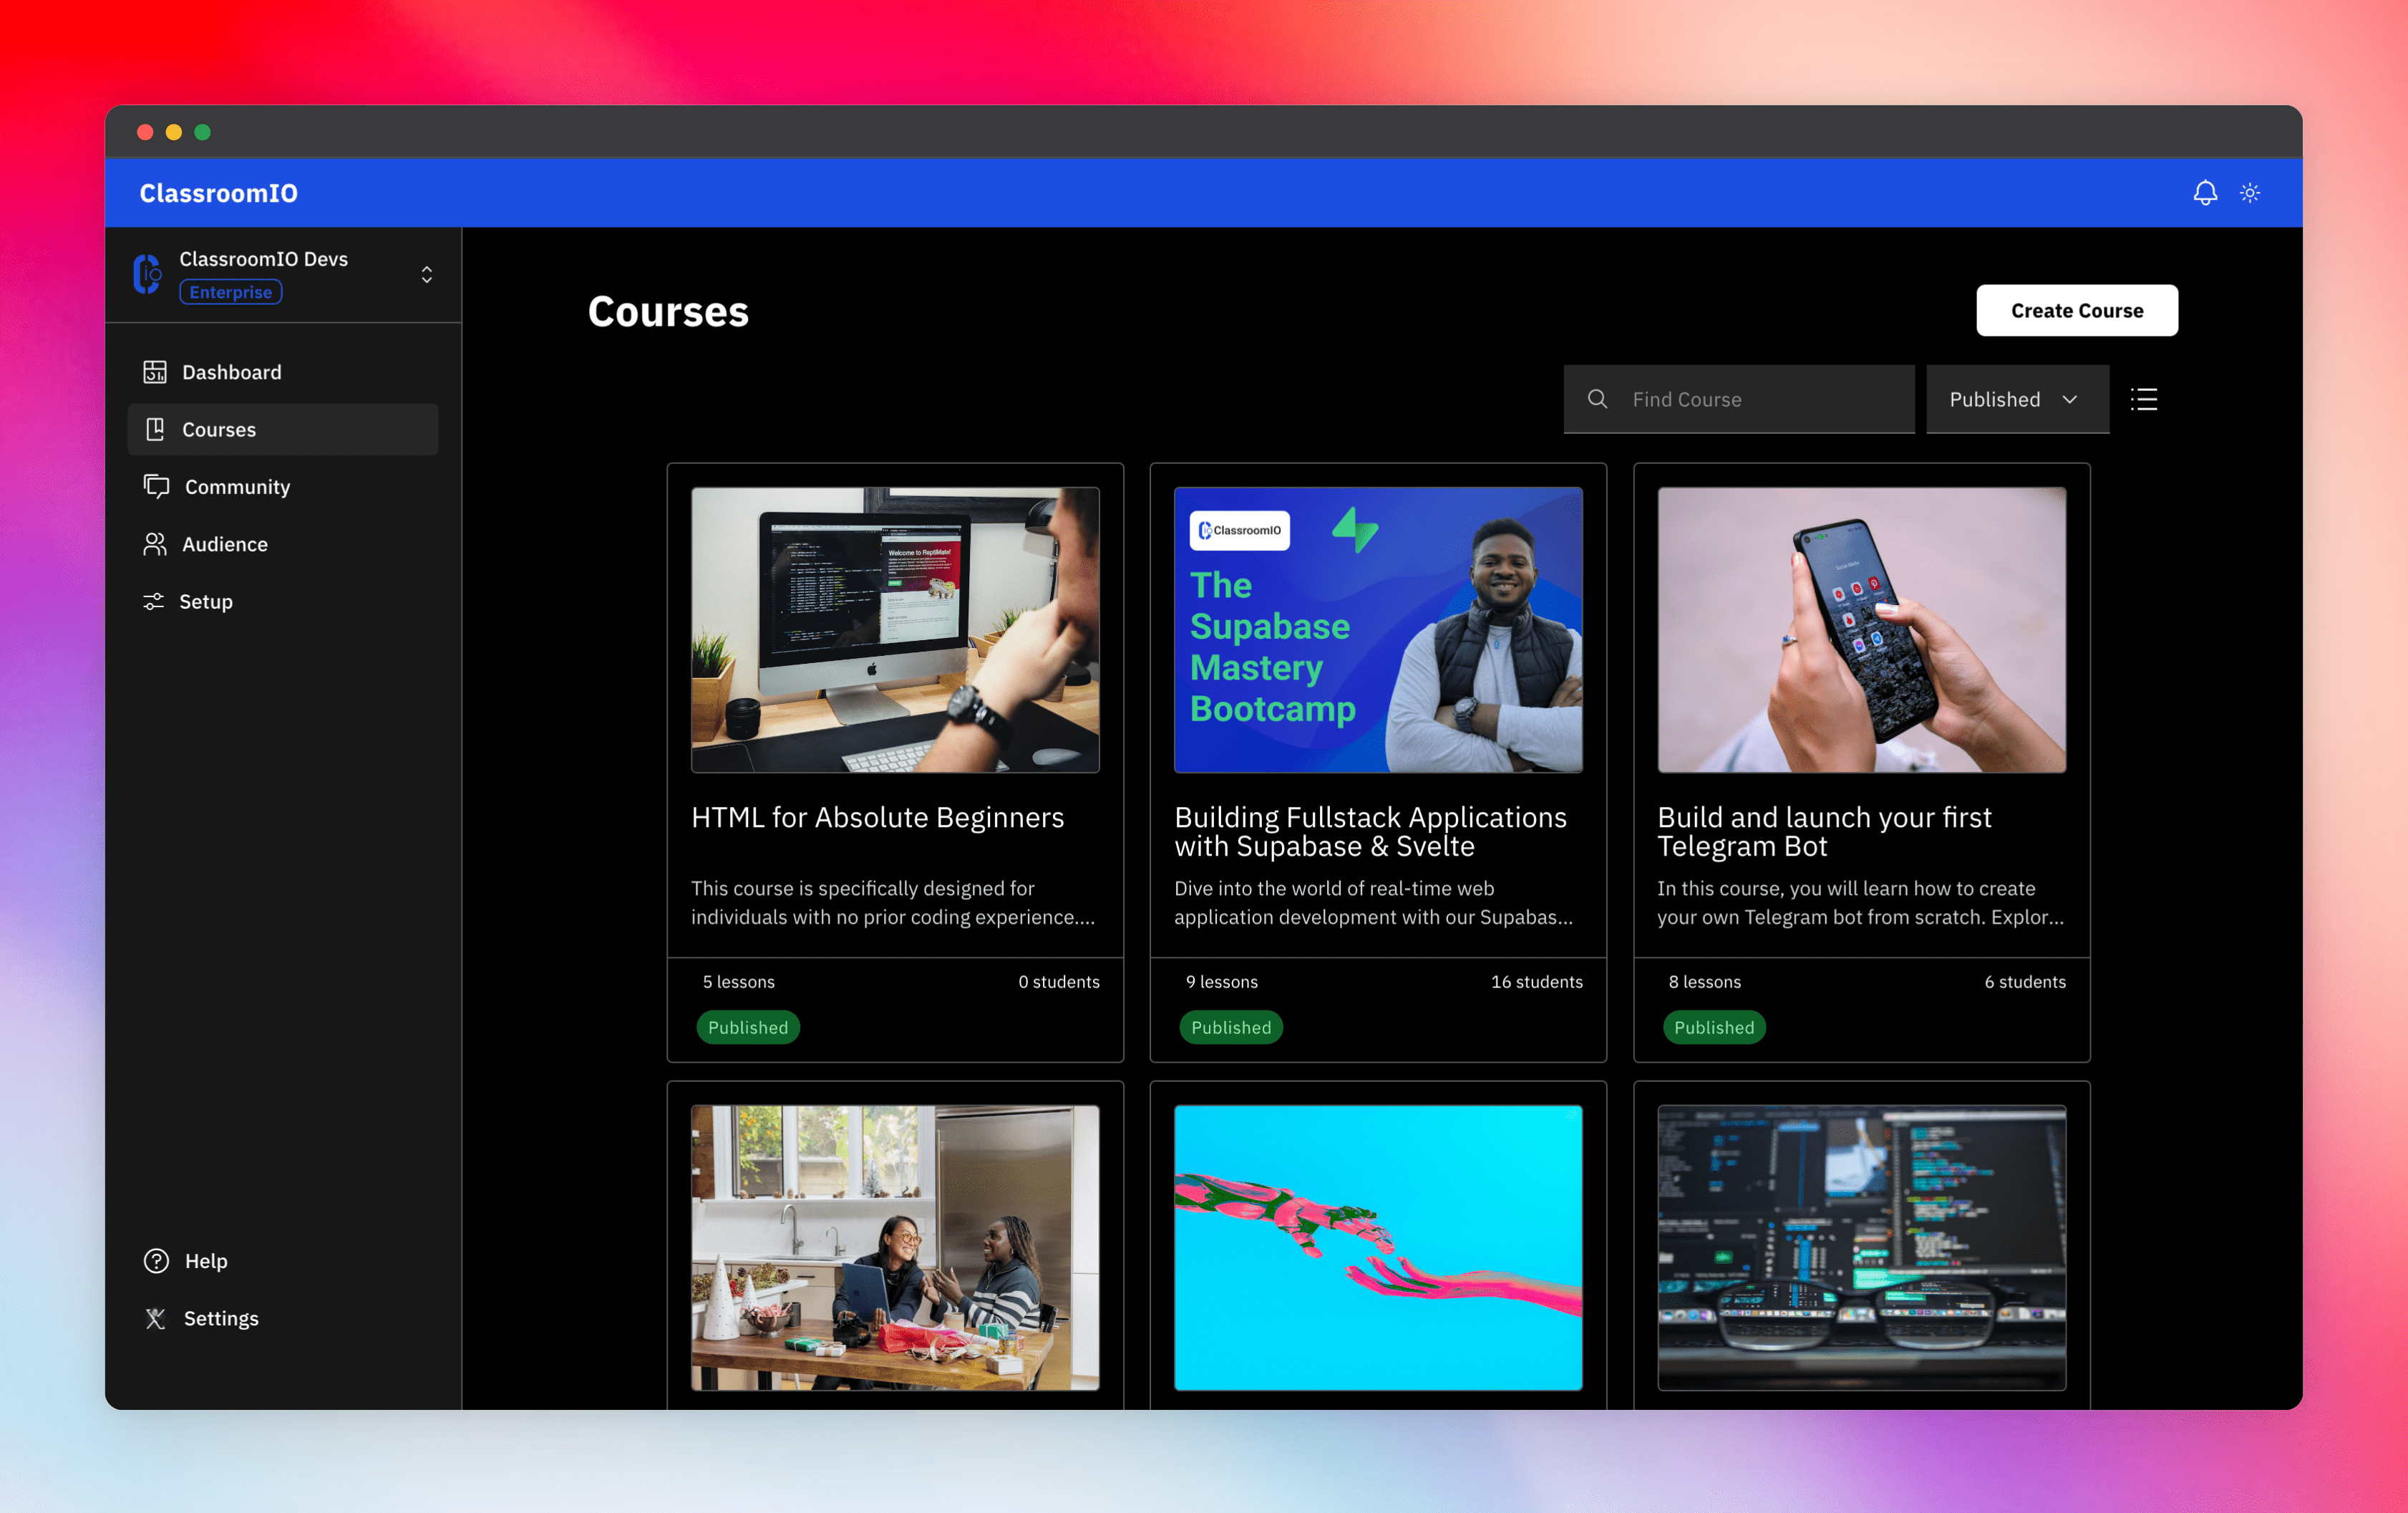
- 📚 Advanced Course Management: You can create unlimited courses, create lessons, invite students, add assignments, grade their assignments, and even generate certificates.
- 👨👩👦 Multi-Teacher Management: You can invite other teachers into your organization and assign them individual courses.
- 🤖 AI Integration: We've got OpenAI integration for quick course creation where you can generate course content, lesson outlines, and even generate assignments right from your lesson notes.
- 💬 Forum: Students can ask questions in your dedicated community and get answers from either you or other students.
- 💻 Dedicated Student Dashboard: Once you create an account, you get a dedicated dashboard where your students can access all their courses, assignments, and more.
- 🔒 Fully open source: You can self-host the entire stack on your servers.
- Forms: Instead of using Google Forms to collect vital information from your students, you will be able to create forms directly within the dashboard.
- Course Templates: You can clone a full course or share templates with other people.
- Analytics: You can track data about your students across multiple courses.
- Run Courses on Messengers: Students can just join a channel on slack/discord/telegram and a bot automatically sends daily lesson content to your students without you doing anything.
Please reach out to me on twitter if you have any feature request.
You can book a quick 15 min demo to see if ClassroomIO is a good fit for you
To get a local copy up and running, please follow these simple steps.
Here is what you need to be able to run ClassroomIO.com
- Node.js (Version: >=18.x)
- Supabase CLI
- Docker
- NPM
This repo is a mono repo that consists of 3 projects:
classroomio-com: The landing page of ClassroomIO hosted herebackend: The backend service that handles PDF, video processing, Emailing and Notifications.dashboard: The web application that runs the learning management system hosted here.docs: Official documentation of ClassroomIO hosted here
-
Click the button below to open this project in Gitpod.
-
This will open a fully configured workspace in your browser with all the necessary dependencies already installed.
-
Fork the repo, then clone it using the following command (remember to replace the url with the url from your forked repo)
git clone https://github.com/rotimi-best/classroomio.git
-
Go to project folder
cd classroomio -
Set up Node if your Node version does not meet the project's requirements, as instructed by the documentation., "nvm" (Node Version Manager) allows using Node at the version required by the project:
nvm use
You first might need to install the specific version and then use it:
nvm install && nvm useYou can install nvm from here.
You also need to have pnpm installed, you can find the installation guide here
-
Set up your
.envfile- Go to
apps/classroomio-com,apps/dashboardandapps/backend. - Duplicate the
.env.examplefile and rename it to.env - Populate your .env files with the neccessary variables
- Go to
To get the environmental variables for supabase continue to step(5)
-
Install all dependencies
pnpm i
-
Setup Supabase.
-
Install and Start docker
-
Go to the project directory in your terminal and start Supabase
pnpm supabase start
-
You should get a result like this
  supabase local development setup is running.

    API URL: http://127.0.0.1:54321
GraphQL URL: http://127.0.0.1:54321/graphql/v1
      DB URL: postgresql://postgres:[email protected]:54322/postgres
  Studio URL: http://127.0.0.1:54323
Inbucket URL: http://127.0.0.1:54324
  JWT secret: super-secret-jwt-token-with-at-least-32-characters-long
    anon key: eyJhbGciOiJIUzI1NiIsInR5cCI6IkpXVCJ9.eyJpc3MiOiJzdXBhYmFzZS1kZW1vIiwicm9sZSI6ImFub24iLCJleHAiOjE5ODM4MTI5OTZ9.CRXP1A7WOeoJeXxjNni43kdQwgnWNReilDMblYTn_I0
service_role key: eyJhbGciOiJIUzI1NiIsInR5cCI6IkpXVCJ9.eyJpc3MiOiJzdXBhYmFzZS1kZW1vIiwicm9sZSI6InNlcnZpY2Vfcm9sZSIsImV4cCI6MTk4MzgxMjk5Nn0.EGIM96RAZx35lJzdJsyH-qQwv8Hdp7fsn3W0YpN81IU
-
Add Supabase environment variables into
app/dashboardfolder, which should be taken from the result ofpnpm supabase startPUBLIC_SUPABASE_URL=<API URL> PUBLIC_SUPABASE_ANON_KEY=<anon key> PRIVATE_SUPABASE_SERVICE_ROLE=<service_role key>
-
To view the Supabase studio, open the Studio URL from the result of
pnpm supabase start
-
-
Run all projects (in development mode)
pnpm dev
-
All projects should start running
classroomio-com: http://localhost:5174backend: http://localhost:3002dashboard: http://localhost:5173docs: http://localhost:3000
-
Running a specific project
- classroomio-com:
pnpm dev --filter=classroomio-com - backend:
pnpm dev --filter=backend - dashboard:
pnpm dev --filter=dashboard - docs:
pnpm dev --filter=docs
- classroomio-com:
-
Login into
dashboard- Visit http://localhost:5174/login
- Enter email:
[email protected] - Enter password:
123456
To learn more about how to login with a dummy account, go here.
