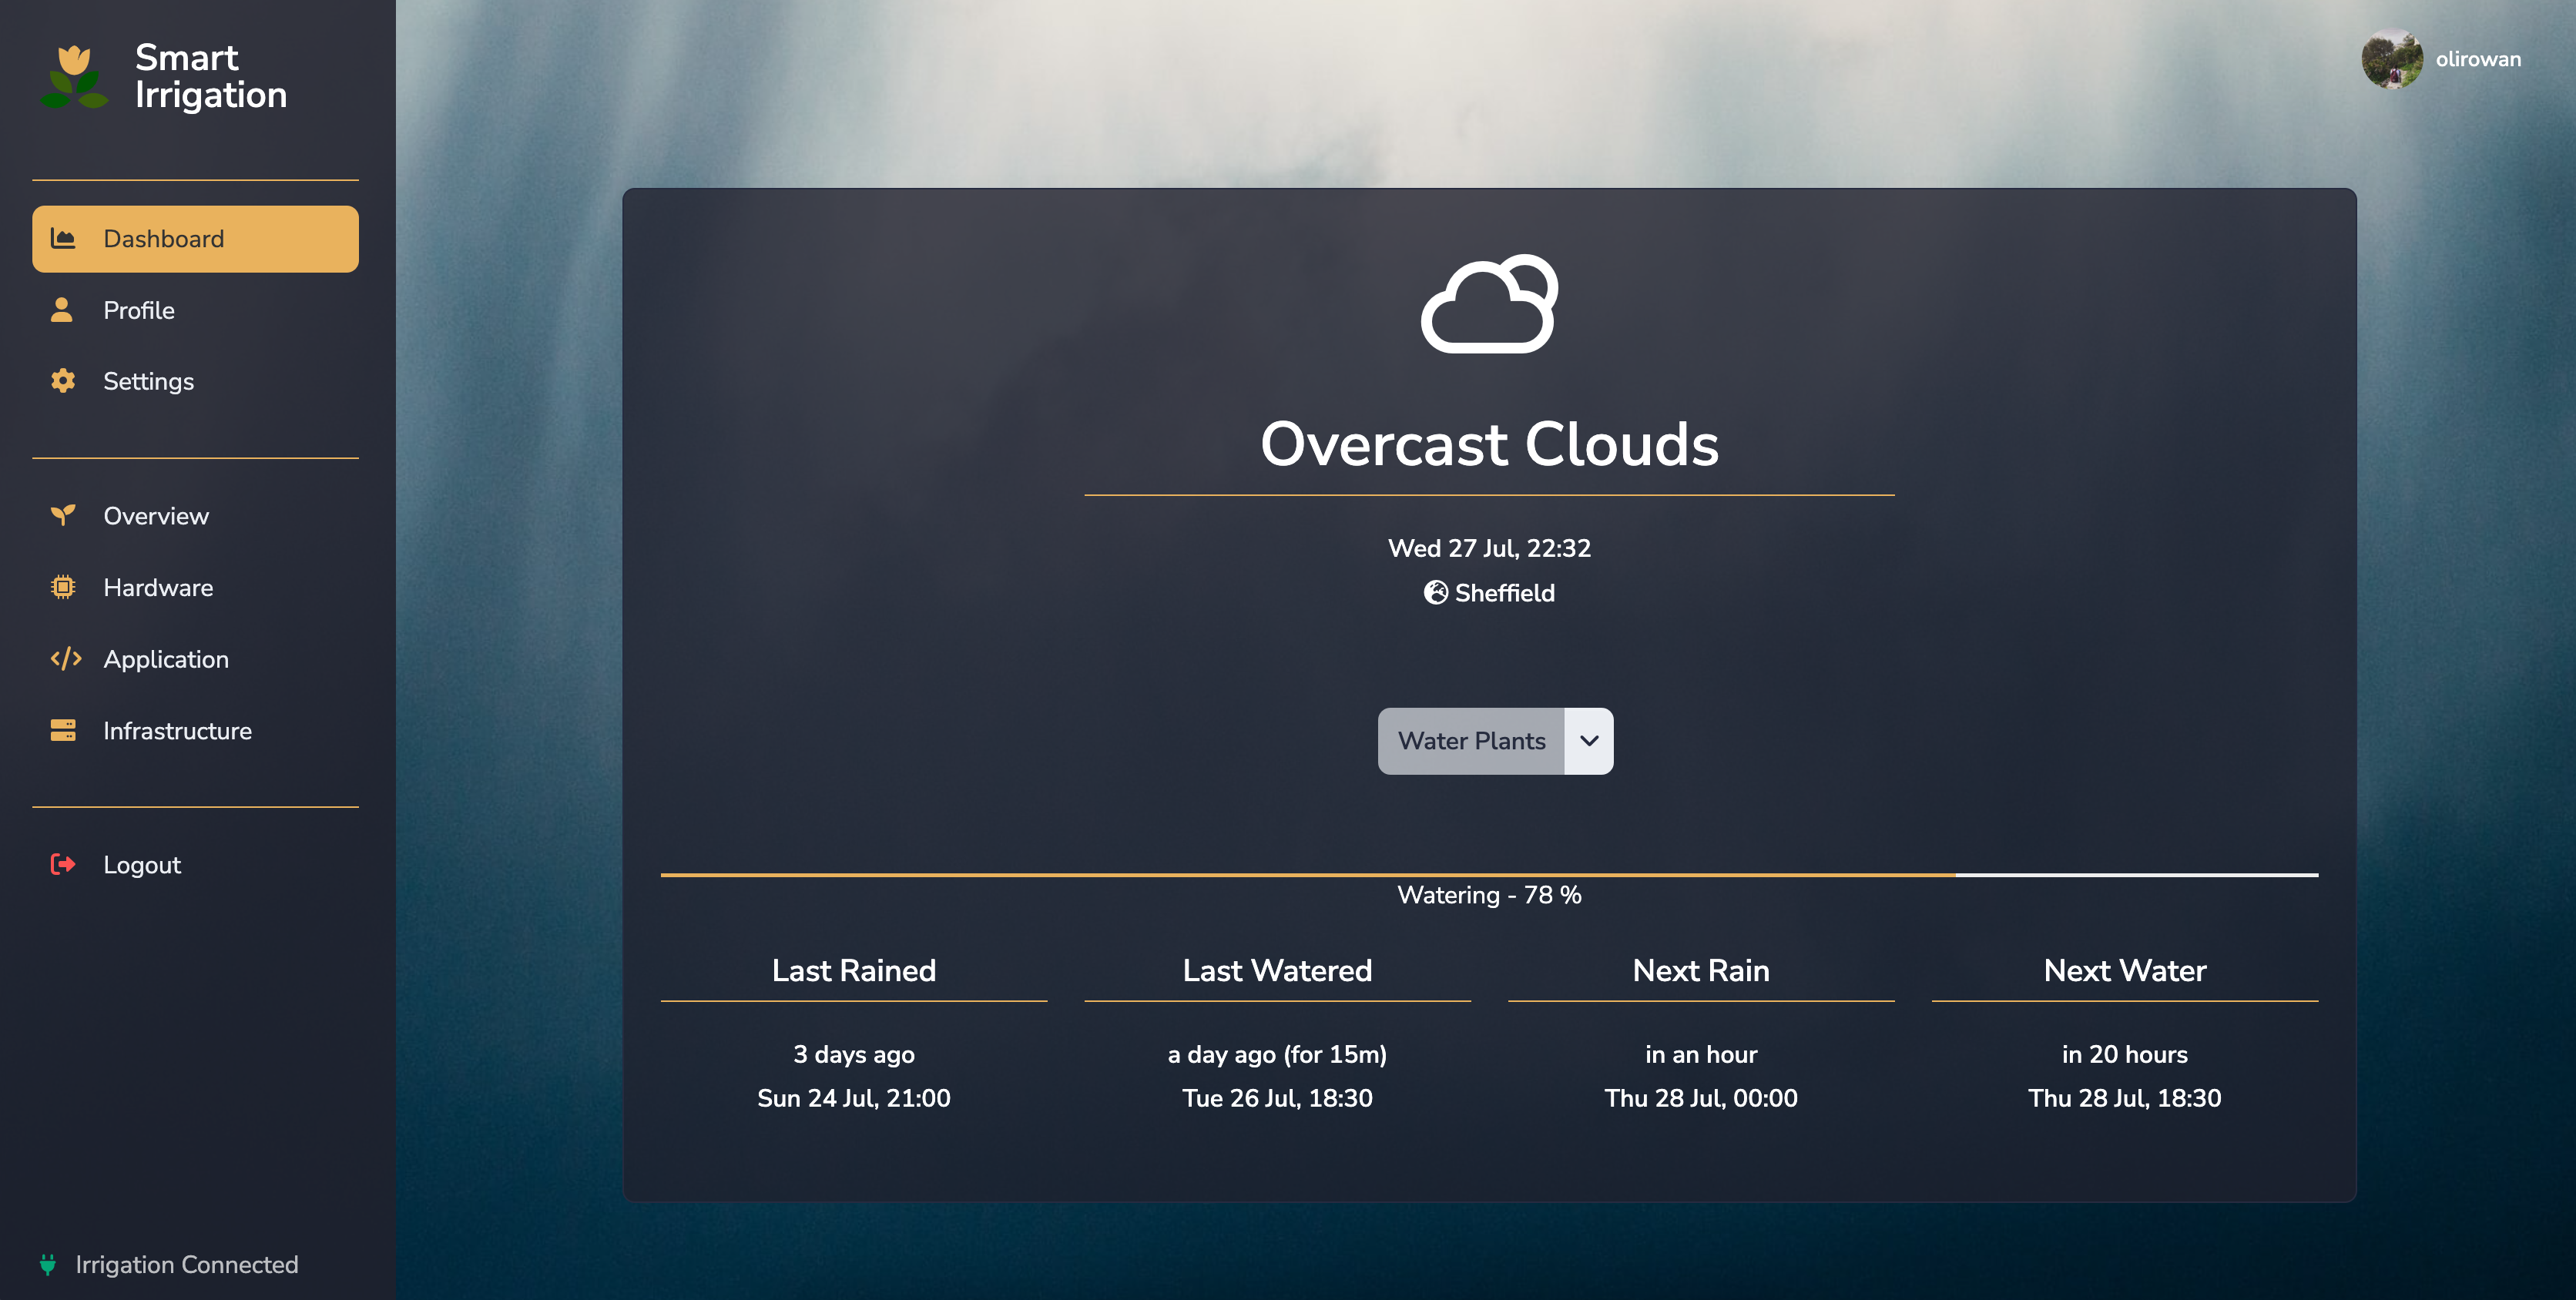
Smart Irrigaton is an application inspired by the idea of watering garden plants using a Raspberry Pi.
This repo contains the software that complements the hardware side of the project, controlling the water release via GPIO Pins and a Solenoid Valve.
The design is to schedule watering via a task queue. The worker will run on the RPi and manage the valve, but the frontend can be run separately.
Clone this repository, install dependencies, and set environment variables:
$ git clone https://github.com/olirowan/smart-irrigation.git
$ python3 -m venv venv
$ source venv/bin/activate
$ pip install -r requirements.txt
$ cp .example.env .env
Modify the .env to set the following values:
- DEMO_MODE - If True, this won't attempt any GPIO connections but will simulate watering time/responses in the frontend.
- SQLALCHEMY_DATABASE_URI - Specify a database endpoint (optional, default: SQLite3 file)
- SESSION_TYPE - Sessions can be managed with redis or filesystem (optional, default: filesystem)
- SESSION_REDIS - If redis is set as the SESSION_TYPE then you must provide a redis endpoint.
- CELERY_BROKER_URL - Specify a redis endpoint for the task queue (required)
- CELERY_RESULT_BACKEND - Specify a redis endpoint for the task queue (required)
Configure the database:
$ flask db upgradeRun the application from the command line as follows:
$ flask runAlong with running the application, you must also run a Celery worker.
$ ./venv/bin/celery -A app.celery worker -BOptionally you can separate workers to run Celery Beat independently.
$ ./venv/bin/celery -A app.celery worker
$ ./venv/bin/celery -A app.celery beatThe Celery worker(s) should be running on the RPi connected to the Solenoid Valve.
The frontend can be run on the RPi or it can be hosted elsewhere, as long as both the frontend and Celery worker are able to connect to the same redis and database endpoints.
Due to this, I recommend running the frontend in a container for quick setup.
If you don't wish to use containers then the configuration from supervisord.conf and nginx-config.conf can be used as a reference to stand up the application as you prefer.
This will create a container running the frontend application however you will still need celery workers running.
docker build -t olirowan/smart-irrigation:v1.0 .

docker run --name smartirrigation -it \
    -e DEMO_MODE=True
    -e SESSION_TYPE=redis \
    -e SESSION_REDIS=redis://redis-host:6379/0 \
    -e CELERY_RESULT_BACKEND=redis://redis-host:6379/1 \
    -e CELERY_BROKER_URL=redis://redis-host:6379/1 \
    -e SQLALCHEMY_DATABASE_URI=mysql://demo:demo@db-host:3306/smartirrigation \
    -p 5000:80 -\
    olirowan/smart-irrigation:v0.1
You should now be able to access the frontend at http://127.0.0.1:5000/
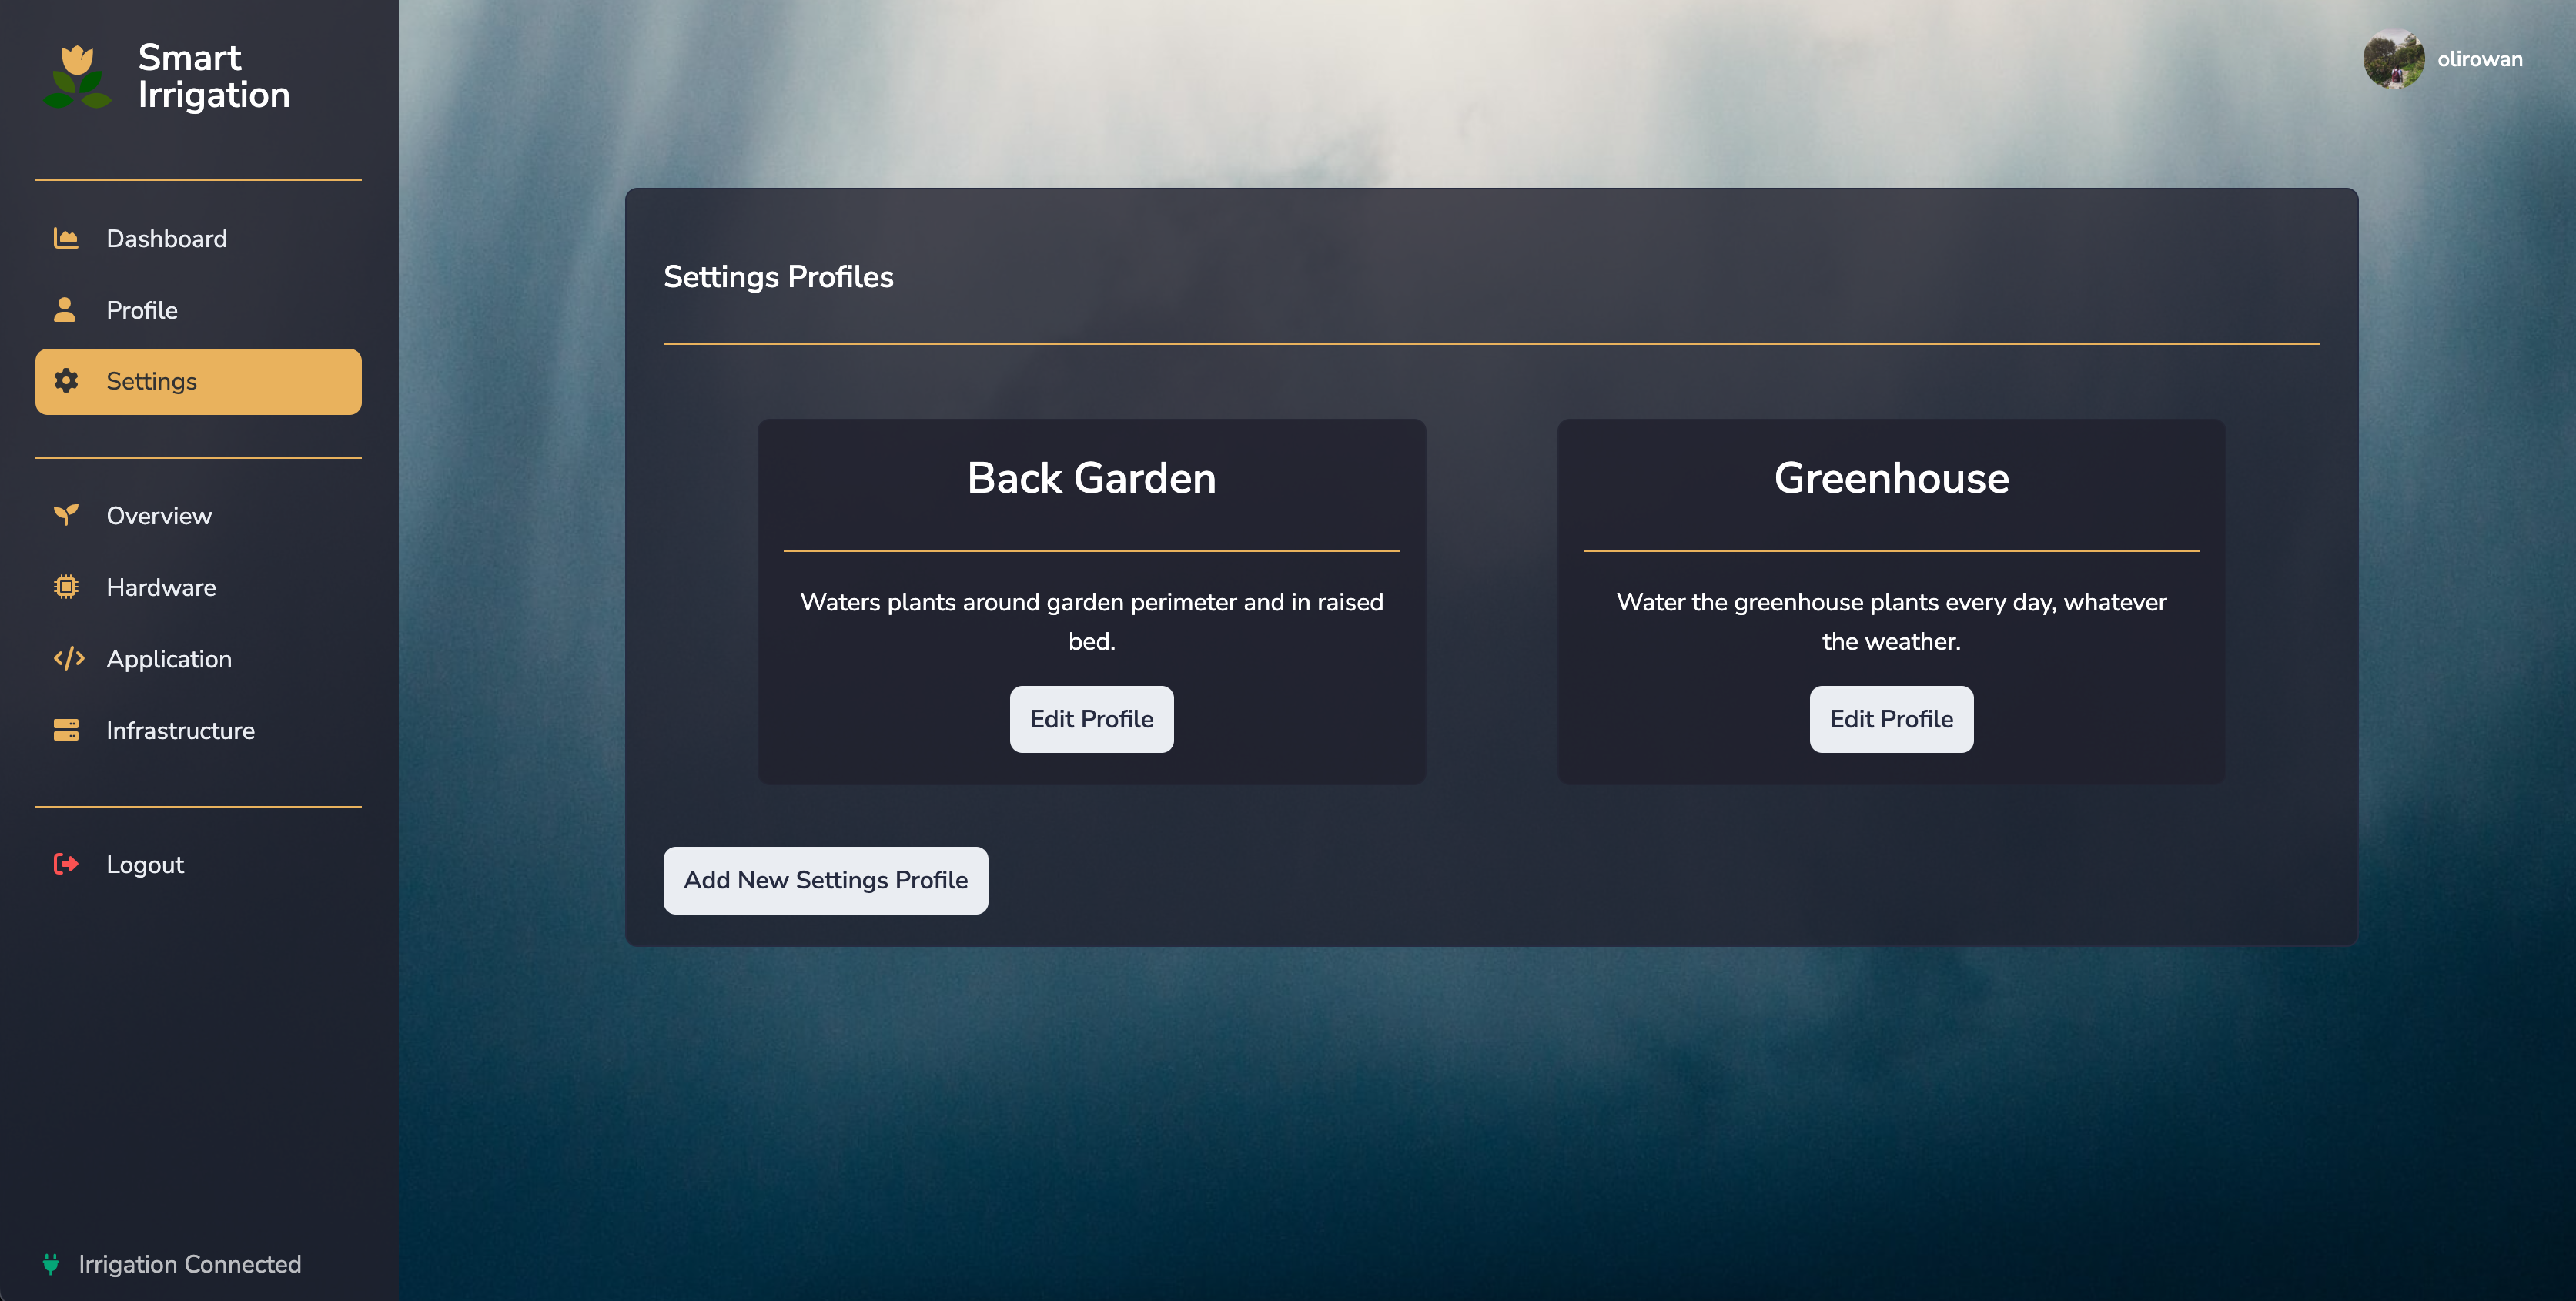
From here the dashboard should prompt you to create a Settings Profile (Settings > Add New Settings Profile)
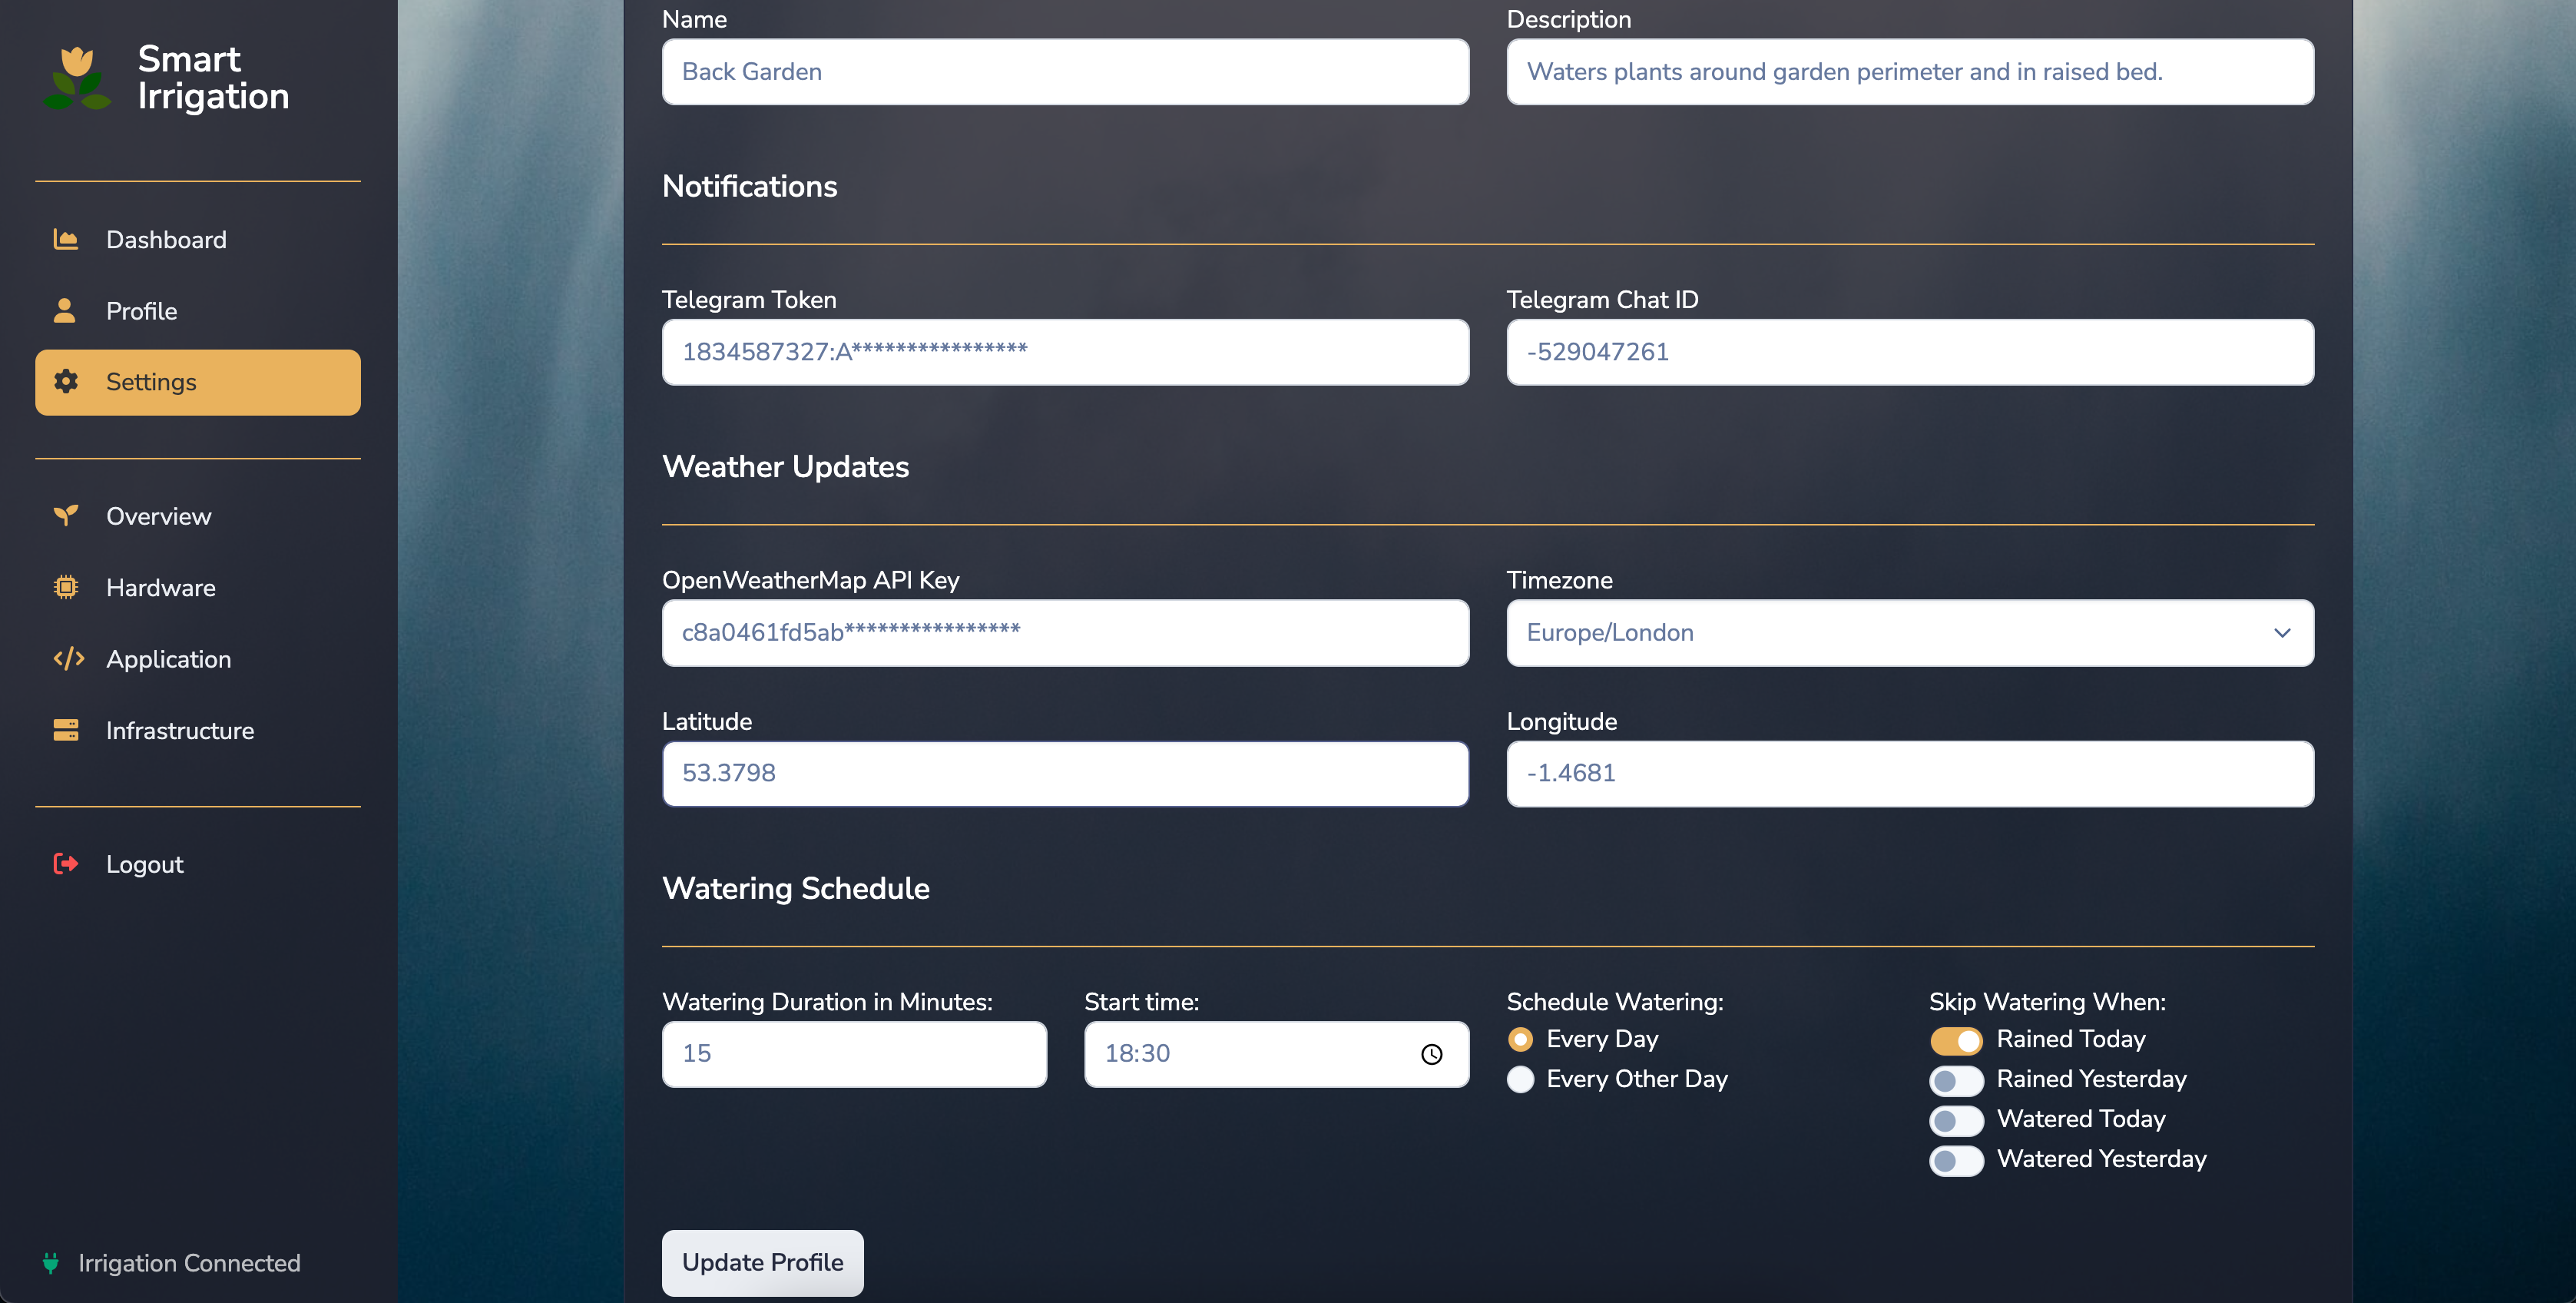
This will require an OpenWeatherMap API Key which can be obtained from signing up to their platform:
Additional details (including a hardware build) about this project can be found onwards from this blogpost:
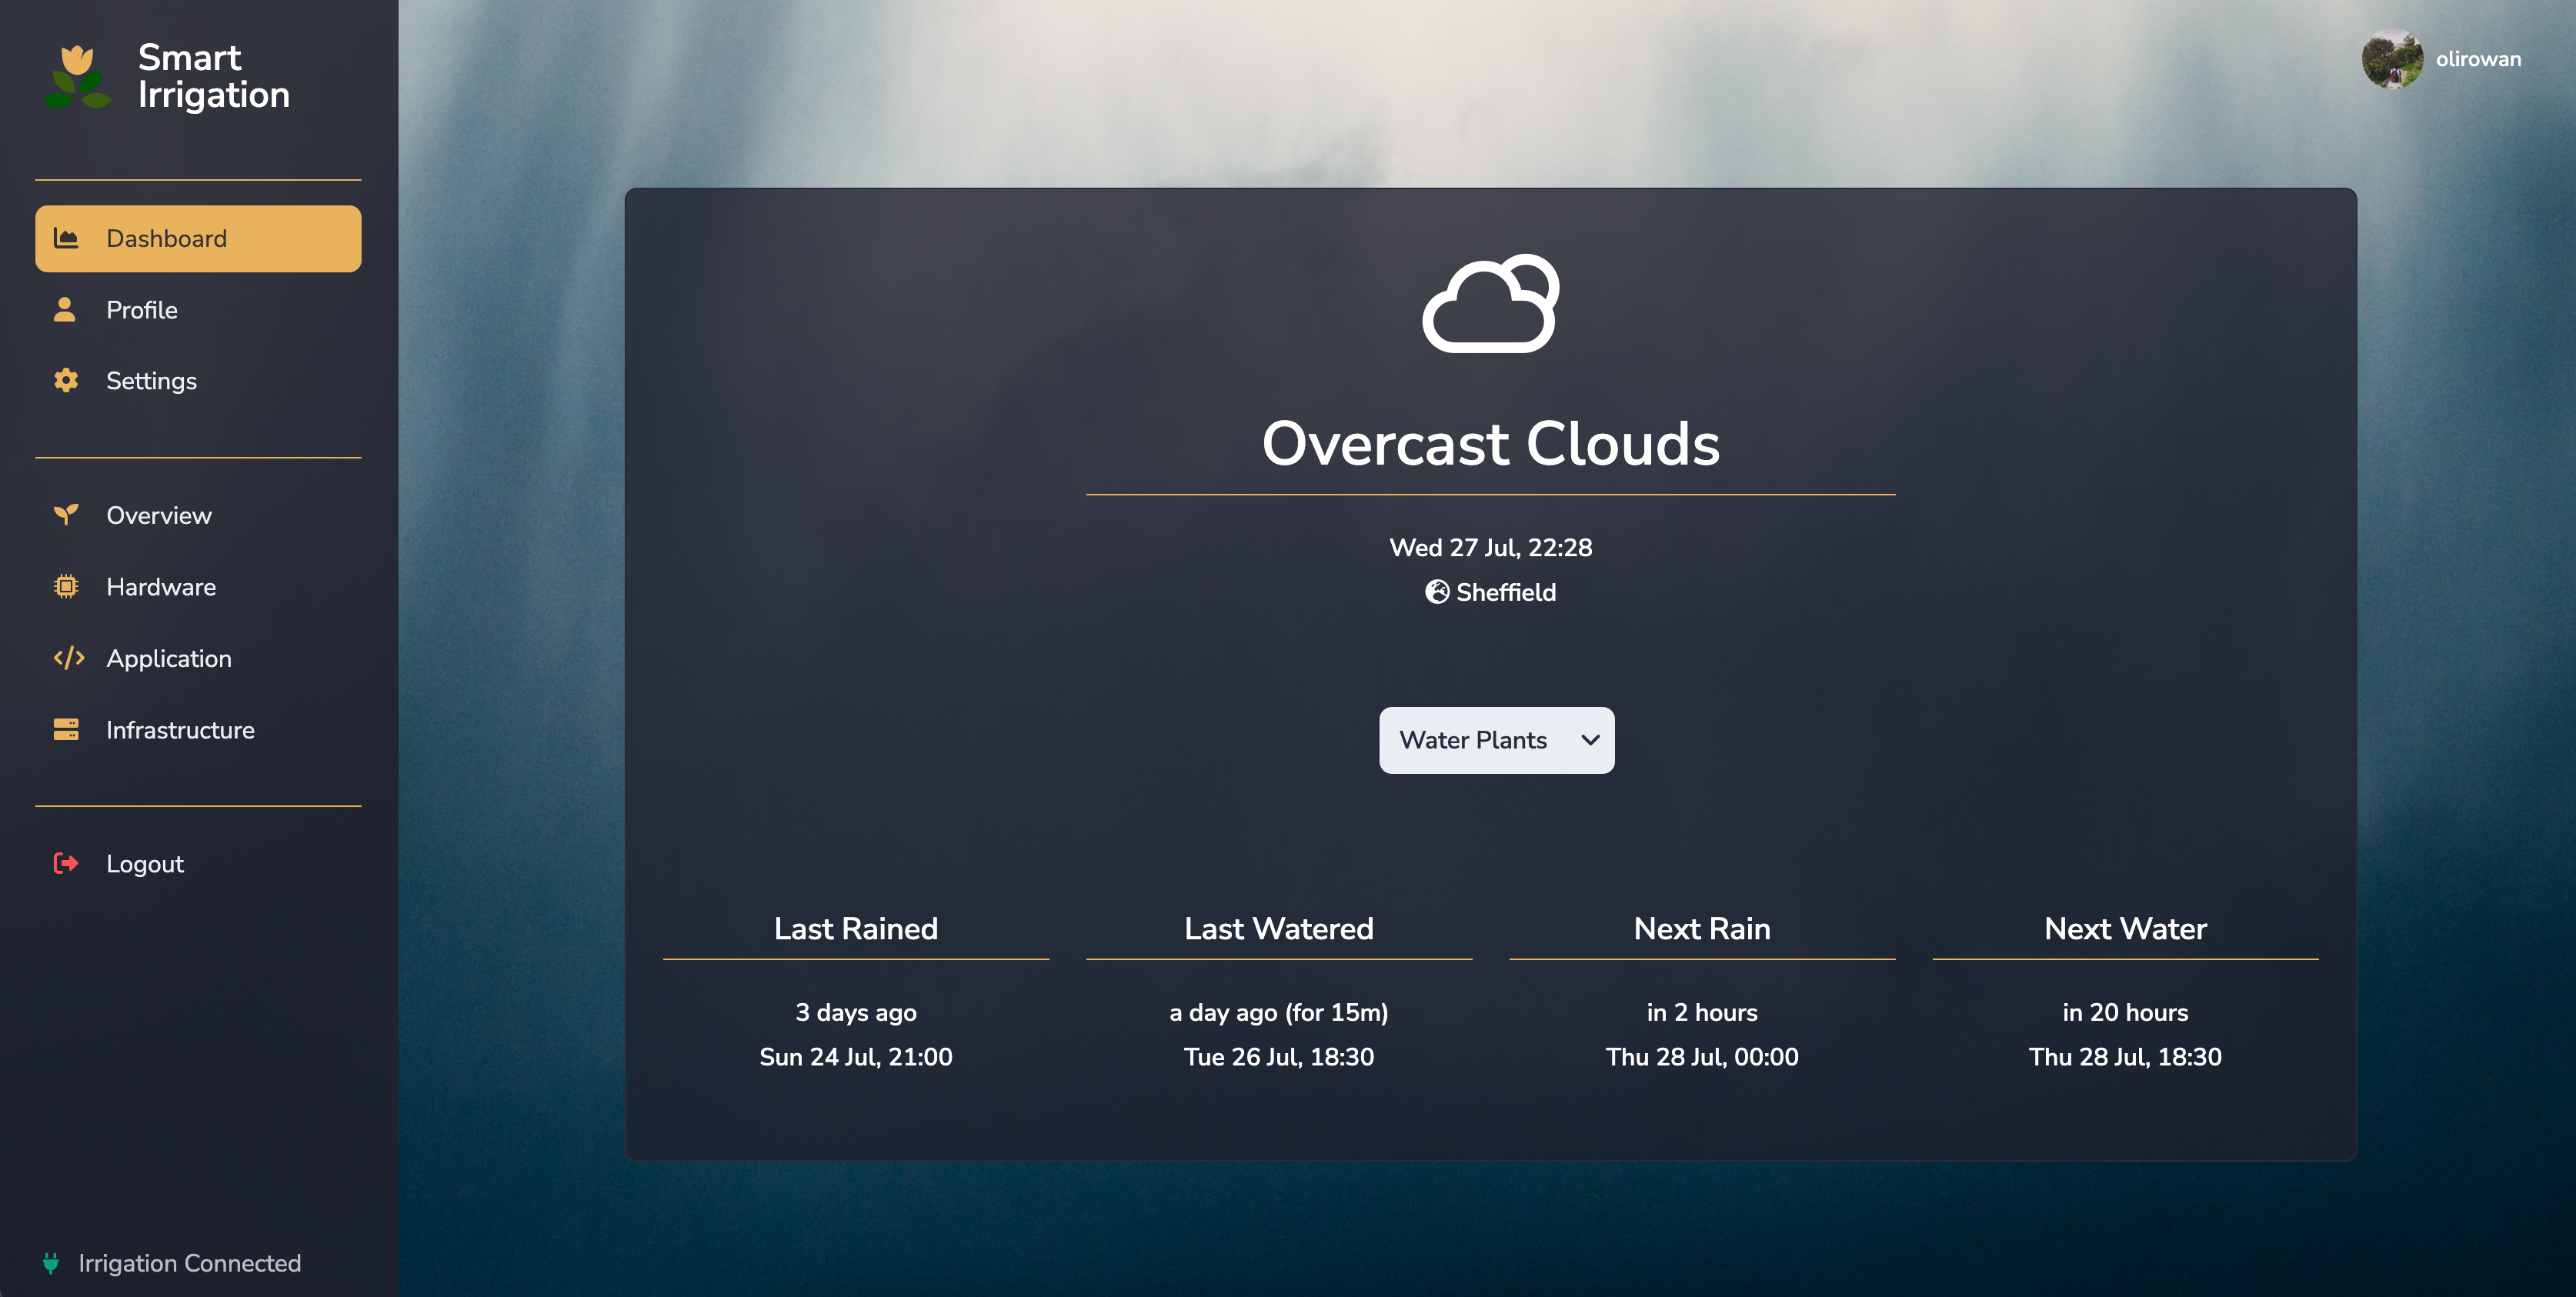
- Main Dashboard
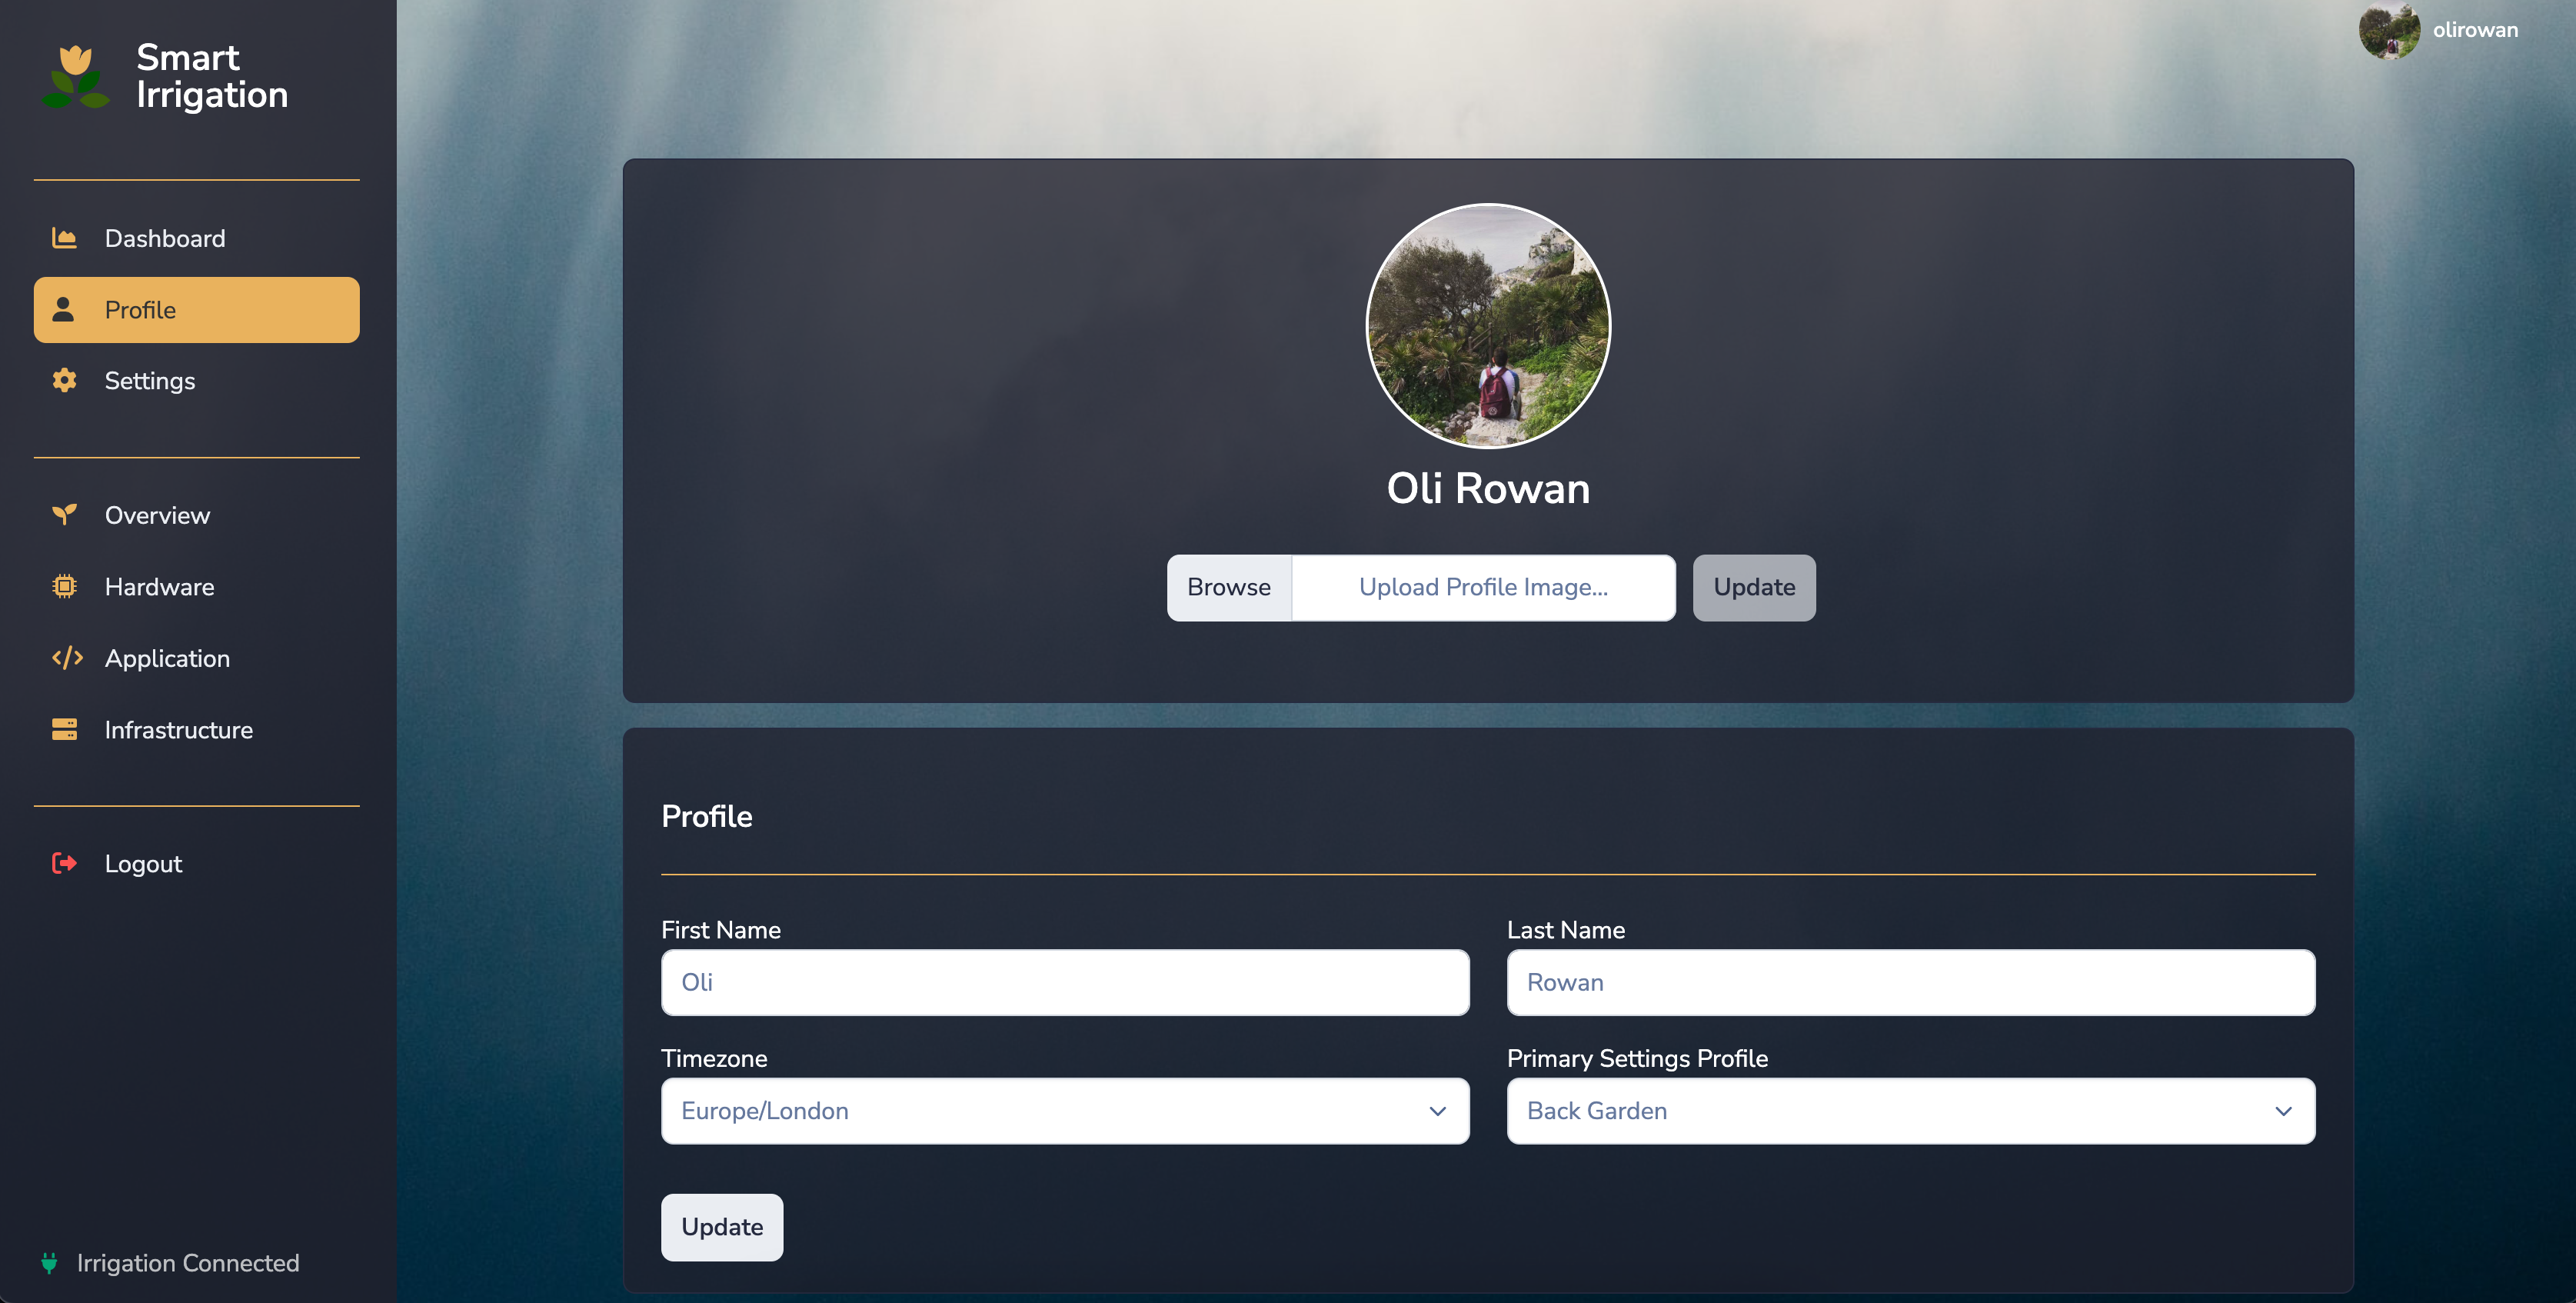
- Profile
- Settings Profiles
- Settings
Watering Progress on Dashboard
