KodeKloud is an interactive platform that provides hands-on experience with technologies like Kubernetes and EKS, offering a safe environment for practice without managing infrastructure. This guide will help you create an EKS cluster in KodeKloud Labs.
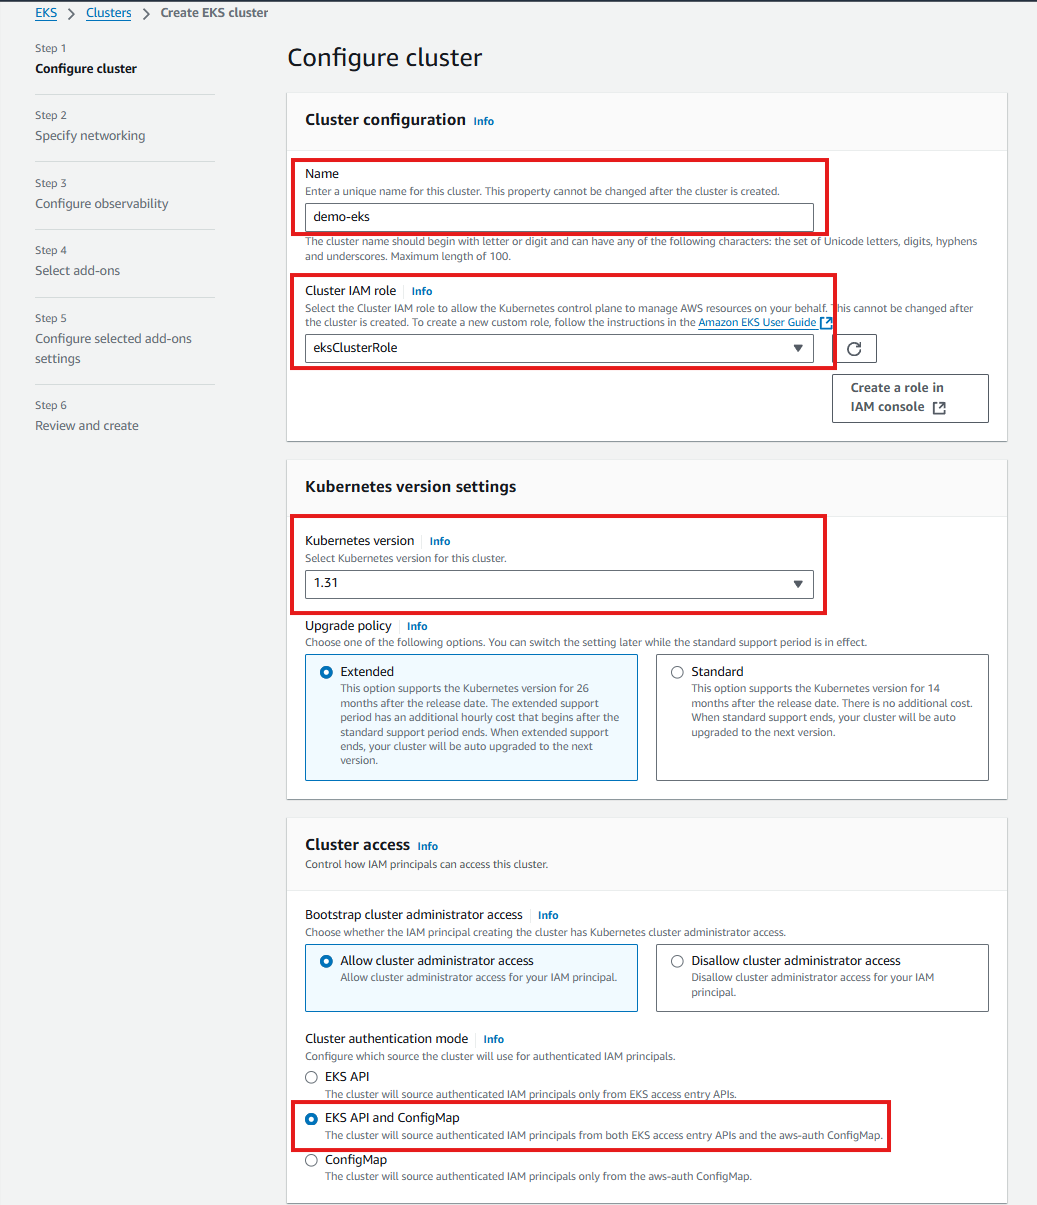
- Kubernetes Version: 1.31
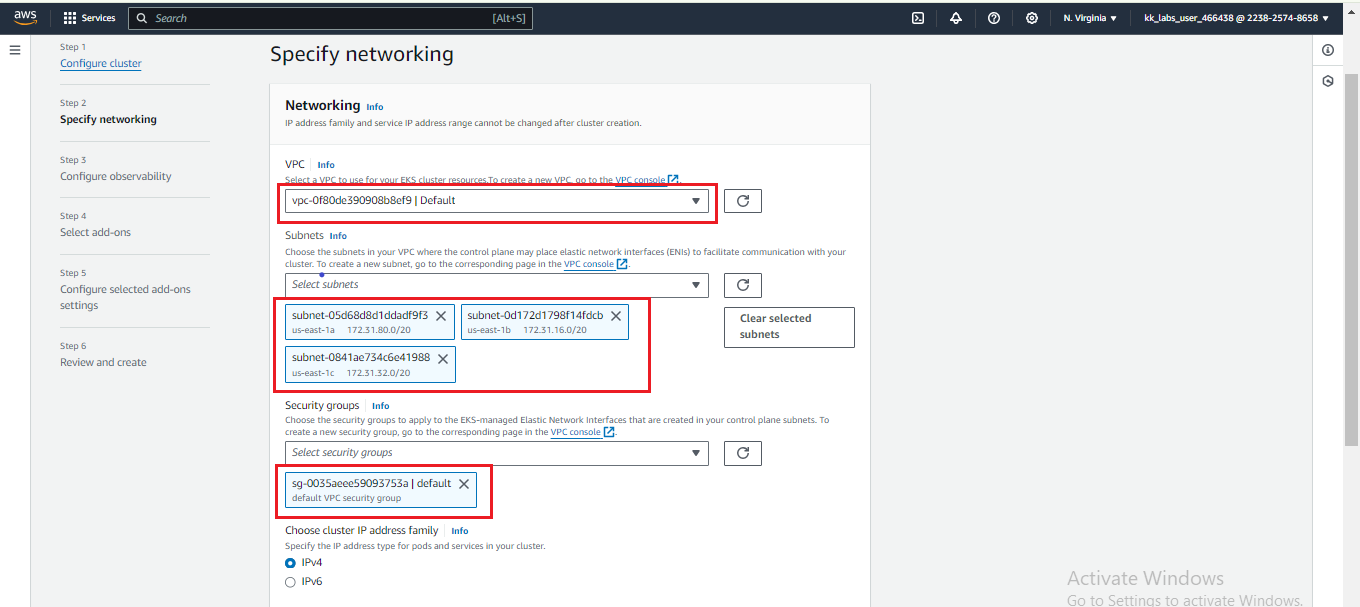
- Availability Zone: Do not select subnets from
us-east-1eas it is restricted. - Terraform Method: For automation using Terraform, refer to this guide by @Alistair_KodeKloud.
- Basic understanding of AWS and Kubernetes.
- Click START LAB to initiate an AWS Cloud instance.
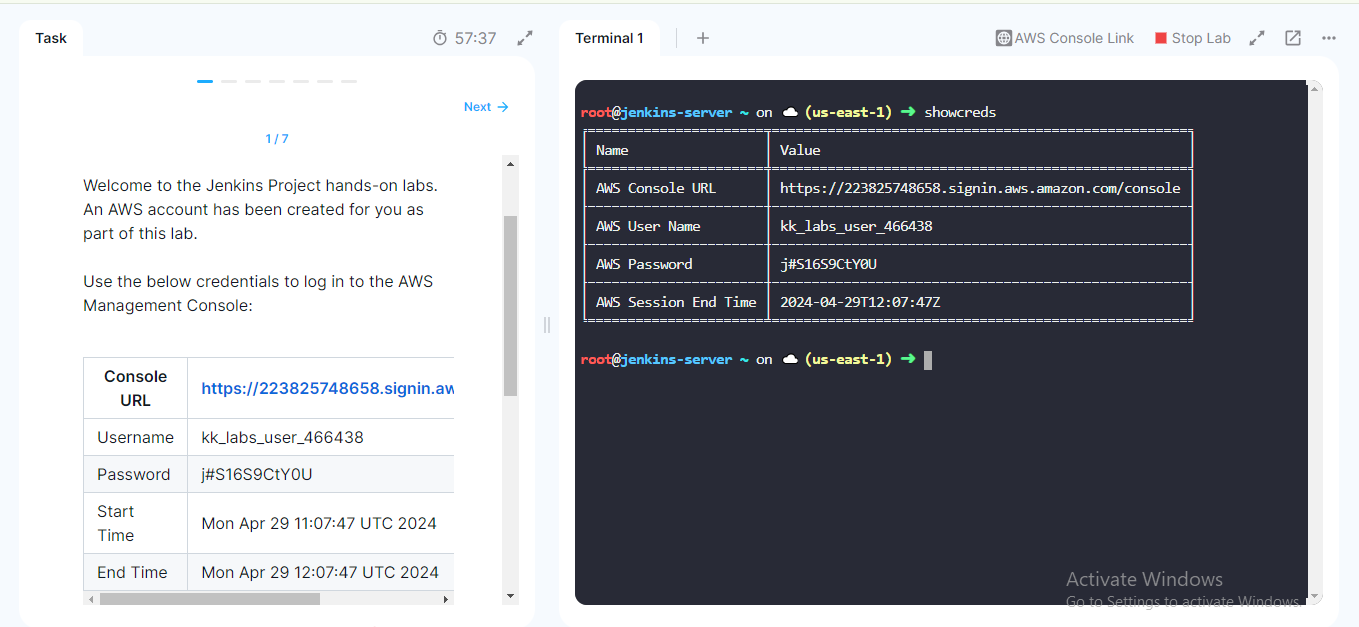
- After a few seconds, you will receive credentials to access the AWS console.
- Log in using the provided credentials.
Follow these steps or refer to the AWS EKS Documentation for more details.
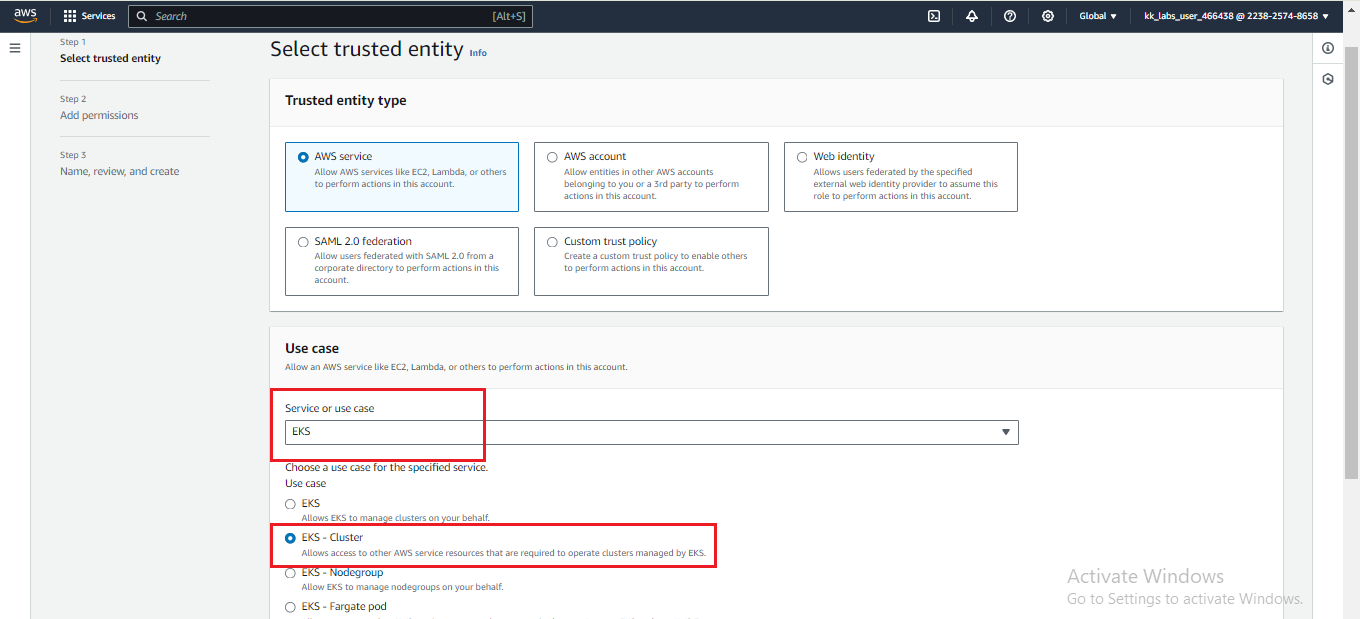
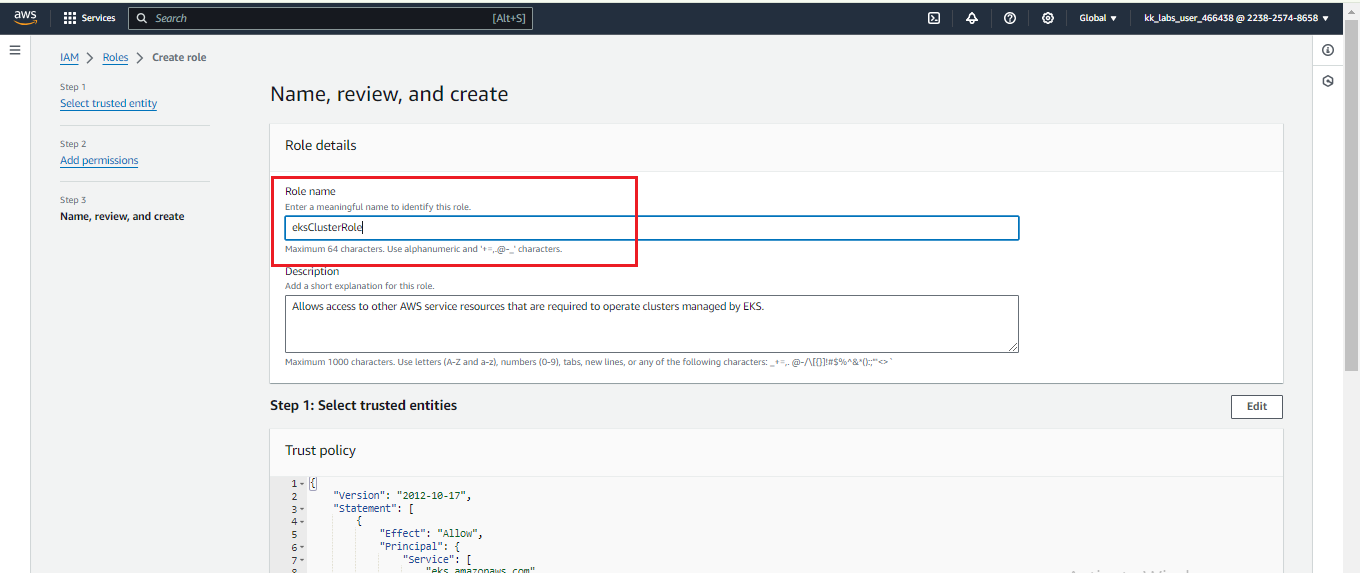
- Open the IAM Console, go to Roles, and click Create role.
- Choose AWS service as the trusted entity type and select EKS → EKS - Cluster.
- Click Next, skip adding permissions, name the role eksClusterRole, and click Create role. (Note: ensure this exact name is used, as a different name will cause the cluster creation to fail)
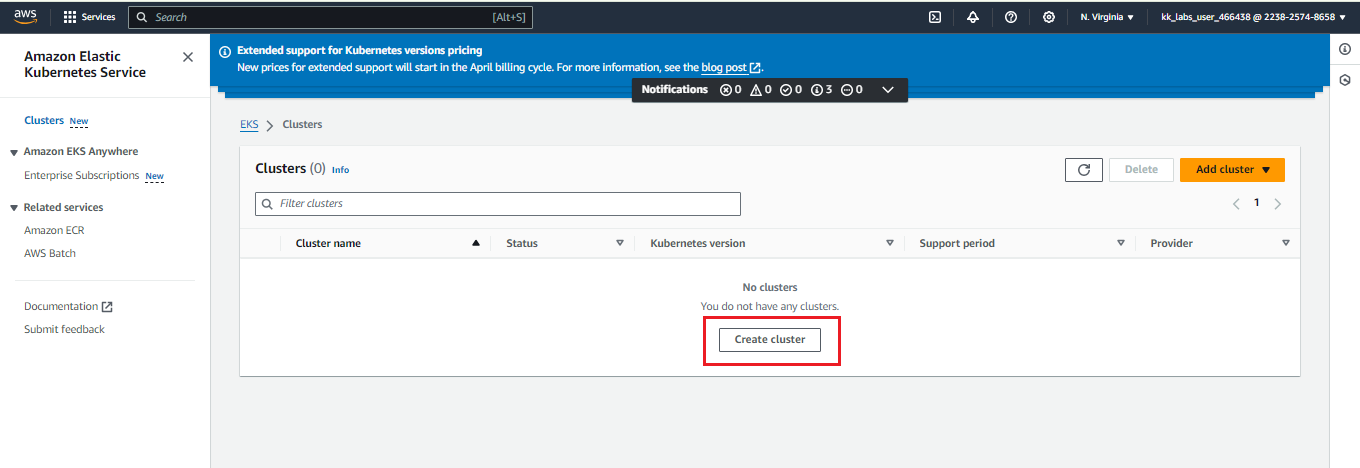
- Go to the EKS Console and click Create cluster.
- Enter demo-eks as the name for your cluster.
- Select eksClusterRole as the IAM role.
- Choose Kubernetes 1.31 as the version.
- Set EKS API and ConfigMap as the cluster authentication mode.
- Select at least two subnets (avoid
us-east-1e). - Choose subnets from
us-east-1a,us-east-1b, andus-east-1c. - Ensure your security group allows necessary traffic.
- Select the default options in Configure observability.
- Select add-ons and Configure selected add-ons settings, then click Next.
- Review your settings and click Create. The cluster status will show as CREATING during provisioning.
- Enable
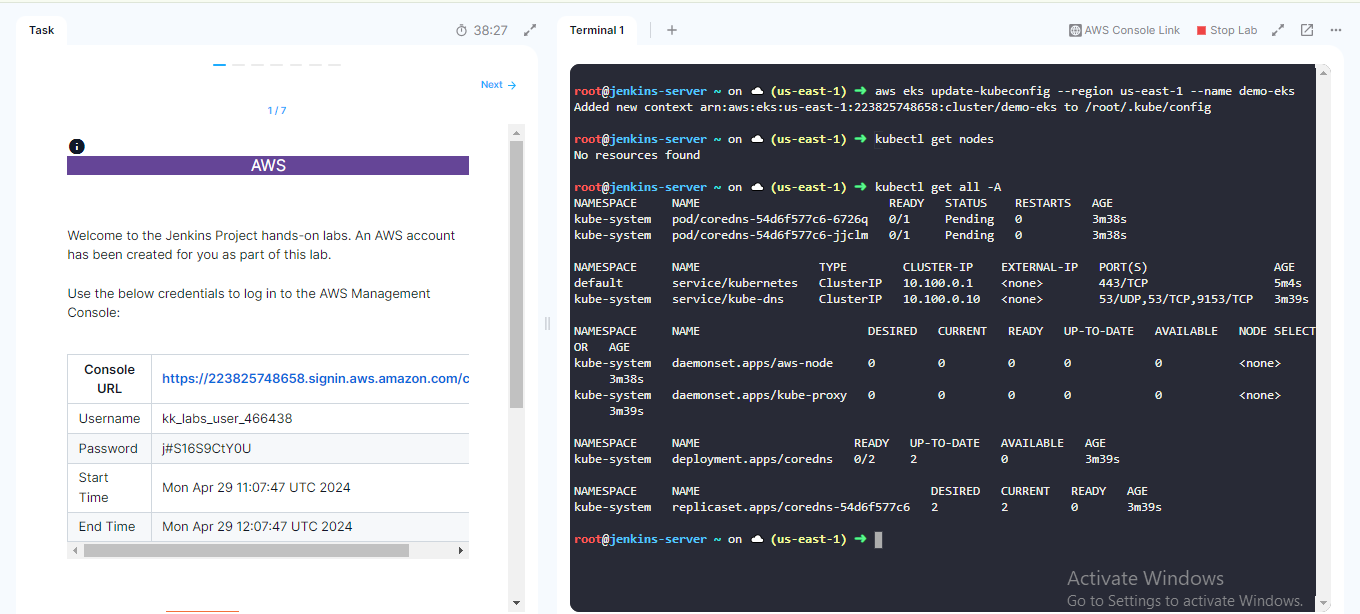
kubectlto interact with your cluster by updating thekubeconfig:aws eks update-kubeconfig --name <cluster-name>
To make it simple, you can follow the steps below. For more information, refer to AWS EKS Documentation.
Note: If you don’t provide a key pair here, the AWS CloudFormation stack creation fails. Ensure you have at least one key pair before moving forward. To create a key pair, see AWS EC2 Documentation.
-
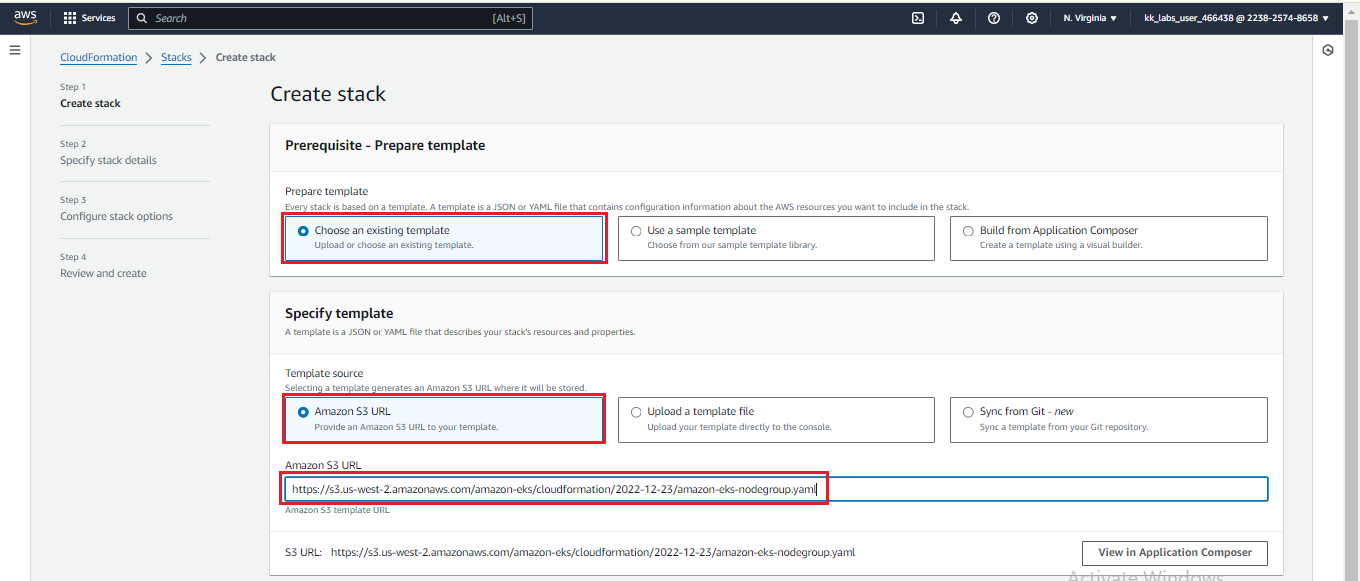
Open the AWS CloudFormation Console:
- Go to the CloudFormation Console.
- Choose Create stack and select With new resources (standard).
-
Select the Template:
-
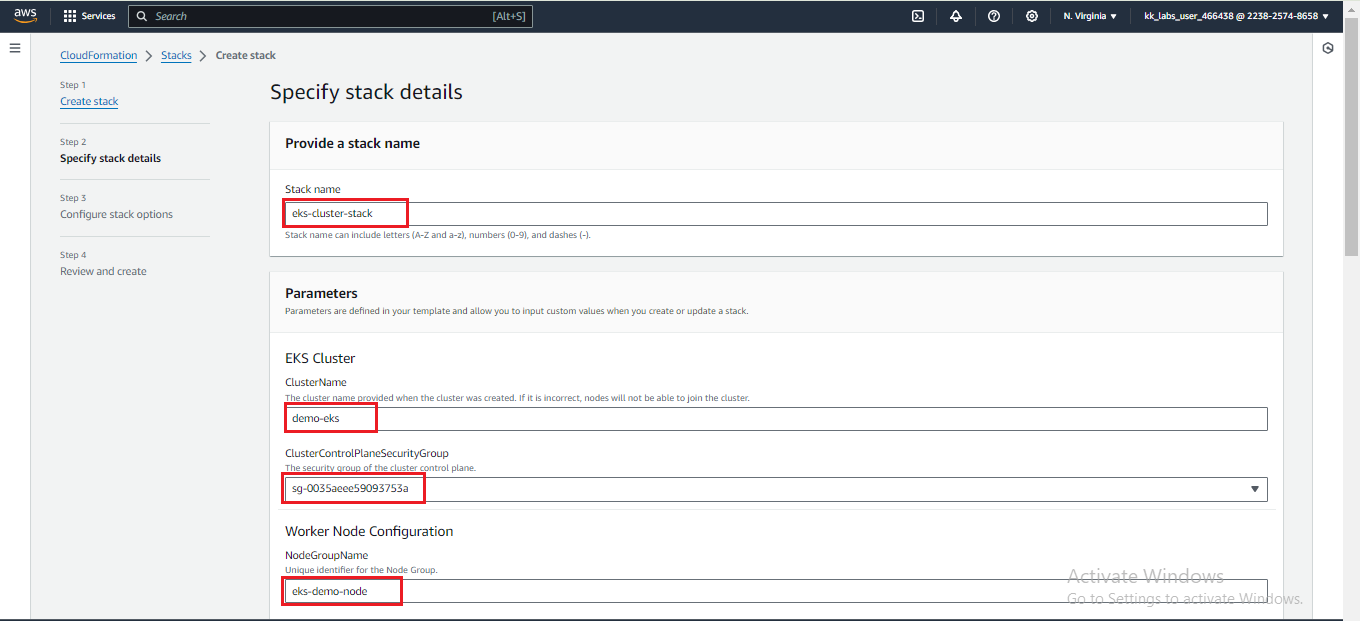
Specify Stack Details:
- Stack name: Enter
eks-cluster-stack.(Note: ensure this exact name is used, as a different name will cause the cluster creation to fail) - ClusterName: Enter
demo-eks(same name as your EKS cluster). - ClusterControlPlaneSecurityGroup: Select the security group of the cluster control plane.
- NodeGroupName: Enter
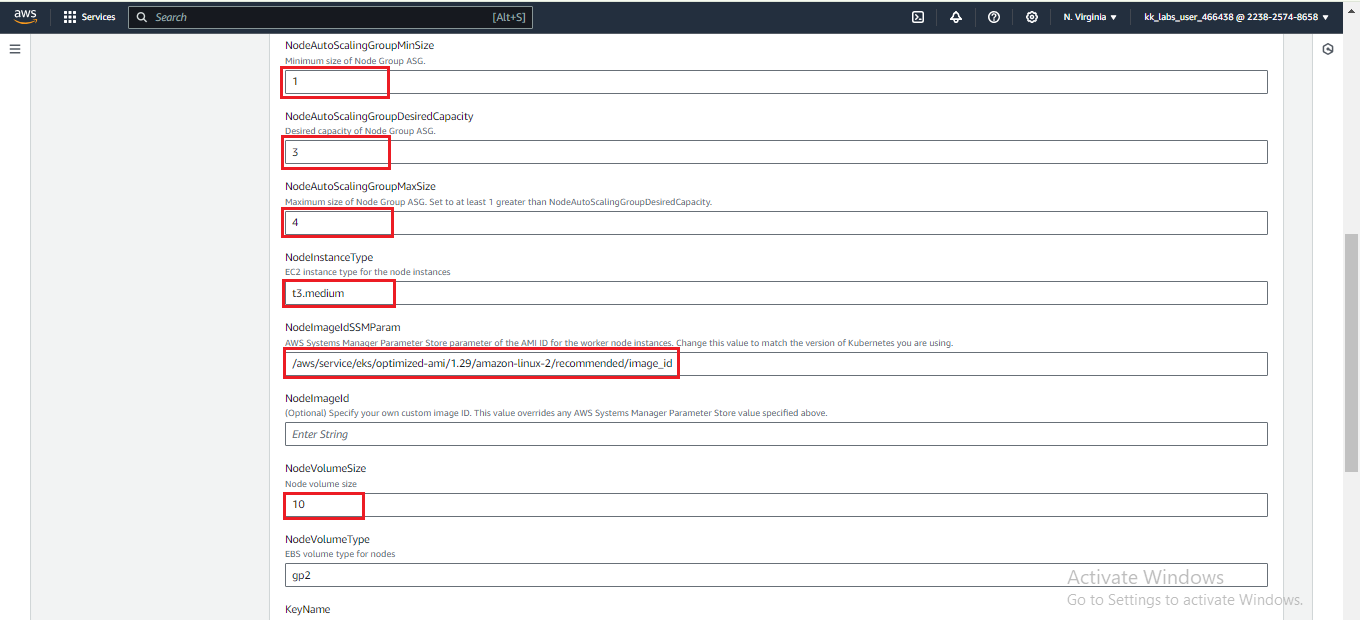
eks-demo-node. - NodeImageIdSSMParam: Pre-populated with the Amazon EC2 Systems Manager parameter. To use version 1.31, update it to:
/aws/service/eks/optimized-ami/1.31/amazon-linux-2/recommended/image_id - Subnets: Select the same subnets as the EKS cluster.
- Instance Type: Choose from
.nano,.micro,.small, or.mediumoft1,t2, ort3instance classes. - Disk Type: Choose
gp2. - Disk Size: Maximum allowed is 10GB.
- KeyName: Select an Amazon EC2 SSH key pair to enable SSH access to the nodes.
- VpcId: Select the same VPC as the EKS cluster.
- Stack name: Enter
-
Configure Stack Options:
-
Review and create:
- Click Submit in the Review and create page.
-
Review Stack Creation:
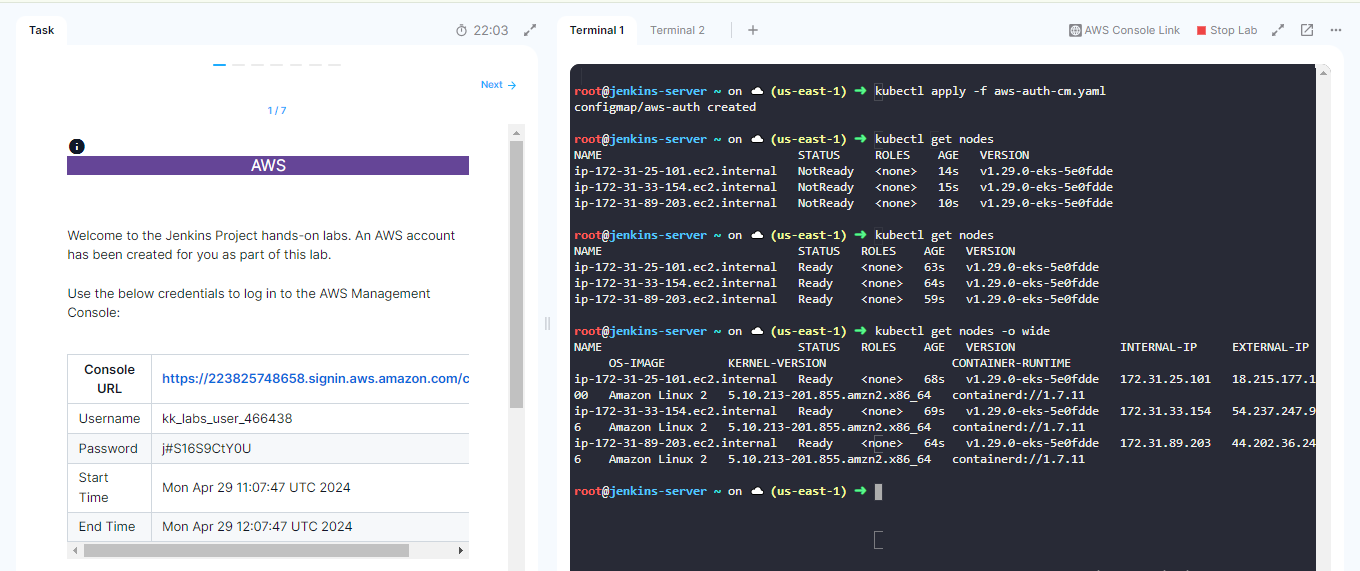
Execute the following commands in the lab terminal to join the worker nodes to your EKS cluster.
- Run the following command to download the
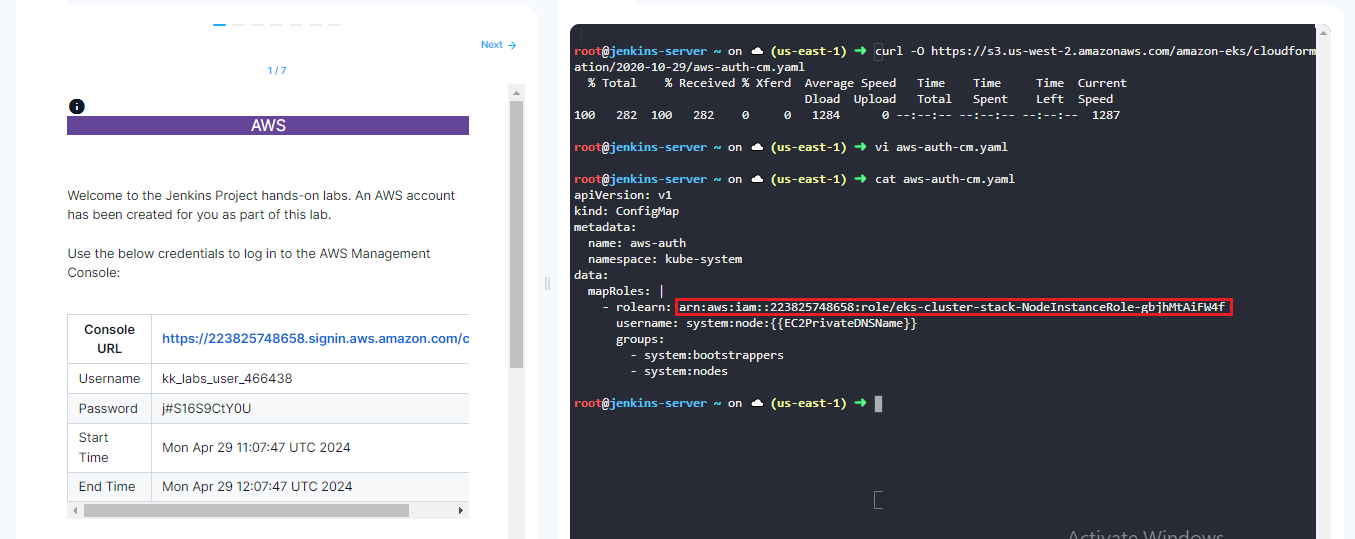
aws-auth-cm.yamlfile:curl -O https://s3.us-west-2.amazonaws.com/amazon-eks/cloudformation/2020-10-29/aws-auth-cm.yaml
- Open the
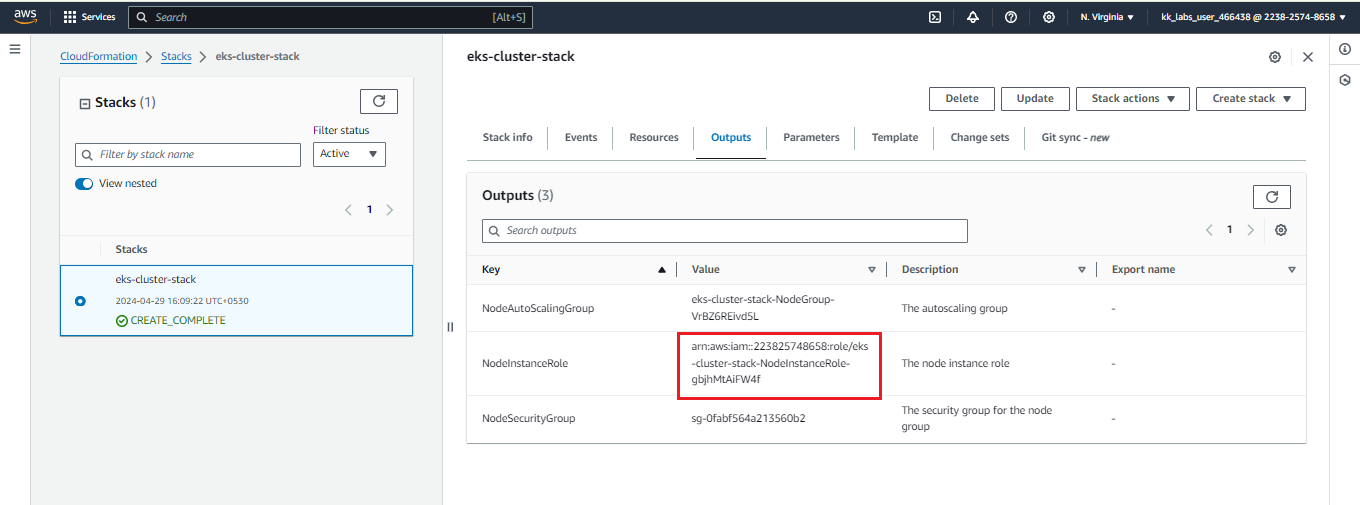
aws-auth-cm.yamlfile and update the value of therolearnkey with theNodeInstanceRolevalue recorded from the previous step.
- Apply the updated configuration map using the command below. Note that it may take a few minutes to complete:
kubectl apply -f aws-auth-cm.yaml
