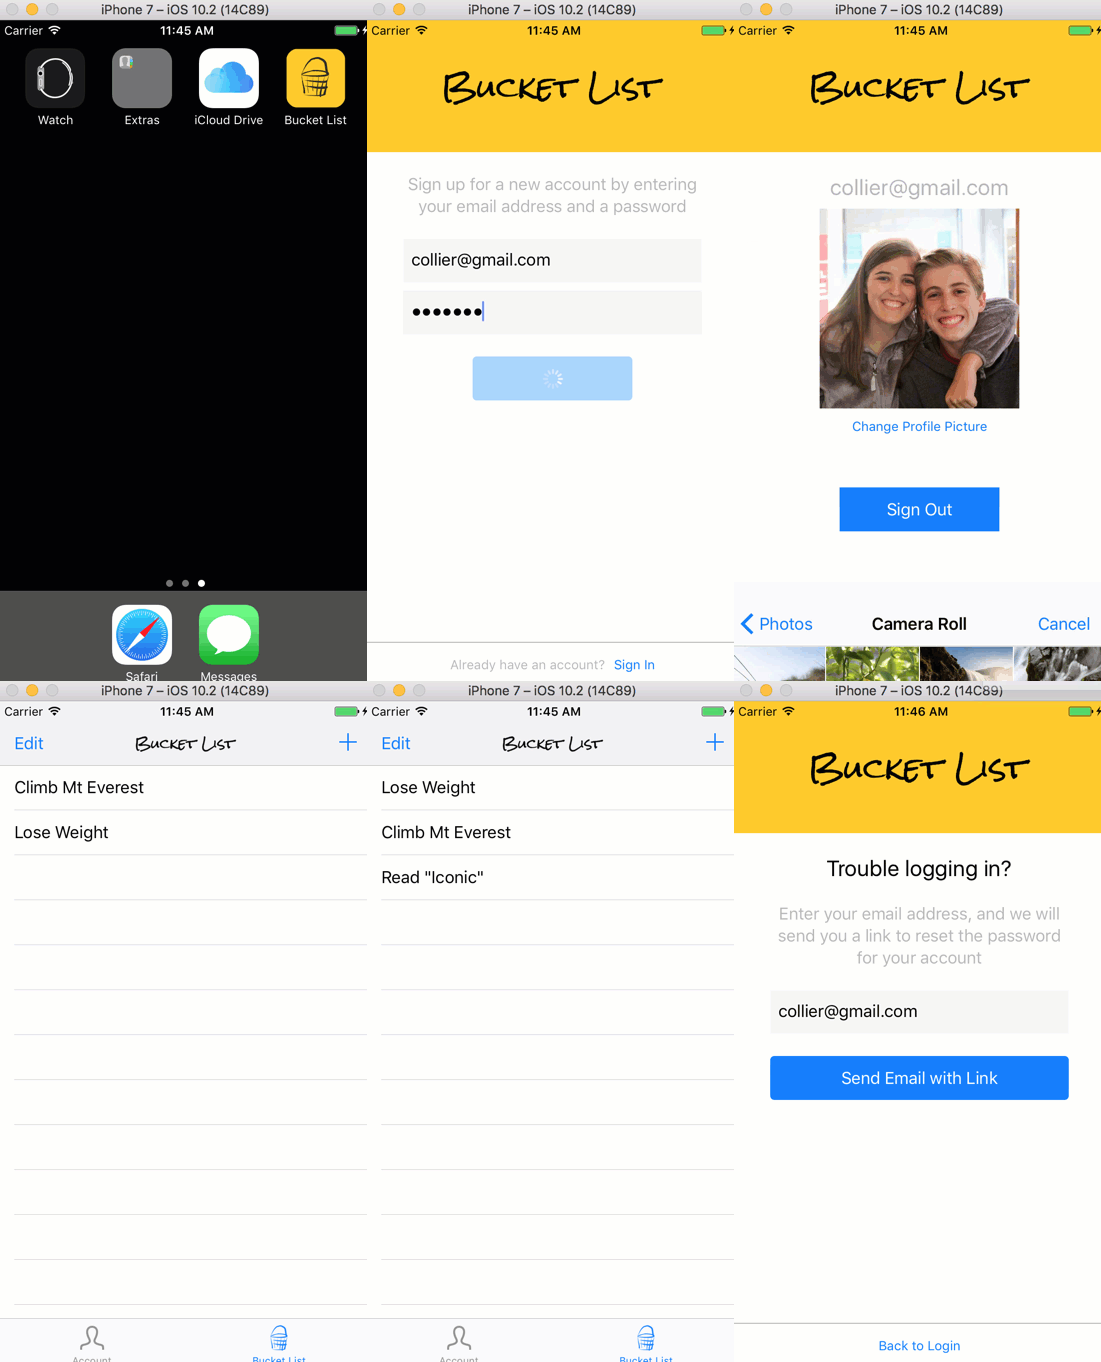
Example iOS app using Firebase, Swift 4.2, Xcode 10 with Auto Layout and Segues, and iOS 12. Demonstrating the Firebase Cloud Firestore, Storage (Images), Authentication, and Analytics modules. Firebase is a mobile platform from Google. The most distinguishing feature for iOS development is a local database in a mobile app that synchronizes with the cloud while gracefully handling offline modes and queueing up changes for the next connected session.
- Install CocoaPods
- You can utilize gem, rvm ruby, brew and others, or you can obtain the compiled macOS app from https://cocoapods.org
- Open the CocoaPods app, and when you are asked about installing the command-line tools, select Yes
- Setup Your Own Firebase Account
- Create a Firebase Project for this App
- Login to your Firebase account
- Locate the console
- Locate the action to create a new project
- Project Name: Enter any name -- there is no dependency on this example project
- Add Firebase to Your iOS App -- In the Firebase console, you should see a project overview screen for your new project -- select the action to add an iOS app to your Firebase project
- App Details - iOS Bundle ID: There is a dependency on the Bundle Identifier in the Xcode project -- either enter your bundle ID here and update in your Xcode project, or enter the value from this sample Xcode project here
- Config File: In this step, you'll download the required GoogleService-Info.plist file
- Move that file to the root directory of this sample project (i.e. the directory containing FirebaseSwiftExample.xcodeproj)
- Note: A sample is not provided because this file contains IDs and keys
- Install Pod: The Firebase screen will include instructions for using CocoaPods here to manage dependencies. You do not need to create a Podfifle, or edit it. A Podfile already exist in this sample project (in the the top directory).
- You may need to run
pod installas the CocoaPods repository is stored elsewhere (e.g. ~/.cocoapods/repos/master). If you do not already have a repository, you may see the first step, "Setting up CocoaPods master repo", run for more than 15 minutes. - Note that with your next project, this is the step that will generate an Xcode workspace for your Xcode project. However, the workspace already exists for your for this sample project
- You may need to run
- Add Initialization Code: Again, you do not need to take this action, as the code already exists
- Setup Firebase Authentication -- You should see the proejct overview screen. Locate the Authentication tile and select the option to Get Started
- Select the option to Setup Sign-In Method
- In the list of providers, locate Email, and select the row
- Enable Email, and save
- Setup Cloud Firestore as the Database -- In the same console project overview screen, locate the Database tile and select "Cloud Firestore"
- Complete in Xcode -- Open the workspace (i.e. FirebaseSwiftExample.xcworkspace), NOT the project file
- You should see two top-level items: the project (FirebaseSwiftExample) and Pods
- Select the project and the action to add files (e.g. menu / File / Add files)
- Locate the GoogleService-Info.plist file, and add it -- it should appear at the root level along with folders such as FirebaseSwiftExampleTests
- In the properties window that appears for the project, look in the Identity section at the top. Confirm that the Bundle Identifier matches whatever you entered in the Firebase setup screen
- Run the app
Firebase offers a remote administration of users and their authorizations for your mobile apps. At this point, Firebase offers providers for Facebook, Google+ and others. For simplicity, I used only the email address provider for this sample project.
By default, Firebase collects usage data such as device type, country, and view controllers. Firebase can additionally capture data from the iOS AdSupport as long as the user has not disabled advertiser tracking. To include that data such as age and gender, you must:
- Add the iOS AdSupport framework: Firebase instructions -- completed in this project
- Check if the user allows ad tracking -- completed
- When you submit your app to Apple, you will need to attest to your deference to user preferences and your usage of the ID: Apple instructions
Firebase provides string constants for common events. You can also define your own strings, but take care to avoid clashing with reserved system values such as "first_open_time"
This replacement for the Firebase Realtime Database provide a local database in the same way as CoreData. The Firebase database is distinguished from CoreData at the time of this development by its syncrhonization with the cloud and by gracefully handling offline mode, queueing up changes for the next connected session. In order to query data with Firebase, you attach listener handlers which are commonly defined in viewDidAppear methods. With this sample app, you can monitor data being created in the cloud using the Firestore console. Look under the "users" collection, then "bucketlists".
By default, your Firebase Storage project will be setup to allow any authenticated user to download any data. You will eventually want to further restrict storage access using the Firebase console. You can find the documentation here and an example below:
service firebase.storage {
  match /b/[REPLACED WITH YOUR FIREBASE STORAGE BUCKET]/o {
    // Public (e.g. app images): Must be an app user to write
    match /public/{allPaths=**} {
      allow read, write: if request.auth != null;
    }
    // Shared (e.g. user thumbnail images): Must be an app user to read
    match /shared/{userId}/{allPaths=**} {
      allow read: if request.auth != null;
      allow write: if request.auth.uid == userId;
    }
    // Private (e.g. user date)
    match /private/{userId}/{allPaths=**} {
      allow read: if request.auth.uid == userId;
      allow write: if request.auth.uid == userId;
    }
  }
}
