Describe Experiments, Biosamples, and Replicates
If you have created a Dataset then you are ready to describe the experiments and biosamples for your dataset.
You should complete these steps before uploading files even if you are planning to upload using the bulk upload (desktop or command-line) client tools.
All of the instructions that follow assume you are logged in to the FaceBase site.
The main steps involve:
- creating biosamples
- creating experiments
- creating replicates to associate experiments-biosamples
If you are entering enhancer data or clinical/human subjects metdata, you may skip to the bottom.
Enter metadata regarding the biosamples in your dataset.

- Go to your Dataset record page.
- Do not use the edit mode of the page; remain on the display page.
- Scroll down the page to find the Biosample section.
- If you do not see the Biosample section, click the 'Show All Related Records' link near the top right of the page.
- To the right of the Biosample heading, click the 'Add' link.
- Fill in the form as complete as possible and relevant to your data.
- When you are done, click on the 'Submit Data' button.
- You will see a confirmation page that displays the entered data. Note that at this time, the confirmation page has minimal or no formatting so it may look different than the normal display page.
- When you are done viewing the confirmation page, close the browser tab and return to the Dataset page. You should now see the newly entered Sample.
Notice that some fields on the form are greyed out such as 'Id' and 'Dataset'. The 'Id' field will be automatically generated by the database. The 'Dataset' has been pre-populated for your convenience to link this Biosample back to the Dataset from which you had clicked the 'Add' link.
You will notice that the biosample form (and the experiment form to follow) have fields for entering a Local Identifier. We allow this for two reasons:
- this provides a way to reference your own laboratory's local indentification schema for your experiments and biosamples (mouse, zebrafish, etc.). This can be useful for your correlation of FaceBase data entries with your own records. For example, if a user from the community has a question about your data, you may be able to use these local identifiers as a means of looking up items from your own records.
- when uploading files you can use these local identifiers in the directory hierarchy when organizing your files for upload to the site. The upload tools will lookup your experiment and biosample records and automatically link your data into the corresponding replicate records.
You can chose to enter multiple records at a time. When you are entering data on one of the 'edit' forms you can find a '+' button near the top right hand side. By pressing the '+' the form will expand to include another column for data entry of another record. You can expand the form in order to enter up to 200 records at a time.
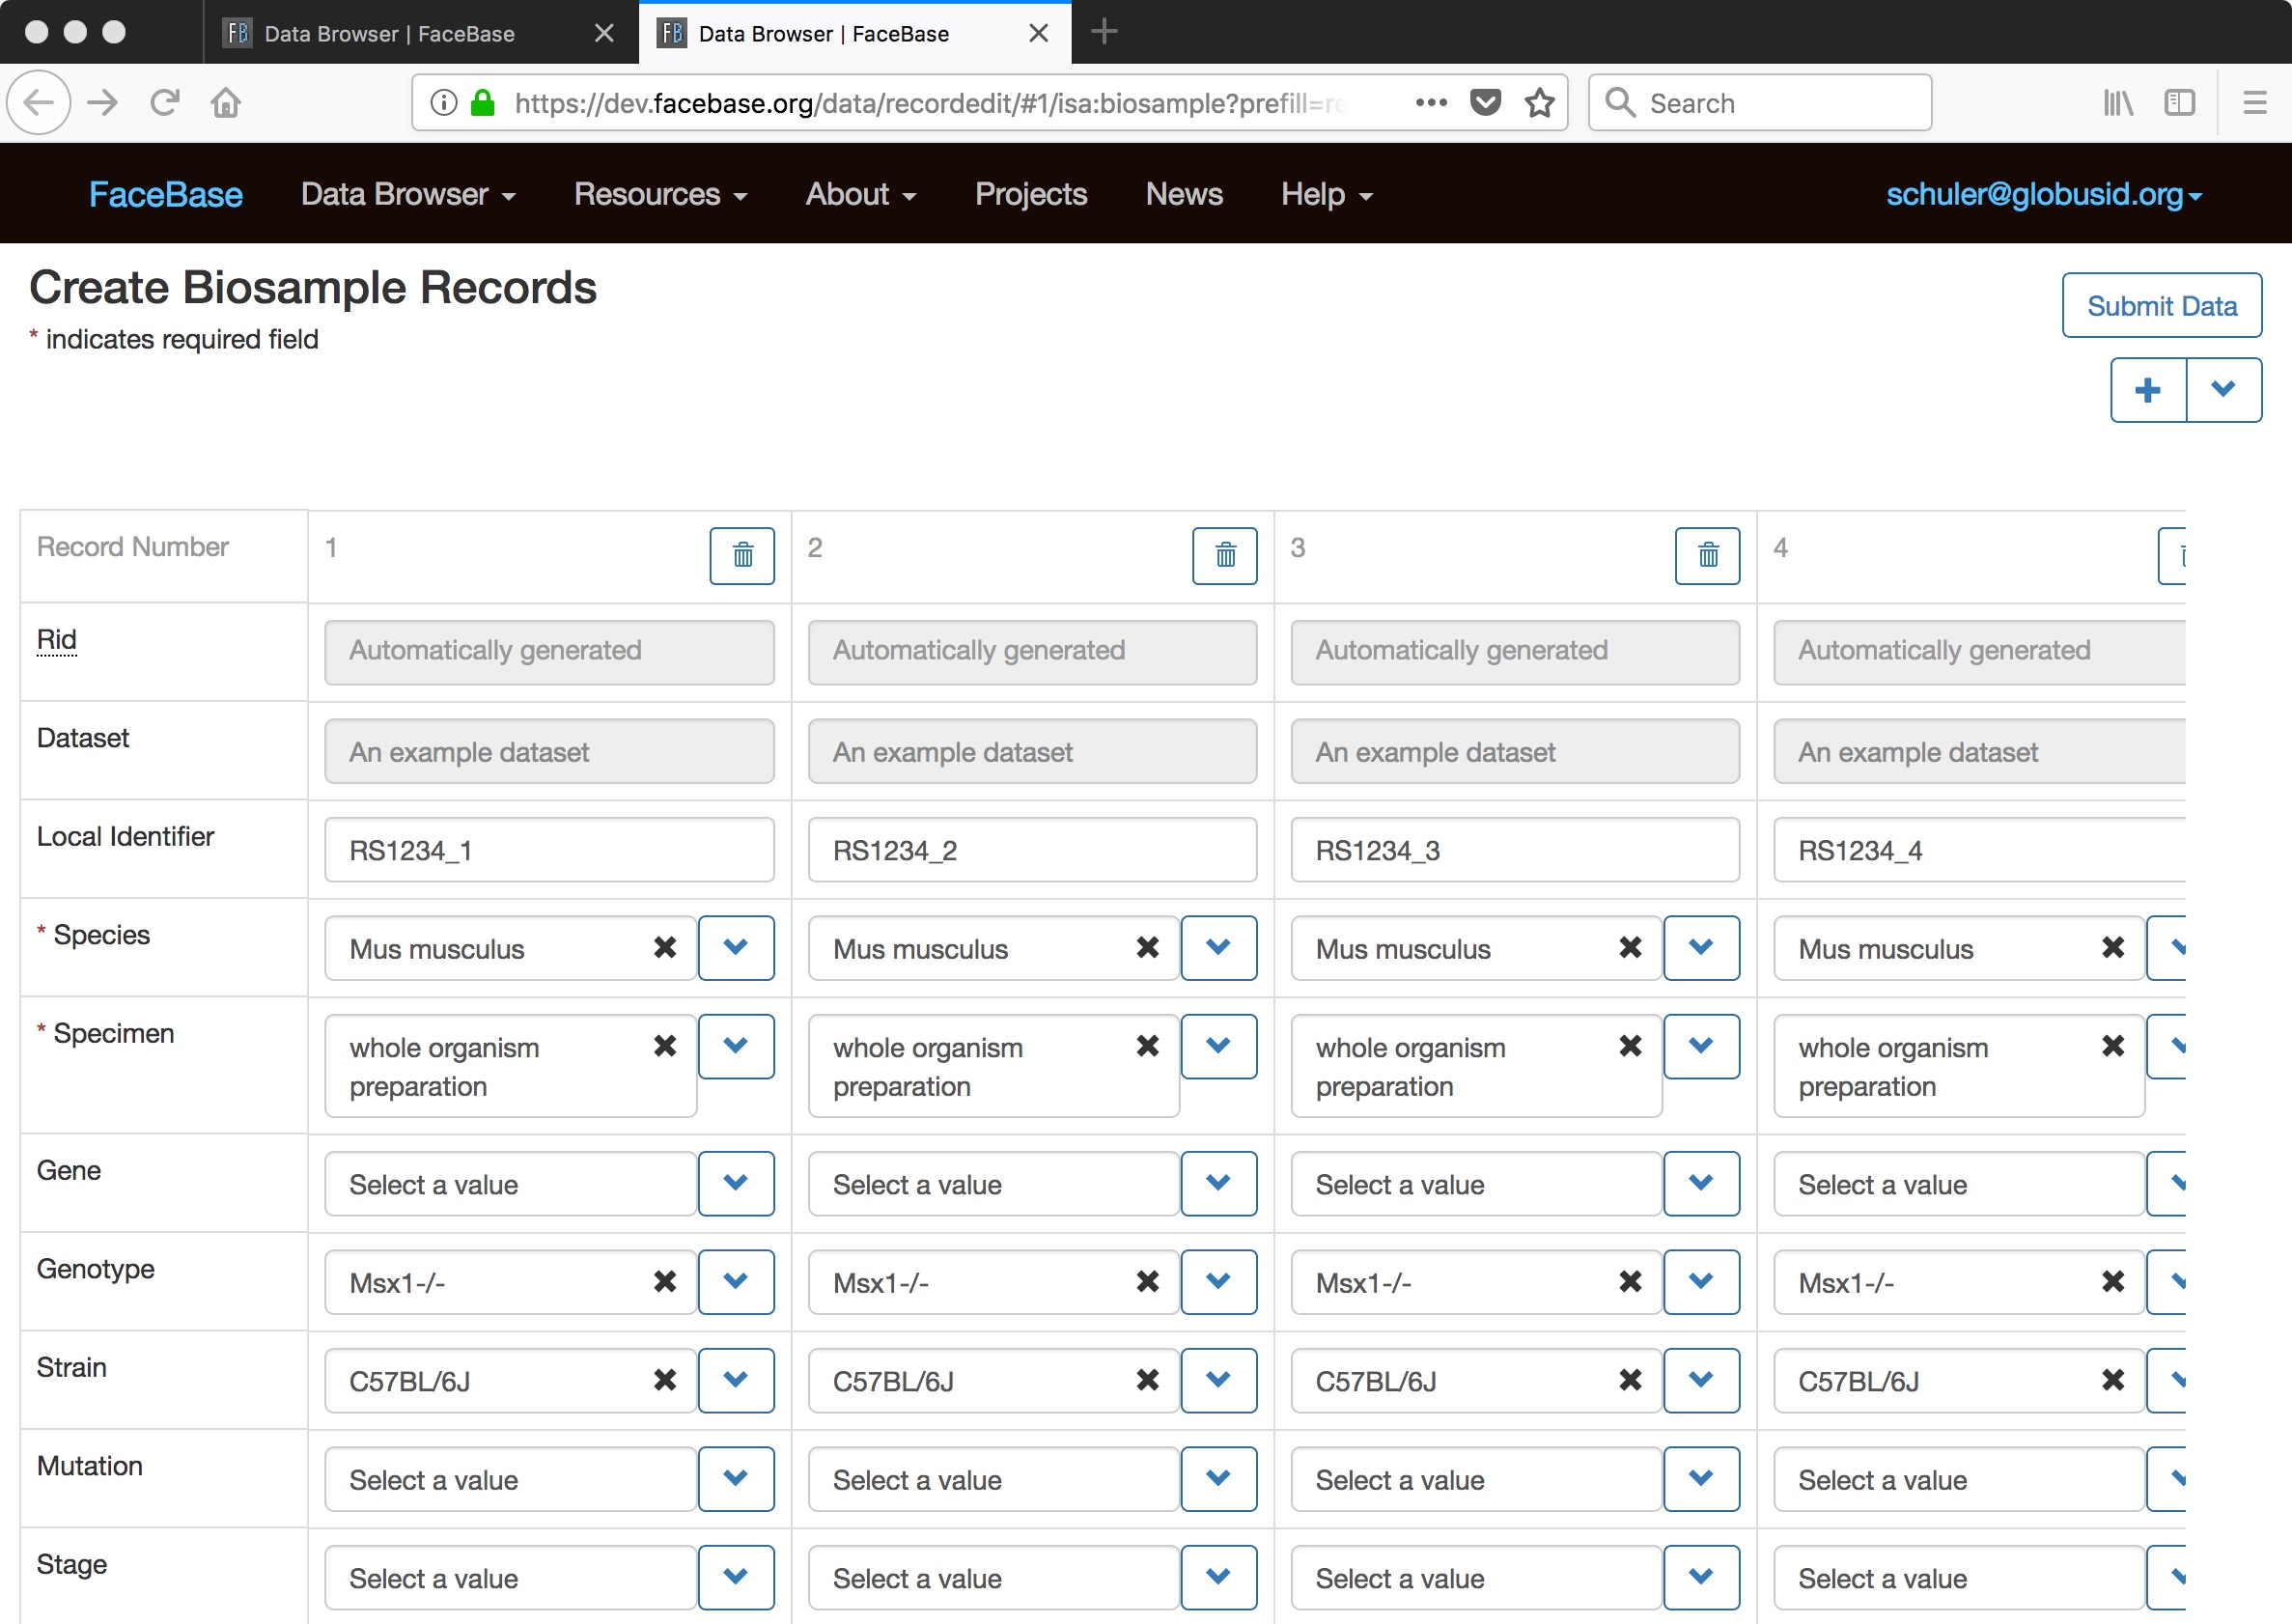
As usual, the form will not be submitted until you click the 'Submit Data' button. Note that the entire form with all records will succeed or fail to be submitted as one unit. There are no partial successes when submitting multiple records.
You may also notice that when you press '+' it will copy over the contents of the first entry that you were working on. This is also true the next time you press '+' -- it will copy over the right-most record entered on the edit page. You can use this to streamline data entry by filling in some fields that are shared by multiple entries, pressing '+', then filling in the unique field values for each record on the page.
Create an experiment record if you are doing RNA-seq, ChIP-seq, array, imaging (micro-CT), or microscopy (confocal) experiments. Because the form covers a wide range of experiment types, in many cases you will only fill in a small (sometimes only 1-2) number of fields.
- Go to the Dataset record
- Scroll down the page to find the Experiment section.
- If you do not see the Experiment section, click the 'Show All Related Records' link near the top right of the page.
- To the right of the Experiment heading, click the 'Add' link.
- Fill in the form as complete as possible and relevant to your data.
 The example above shows a hypothetical RNA-seq experiment. Note that many fields
are left blank because they are not relevant to this experiment type. Imaging
experiments may only fill in the experiment type (and optional local identifier).
The example above shows a hypothetical RNA-seq experiment. Note that many fields
are left blank because they are not relevant to this experiment type. Imaging
experiments may only fill in the experiment type (and optional local identifier). - When you are done, click on the 'Submit Data' button.
- You will see the newly entered experiment.
- When you are done viewing the new experiment record, close the browser tab and return to the Dataset page. You should now see the newly entered experiment.
You now need to associate your Experiment record with the Biosample records that were used as the biological replicates in the experiment.
- Go to the Experiment record (where you left off from the previous step)
- Scroll down the page to find the Replicate section.
- If you do not see the Replicate section, click the 'Show All Related Records' link near the top right of the page.
- To the right of the Replicate heading, click the 'Add' link.
- You will need to select the Biosample. You will only see Biosamples that were created under the same Dataset. You can add a new biosample here if you like by clicking the "+" button from the biosample selection dialog.
- The "Bioreplicate Number" and "Technical Replicate Number" fields default to "1". You should update these as you go (if your experiment involved multiple replicates. Technical replicates are fairly rare in FaceBase (in early 2018, we have none), and you are likely to leave this as "1" for all entries which is okay. But you must increment the bioreplicate number.
- This is a good time to use the multi-entry feature of the form.

- When you are done, click on the 'Submit Data' button.
- You will see the newly entered replicate.
- When you are done viewing the new replicate record, close the browser tab and return to the Experiment page.
When you have created your replicate records, you are now ready to upload files. There are two options for uploading files:
- Recommended Use the bulk upload utilities described on the uploading files page of this wiki.
- Go to each replicate page and scroll down the page to enter sequencing, processed, track, imaging, and/or mesh data files. Click the "Add" link to go to the data record page. Click the "Select files".
To enter clinical assays and enhancer records, you can add them from the Dataset record. Scroll down to the respective section and click the "Add" link from the right-hand side. Fill in the details as completely as possible and click "Submit."
When you have reviewed your biosample, experiment, and/or other metadata, update the dataset status to "curated".