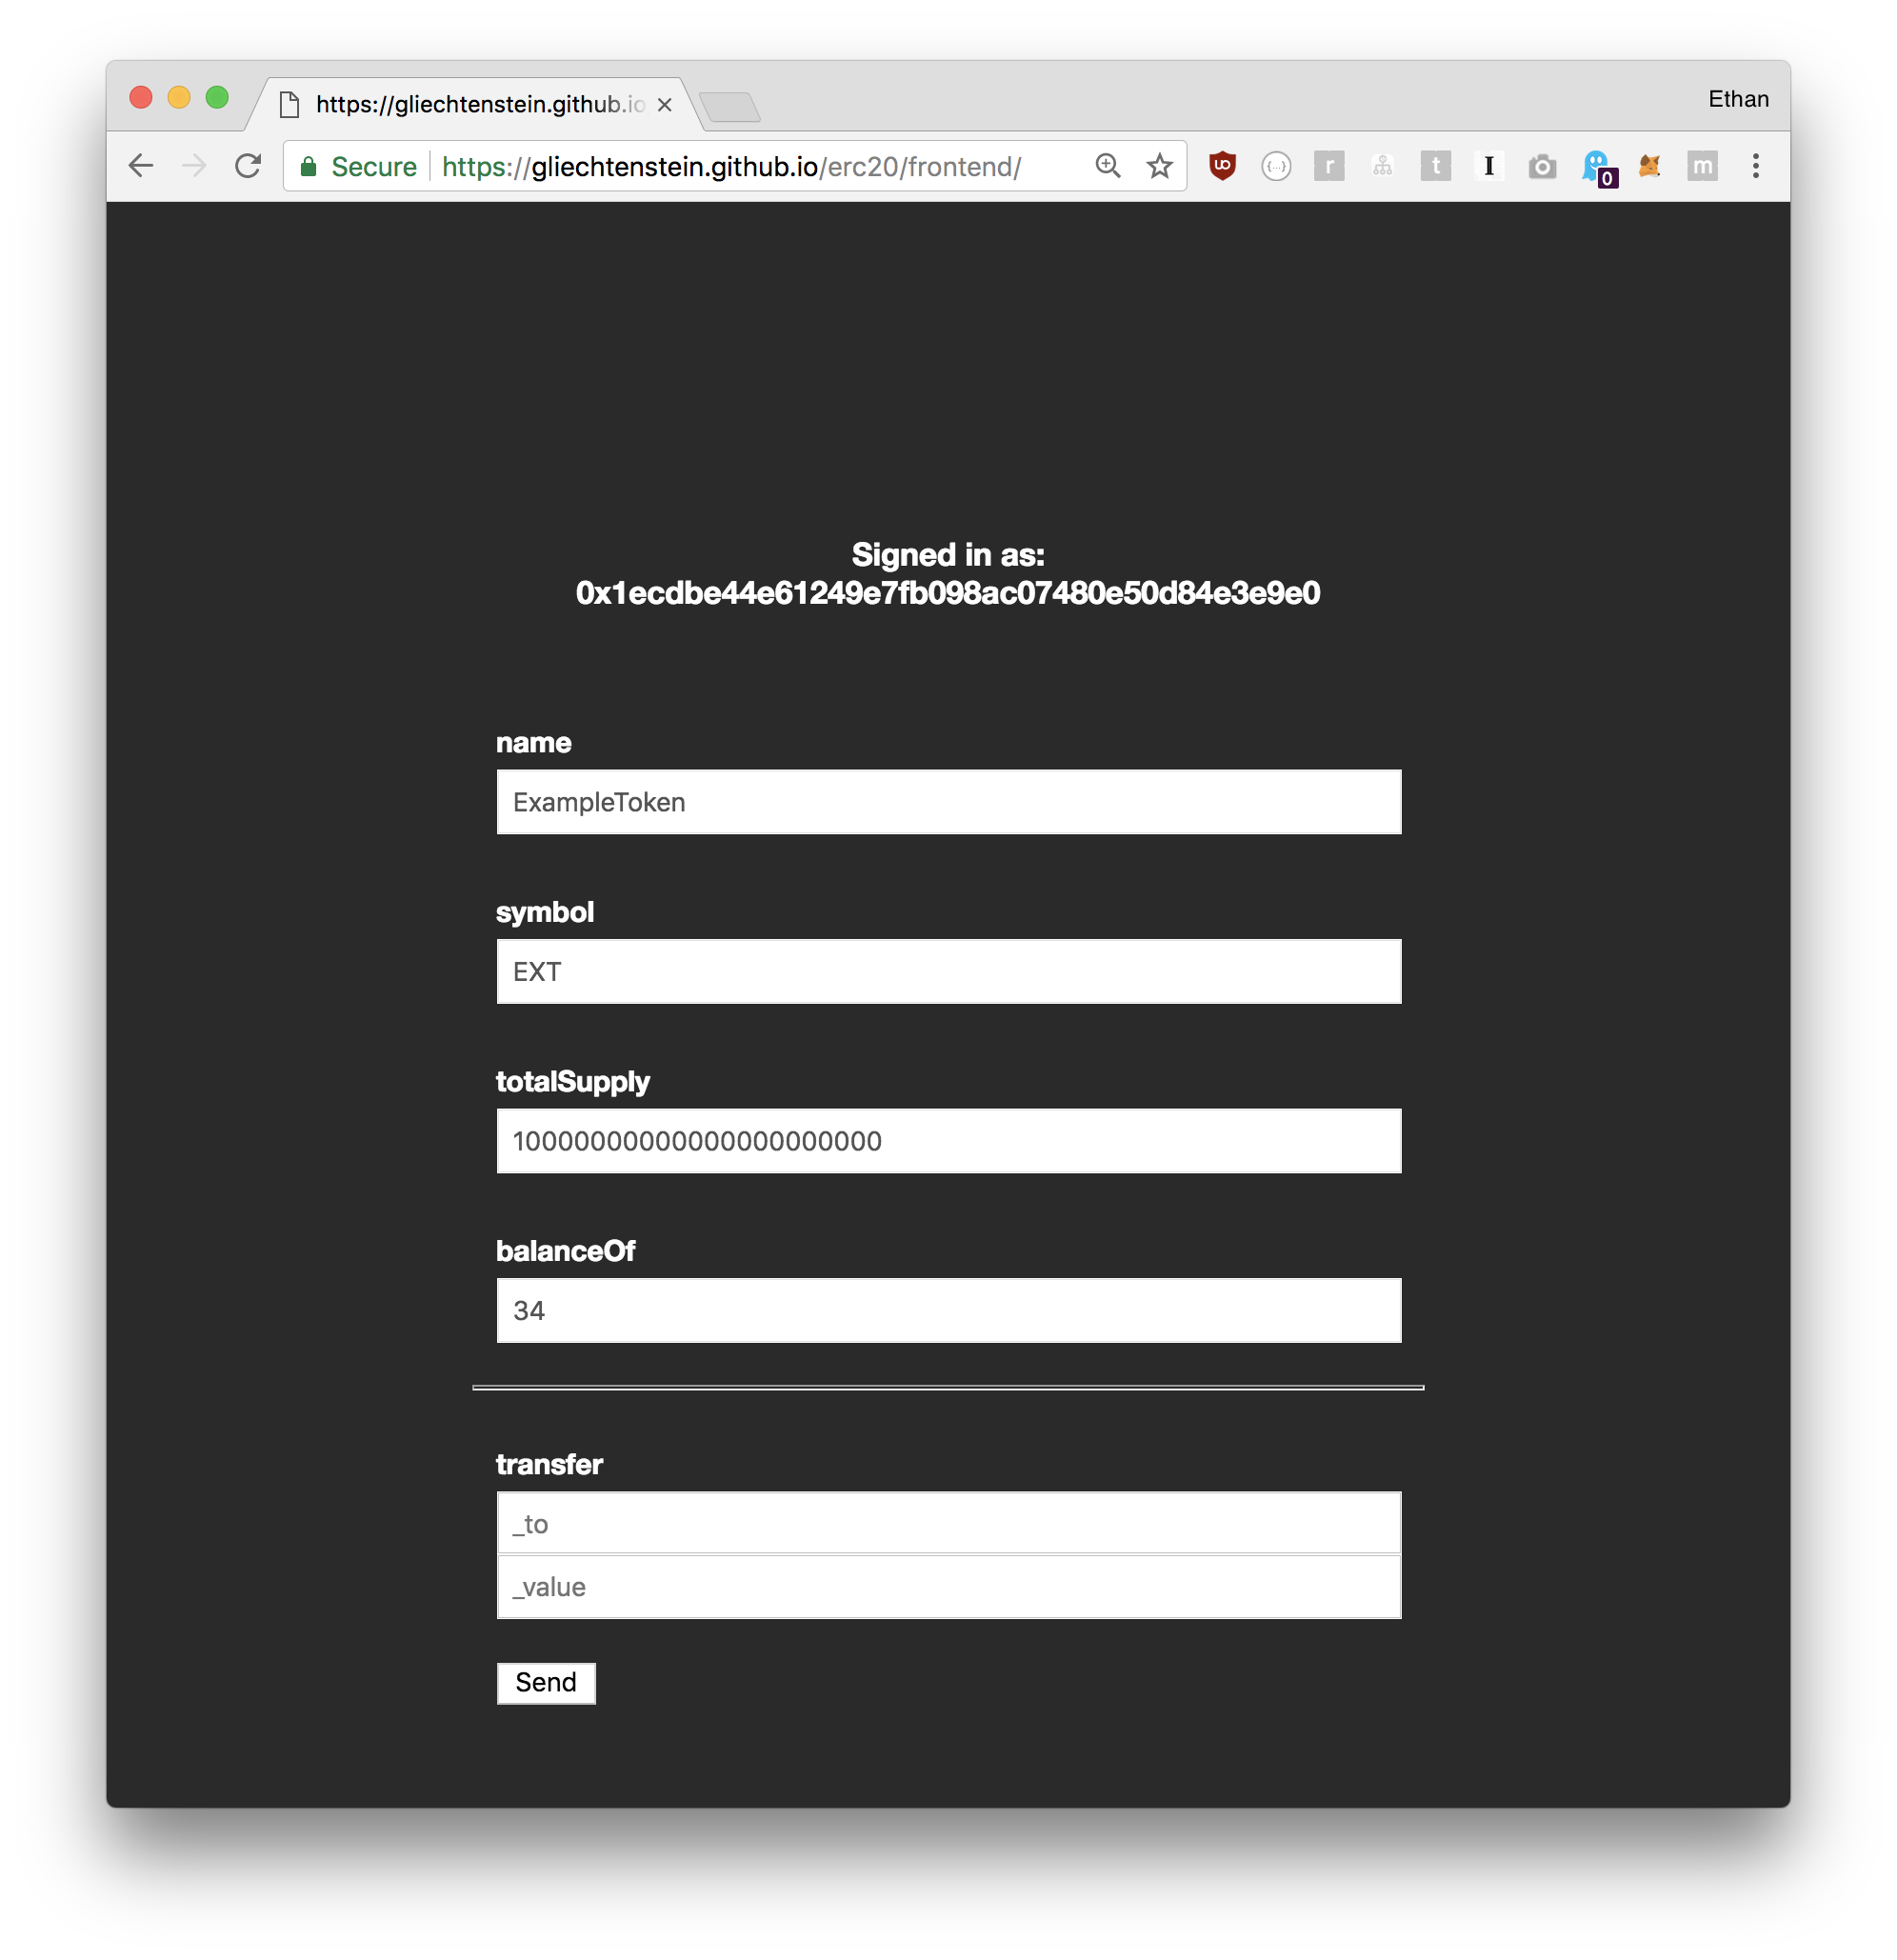
This web app is just a single HTML file that renders into a single page app.
No NPM installs, no webpacks, no babel plugins. I'm just using a dependency free library called cell.js to make it as simple as possible. That said you can build them whichever way you want. It's just a simple web app that talks to an ERC20 token I deployed to Ethereum, through Infura
If you've ever built a web3 DApp before, everything will be probably familiar.
There's only one thing that's different here from your usual DApp code, and that's how the code handles things based on $window.agent value.
When a web app is loaded as an agent, Jasonette automatically injects a global object named '$agent' which you can use to communicate with the parent native app by calling methods like:
- $agent.request: Call another agent
- $agent.response: Respond to a request from the parent app or another agent
- $agent.trigger: Trigger a native even back to the parent app along with a payload
Therefore there's a part in the code where it checks for window.$agent.
Normally to send a transaction to a contract, your code would look like:
contract[method].sendTransaction.apply(this, args.concat([
  tx,
  function(err, response) {
    // render the DOM with response
  }
]));
However, in our case we don't want this container to send the transaction because this container will never have access to the user's private key, so it's more secure, and the DApp developer can delegate the signing and broadcasting to another agent.
That's why we have a part where it says:
tx.data = contract[method].getData.apply(this, args)
$agent.response({ tx: tx });
The getData method creates a transaction obejct as an exportable format instead of directly broadcasting to the network. Even if you try to broadcast at this point it wouldn't work since this container won't have access to the user's private key.
After the transaction is created, we send it back to the parent app's request through $agent.response.
The parent app will then:
- take the return value and assign it to a variable named
$jason - and go on to the next step, which is to send the transaction to the
walletagent. - And it is this
walletagent that actually takes care of signing and broadcasting the transaction. This wallet agent is reusable since it's loosely coupled with other containers through JSON-RPC protocol.
