-
Notifications
You must be signed in to change notification settings - Fork 10.3k
Deploy to Azure Kubernetes Service (AKS)
CONTENT
- Create Kubernetes cluster in AKS
- Configure RBAC security for K8s dashboard service-account
- Additional pre-requisites
- Install eShopOnContainers using Helm
- Customizing the deployment
It's possible to deploy eShopOnContainers on a AKS using Helm instead of custom scripts (that will be deprecated soon).
You can create the AKS cluster by using two ways:
-
A. Use Azure CLI: Follow a procedure suing Azure CLI like here, but make sure you enable RBAC with
--enable-rbacand enable application routing with--enable-addons http_application_routinginaz aks createcommand. -
B. Use Azure's portal
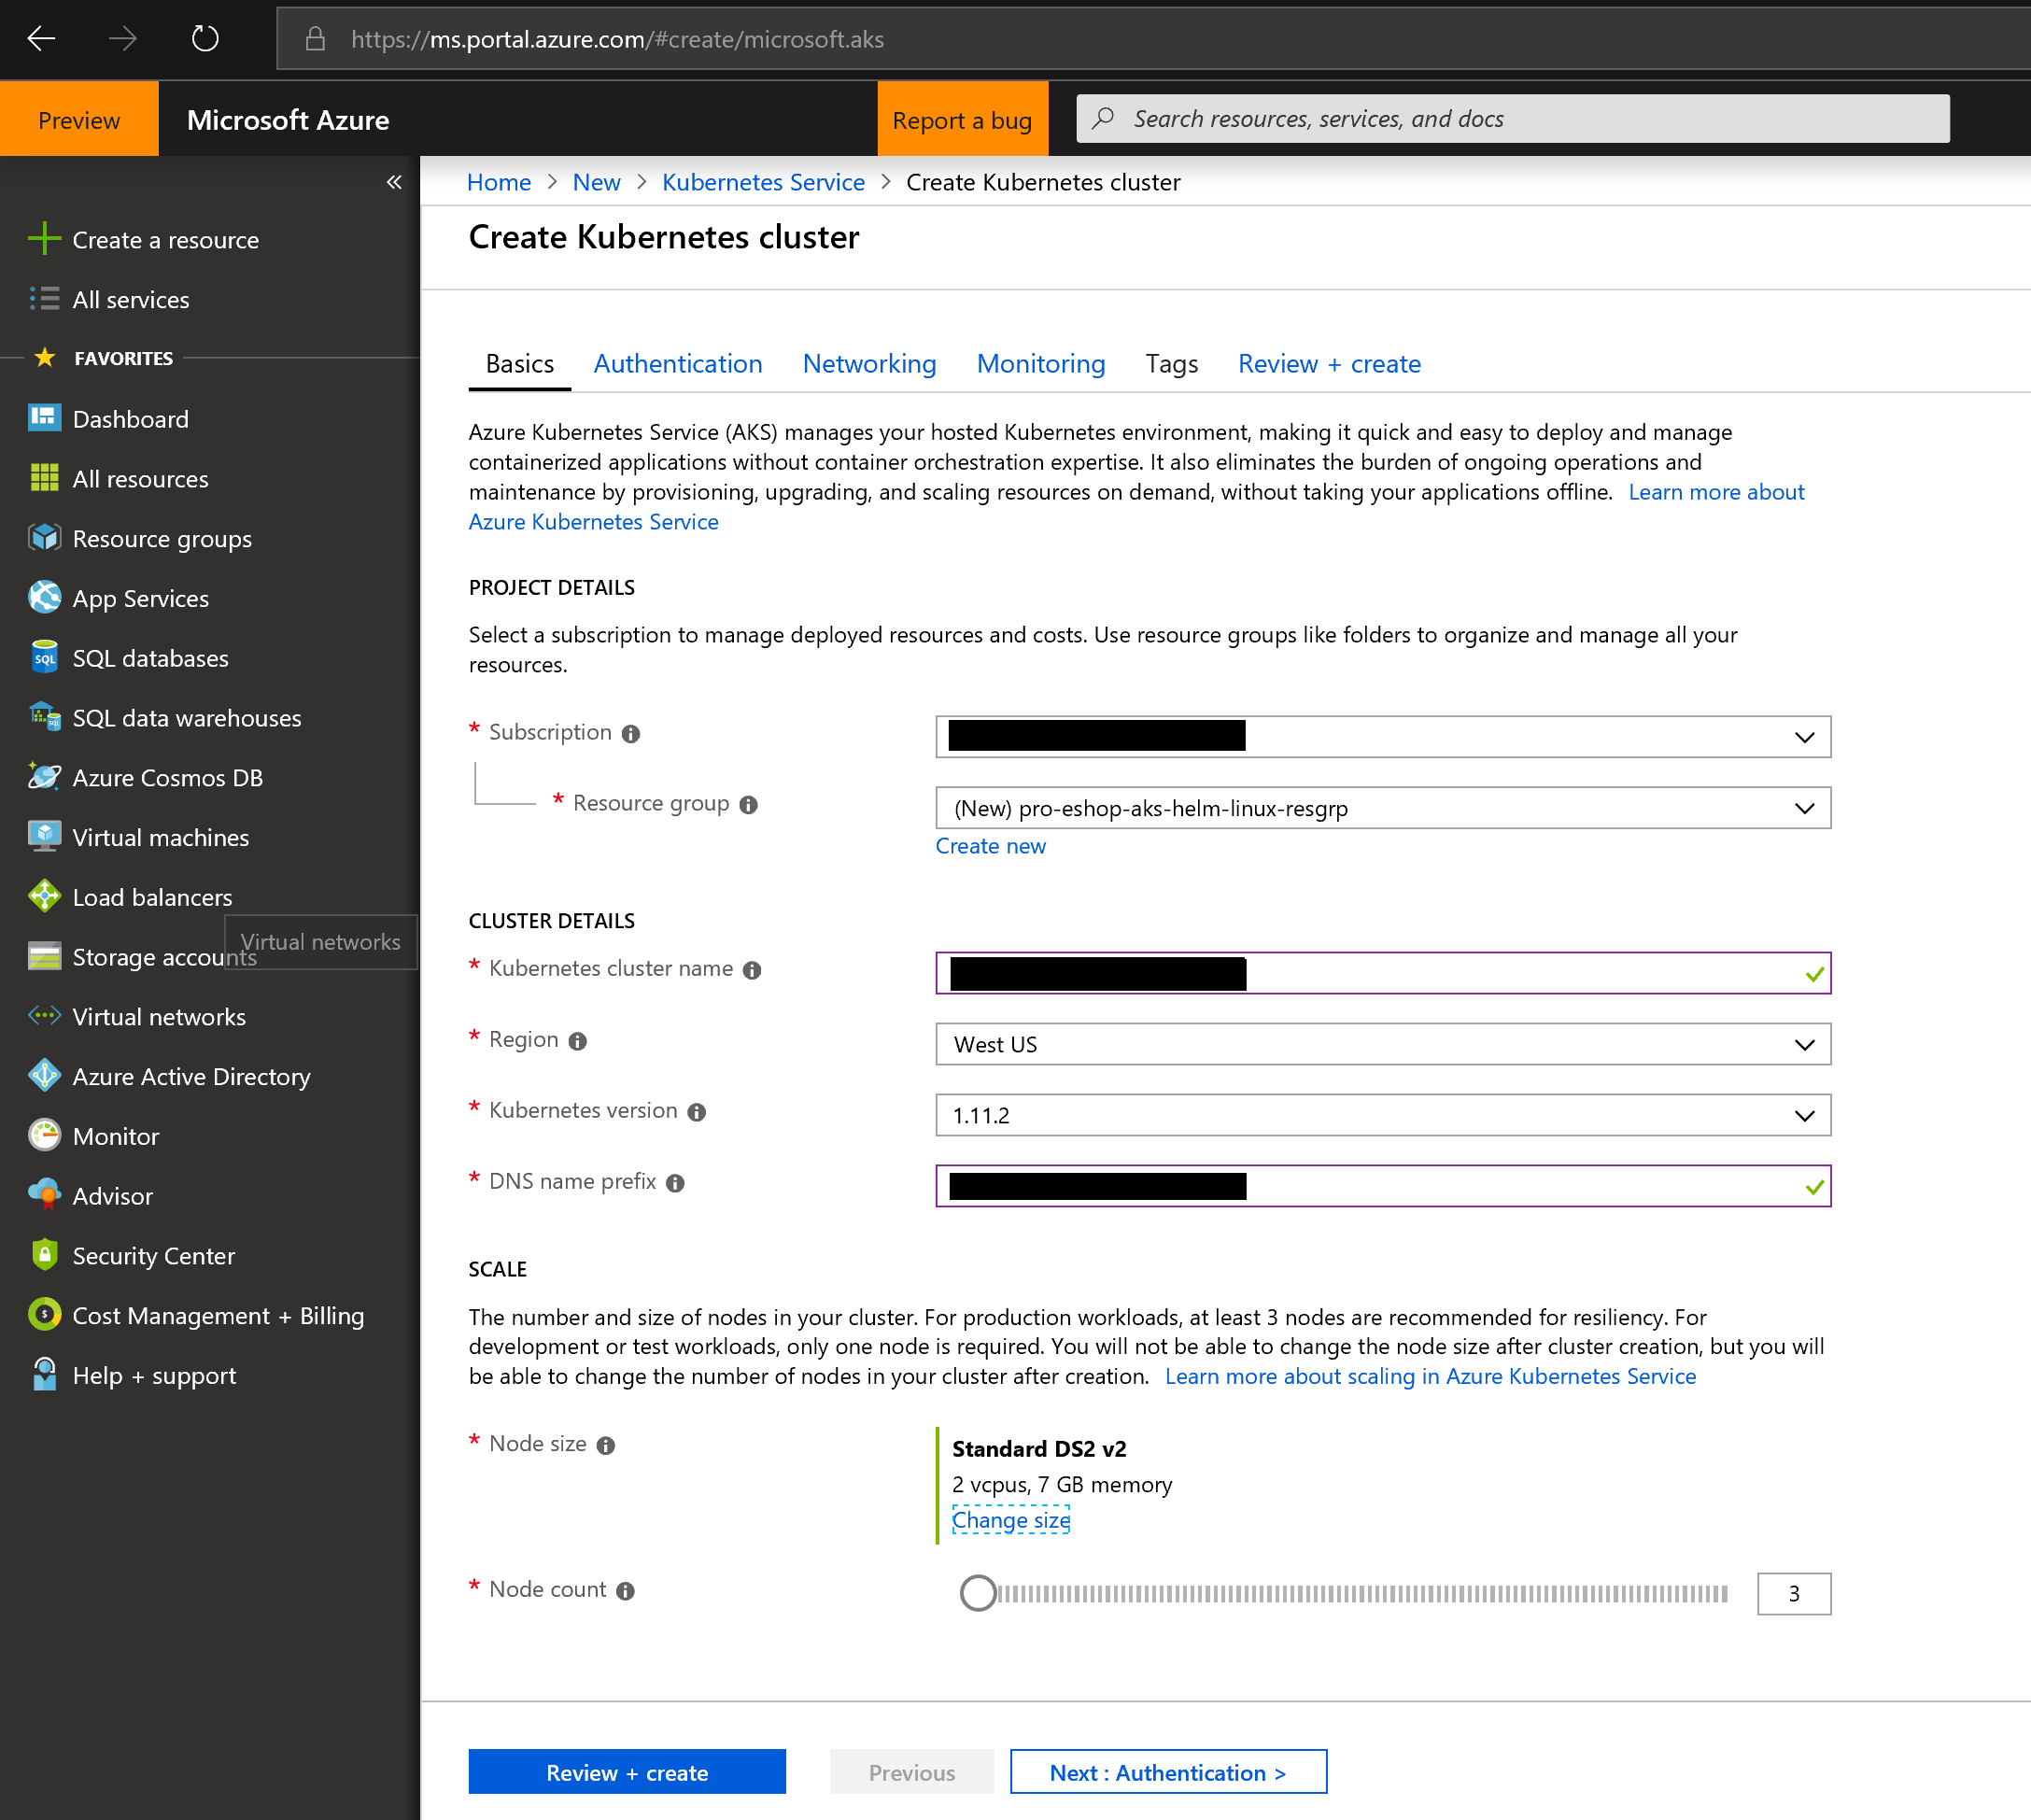
The following steps are using the Azure portal to create the AKS cluster:
- Start the process by providing the general data, like in the following screenshot:
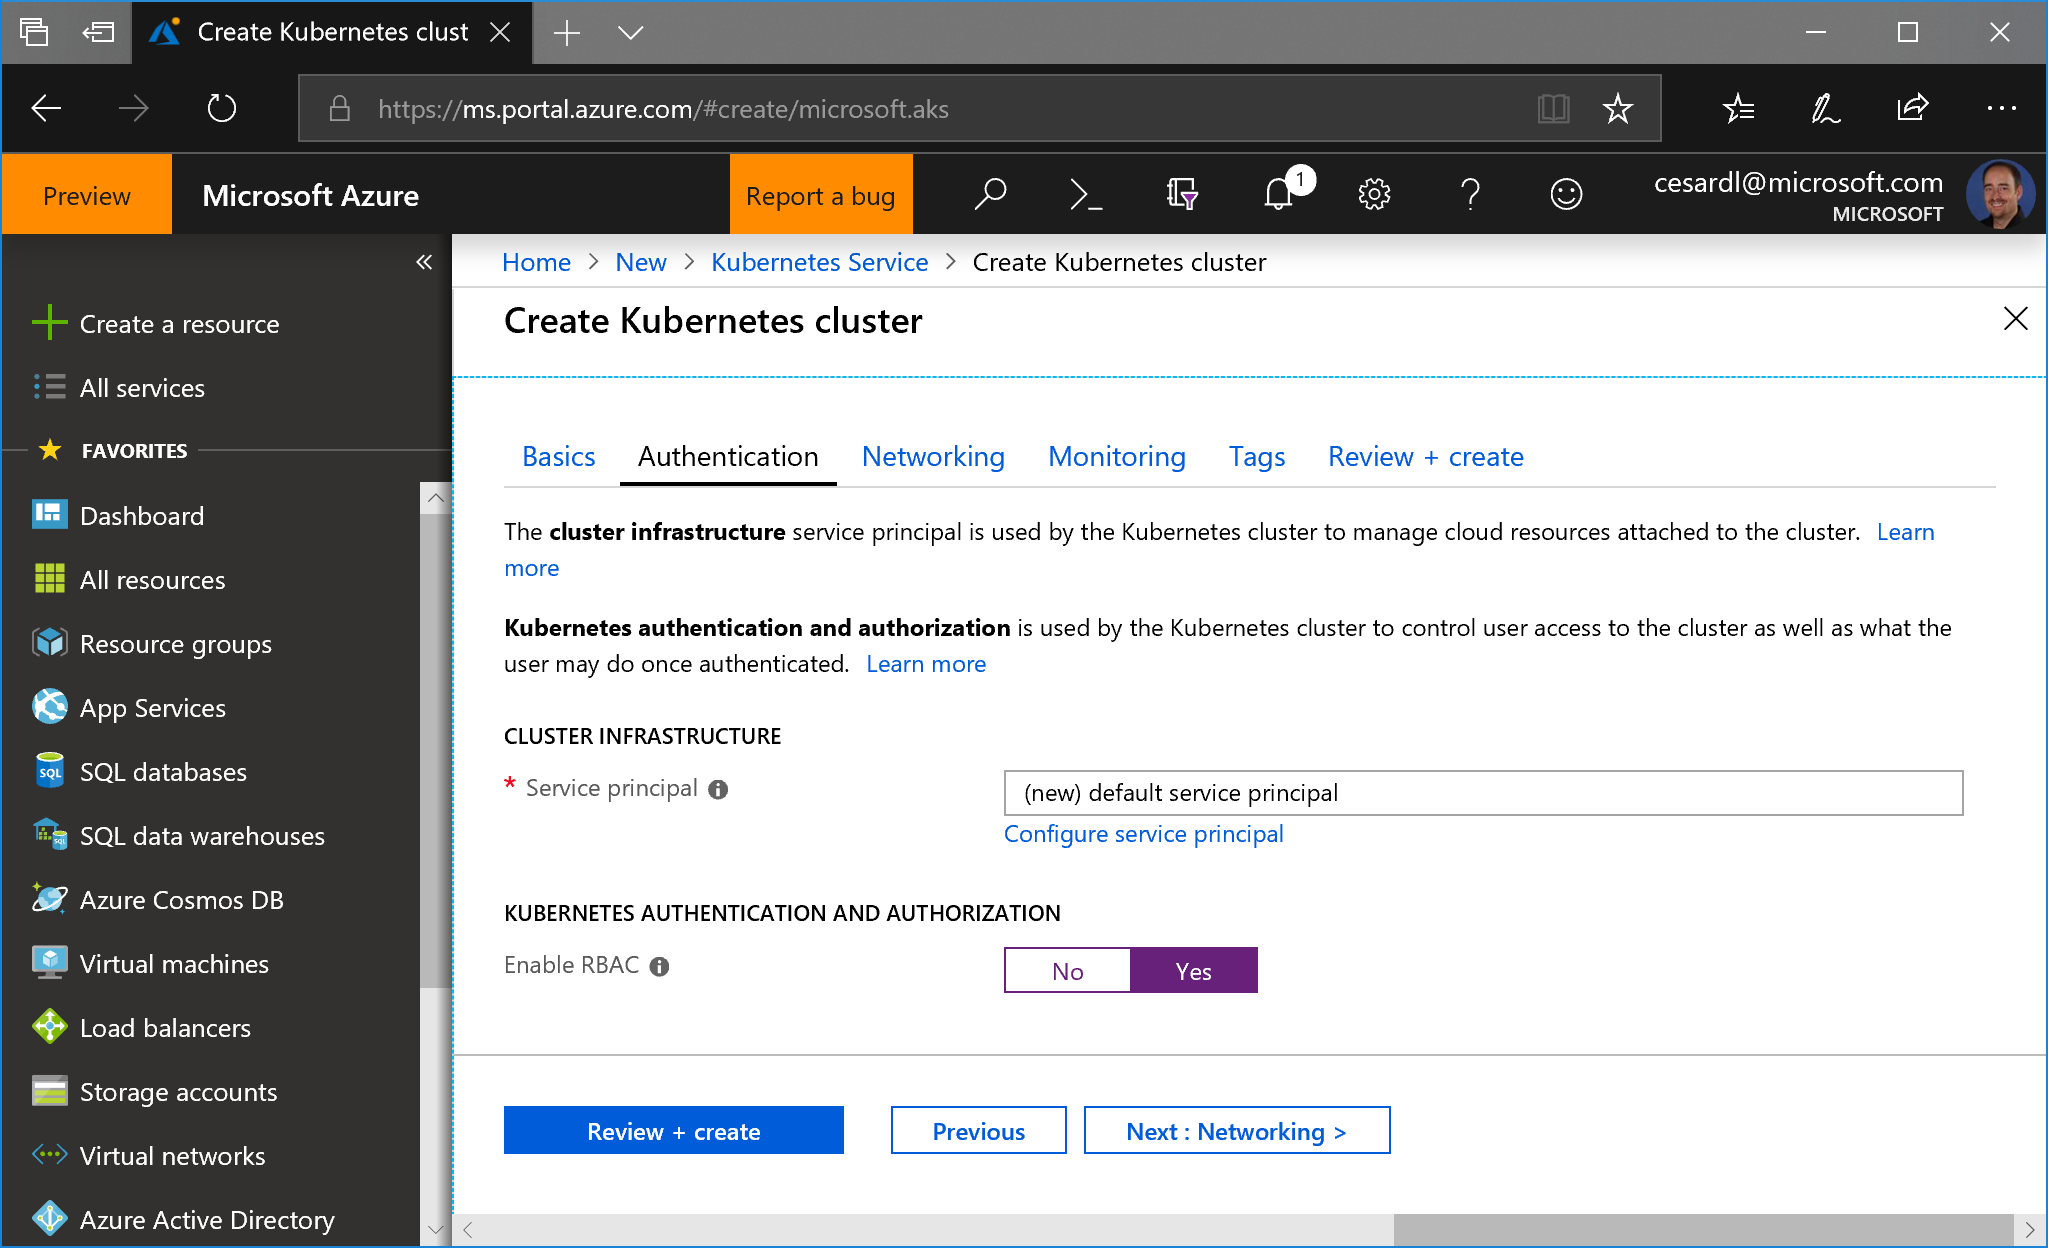
- Then, very important, in the next step, enable RBAC:
-
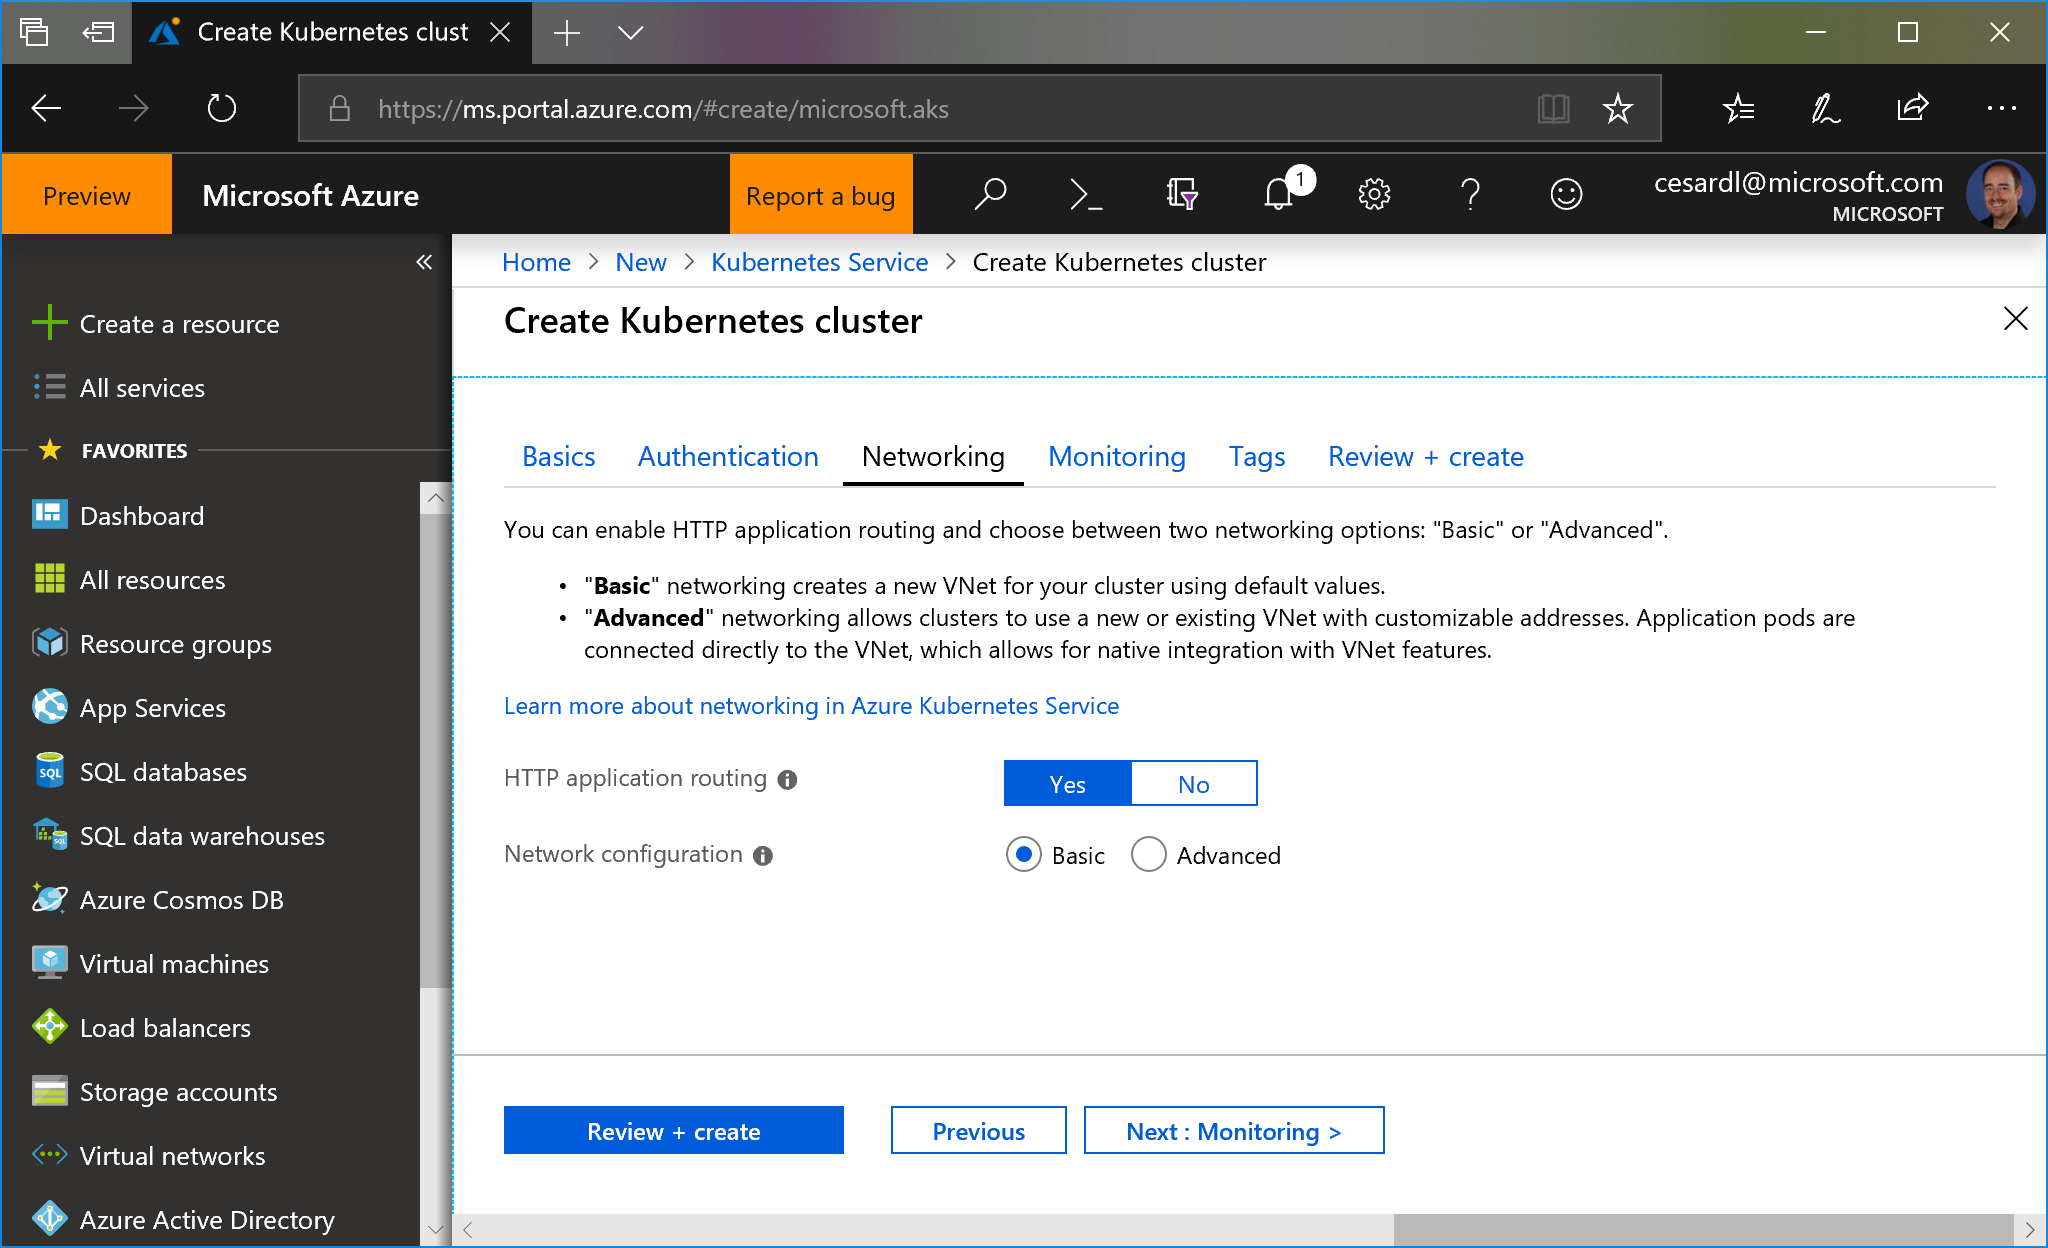
Enable http routing. Make sure to check the checkbox "Http application routing" on "Networking" settings. For more info, read the documentation
You can use basic network settings since for a test you don't need integration into any existing VNET.
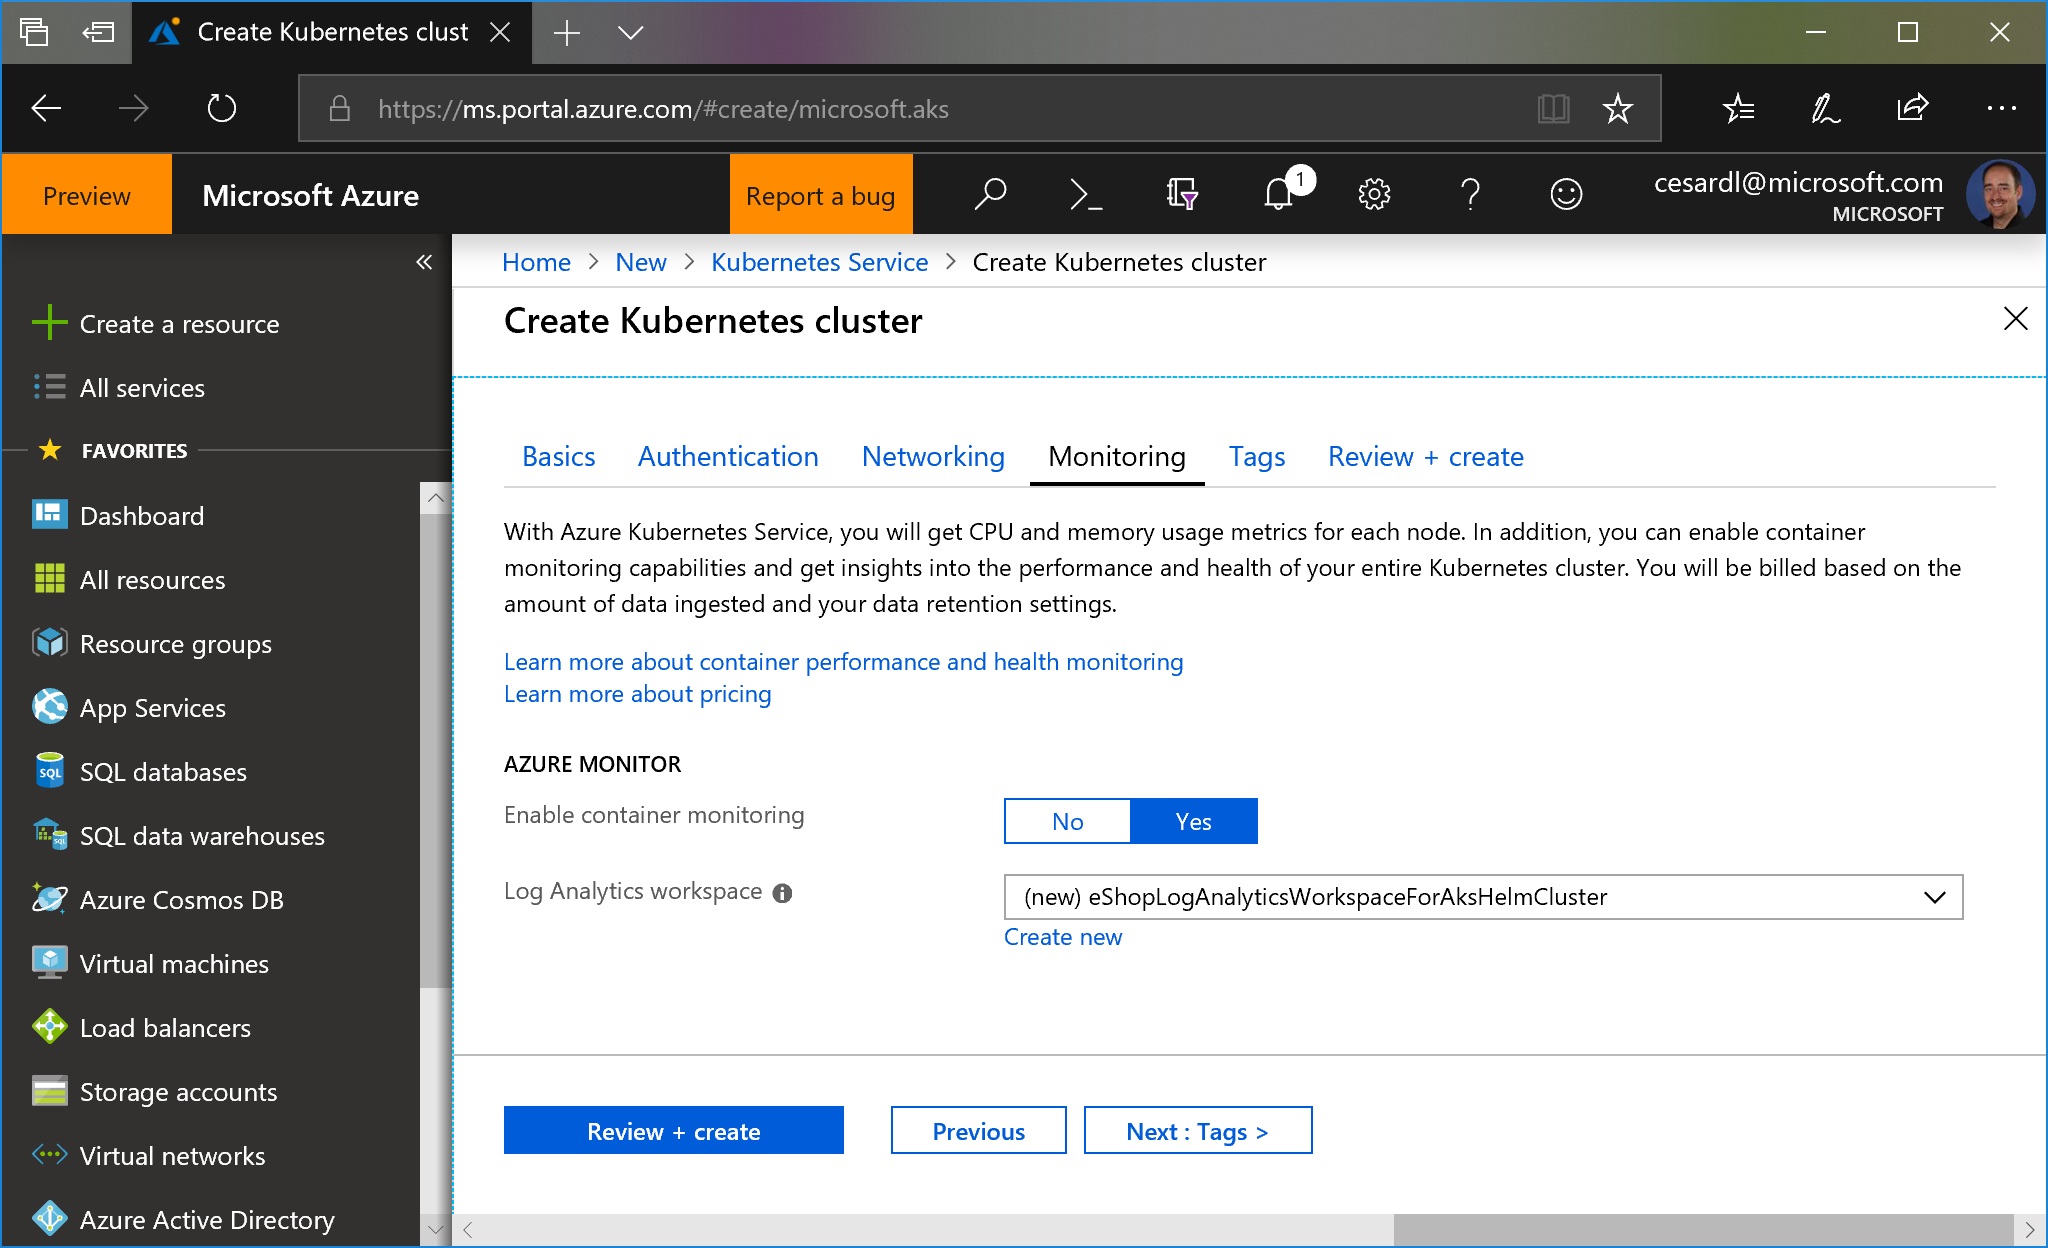
- You can also enable monitoring:
- Finally, create the cluster. It'll take a few minutes for it to be ready.
In order NOT to get errors in the Kubernetes dashboard, you'll need to set the following service-account steps.
Here you can see the errors you might see:
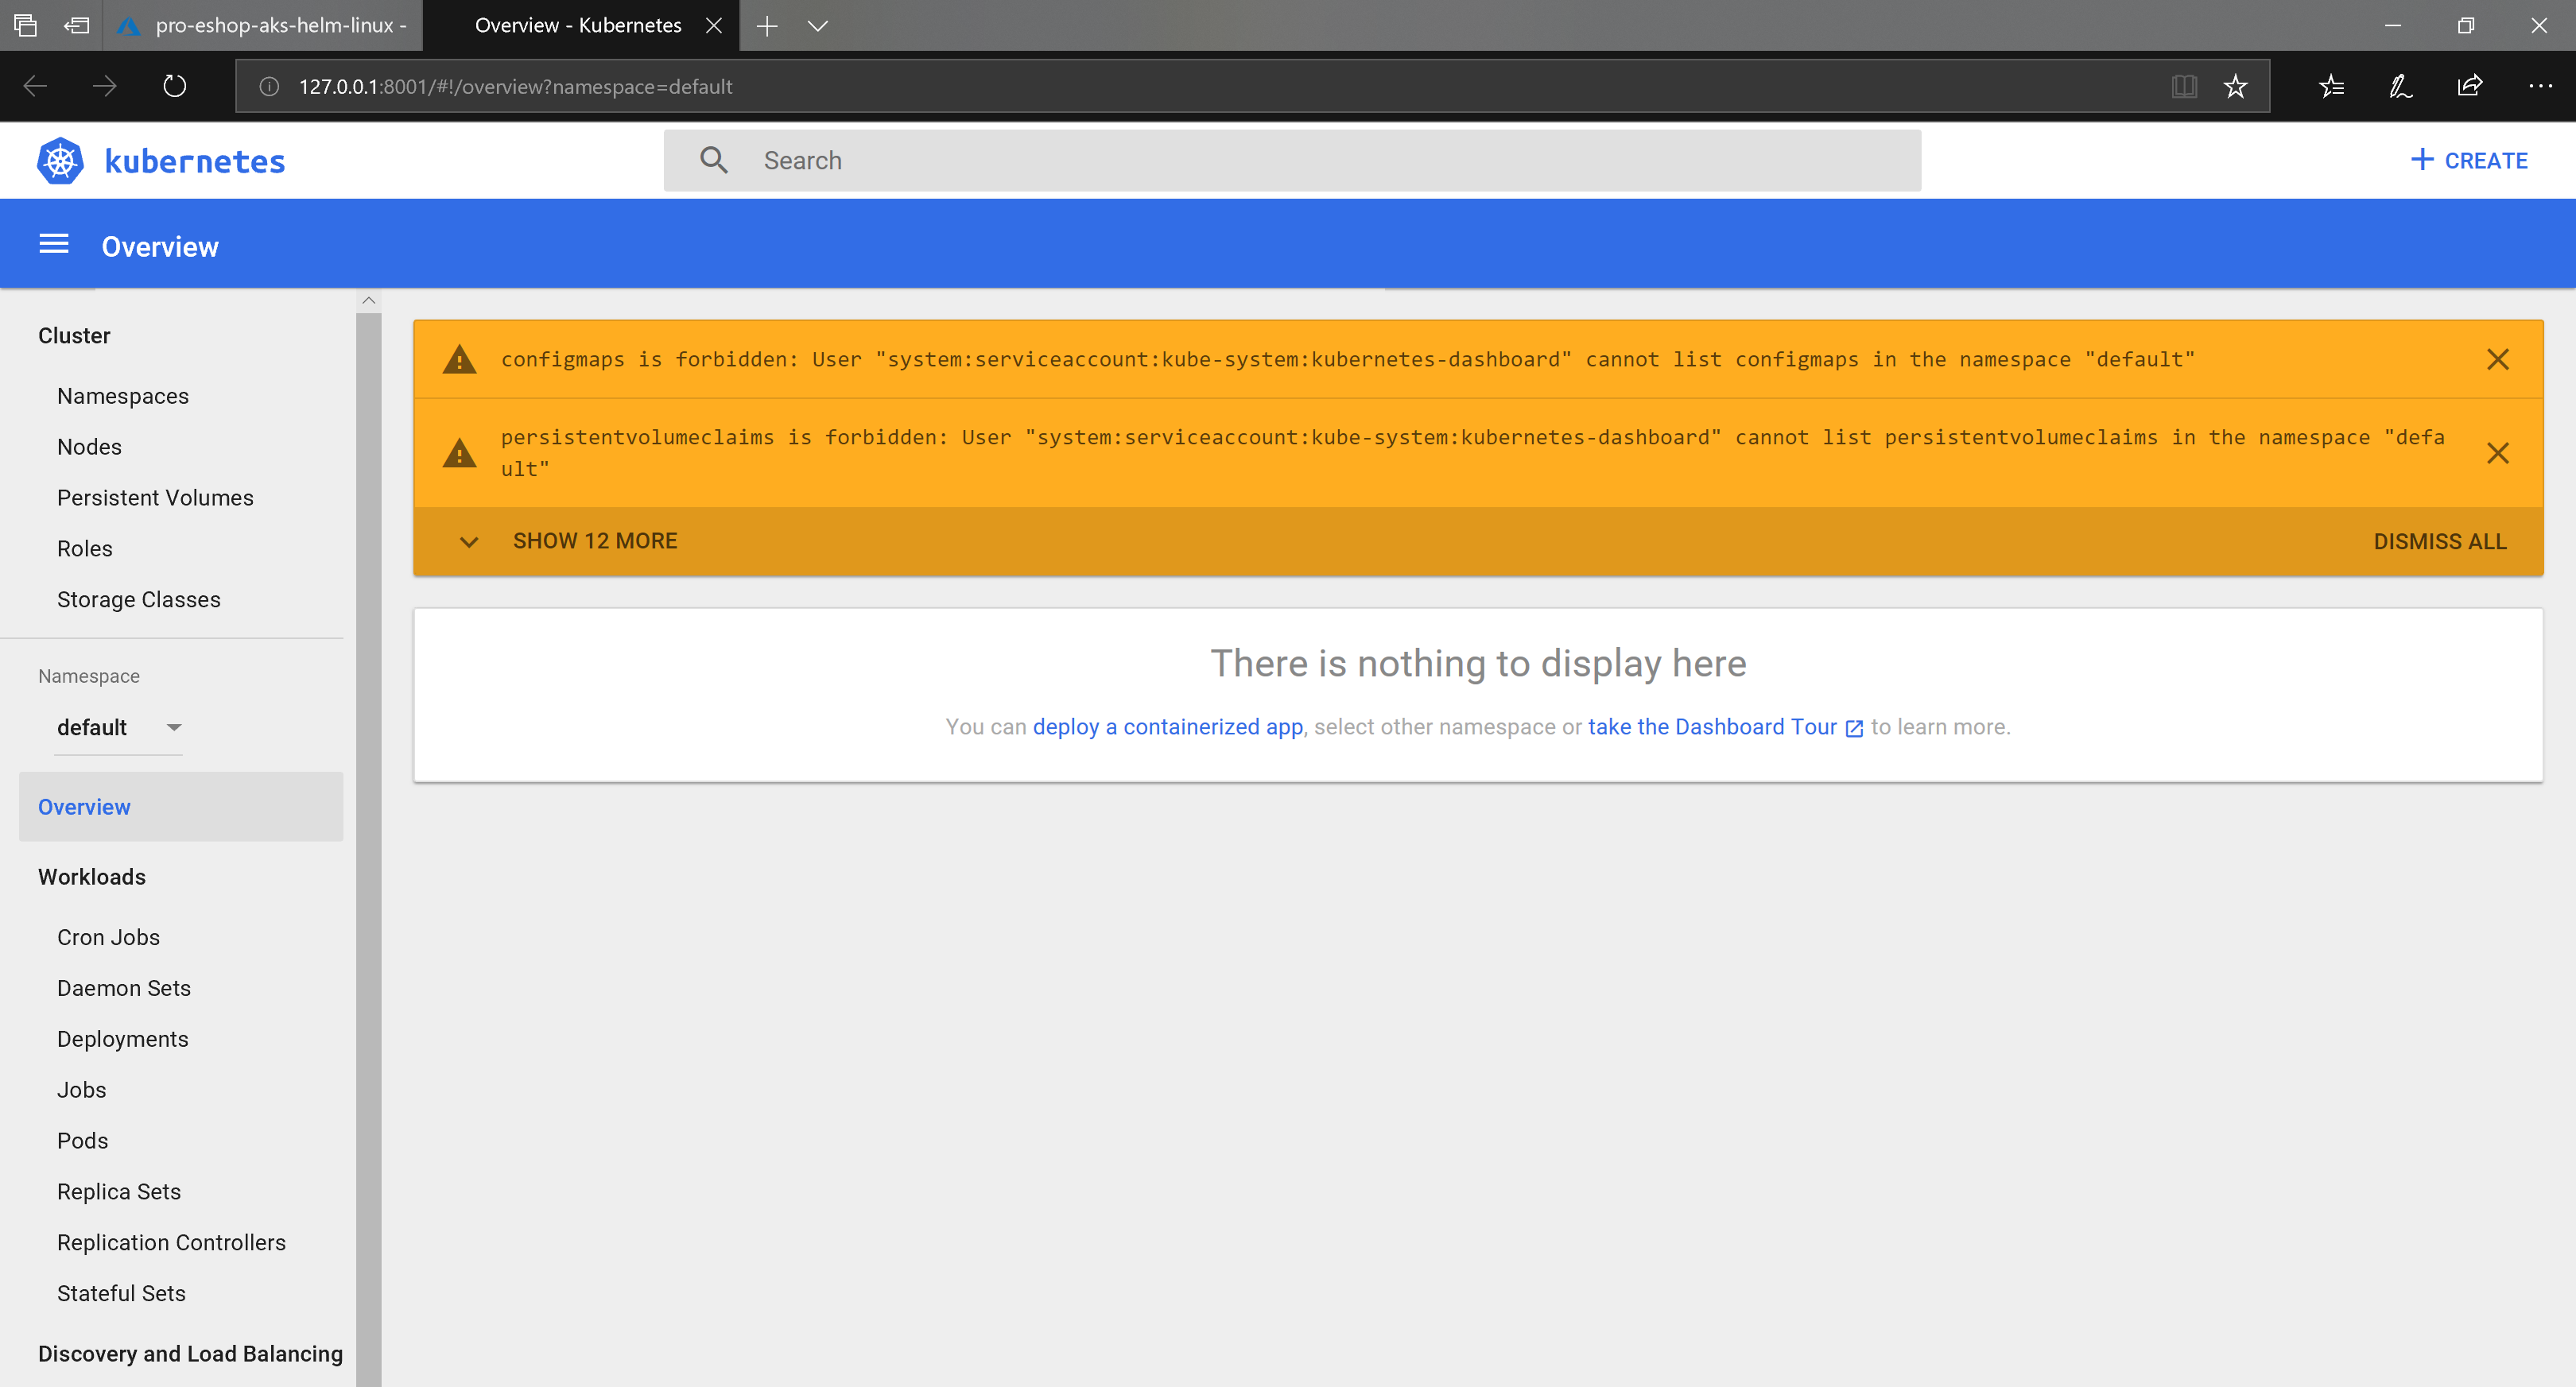
- Because the cluster is using RBAC, you need to grant needed rights to the Service Account
kubernetes-dashboardwith this kubectl command:
kubectl create clusterrolebinding kubernetes-dashboard -n kube-system --clusterrole=cluster-admin --serviceaccount=kube-system:kubernetes-dashboard

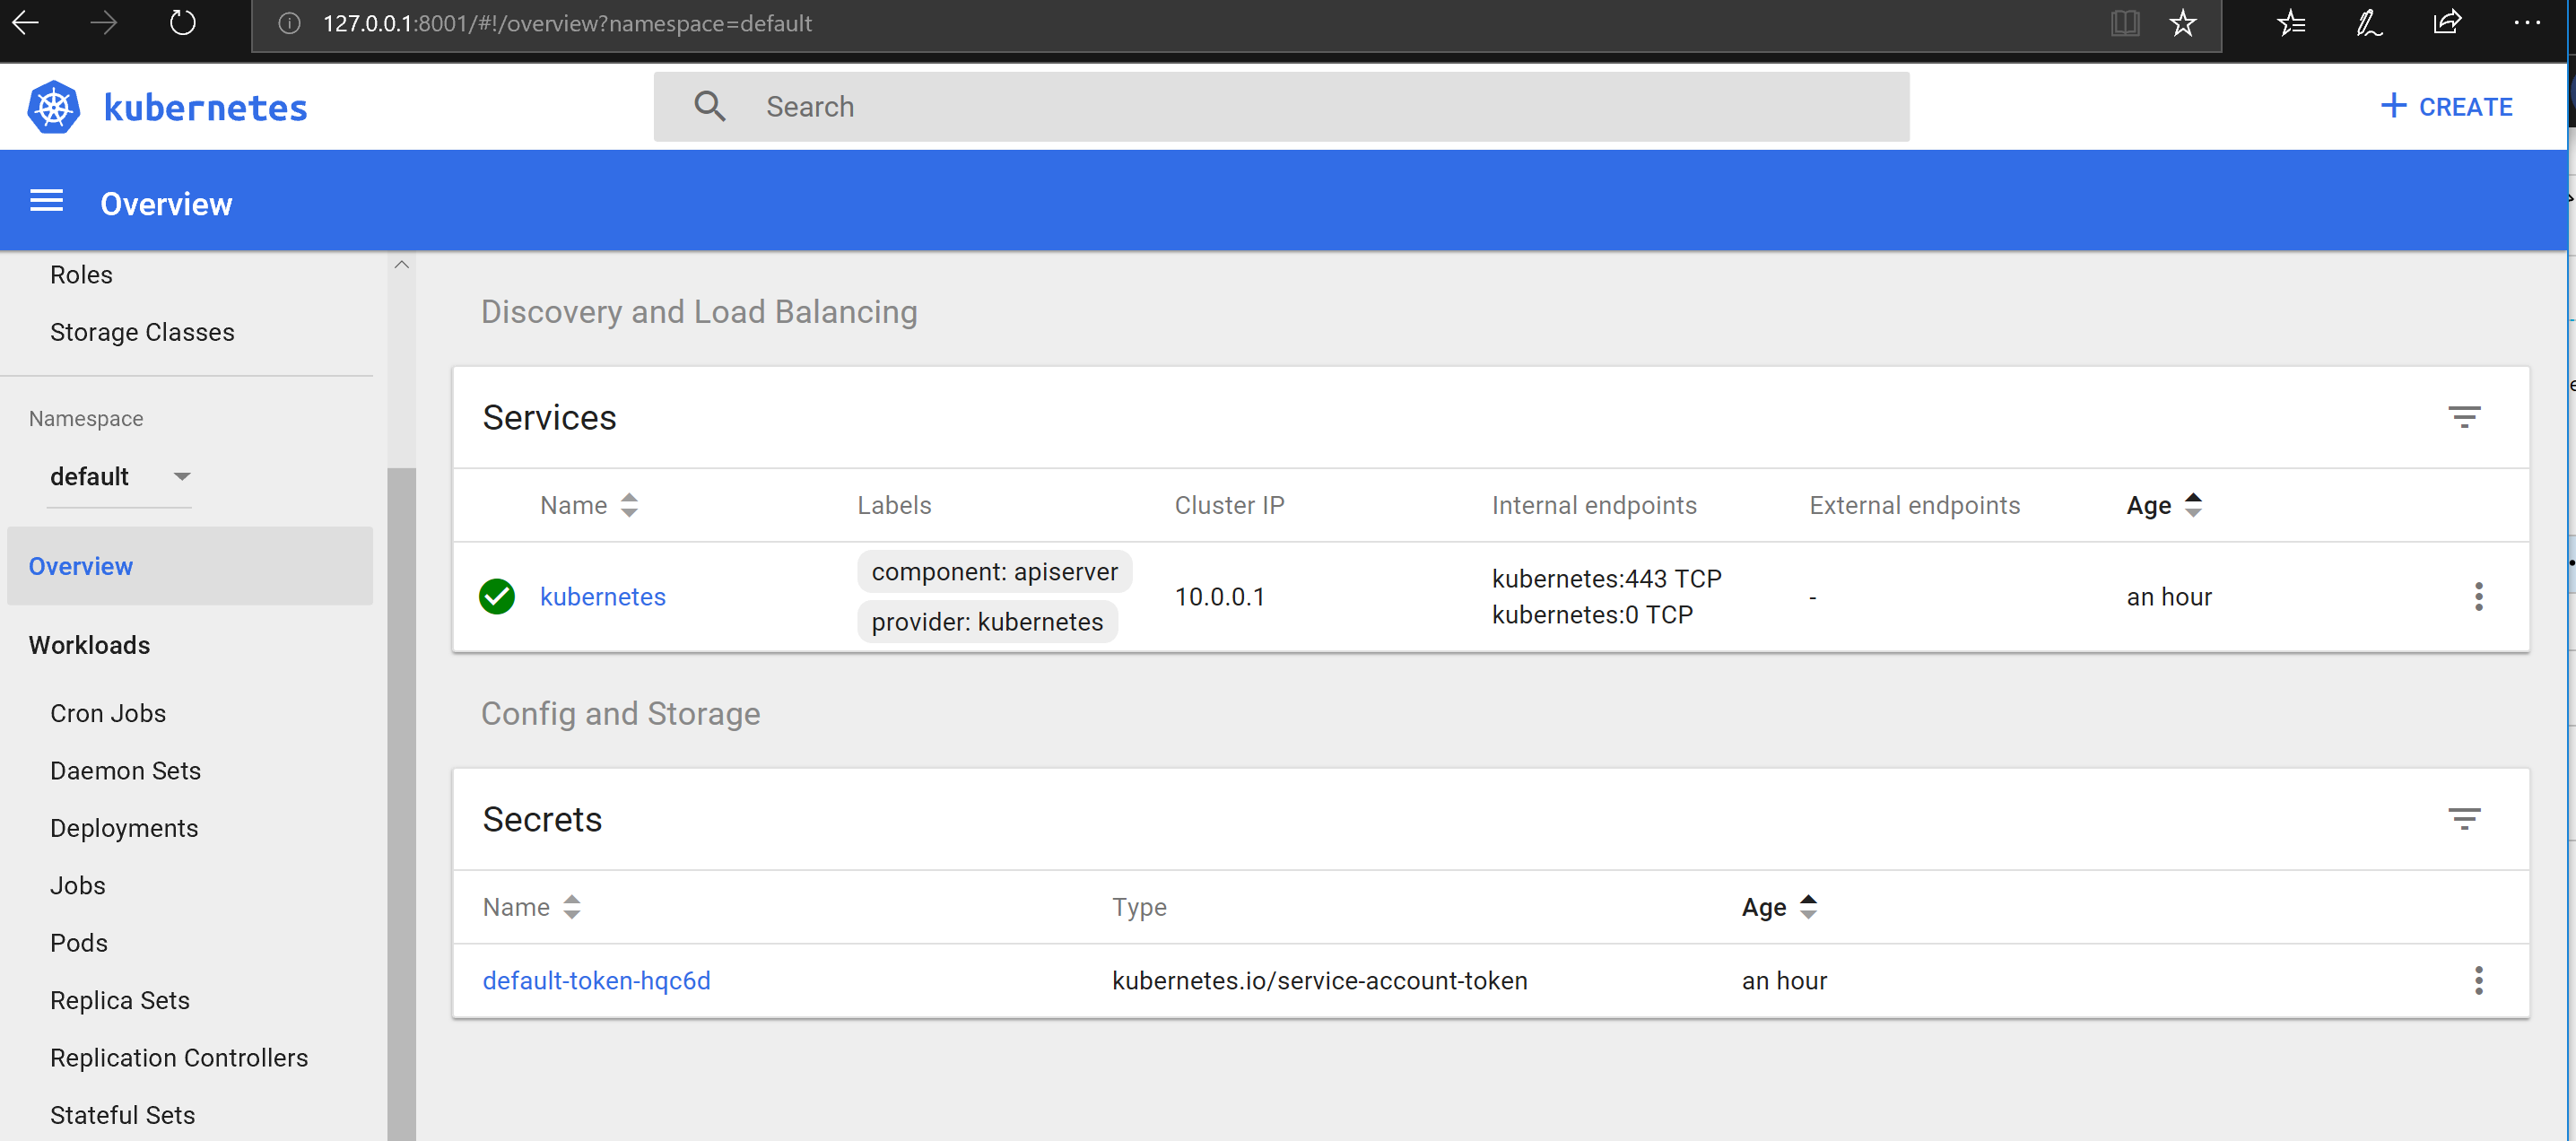
Now, just run the Azure CLI command to browse the Kubernetes Dashboard:
az aks browse --resource-group pro-eshop-aks-helm-linux-resgrp --name pro-eshop-aks-helm-linux
In addition to having an AKS cluster created in Azure and having kubectl and Azure CLI installed in your local machine and configured to use your Azure subscription, you also need the following pre-requisites:
You need to have helm installed on your machine, and Tiller must be installed on the AKS. Follow these instructions on how to 'Install applications with Helm in Azure Kubernetes Service (AKS)' to setup Helm and Tiller for AKS.
Note: If your ASK cluster is not RBAC-enabled (default option in portal) you may receive following error when running a helm command:
Error: Get http://localhost:8080/api/v1/namespaces/kube-system/configmaps?labelSelector=OWNER%!D(MISSING)TILLER: dial tcp [::1]:8080: connect: connection refused
If so, type:
kubectl --namespace=kube-system edit deployment/tiller-deploy
Your default text editor will popup with the YAML definition of the tiller deploy. Search for:
automountServiceAccountToken: false
And change it to:
automountServiceAccountToken: true
Save the file and close the editor. This should reapply the deployment in the cluster. Now Helm commands should work.
All steps need to be performed on /k8s/helm folder. The easiest way is to use the deploy-all.ps1 script from a Powershell window:
.\deploy-all.ps1 -externalDns aks -aksName eshoptest -aksRg eshoptest -imageTag dev
This will install all the eShopOnContainers public images with tag dev on the AKS named eshoptest in the resource group eshoptest. By default all infrastructure (sql, mongo, rabbit and redis) is installed also in the cluster.
Once the script is run, you should see following output when using kubectl get deployment:
NAME                             DESIRED   CURRENT   UP-TO-DATE   AVAILABLE   AGE
eshop-apigwmm                    1         1         1            1           4d
eshop-apigwms                    1         1         1            1           4d
eshop-apigwwm                    1         1         1            1           4d
eshop-apigwws                    1         1         1            1           4d
eshop-basket-api                 1         1         1            1           4d
eshop-basket-data                1         1         1            1           4d
eshop-catalog-api                1         1         1            1           4d
eshop-identity-api               1         1         1            1           4d
eshop-keystore-data              1         1         1            1           4d
eshop-locations-api              1         1         1            1           4d
eshop-marketing-api              1         1         1            1           4d
eshop-mobileshoppingagg          1         1         1            1           4d
eshop-nosql-data                 1         1         1            1           4d
eshop-ordering-api               1         1         1            1           4d
eshop-ordering-backgroundtasks   1         1         1            1           4d
eshop-ordering-signalrhub        1         1         1            1           4d
eshop-payment-api                1         1         1            1           4d
eshop-rabbitmq                   1         1         1            1           4d
eshop-sql-data                   1         1         1            1           4d
eshop-webmvc                     1         1         1            1           4d
eshop-webshoppingagg             1         1         1            1           4d
eshop-webspa                     1         1         1            1           4d
eshop-webstatus                  1         1         1            1           4d
Every public service is exposed through its own ingress resource, as you can see if using kubectl get ing:
eshop-apigwmm        eshop.<your-guid>.<region>.aksapp.io   <public-ip>   80        4d
eshop-apigwms        eshop.<your-guid>.<region>.aksapp.io   <public-ip>   80        4d
eshop-apigwwm        eshop.<your-guid>.<region>.aksapp.io   <public-ip>   80        4d
eshop-apigwws        eshop.<your-guid>.<region>.aksapp.io   <public-ip>   80        4d
eshop-identity-api   eshop.<your-guid>.<region>.aksapp.io   <public-ip>   80        4d
eshop-webmvc         eshop.<your-guid>.<region>.aksapp.io   <public-ip>   80        4d
eshop-webspa         eshop.<your-guid>.<region>.aksapp.io   <public-ip>   80        4d
eshop-webstatus      eshop.<your-guid>.<region>.aksapp.io   <public-ip>   80        4d
Ingresses are automatically configured to use the public DNS of the AKS provided by the "https routing" addon.
One step more is needed: we need to configure the nginx ingress controller that AKS has to allow larger headers. This is because the headers sent by identity server exceed the size configured by default. Fortunately this is very easy to do. Just type (from the /k8s/helm folder):
kubectl apply -f aks-httpaddon-cfg.yaml
Then you can restart the pod that runs the nginx controller. Its name is addon-http-application-routing-nginx-ingress-controller-<something> and runs on kube-system namespace. So run a kubectl get pods -n kube-system find it and delete with kubectl delete pod <pod-name> -n kube-system.
Note: If running in a bash shell you can type:
kubectl delete pod $(kubectl get pod -l app=addon-http-application-routing-nginx-ingress -n kube-system -o jsonpath="{.items[0].metadata.name}) -n kube-system
You can view the MVC client at http://[dns]/webmvc and the SPA at the http://[dns]/
To use your own images instead of the public ones, you have to pass following additional parameters to the deploy-all.ps1 script:
-
registry: Login server for the Docker registry -
dockerUser: User login for the Docker registry -
dockerPassword: User password for the Docker registry
This will deploy a secret on the cluster to connect to the specified server, and all image names deployed will be prepended with registry/ value.
The -externalDns parameter controls the DNS bounded to ingresses. You can pass a custom DNS (like my.server.com), or the aks value to autodiscover the AKS DNS. For autodiscover to work you also need to pass which AKS is, using the -aksName and -aksRg parameters.
Autodiscovering works using Azure CLI under the hood, so ensure that Azure CLI is logged and pointing to the right subscription.
If you don't pass any external DNS at all, ingresses are'nt bound to any DNS, and you have to use public IP to access the resources.
If you want to use external resources, use -deployInfrastructure $false to not deploy infrastructure containers. However you still have to manually update the scripts to provide your own configuration (see next section).
The file inf.yaml contains the description of the infrastructure used. File is docummented so take a look on it to understand all of its entries. If using external resources you need to edit this file according to your needs. You'll need to edit:
-
inf.sql.hostwith the host name of the SQL Server -
inf.sql.commonentries to provide your SQL user, password.Pidis not used when using external resources (it is used to set specific product id for the SQL Server container). -
inf.sql.catalog,inf.sql.ordering,inf.sql.identity: To provide the database names for catalog, ordering and identity services -
mongo.host: With the host name of the Mongo DB -
mongo.locations,mongo.marketingwith the database names for locations and marketing services -
redis.basket.constrwith the connection string to Redis for Basket Service. Note thatredis.basket.svcis not used when using external services -
redis.keystore.constrwith the connection string to Redis for Keystore Service. Note thatredis.keystore.svcis not used when using external services -
eventbus.constrwith the connection string to Azure Service Bus andeventbus.useAzuretotrueto use Azure service bus. Note thateventbus.svcis not used when using external services
Using Azure storage for catalog (and marketing) photos is not directly supported, but you can accomplish it by editing the file k8s/helm/catalog-api/templates/configmap.yaml. Search for lines:
catalog__PicBaseUrl: http://{{ $webshoppingapigw }}/api/v1/c/catalog/items/[0]/pic/
And replace it for:
catalog__PicBaseUrl: http://<url-of-the-storage>/
In the same way, to use Azure storage for the marketing service, have to edit the file k8s/helm/marketing-api/templates/configmap.yaml and replacing the line:
marketing__PicBaseUrl: http://{{ $webshoppingapigw }}/api/v1/c/catalog/items/[0]/pic/
by:
marketing__PicBaseUrl: http://<url-of-the-storage>/
- System requirements
- Development setup
- Databases & containers
- Architecture
- Application
- Code
- Logging and Monitoring
- Tests