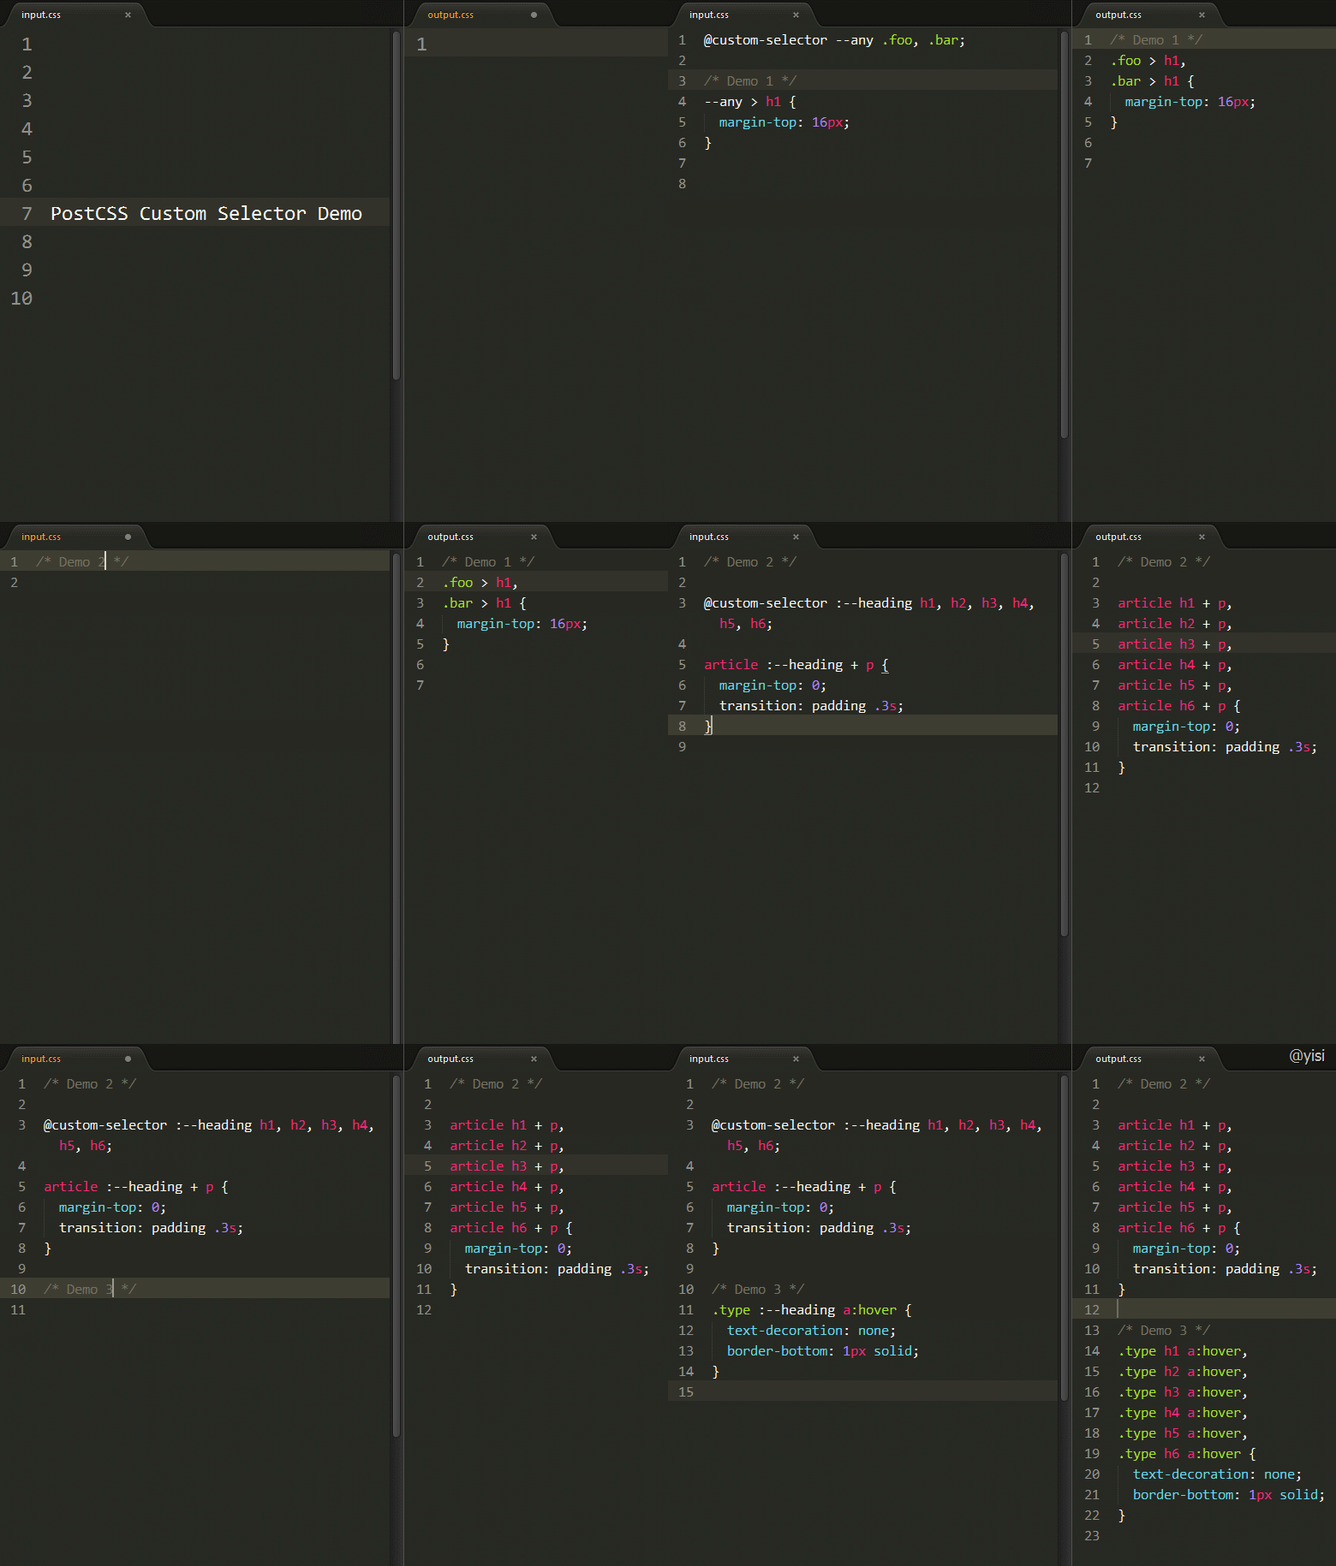
$ npm install postcss-custom-selectors
示例1:
// dependencies
var fs = require('fs')
var postcss = require('postcss')
var selector = require('postcss-custom-selectors')

// css to be processed
var css = fs.readFileSync('input.css', 'utf8')

// process css using postcss-custom-selectors
var output = postcss()
  .use(selector())
  .process(css)
  .css

console.log('\n====>Output CSS:\n', output)
或者:
var output = postcss(selector())
  .process(css)
  .css
input.css:
@custom-selector :--heading h1, h2, h3, h4, h5, h6;

article :--heading + p {
  margin-top: 0;
}
你将得到:
article h1 + p,
article h2 + p,
article h3 + p,
article h4 + p,
article h5 + p,
article h6 + p {
  margin-top: 0;
}@custom-selector = @custom-selector :<extension-name> <selector>;
自定义选择器是一个伪类,所以必须使用 :--来定义。
例如,模拟一个 :any-link 选择器:
示例2:
input.css:
@custom-selector :--any-link :link, :visited;

a:--any-link {
  color: blue;
}
output:
a:link,
a:visited {
  color: blue;
}@custom-selector 目前不支持在同一个选择器中调用多个自定义选择器,例如:
示例3:
@custom-selector :--heading h1, h2, h3, h4, h5, h6;
@custom-selector :--any-link :link, :visited;

.demo :--heading, a:--any-link {
  font-size: 32px;
}
将会输出错误的 CSS 代码。
.demo h1,
.demo h2,
.demo h3,
.demo h4,
.demo h5,
.demo h6,:link,
:visited {
  font-size: 32px;
}依赖 chokidar 模块。
var fs = require('fs')
var chokidar = require('chokidar')
var postcss = require('postcss')
var selector = require('postcss-custom-selectors')

var src = 'input.css'

console.info('Watching…\nModify the input.css and save.')

chokidar.watch(src, {
  ignored: /[\/\\]\./,
  persistent: true
}).on('all',
  function(event, path, stats) {
    var css = fs.readFileSync(src, 'utf8')
    var output = postcss(selector())
      .process(css)
      .css
    fs.writeFileSync('output.css', output)
})module.exports = function(grunt) {
grunt.initConfig({
pkg: grunt.file.readJSON('package.json'),
postcss: {
options: {
processors: [
require('autoprefixer-core')({ browsers: ['> 0%'] }).postcss, //Other plugin
require('postcss-custom-selectors')(),
]
},
dist: {
src: ['src/*.css'],
dest: 'build/grunt.css'
}
}
});
grunt.loadNpmTasks('grunt-contrib-uglify');
grunt.loadNpmTasks('grunt-postcss');
grunt.registerTask('default', ['postcss']);
}var gulp = require('gulp');
var rename = require('gulp-rename');
var postcss = require('gulp-postcss');
var selector = require('postcss-custom-selectors')
var autoprefixer = require('autoprefixer-core')
gulp.task('default', function () {
var processors = [
autoprefixer({ browsers: ['> 0%'] }), //Other plugin
selector()
];
gulp.src('src/*.css')
.pipe(postcss(processors))
.pipe(rename('gulp.css'))
.pipe(gulp.dest('build'))
});
gulp.watch('src/*.css', ['default']);设置多个选择器是否换行,默认开启换行。
关闭换行:
var options = {
  lineBreak: false
}

var output = postcss(selector(options))
  .process(css)
  .css
「示例1」中的 input.css 将输出为:
article h1 + p, article h2 + p, article h3 + p, article h4 + p, article h5 + p, article h6 + p {
  margin-top: 0;
}该选项允许你自定义一个对象来设置 <extension-name>(选择器别名)和 <selector>,这些定义将覆盖 CSS 中相同别名的 @custom-selector。
var options = {
  extensions: {
    ':--any' : 'section, article, aside, nav'
  }
}

var output = postcss(selector(options))
  .process(css)
  .css;
input.css
/* 不会生效 */
section h1,
article h1,
aside h1,
nav h1 {
  margin-top: 16px;
}
output:
section h1, article h1, aside h1, nav h1 {
  margin-top: 16px;
}- 安装相关的依赖模块。
- 尊重编码风格(安装 EditorConfig)。
- 在test目录添加测试用例。
- 运行测试。
$ git clone https://github.com/postcss/postcss-custom-selectors.git
$ git checkout -b patch
$ npm install
$ npm test


