You signed in with another tab or window. Reload to refresh your session.You signed out in another tab or window. Reload to refresh your session.You switched accounts on another tab or window. Reload to refresh your session.Dismiss alert
進入遠端主機
問:Are you sure you want to continue connecting (yes/no)?
輸入:$ yes
開始設定 LAMP
更新 ubuntu 的系統 $ sudo apt update && sudo apt upgrade && sudo apt dist-upgrade
問:是否下載
輸入:$ y
(會跑三次紫色的框,我都選預設的選項 keep the local version currently installed)
安裝 Tasksel $ sudo apt install tasksel
問:是否下載
輸入:$ y
請問以下這個步驟,如果僅詢問「Do you want to continue? [Y/n] 」輸入 Y 後一路執行完畢,沒有出現三次紫色框,沒有出現選擇 keep the local version currently installed,如何確認更新成功呢?
更新 ubuntu 的系統
$ sudo apt update && sudo apt upgrade && sudo apt dist-upgrade
問:是否下載
輸入:$ y
(會跑三次紫色的框,我都選預設的選項 keep the local version currently installed)
設定 AWS EC2 遠端主機
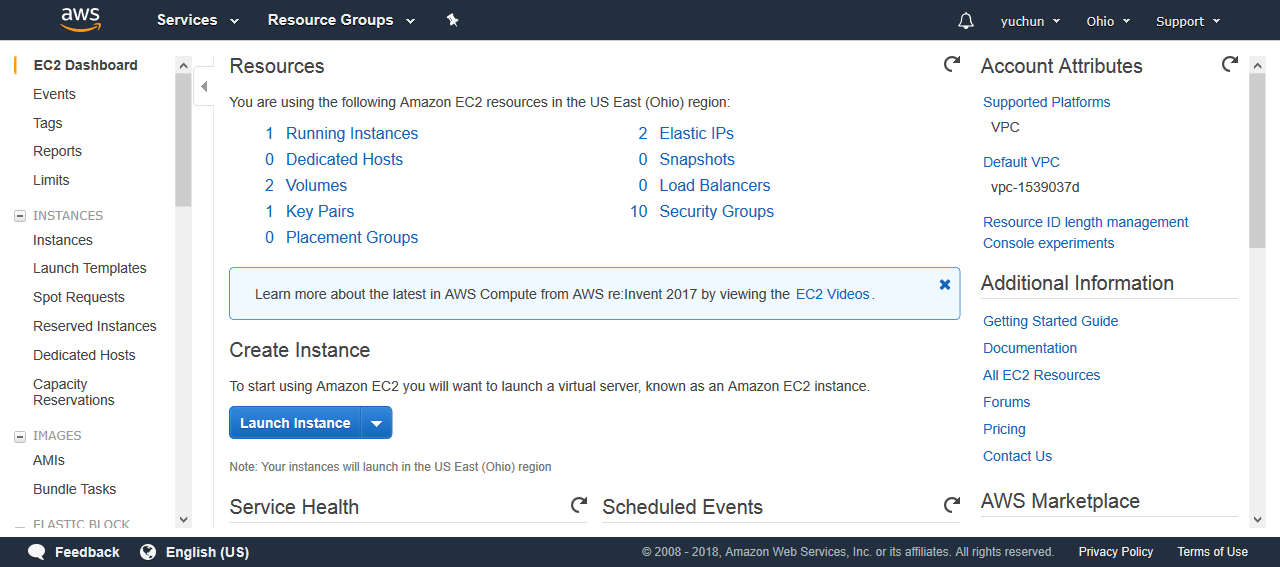
在Amazon 裡的 Services 選 EC2
Launch Instance (藍色)
選擇作業系統 ─ Ubuntu Server 18.04
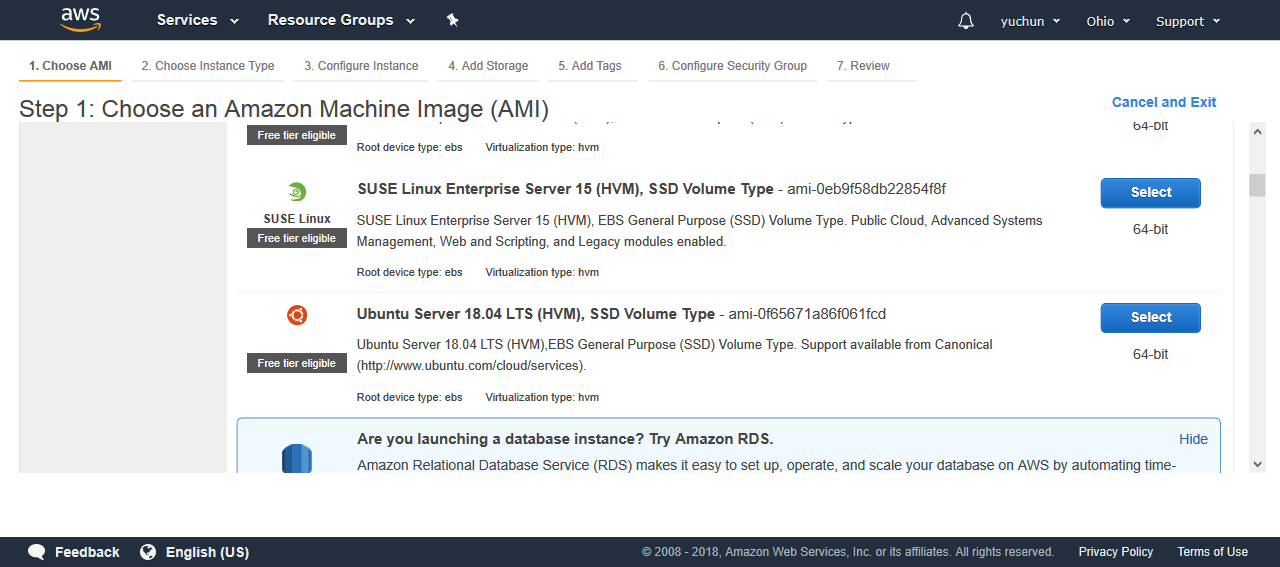
選免費的那個
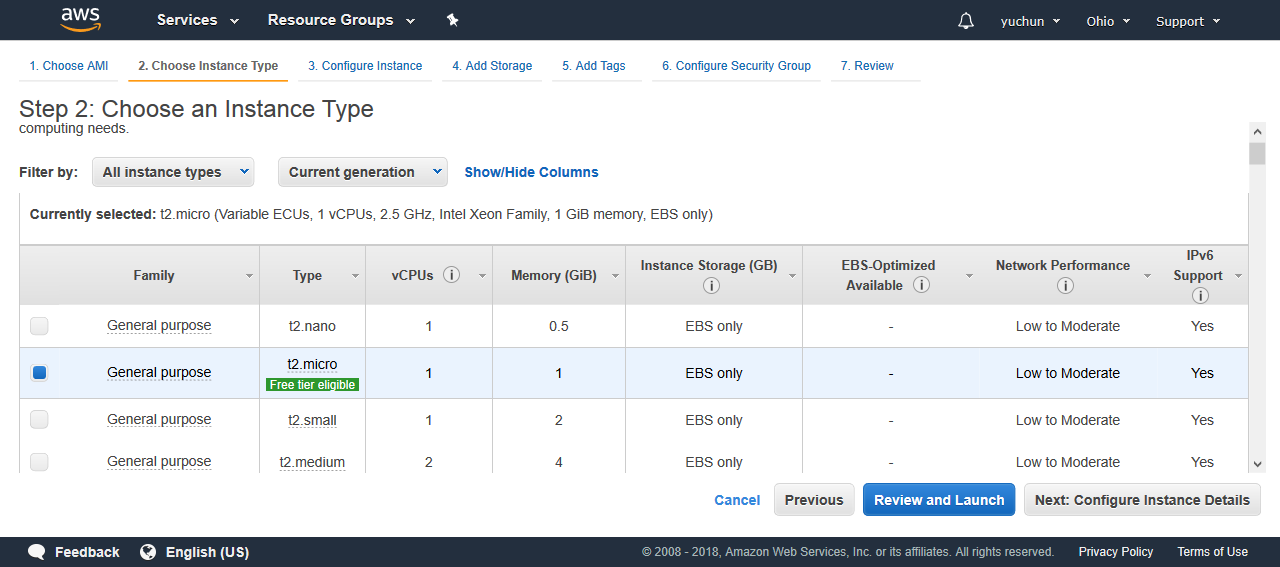
一直按 next 直到步驟 6,設定 Configure Security Group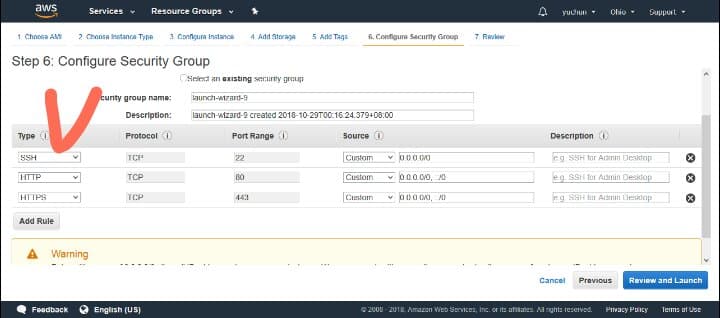
要增加 port 80 和 port 443,才可以用 http/https 連線
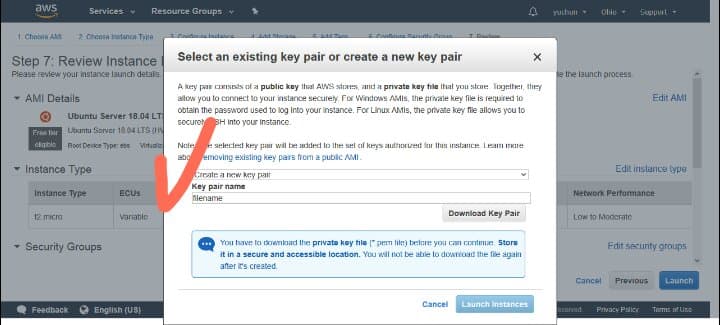
下載金鑰(?檔案
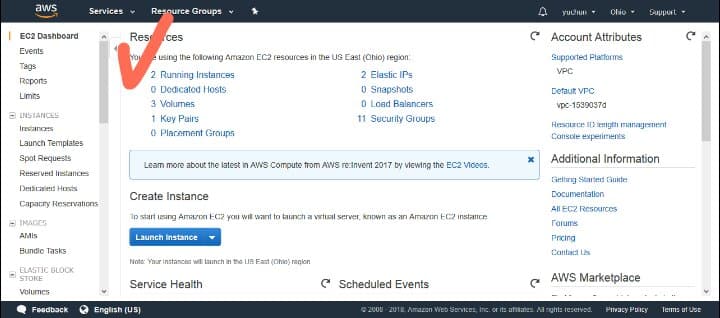
回到 EC2 頁面,選 running instances
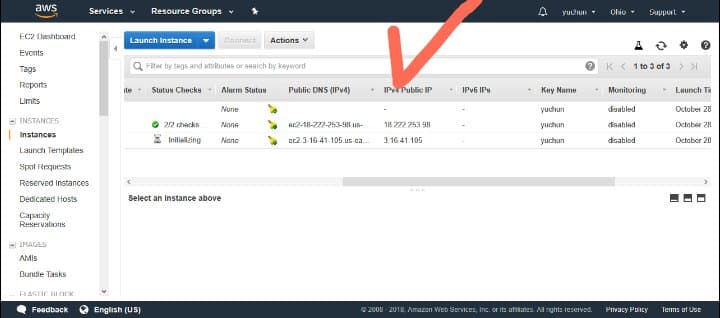
記下 IPv4
設定 LAMP 環境
以下參考:安裝 LAMP Server + phpMyAdmin 在 Linux 系統上輕鬆架設網站
用 cmder ssh 遠端主機
$ ssh -i 下載的金鑰檔案的路徑 ubuntu@IPv4舉例:
ex ssh -i ~/Documents/key.pem [email protected]進入遠端主機
問:
Are you sure you want to continue connecting (yes/no)?輸入:
$ yes開始設定 LAMP
更新 ubuntu 的系統
$ sudo apt update && sudo apt upgrade && sudo apt dist-upgrade問:是否下載
輸入:
$ y(會跑三次紫色的框,我都選預設的選項 keep the local version currently installed)
安裝 Tasksel
$ sudo apt install tasksel問:是否下載
輸入:
$ y用 Tasksel 下載 lamp-server
$ sudo tasksel install lamp-server(會跑一個下載中的紫色框)
設定 phpmyadmin
下載 phpmyadmin
$ sudo apt install phpmyadmin記得連接 apache2(要按空白鍵,有顯示*字號)
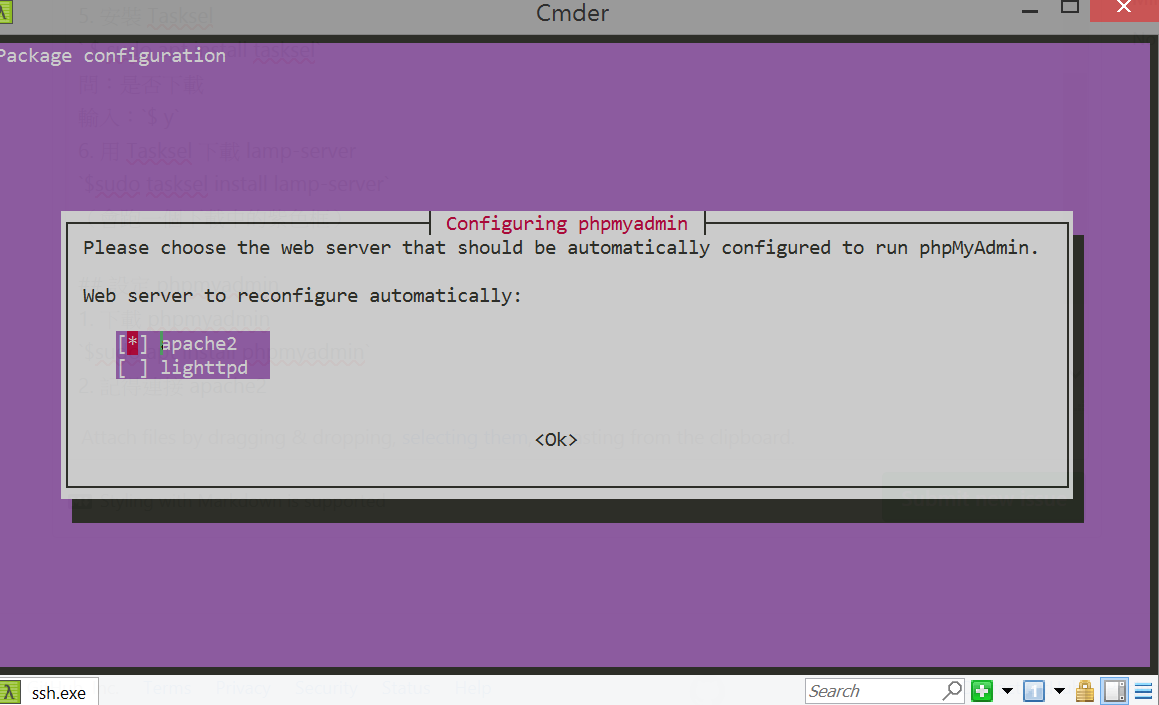
是否設定 dbconfig-common
$ y設定密碼
改變 phpmyadmin 登入的設定,改成可以用密碼登入
$ sudo mysql -u root mysql進入 sql 指令
輸入:
$ UPDATE user SET plugin='mysql_native_password' WHERE User='root';$ FLUSH PRIVILEGES;離開 sql 指令
$ exit設定 root 的密碼
$ sudo mysql_secure_installation選擇密碼強度後設定密碼
是否設定密碼?
$ y選擇密碼強度
$ 0或1或2輸入符合規定的密碼
$ 要設的密碼~確定設這個密碼嗎?
$ y幾個設定的問題都可以選
yes最後會出現 All Done!
就可以在瀏覽器輸入自己的
IPv4/phpmyadmin就看到登入畫面了帳號:root
密碼:步驟 7 設定的那組
放自己的檔案
進到 /var/www/html
$ cd /var/www/html這時候直接 git clone 自己的檔案會失敗
改變權限(?
$ sudo chown ubuntu /var/www/html再次 git clone 就可以了
$ git clone 網址參考:Changing permissions for /var/www/html
完成
在瀏覽器輸入自己的 IPv4/資料夾名稱 就可以連到放入的檔案內容了
The text was updated successfully, but these errors were encountered: