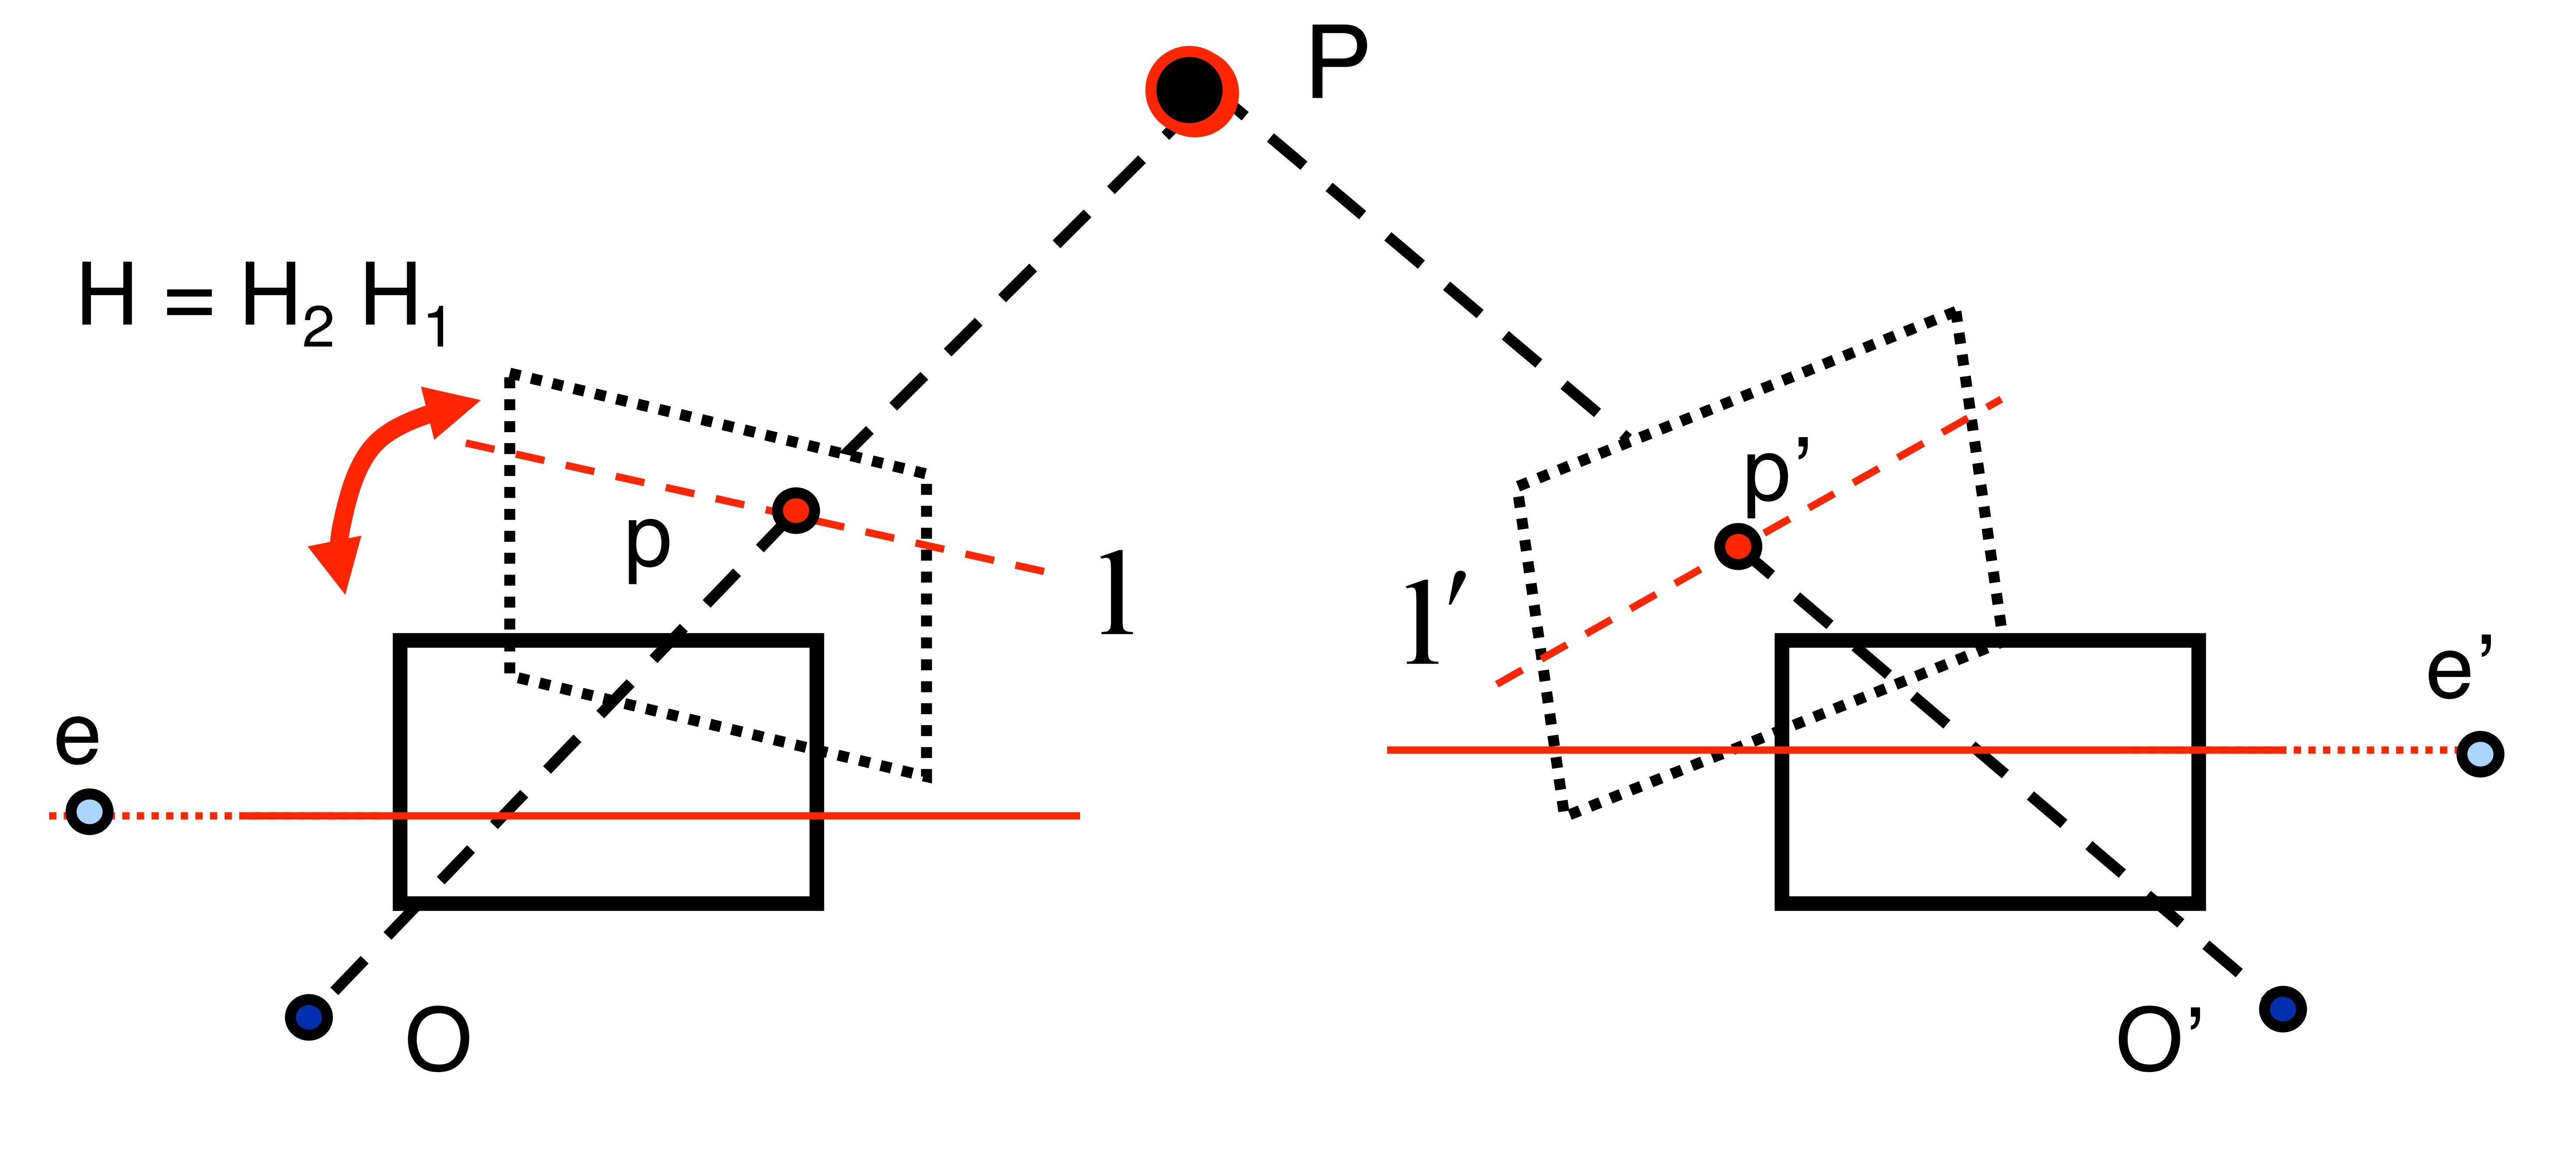
Using this tutorial you will learn the basics of stereoscopic vision, including block-matching, calibration and rectification, depth from stereo using opencv, passive vs. active stereo and relation to structured light.
Regular consumer web-cams offer streams of RGB data within the visible spectrum. This data can be used for object recognition and tracking, as well as some basic scene understanding.
Even with machine learning grasping the exact dimensions of physical objects is a very hard problem
This is where depth cameras come-in. The goal of a depth camera is to add a brand-new channel of information, with distance to every pixel. This new channel can be used just like the rest (for training and image processing) but also for measurement and scene reconstruction.
Depth from Stereo is a classic computer vision algorithm inspired by human binocular vision system. It relies on two parallel view-ports and calculates depth by estimating disparities between matching key-points in the left and right images:
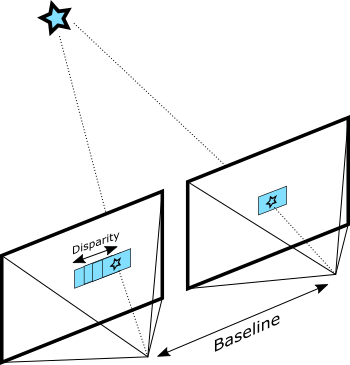
Depth from Stereo algorithm finds disparity by matching blocks in left and right images
Most naive implementation of this idea is the SSD (Sum of Squared Differences) block-matching algorithm:
import numpy

fx = 942.8        # lense focal length
baseline = 54.8   # distance in mm between the two cameras
disparities = 64  # num of disparities to consider
block = 15        # block size to match
units = 0.001     # depth units

for i in xrange(block, left.shape[0] - block - 1):
    for j in xrange(block + disparities, left.shape[1] - block - 1):
        ssd = numpy.empty([disparities, 1])

        # calc SSD at all possible disparities
        l = left[(i - block):(i + block), (j - block):(j + block)]
        for d in xrange(0, disparities):
            r = right[(i - block):(i + block), (j - d - block):(j - d + block)]
            ssd[d] = numpy.sum((l[:,:]-r[:,:])**2)

        # select the best match
        disparity[i, j] = numpy.argmin(ssd)

# Convert disparity to depth
depth = np.zeros(shape=left.shape).astype(float)
depth[disparity > 0] = (fx * baseline) / (units * disparity[disparity > 0])
Rectified image pair used as input to the algorithm
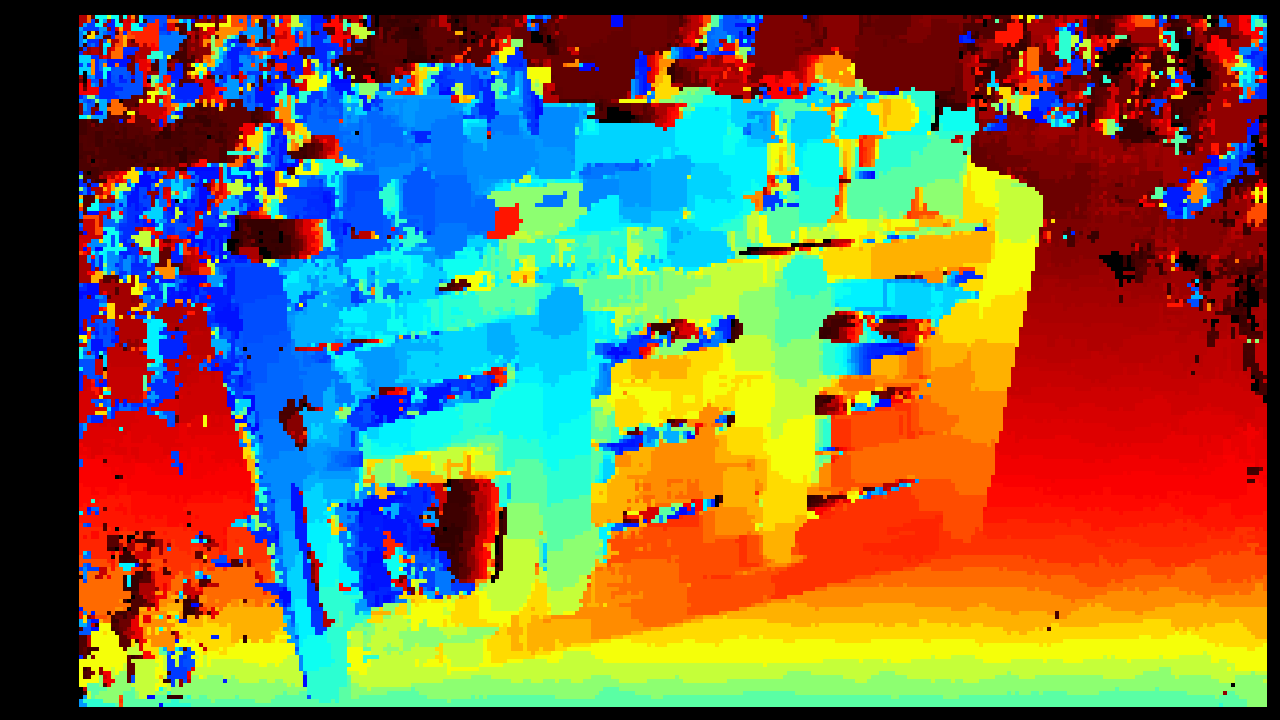
Depth map produced by the naive SSD block-matching implementation
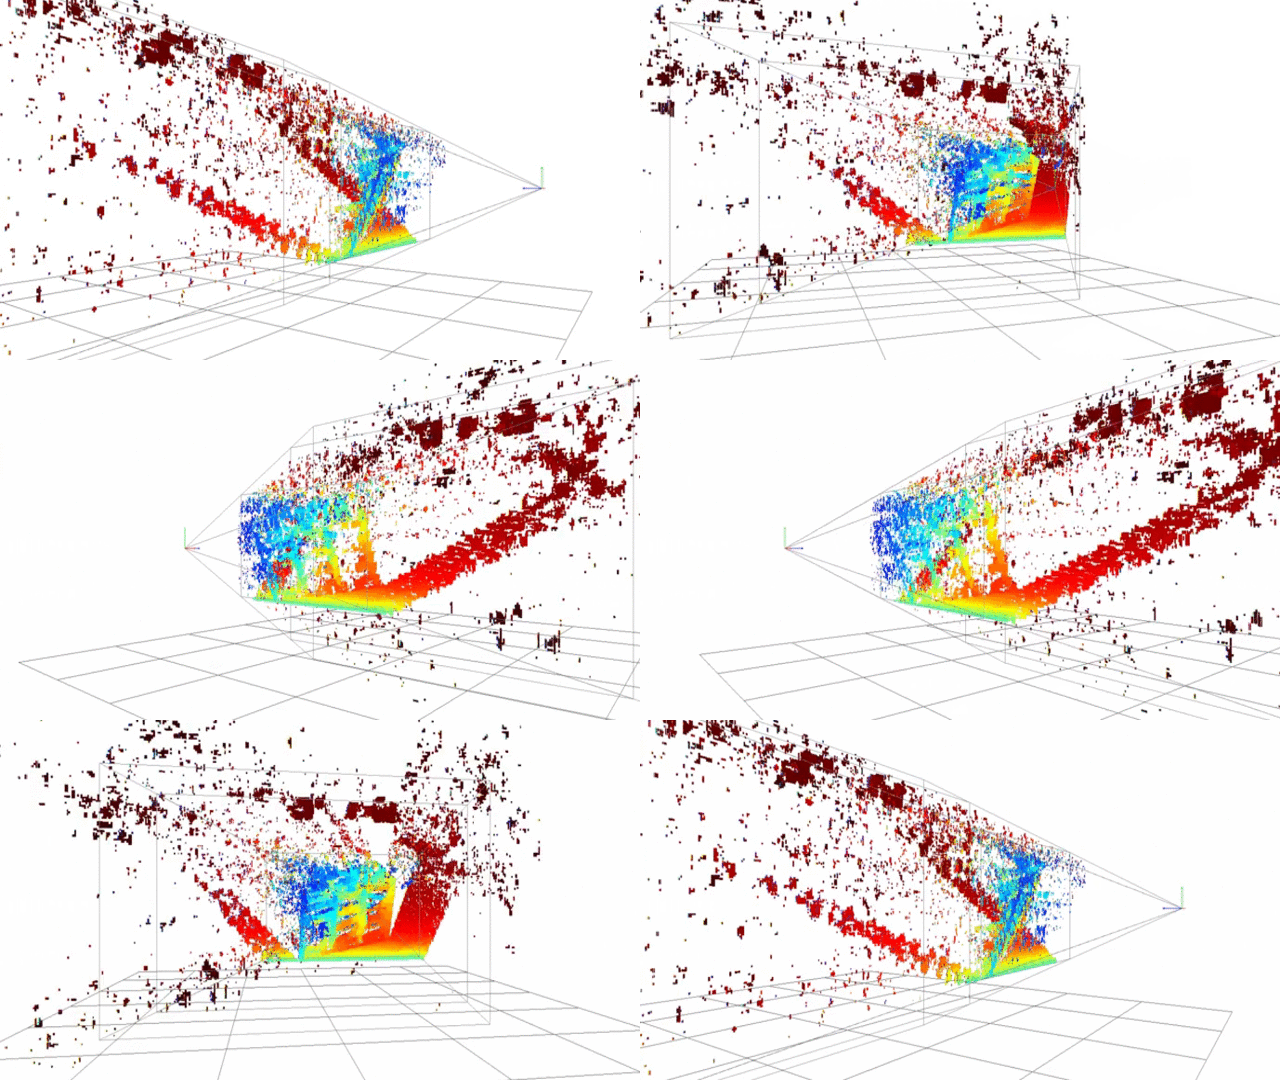
Point-cloud reconstructed using SSD block-matching
There are several challenges that any actual product has to overcome:
- Ensuring that the images are in fact coming from two parallel views
- Filtering out bad pixels where matching failed due to occlusion
- Expanding the range of generated disparities from fixed set of integers to achieve sub-pixel accuracy
In reality having two exactly parallel view-ports is challenging. While it is possible to generalize the algorithm to any two calibrated cameras (by matching along epipolar lines), the more common approach is image rectification. During this step left and right images are reprojected to a common virtual plane:
Image Rectification illustrated, source: Wikipedia
opencv library has everything you need to get started with depth:
- calibrateCamera can be used to generate extrinsic calibration between any two arbitrary view-ports
- stereorectify will help you rectify the two images prior to depth generation
- stereobm and stereosgbm can be used for disparity calculation
- reprojectimageto3d to project disparity image to 3D space
import numpy
import cv2

fx = 942.8          # lense focal length
baseline = 54.8     # distance in mm between the two cameras
disparities = 128   # num of disparities to consider
block = 31          # block size to match
units = 0.001       # depth units

sbm = cv2.StereoBM_create(numDisparities=disparities,
                          blockSize=block)

disparity = sbm.compute(left, right)

depth = np.zeros(shape=left.shape).astype(float)
depth[disparity > 0] = (fx * baseline) / (units * disparity[disparity > 0])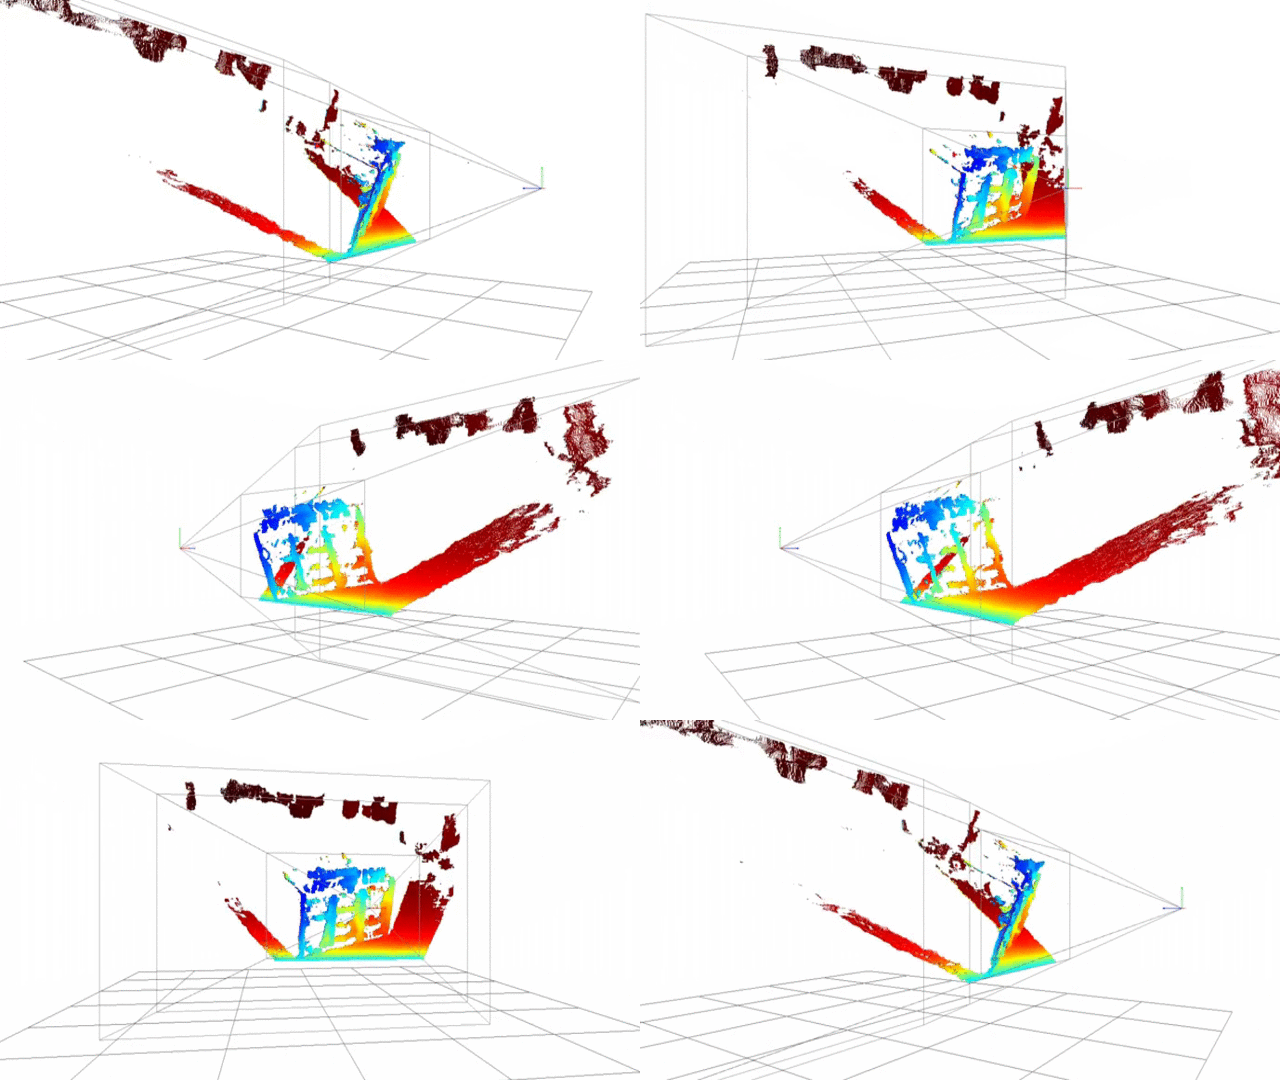
Point-cloud generated using opencv stereobm algorithm
The average running time of stereobm on an Intel(R) Core(TM) i5-6600K CPU is around 110 ms offering effective 9 FPS (frames per second).
Get the full source code here
The quality of the results you will get with this algorithm depends primarily on the density of visually distinguishable points (features) for the algorithm to match. Any source of texture, natural or artificial will improve the accuracy significantly.
That's why it is extremely useful to have an optional texture projector (usually adding details outside of the visible spectrum). As an added benefit, such projector can be used as an artificial source of light at night or in the dark.

Input images illuminated with texture projector

Left: opencv stereobm without projector. Right: stereobm with projector.
Structured-Light is an alternative approach to depth from stereo. It relies on recognizing a specific projected pattern in a single image.
Having certain benefits, structured-light solutions are known to be fragile since any external interference (from either sunlight or another structured-light device) will prevent you from getting any depth.
In addition, since laser projector has to illuminate the entire scene, power consumption grows with range, often requiring a dedicated power source.
Depth from stereo on the other hand, only benefits from multi-camera setup and can be used with or without projector.
D400 RealSense cameras offer the following basic features:
- The device comes fully calibrated producing hardware-rectified pairs of images
- All depth calculations is done by the camera at up-to 90 FPS
- The device offers sub-pixel accuracy and high fill-rate
- There is an on-board texture projector for tough lighting conditions
- The device runs of standard USB 5V power-source drawing around 1-1.5 W
This product was designed from the ground up to address conditions critical to robotics / drones developers and to overcome the limitations of structured light.
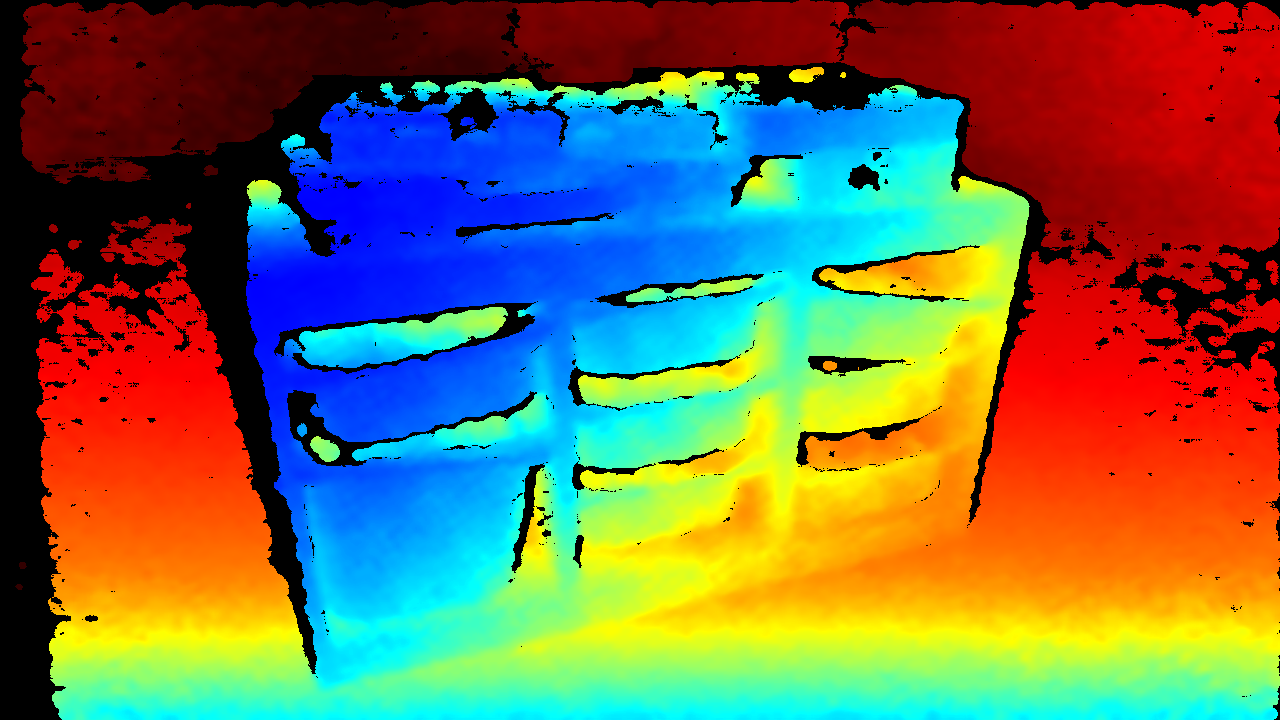
Depth-map using D415 Intel RealSense camera

Point-cloud using D415 Intel RealSense camera
Just like opencv, RealSense technology offers open-source and cross-platform set of APIs for getting depth data.
