You signed in with another tab or window. Reload to refresh your session.You signed out in another tab or window. Reload to refresh your session.You switched accounts on another tab or window. Reload to refresh your session.Dismiss alert
Any Git push to a Repository, including editing tags or branches. Commits via API actions that update references are also counted. This is the default event.
| Key | Value |
| --- | --- |
| zen | Random string of GitHub zen |
| hook_id | The ID of the webhook that triggered the ping |
| hook | The [webhook configuration](https://developer.github.com/v3/repos/hooks/#get-single-hook) |
var Koa = require('koa');
var Router = require('koa-router');

var app = new Koa();
var router = new Router();

router
    .post('/payload', (ctx, next) => {
        console.log(ctx);
    })

app
    .use(router.routes())
    .use(router.allowedMethods());

app.listen(4567);
服务器:
Jenkins ServerGit ServerApp Server关键词:
nodejsngrokgithub webhook在配置Jenkins实现前端自动化构建的过程中,对于自动化的过程理解很模糊,只是知道Jenkins服务器,Git仓库和后端应用服务器这三个概念。
答案就是:Git webhook机制发出请求,告知Jenkins服务器你要自动构建了。
webhook与异步编程中"订阅-发布模型"非常类似,一端触发事件,一端监听执行。
如果仅仅想学习webhook,可以直接阅读。但是一定要注意,知识点是"异步编程模型",webhook仅仅是它的一个实现。
开启正文!
维基百科:
一、基础部分
Webhook 允许我们通过在Github.com订阅事件后构建后或者安装Github应用。当其中之一的事件被触发时,我们可以发送HTTP POST请求到webhook的配置URL。**Webhook可以用作升级一个issue追踪,触发CI构建,升级一个后端镜像,或者甚至是部署你的生产服务器。**只有想不到,没有做不到。
事件
在配置webhook的时候,你可以选择自己想要接收的事件。你甚至可以选择参加触发所有事件。只有订阅特殊的需要的事件,可以有效限制服务器HTTP请求数。可以通过API或者UR随时订阅事件。默认情况下,webhook只订阅push事件。
每个事件与一个动作集合联系,这些动作可以在你的组织或者repo中发生。例如,如果你订阅了issues事件,你将在issue open,close以及labeled时接收到detailed payload。
下面是一些可用的事件:
*check_runcheck_suitecommit_commentpush载荷
每一个事件类型都有一个指定的与相关事件信息有关的payload格式。所有的事件载荷都是事件类型的载荷镜像,push除外,因为他有更加详细的webhook负载。
除了每个事件的documented字段,webhook负载包含了执行事件的用户以及组织和或repo,对于一个Github App的webhook来说,它包含installation。在PullRequestEvent payload中有示例。
发送报文头
发送到webhook配置URL的HTTP POST负载会包含几个指定的报文头。
X-GitHub-EventX-GitHub-DeliveryX-Hub-SignaturePing 事件
ping事件负载
GitHub App
当你注册一个新的GitHub App时,GitHub发送一个ping事件到webhook URL。事件的包含app_id。
二、实验开始
1. 配置并创建Webhook
2. 配置接收和管理负载的服务器
将生成的只有8小时有效时间的url复制到Payload URL。
运行以下命令启动服务:
3.测试Webhooks
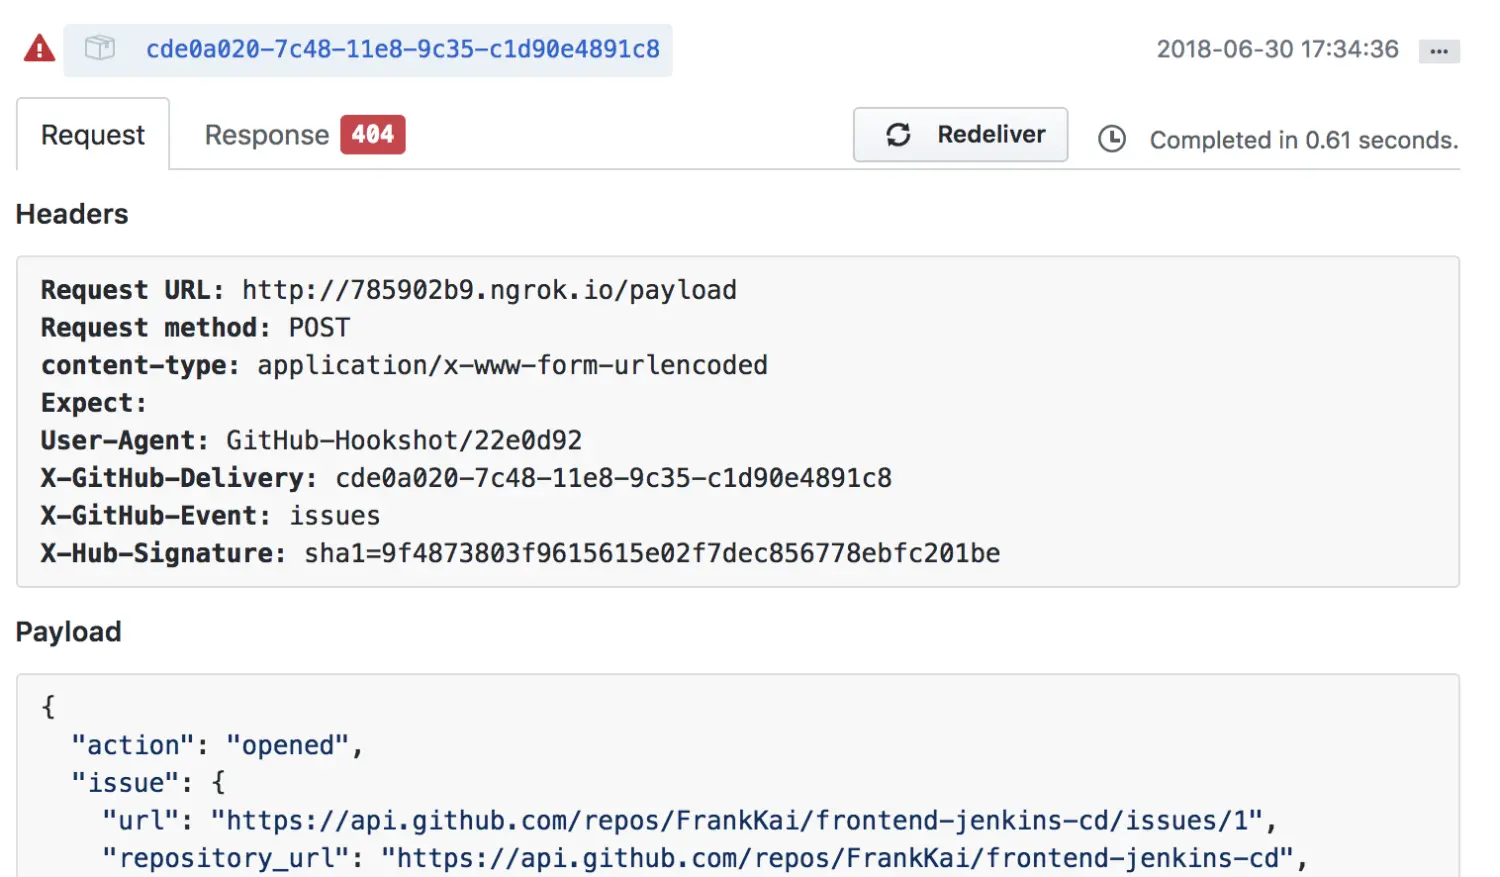
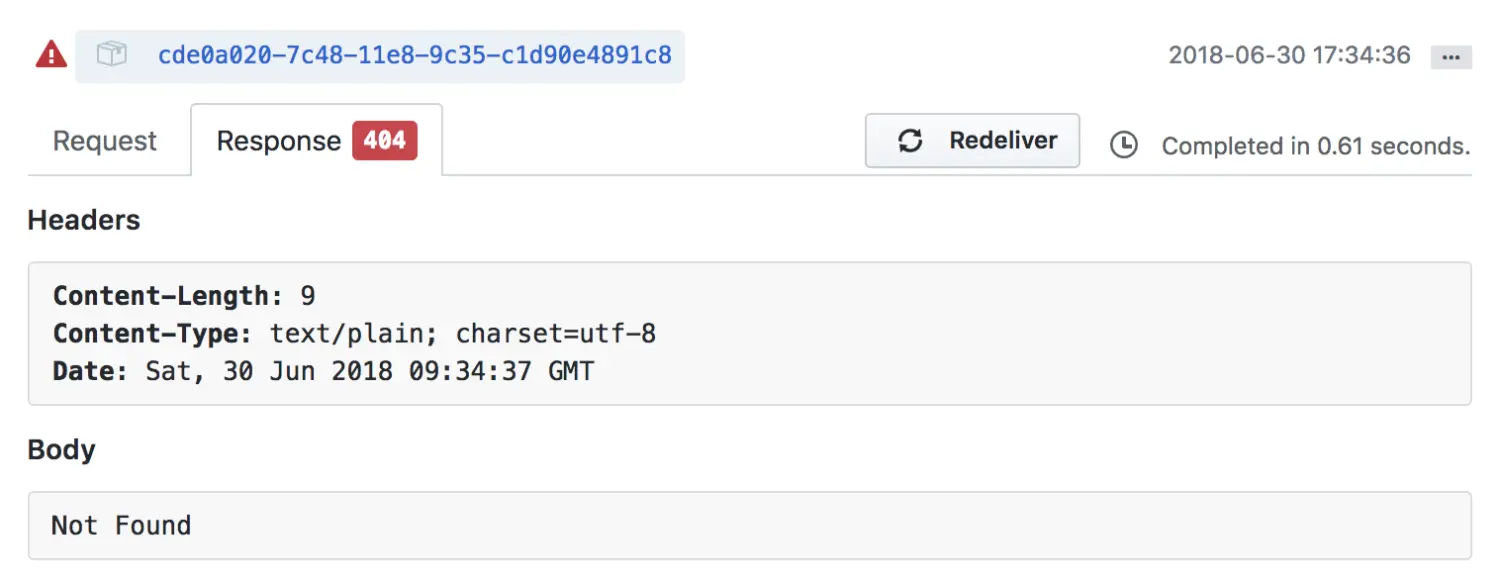
在每一个Webhook下都有一个触发事件记录列表。


单击后会展开webhook的请求和响应。
4.在Github和server设置token
三、实验分析
issuewebhook event四、引申分析Jenkins CI
pushwebhook event"发布-订阅" 事件异步编程模型,要注意这个模型是只针对Git repo自身的,它订阅了来自local的push事件,触发者则是某一个开发者的git push操作。
五、发布订阅者模型引申
$emit$on$nextTick()自身订阅发布commit()隐式监听如果还是不懂,建议先阅读朴灵大神的《深入浅出nodejs》的异步章节,并且涉猎大量的非前端技术,并实践。
不过对于这篇博文来说,webhook是Git的一种机制,可用于前端自动化构建是关键知识点。
当然,关于这篇博文,其实有些流程还不是很清晰,文章内容可能在我做完一次完整的Jenkins自动化构建实验后更新。
参考:
https://www.wikiwand.com/en/Webhook
https://developer.github.com/webhooks/
https://developer.github.com/webhooks/configuring/
https://developer.github.com/webhooks/testing/
https://developer.github.com/webhooks/securing/
https://blog.csdn.net/boling_cavalry/article/details/78943061
That it !
The text was updated successfully, but these errors were encountered: