chrome-webstore-upload uses the Chrome Web Store API.
Here's how to get its 3 access keys: clientId, clientSecret and refreshToken
Note: the names you enter here don't really matter. It's an app that only you will have access to. This will take approximately 10 minutes and Google likes to change these screens often. Sorry.
-
Visit https://console.developers.google.com/apis/credentials
-
Create a project:

-
Enter
chrome-webstore-uploadand Create -
Visit https://console.cloud.google.com/apis/credentials/consent
-
Select on External and Create

-
Only enter the Application name (e.g.
chrome-webstore-upload) and required email fields, and click Save
-
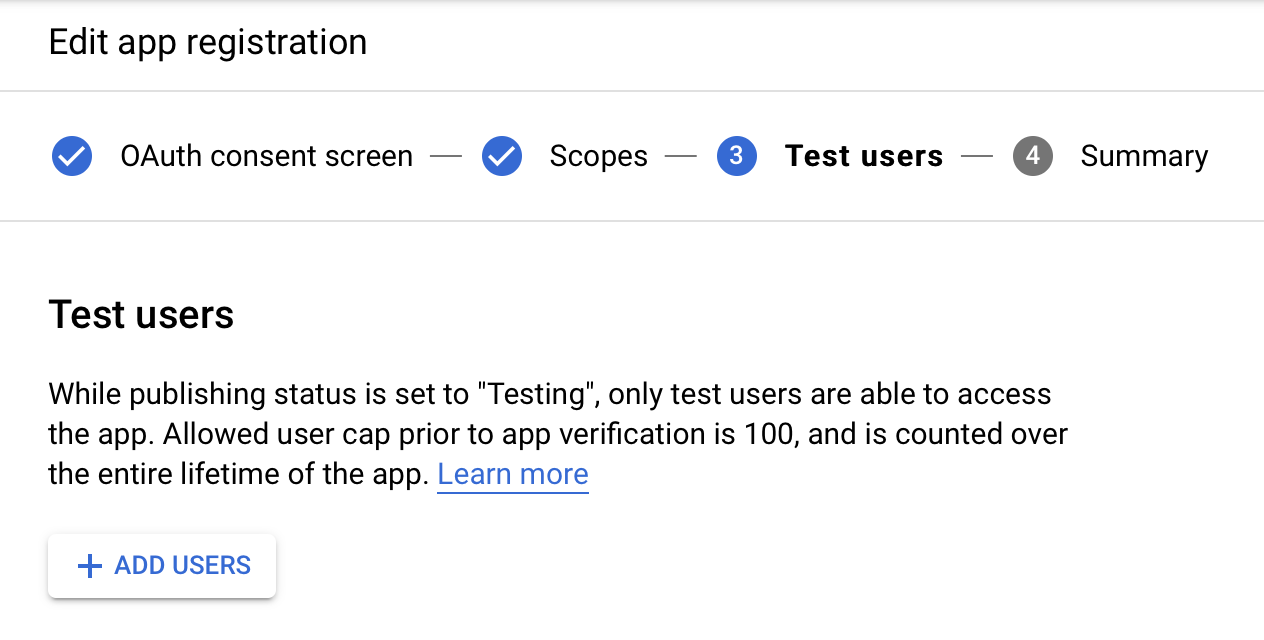
On the 3rd screen, add your own email address:
-
Visit https://console.developers.google.com/apis/library/chromewebstore.googleapis.com
-
Click Enable
-
Visit https://console.developers.google.com/apis/credentials
-
Click Create credentials > OAuth client ID:

-
Select Desktop app, enter
Chrome Webstore Uploadand click Create
-
Save your ✅
clientIdand ✅clientSecret:
-
Visit https://console.cloud.google.com/apis/credentials/consent
-
Click PUBLISH APP and confirm

-
Place your
clientIdin this URL and open it:https://accounts.google.com/o/oauth2/auth?response_type=code&scope=https%3A%2F%2Fwww.googleapis.com%2Fauth%2Fchromewebstore&redirect_uri=http%3A%2F%2Flocalhost%3A8818&access_type=offline&client_id=YOUR_CLIENT_ID_HERE -
Follow its steps and warnings (this is your own personal app)
-
You will reach this error page, with a URL that looks like:
http://localhost:8818/?code=4/0AX4XfWjwRDOZc_1nsxnupN8Xthe7dlfL0gB3pE-MMalTab0vWZBDj9ywDMacIT15U-Q&scope=https://www.googleapis.com/auth/chromewebstore
-
Copy the
approval codebetweencode=and&scope, it should look like this; use it in the next step:4/0AX4XfWjwRDOZc_1nsxnupN8Xt-dont-use-this-code-IT15U-Q -
On the same page you can run this in the browser console, it's a wizard to create your
refresh_token:
(async () => {
  const ask = message => decodeURIComponent(prompt(message).trim())
  const response = await fetch('https://accounts.google.com/o/oauth2/token', {
    method: "POST",
    body: new URLSearchParams([
      ['client_id', ask('Enter your clientId')],
      ['client_secret', ask('Enter your client secret')],
      ['code', ask('Enter your approval code')],
      ['grant_type', 'authorization_code'],
      ['redirect_uri', 'http://localhost:8818']
    ]),
    headers: {
      'Content-Type': 'application/x-www-form-urlencoded'
    }
  });
  const json = await response.json();
  console.log(json);
  if (!json.error) {
    if (typeof copy === 'function' && !navigator.userAgent.includes('Firefox')) { // #58
      copy(json.refresh_token);
      alert('The refresh_token has been copied into your clipboard. You’re done!');
    } else {
      console.log('Copy your token:');
      console.log(json.refresh_token);
      alert('Copy your refresh_token from the console output. You’re done!');
    }
  }
})();- Done. Now you should have ✅
clientId, ✅clientSecretand ✅refreshToken. You can use these for all your extensions, but don't share them!